Amazon Seller Central is an online platform that allows businesses to set up, manage, and expand their Amazon business with ease. It covers product catalogs, inventory, order fulfillment and pricing. And yet there is often a lack of integration between Amazon Seller and Looker Studio, making it difficult for businesses to report on performance.
To make this easier, Two Minute Reports (TMR) provides a solution to bridge the gap. With TMR, businesses can get performance data from other data sources into their own dashboard in an easy and code-free manner. In this guide, we will explain how to pull Amazon data into Looker Studio using TMR.
Step 1: Streamline your Amazon Ads account in Looker Studio
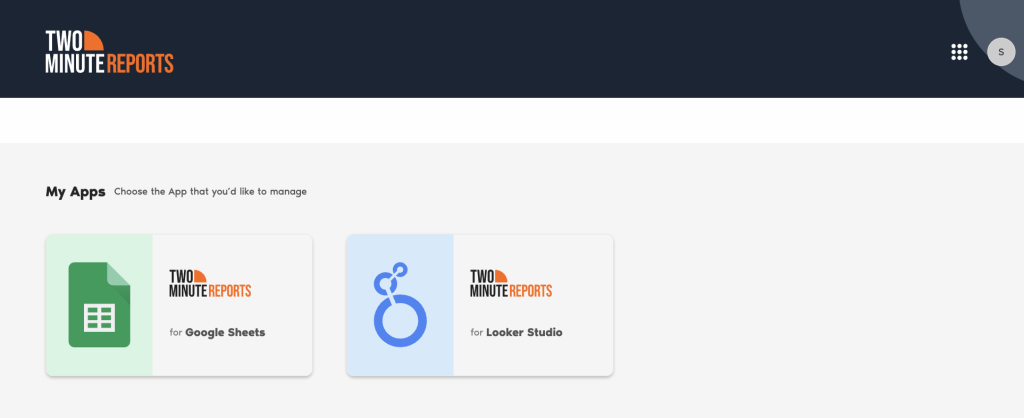
Go to https://hub.twominutereports.com/ Choose Two Minute Reports for Looker Studio.
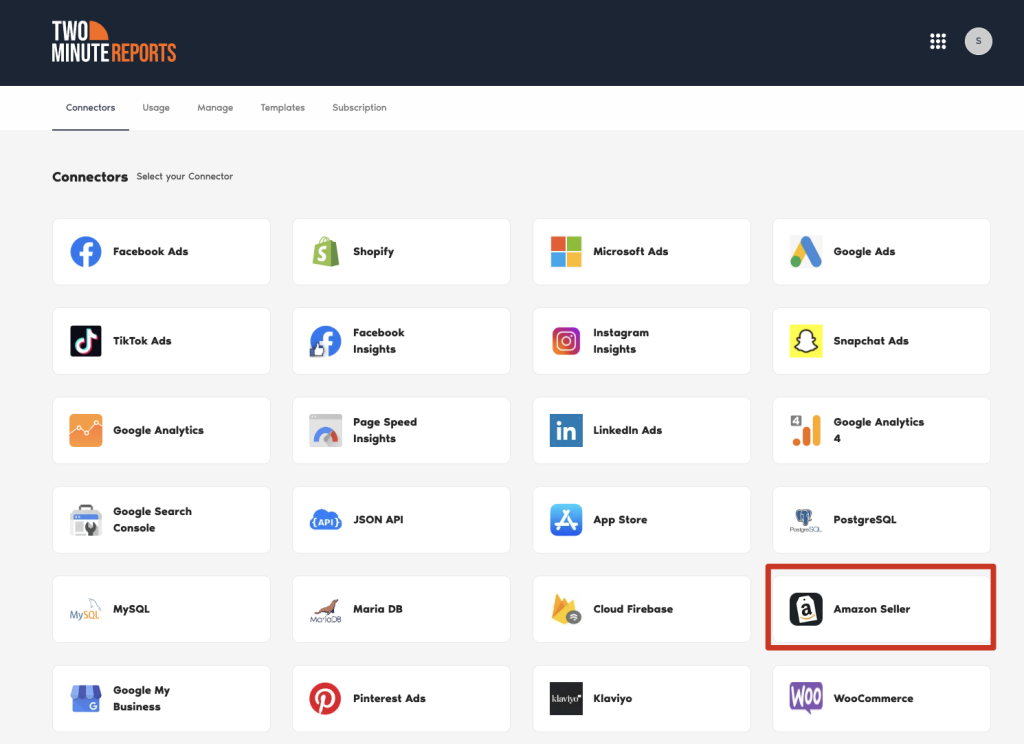
- In the connectors page, find and select Amazon Seller.
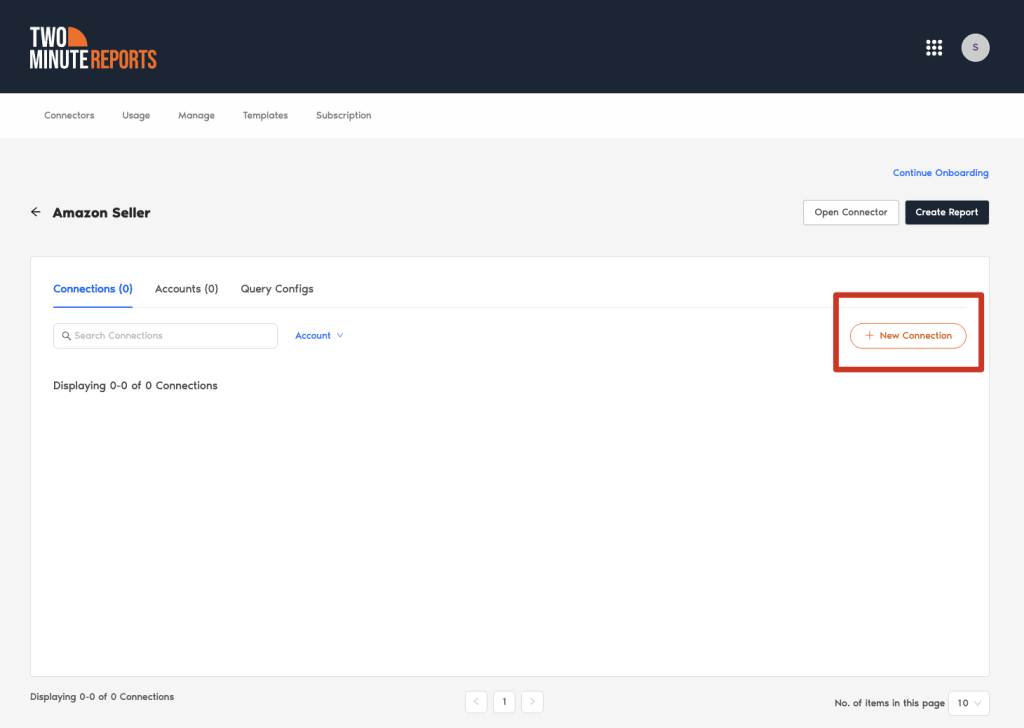
Next, connect your Amazon Ads data. Click New Connection to start creating your Connection in Looker Studio.
| A Connection is a link between the data source and the Connector. For example, you must use the Amazon Ads Connector to create a Connection with your Amazon Ads account to get your ads data. |
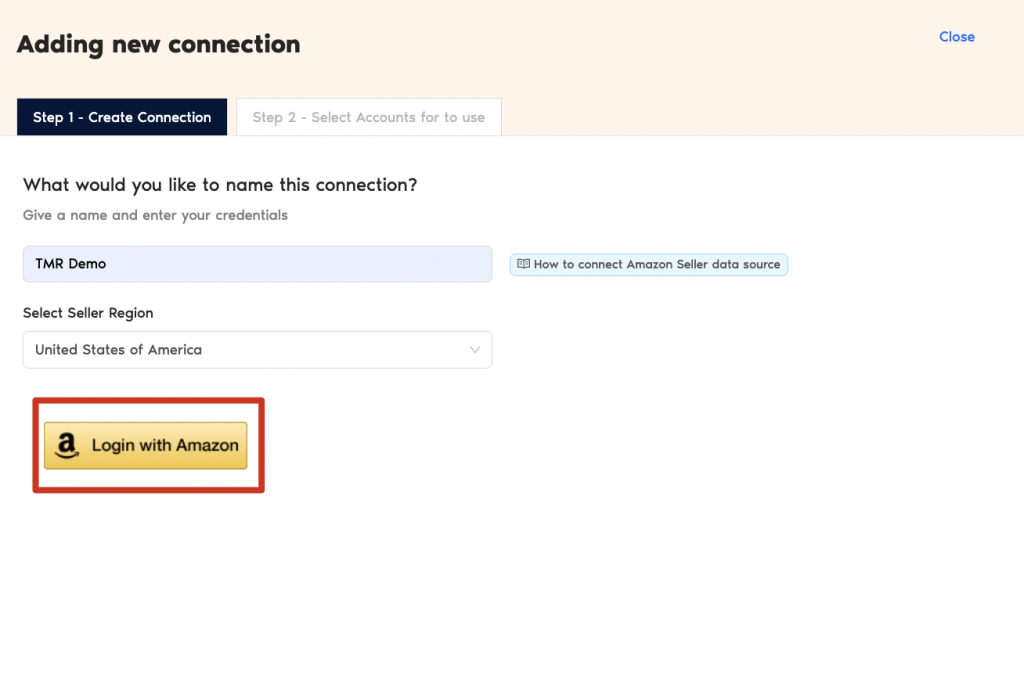
The Adding new connection dialog box appears. Here, you can connect the required Amazon Ads account in two easy steps:
Creating a Connection: Name your Connection and authorize the Gmail account associated with your Amazon Seller account.
- Select accounts to use: Enable the accounts you want to run queries. Once enabled, Speedboost will be automatically activated, performing two critical functions:
- Warm up – Prepares your account for faster data retrieval by caching your historical data.
- Periodic sync – Ensures your data stays updated automatically at regular intervals.
- Please note that you can extract data from relevant ad accounts only after the warm up process is completed. Additionally, you cannot run queries for disabled accounts.
Step 2: Configure your Amazon Ads account with TMRIn the Query Configs section, click + Add New.
| Query Config lets you group multiple accounts, making it easier to view centralized insights in your Looker Studio dashboard. |
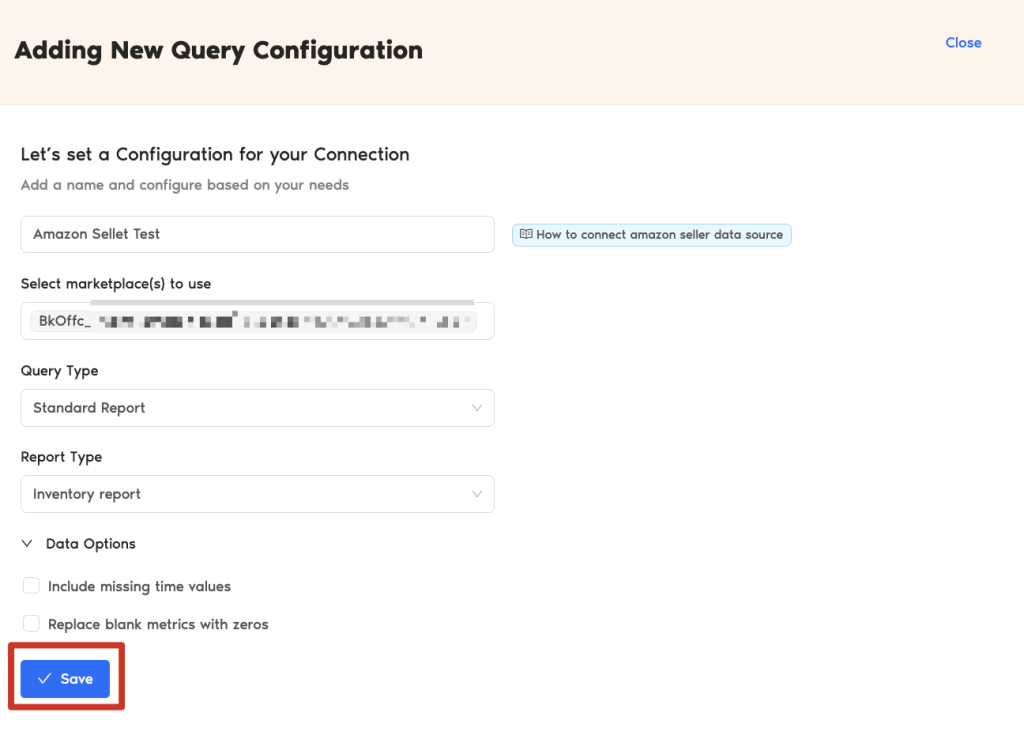
The Adding New Query Configuration dialog box appears. Name the query config, select (from the list of enabled) accounts from the dropdown, and configure your Amazon Seller report. Once done, click Save.
You’ve successfully created a new configuration. Now you can use this Query Config to extract data from your Looker Studio reports.
Step 3: Create an Amazon Seller report with TMR in Looker Studio
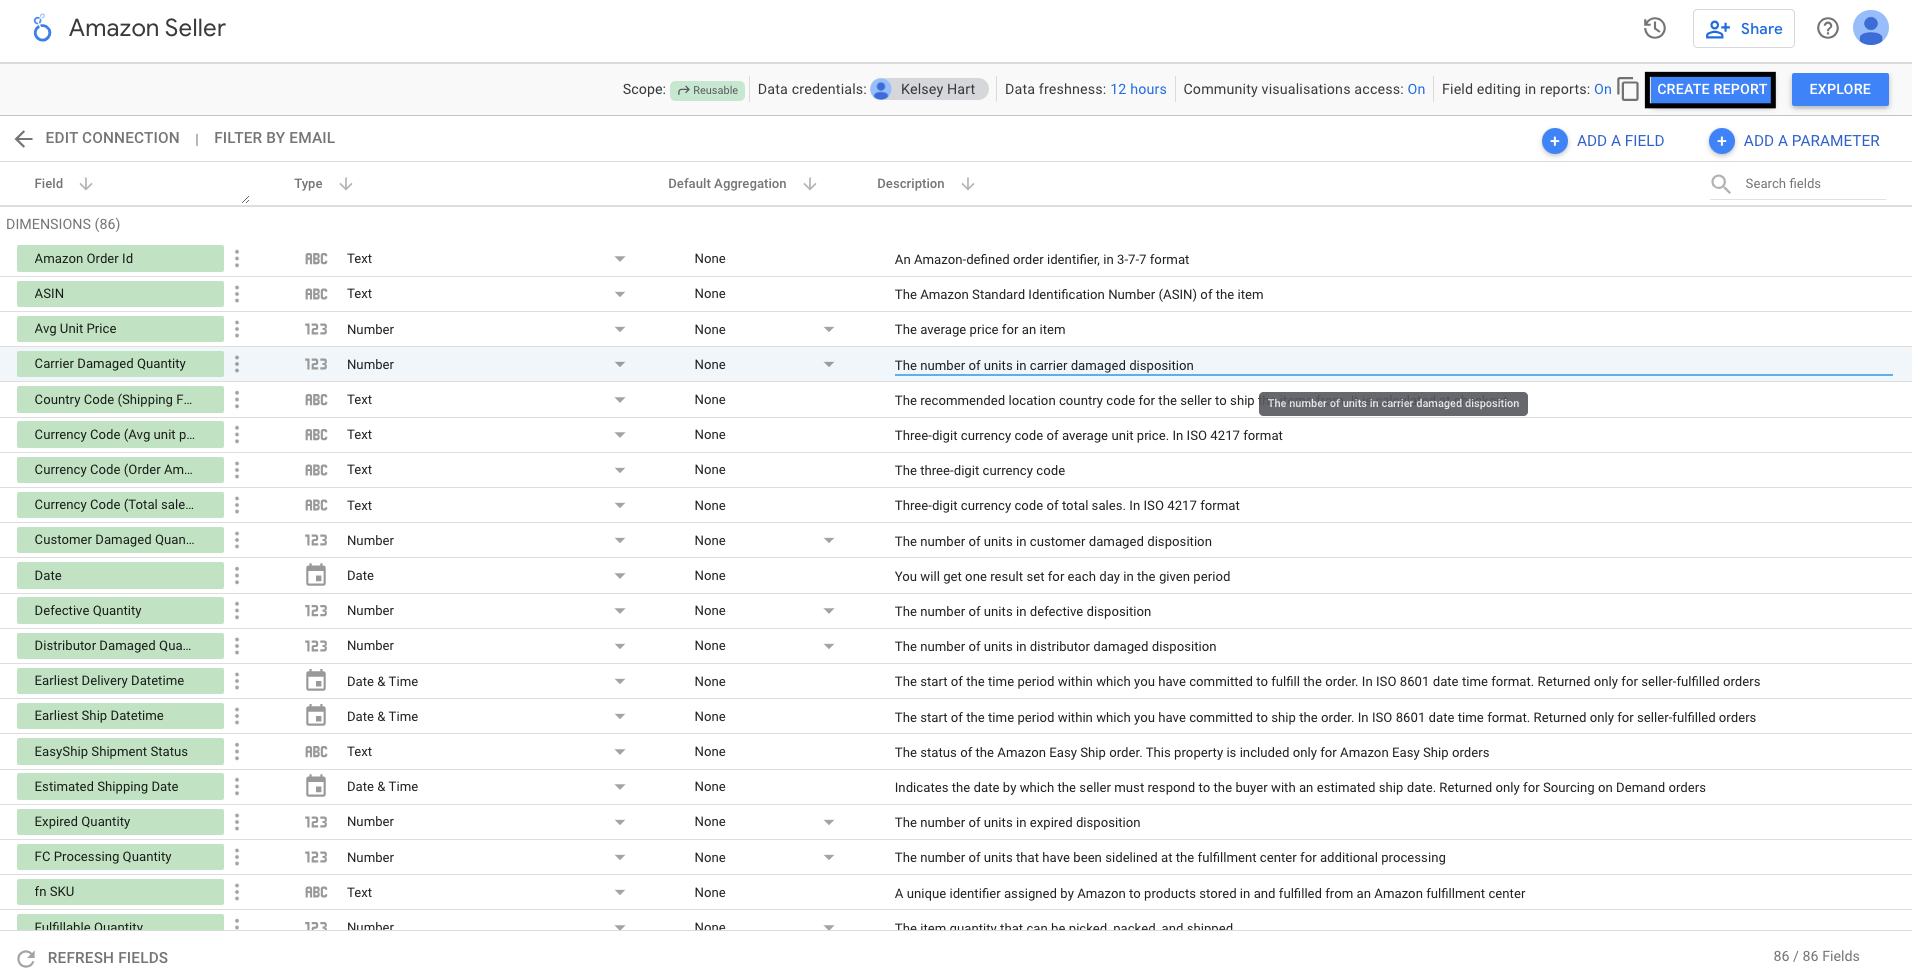
- After creating the Query Config, click Create Report at the top-right corner, as shown below:
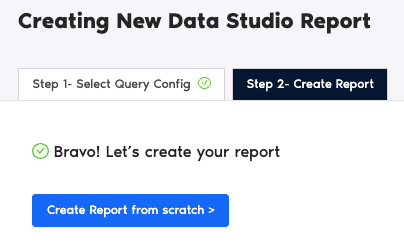
Select the Query Config that you’ve created (in our case, it’s ‘Amazon Seller test’) from the list of options. Click Next and choose ‘Create report from scratch’ to open the Looker Studio dashboard.
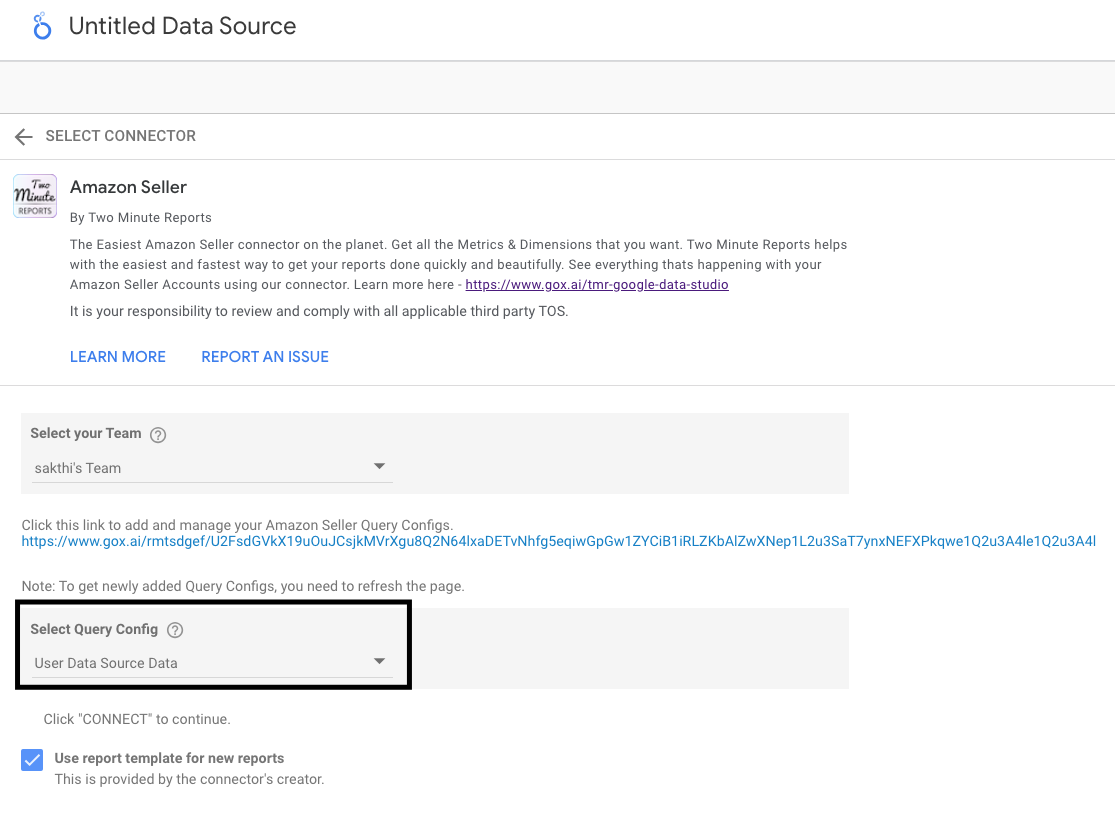
Once the Looker Studio dashboard opens, select your team and the required Query Config from the dropdown. Next, click Connect at the top-right corner.
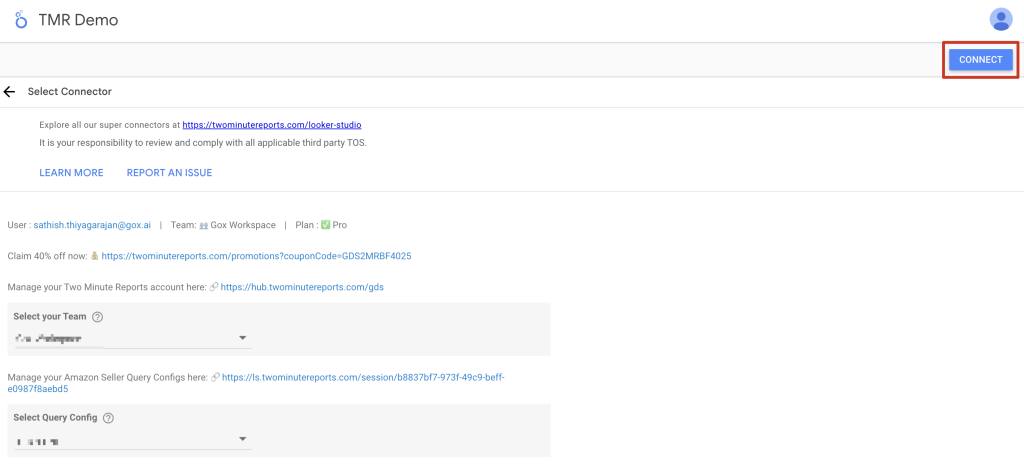
Once you click Create Report, you’ll be directed to the Looker Studio dashboard. You can drag and drop the associated Amazon Seller metrics and dimensions to analyze campaign insights faster.

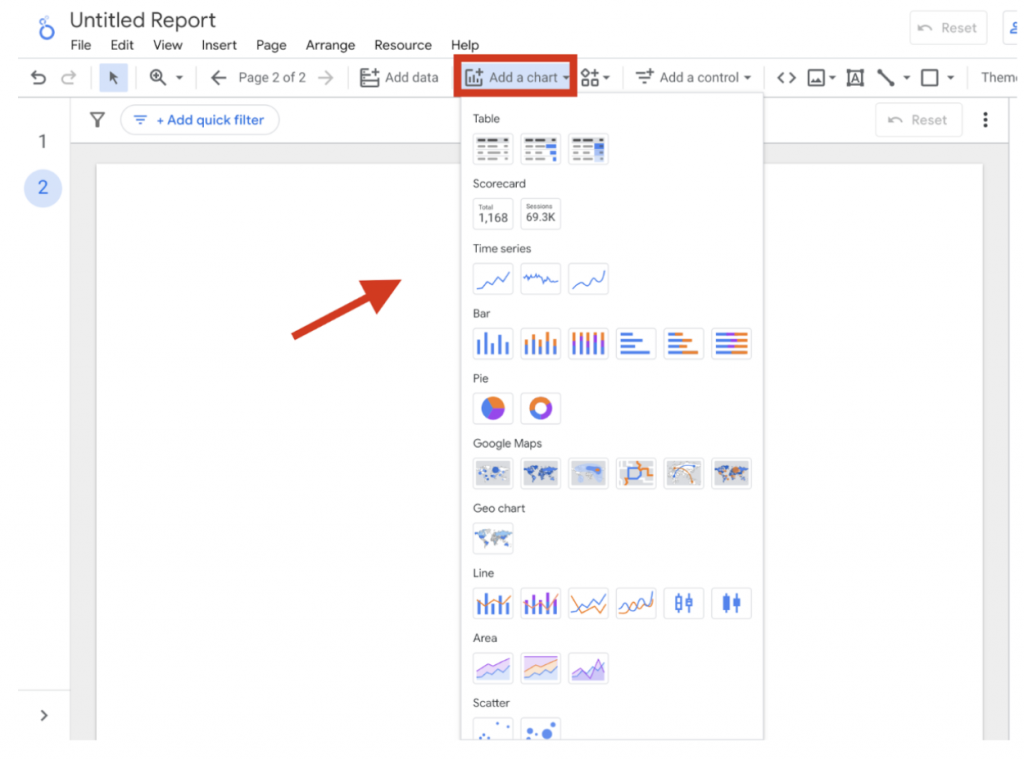
- To make your Looker Studio report compelling, use charts and visualizations. Click Add a chart and choose relevant chart types to configure your dashboard.
Two Options to Create Amazon Seller Reports
There are two options to create an Amazon Seller report with TMR in Looker Studio. You can choose to select our templates or create your own custom reports.
Option 1: Use Two Minute Reports Template
Option 2: Create Report from Scratch
Option 1: Use Two Minute Reports Template
If you prefer to use a template, Two Minute Reports has many template dashboards to choose from.
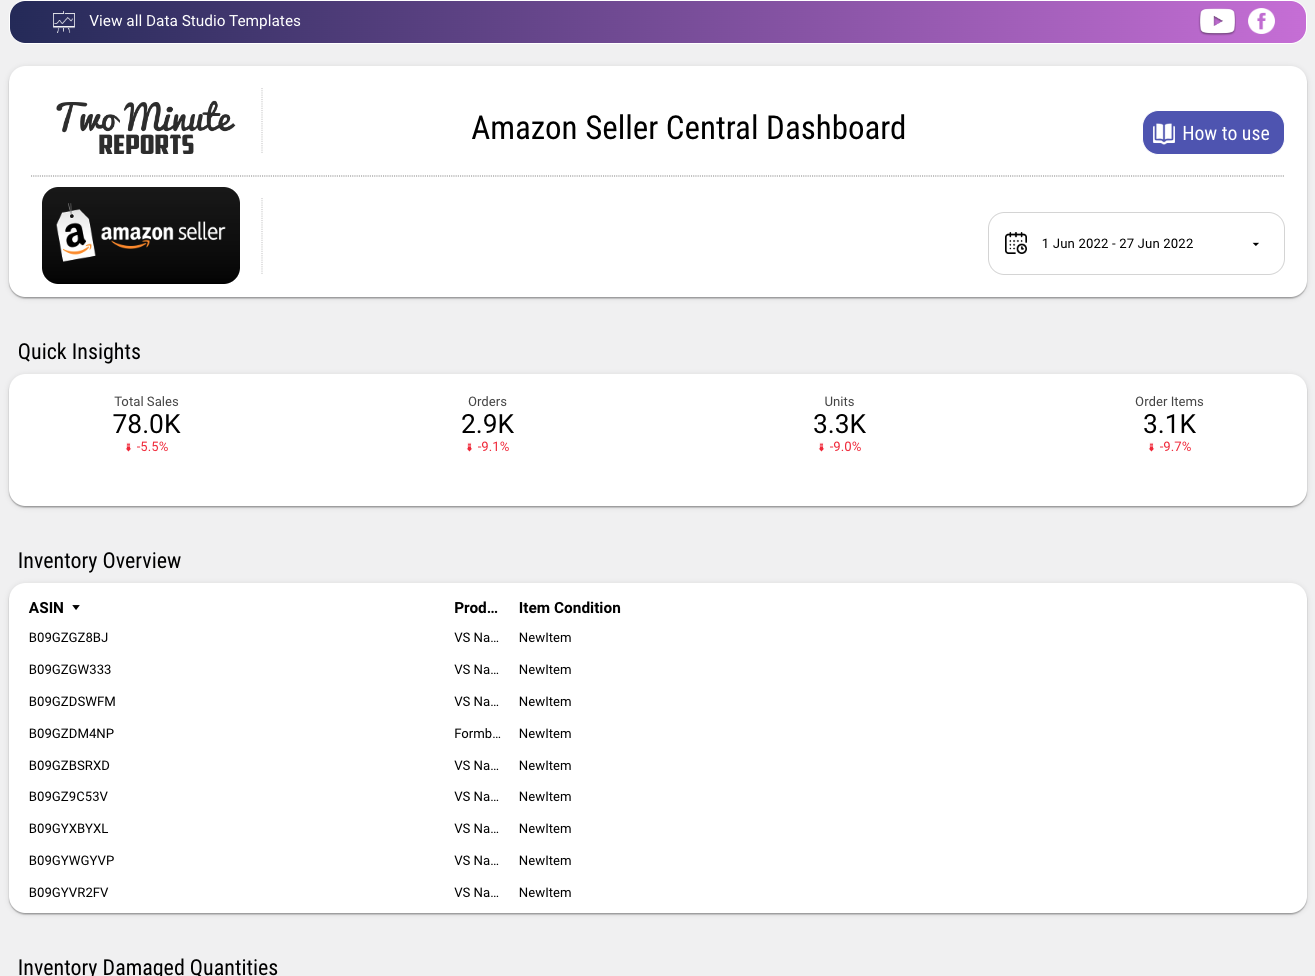
- After clicking Create Report from the previous section, select any of our templates. In this example, click Amazon Seller Central Dashboard.
- You are redirected to Looker Studio. In Looker Studio, under Select Query Config, choose the configuration you created earlier (it should be the name you gave it). Under Select your Team, choose the appropriate team as well if the dropdown is showed to you.
- Click the blue Connect button in the upper right side of the page.
- You can now view the Amazon Seller schema on Looker Studio. Click Create Report in the right side of the page.
Once everything is loaded, you are presented with a custom template report from Two Minute Reports. You can use your Amazon Seller data to this report and edit as you see fit.
If you want to learn on how to use your own data to our templates, read How to use templates for Looker Studio
Option 2: Create Report from Scratch
You can also create your own custom dashboard in Looker Studio. Looker Studio is a powerful data visualization tool that contains many features to help you reduce time creating reports.
- After clicking Create Report from the previous section, click Create Report from scratch blue button.
- You are redirected to Looker Studio. In Looker Studio, under Select Query Config, choose the configuration you created earlier (it should be the name you gave it). Under Select your Team, choose the appropriate team as well if the dropdown is showed to you.
- Click the blue Connect button in the upper right side of the page.
- You can now view the Amazon Seller schema on Looker Studio. Click Create Report in the right side of the page.
Once everything is loaded, you are presented with a blank canvas. You can now create custom reports (adding dates and charts) in Looker Studio with your Amazon Seller data.
If you want to learn about creating your own report, like adding dates and charts, read How to Create a Report in Looker Studio
Note: When using excessive charts and other visualisations, your Looker Studio dashboard might slow execution. Try our five tips to increase the speed of your Looker Studio reports to optimize the performance of your Looker Studio dashboard.
We hope you found this article helpful. If you have any questions, please contact our support team via [email protected].
