Manually importing Instagram Insights data into Looker Studio can be time-consuming. With TMR’s Instagram Insights connector, you can automatically extract crucial KPIs and prepare stunning reports in Looker Studio within minutes. Before connecting your Instagram Insights data to Looker Studio, ensure you have the following permissions:
Required permissions
- Your Instagram account must be a Business Account or a Creator account that uses Facebook authentication and is not restricted, age-limited, or private.
- The account must be linked to an active Facebook Page that you own.
Once you confirm these prerequisites, follow the steps below to connect your Instagram Insights data to Looker Studio using TMR.
Step 1: Streamline your Instagram Insights account in Looker Studio
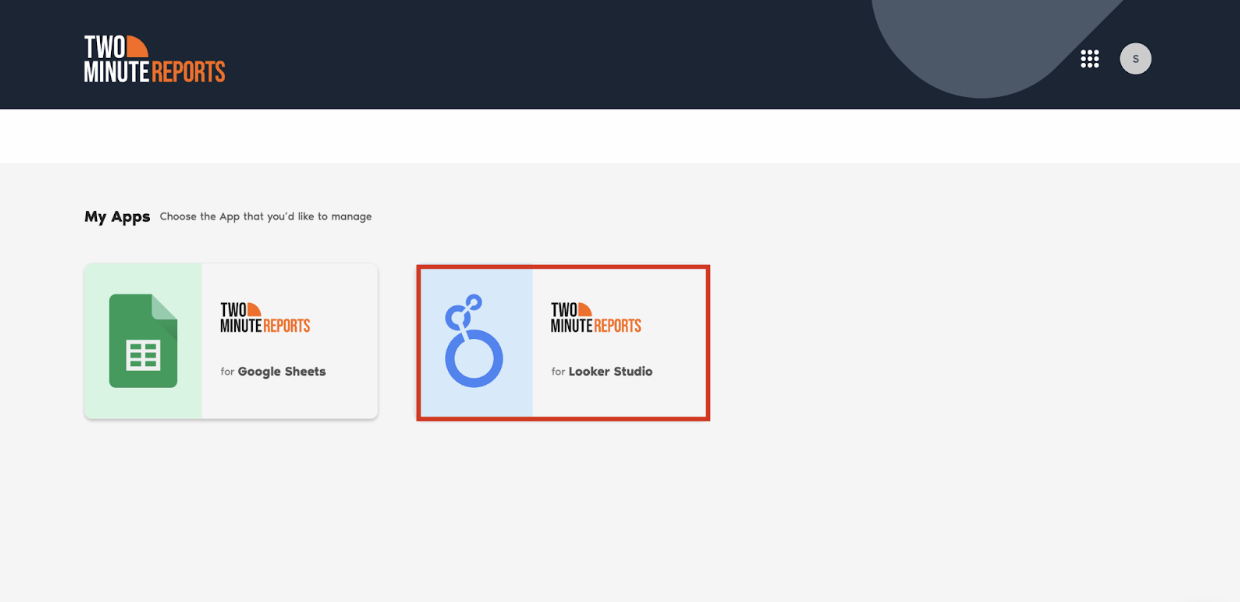
- Go to https://apps.gox.ai/ and choose Two Minute Reports for Looker Studio.
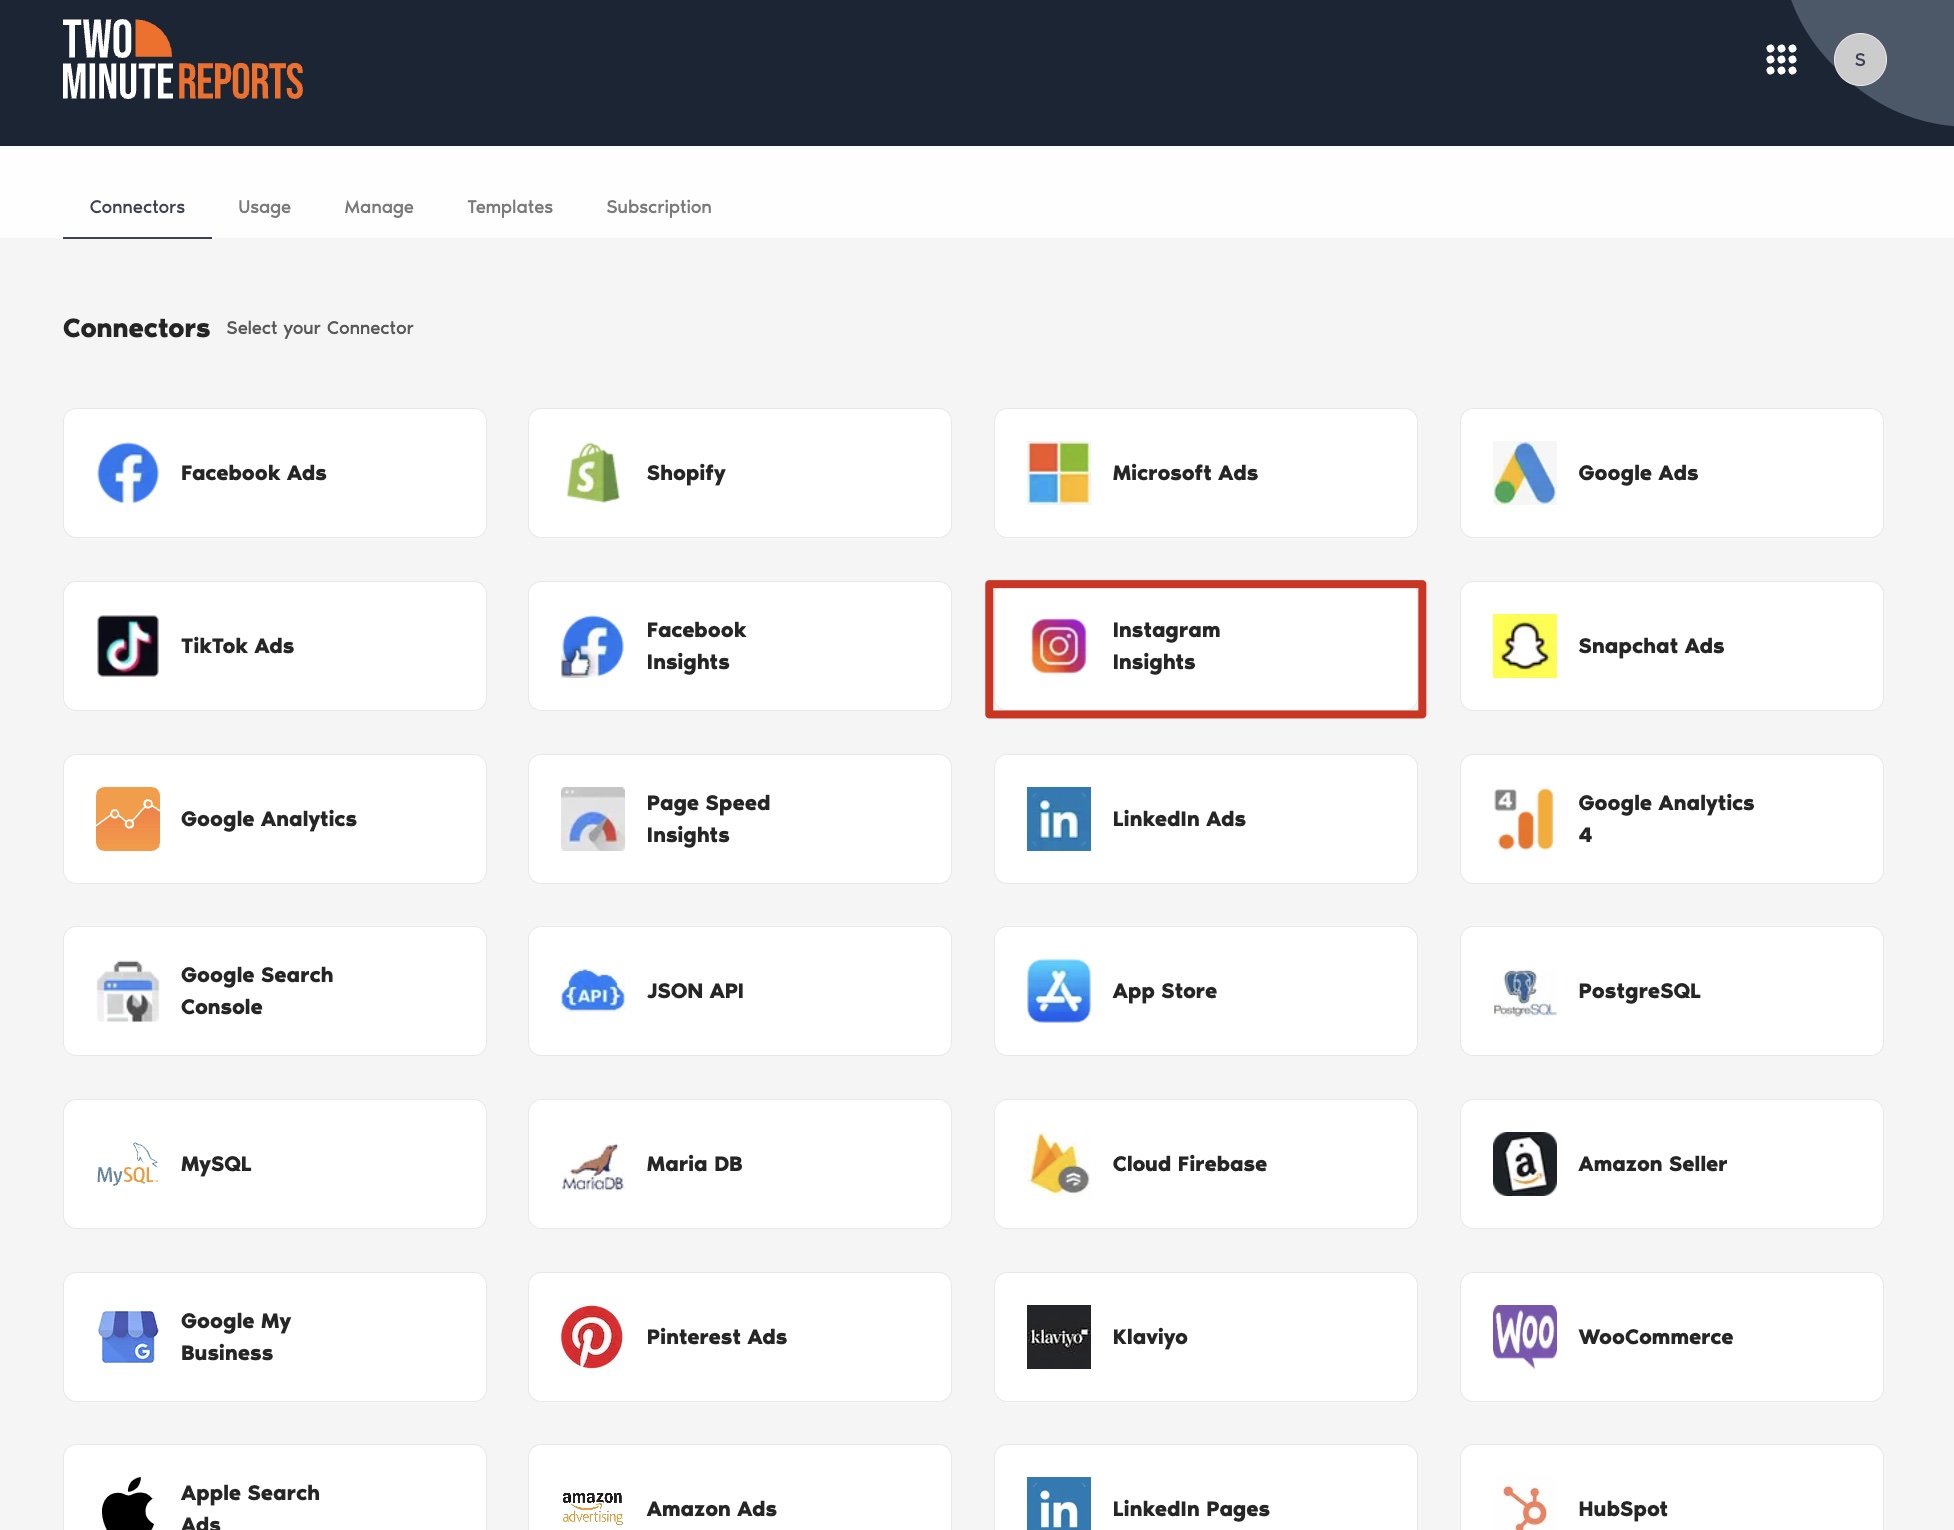
- Select Instagram Insights from the list of connectors.
- Connect your Instagram Insights data by clicking New Connection to create your Connection in Looker Studio.
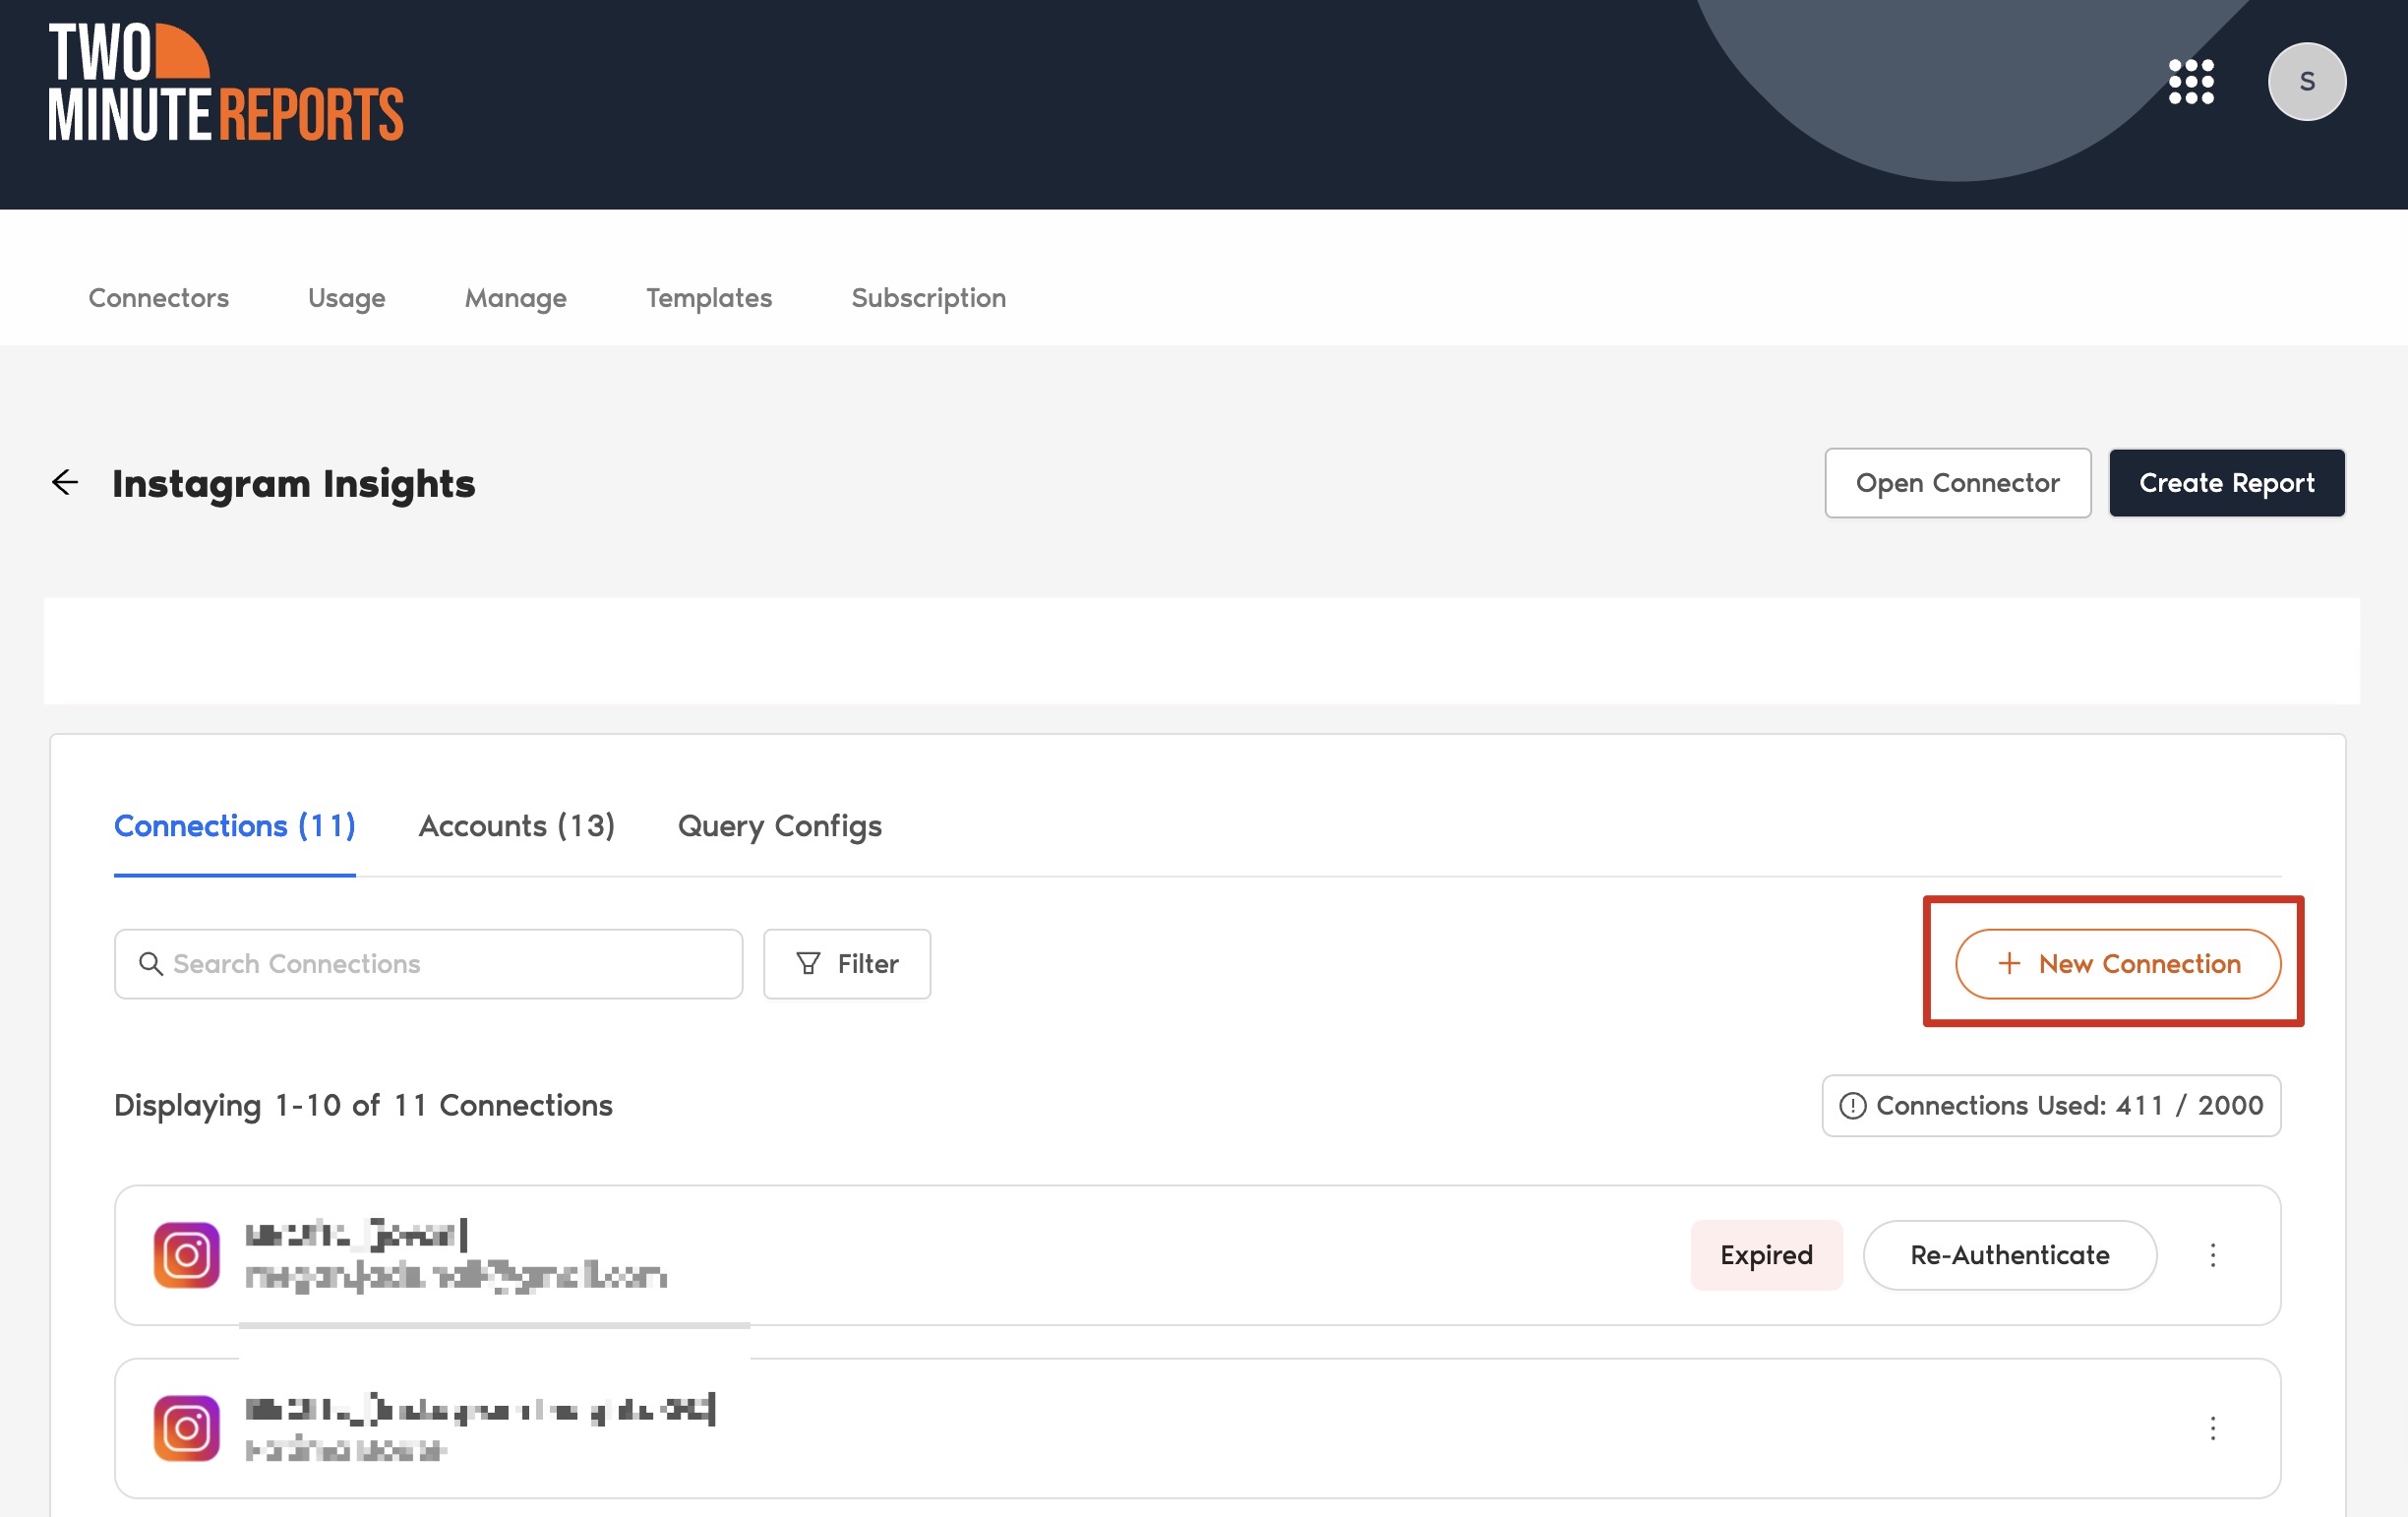
- In the Adding new connection dialog box, you can connect the required Instagram Insights account in two easy steps:

- Creating a Connection: Name your Connection and authorize the email associated with your Instagram Insights account.
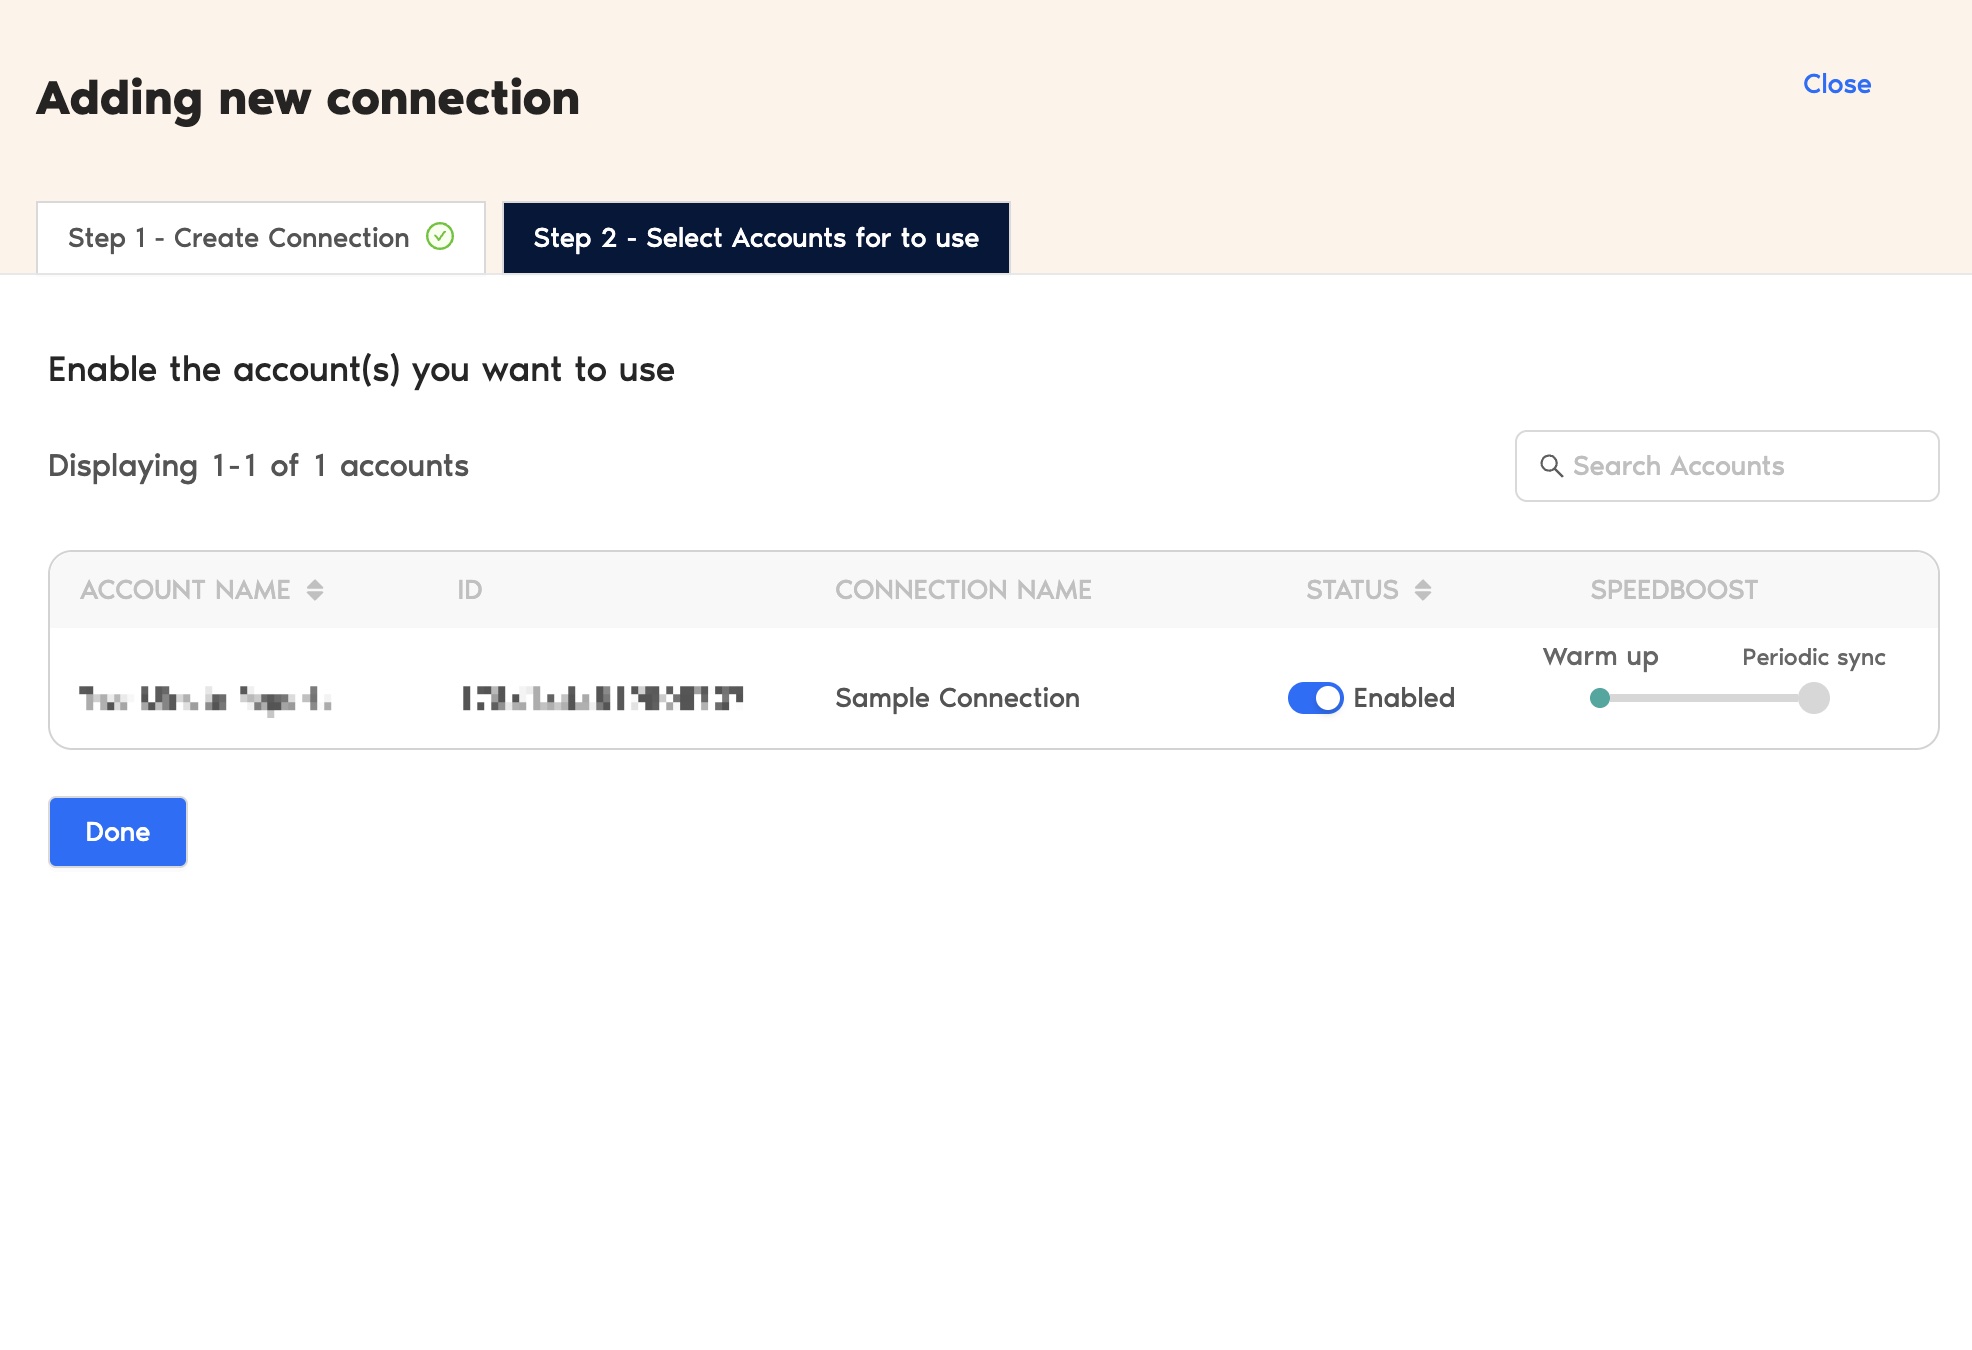
- Select accounts to use: Enable the accounts you want to run queries. Once done, Speedboost is automatically activated, allowing you to retrieve Instagram Insights data within seconds. Please note that you cannot run queries from disabled accounts.
Once an account is enabled, Speedboost performs two key functions:
- Warm up – Prepares your account for faster data retrieval by caching your historical data.
- Periodic sync – Ensures your data stays updated automatically at regular intervals.
Step 2: Configure your Instagram Insights account with TMR
- In the Query Configs section, click + Add New.
| The Query Config allows you to group multiple accounts, making it easier to view centralized insights in your Looker Studio dashboard. |
- The Adding New Query Configuration dialog box will appear. Name the query config, select (from the list of enabled) accounts from the dropdown, and configure your Instagram Insights report. Once done, click Save.
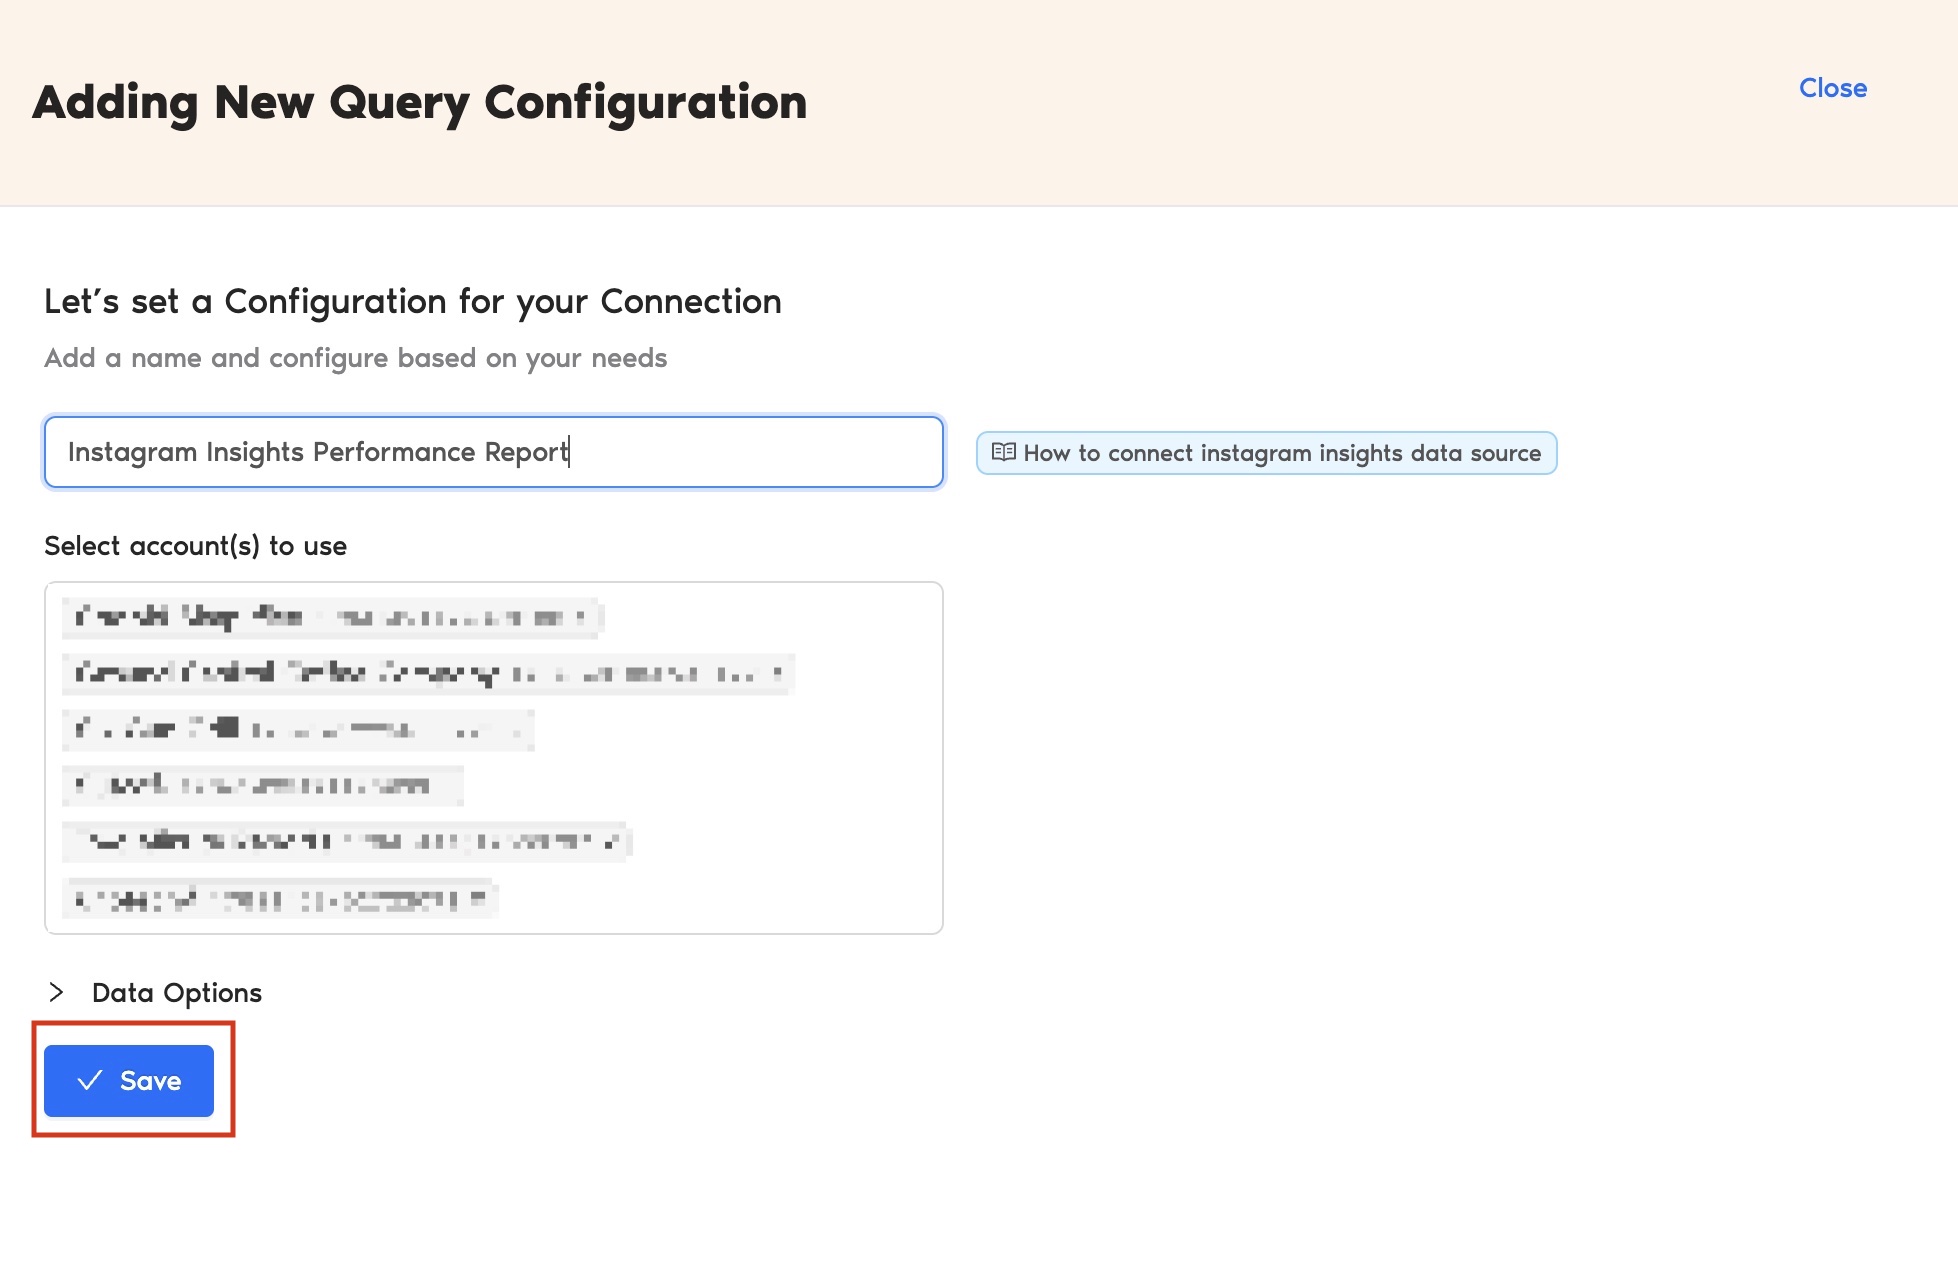
You’ve successfully created a new configuration, which you can now use to extract data for your Looker Studio reports.
Step 3: Create your Instagram Insights report with TMR in Looker Studio
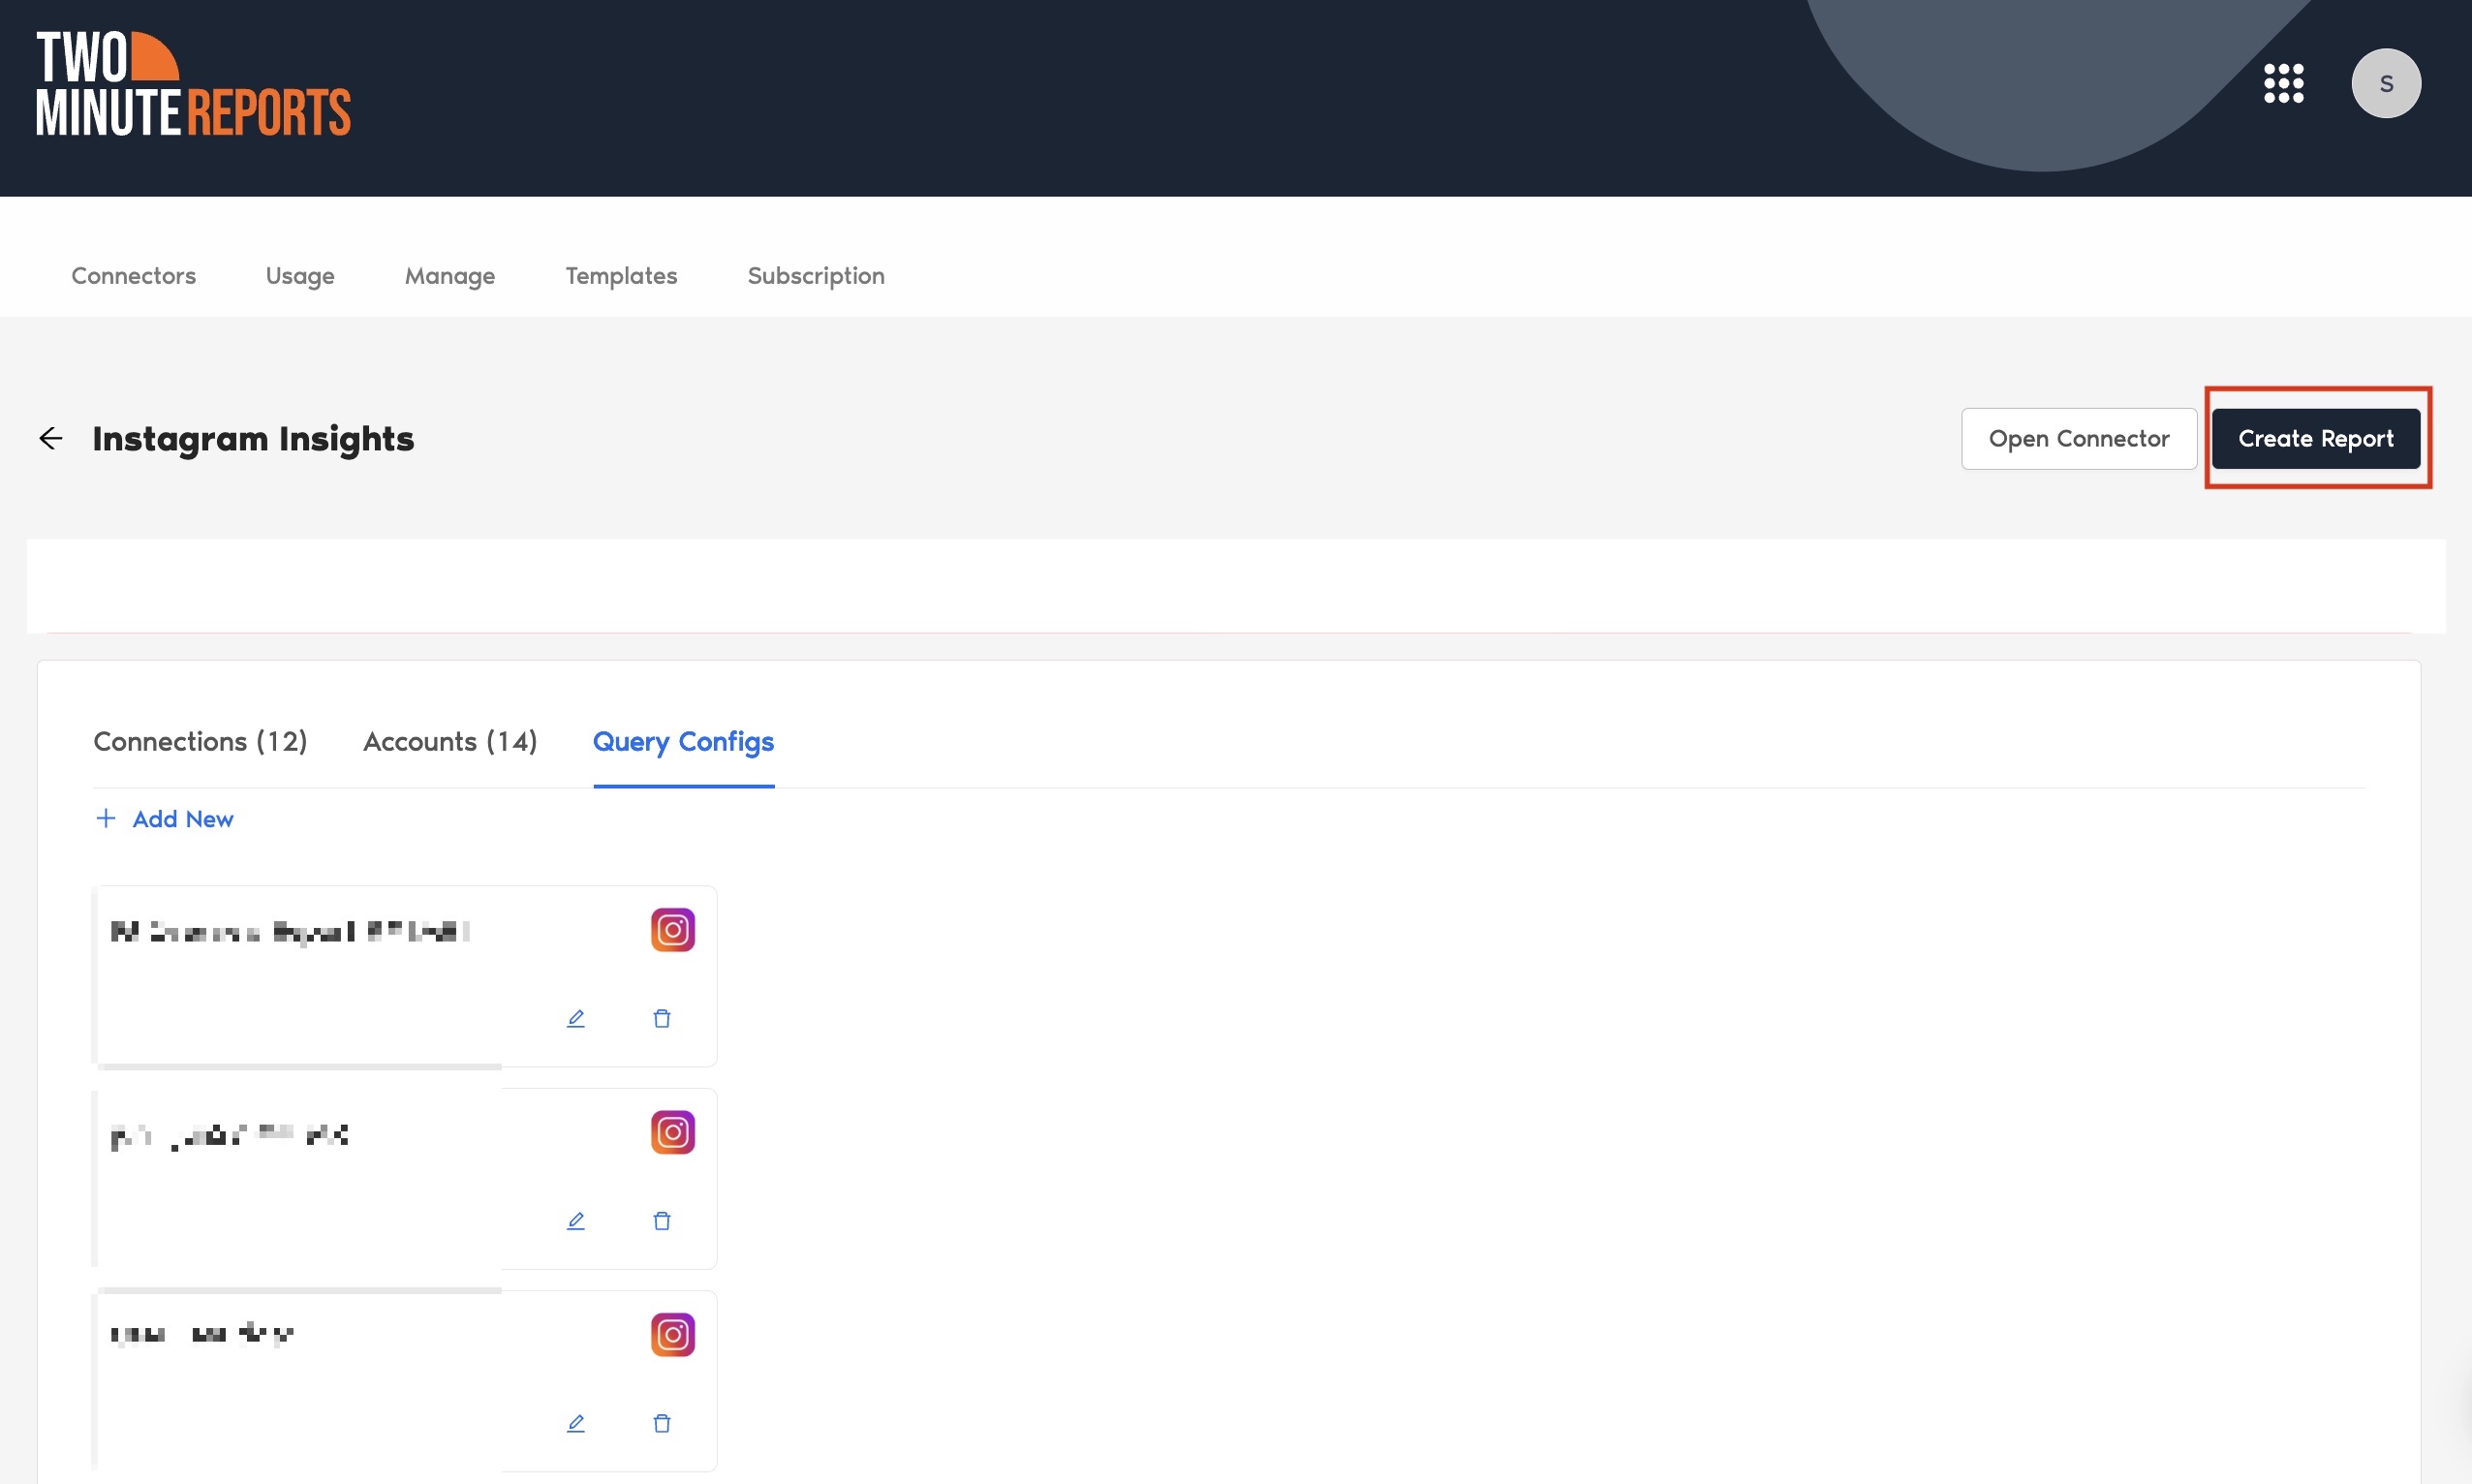
- After creating the Query Config, click Create Report in the top-right corner.
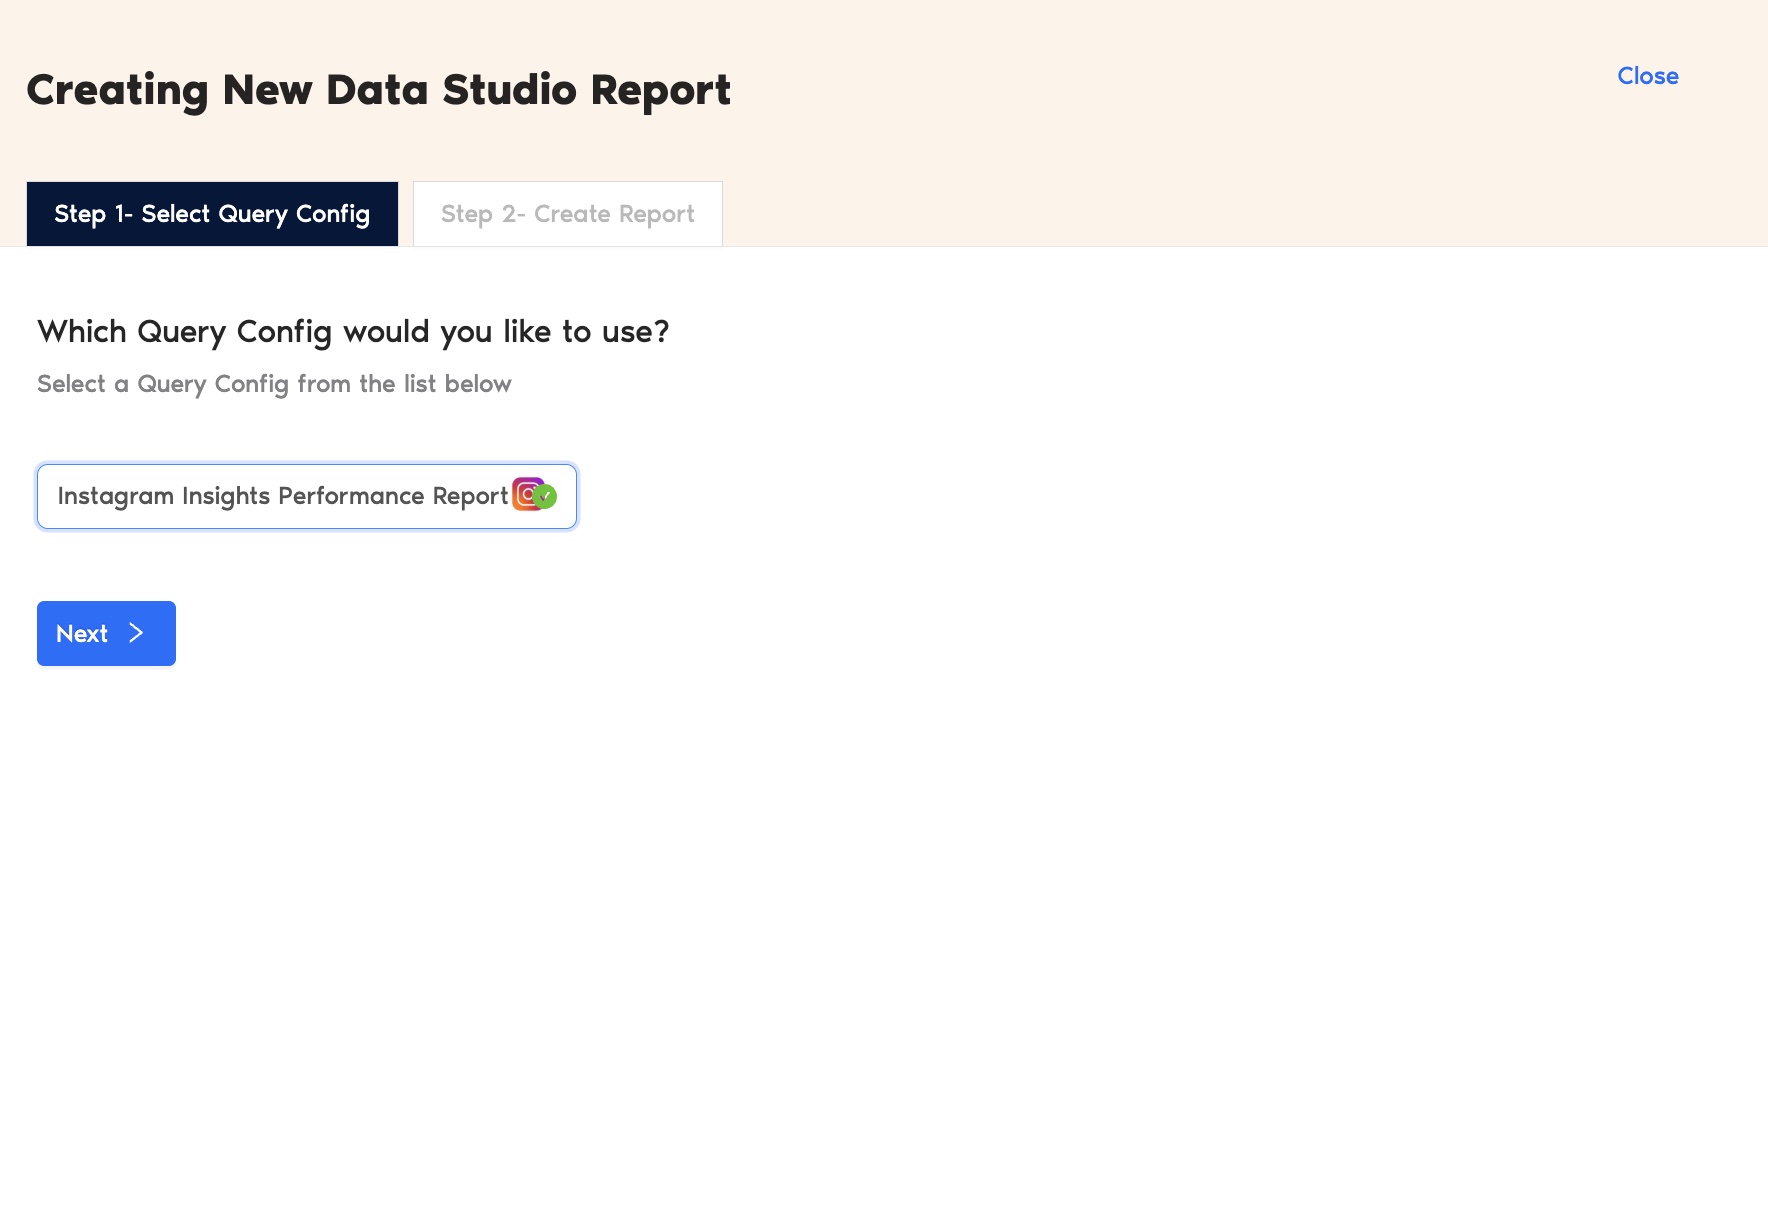
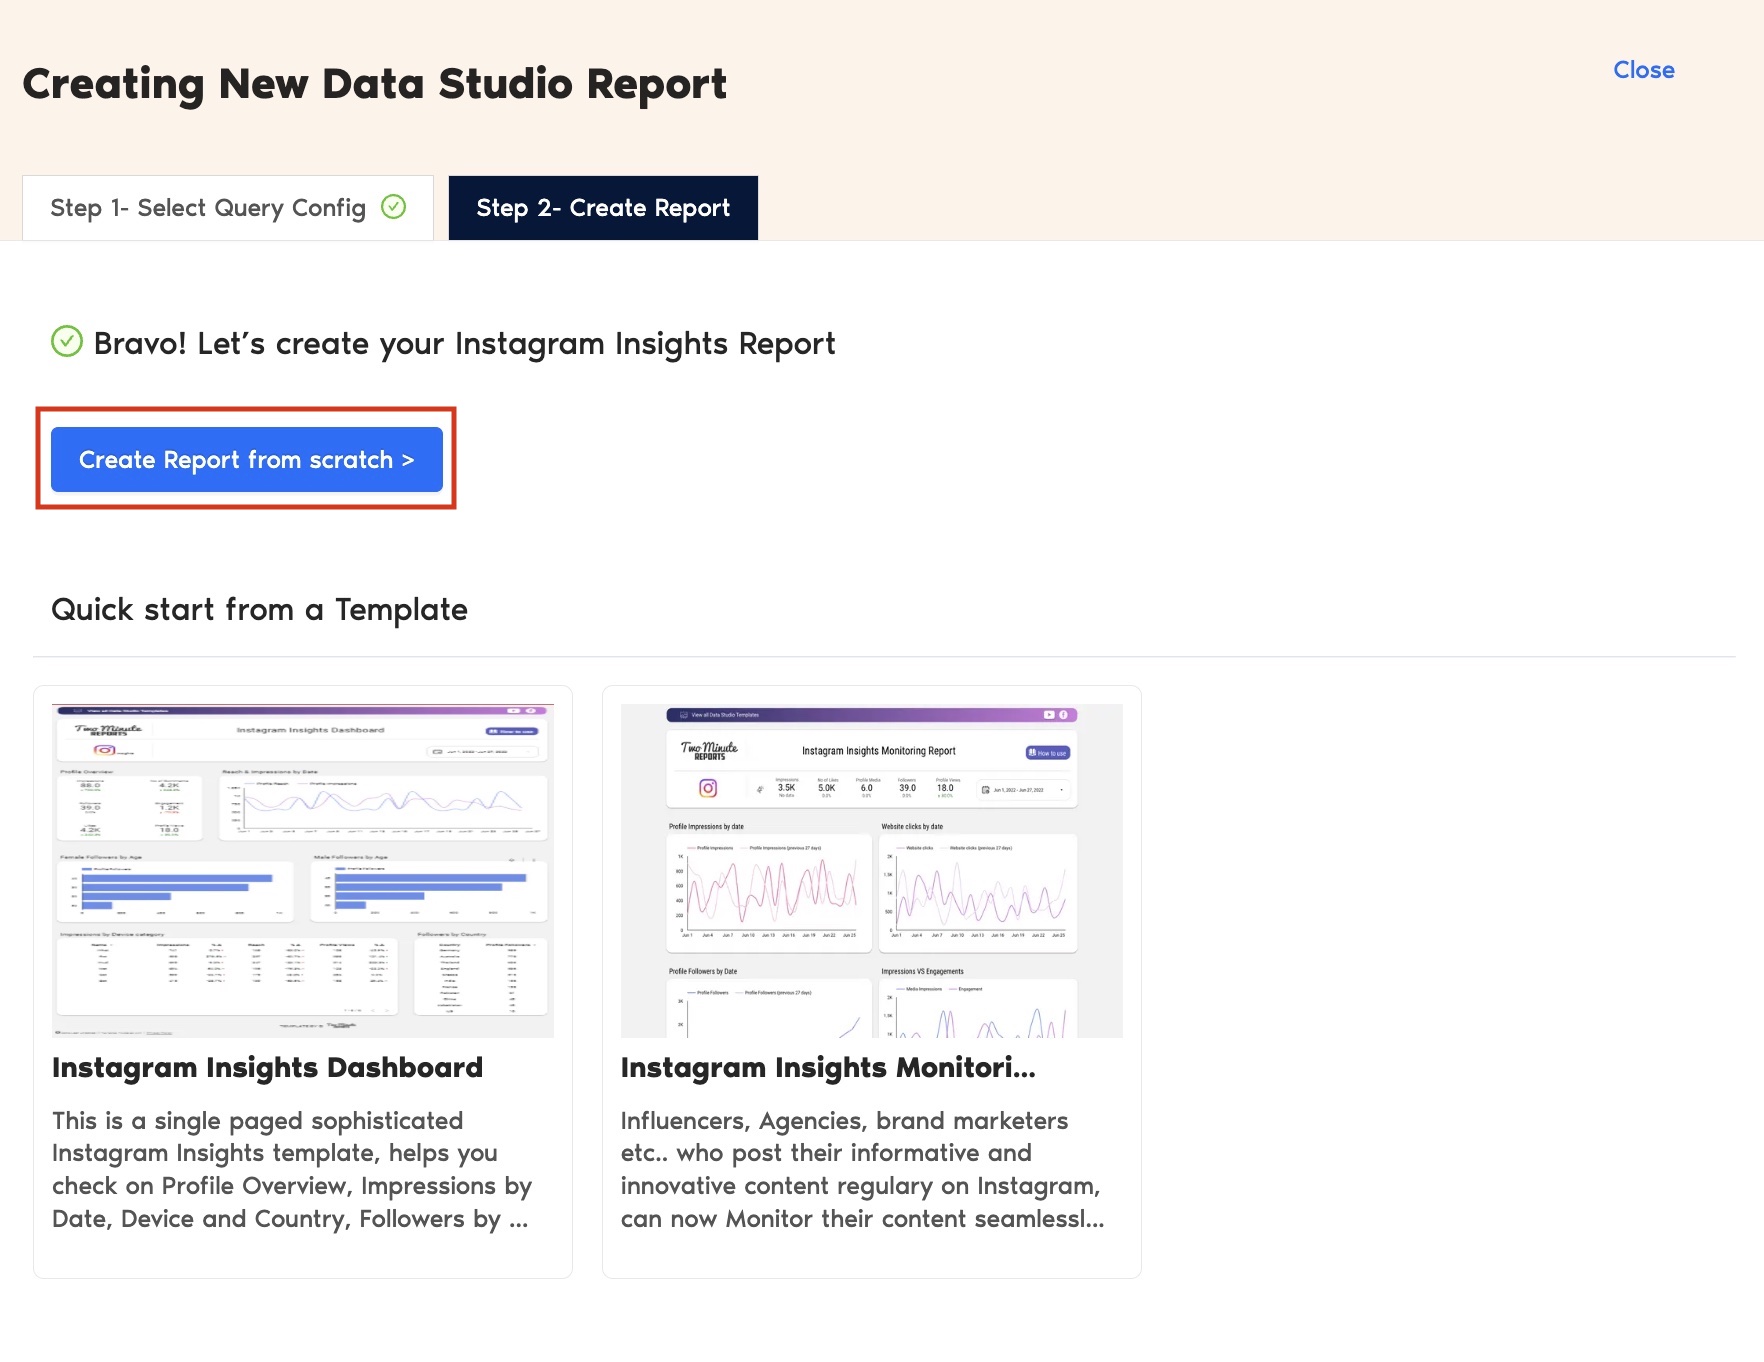
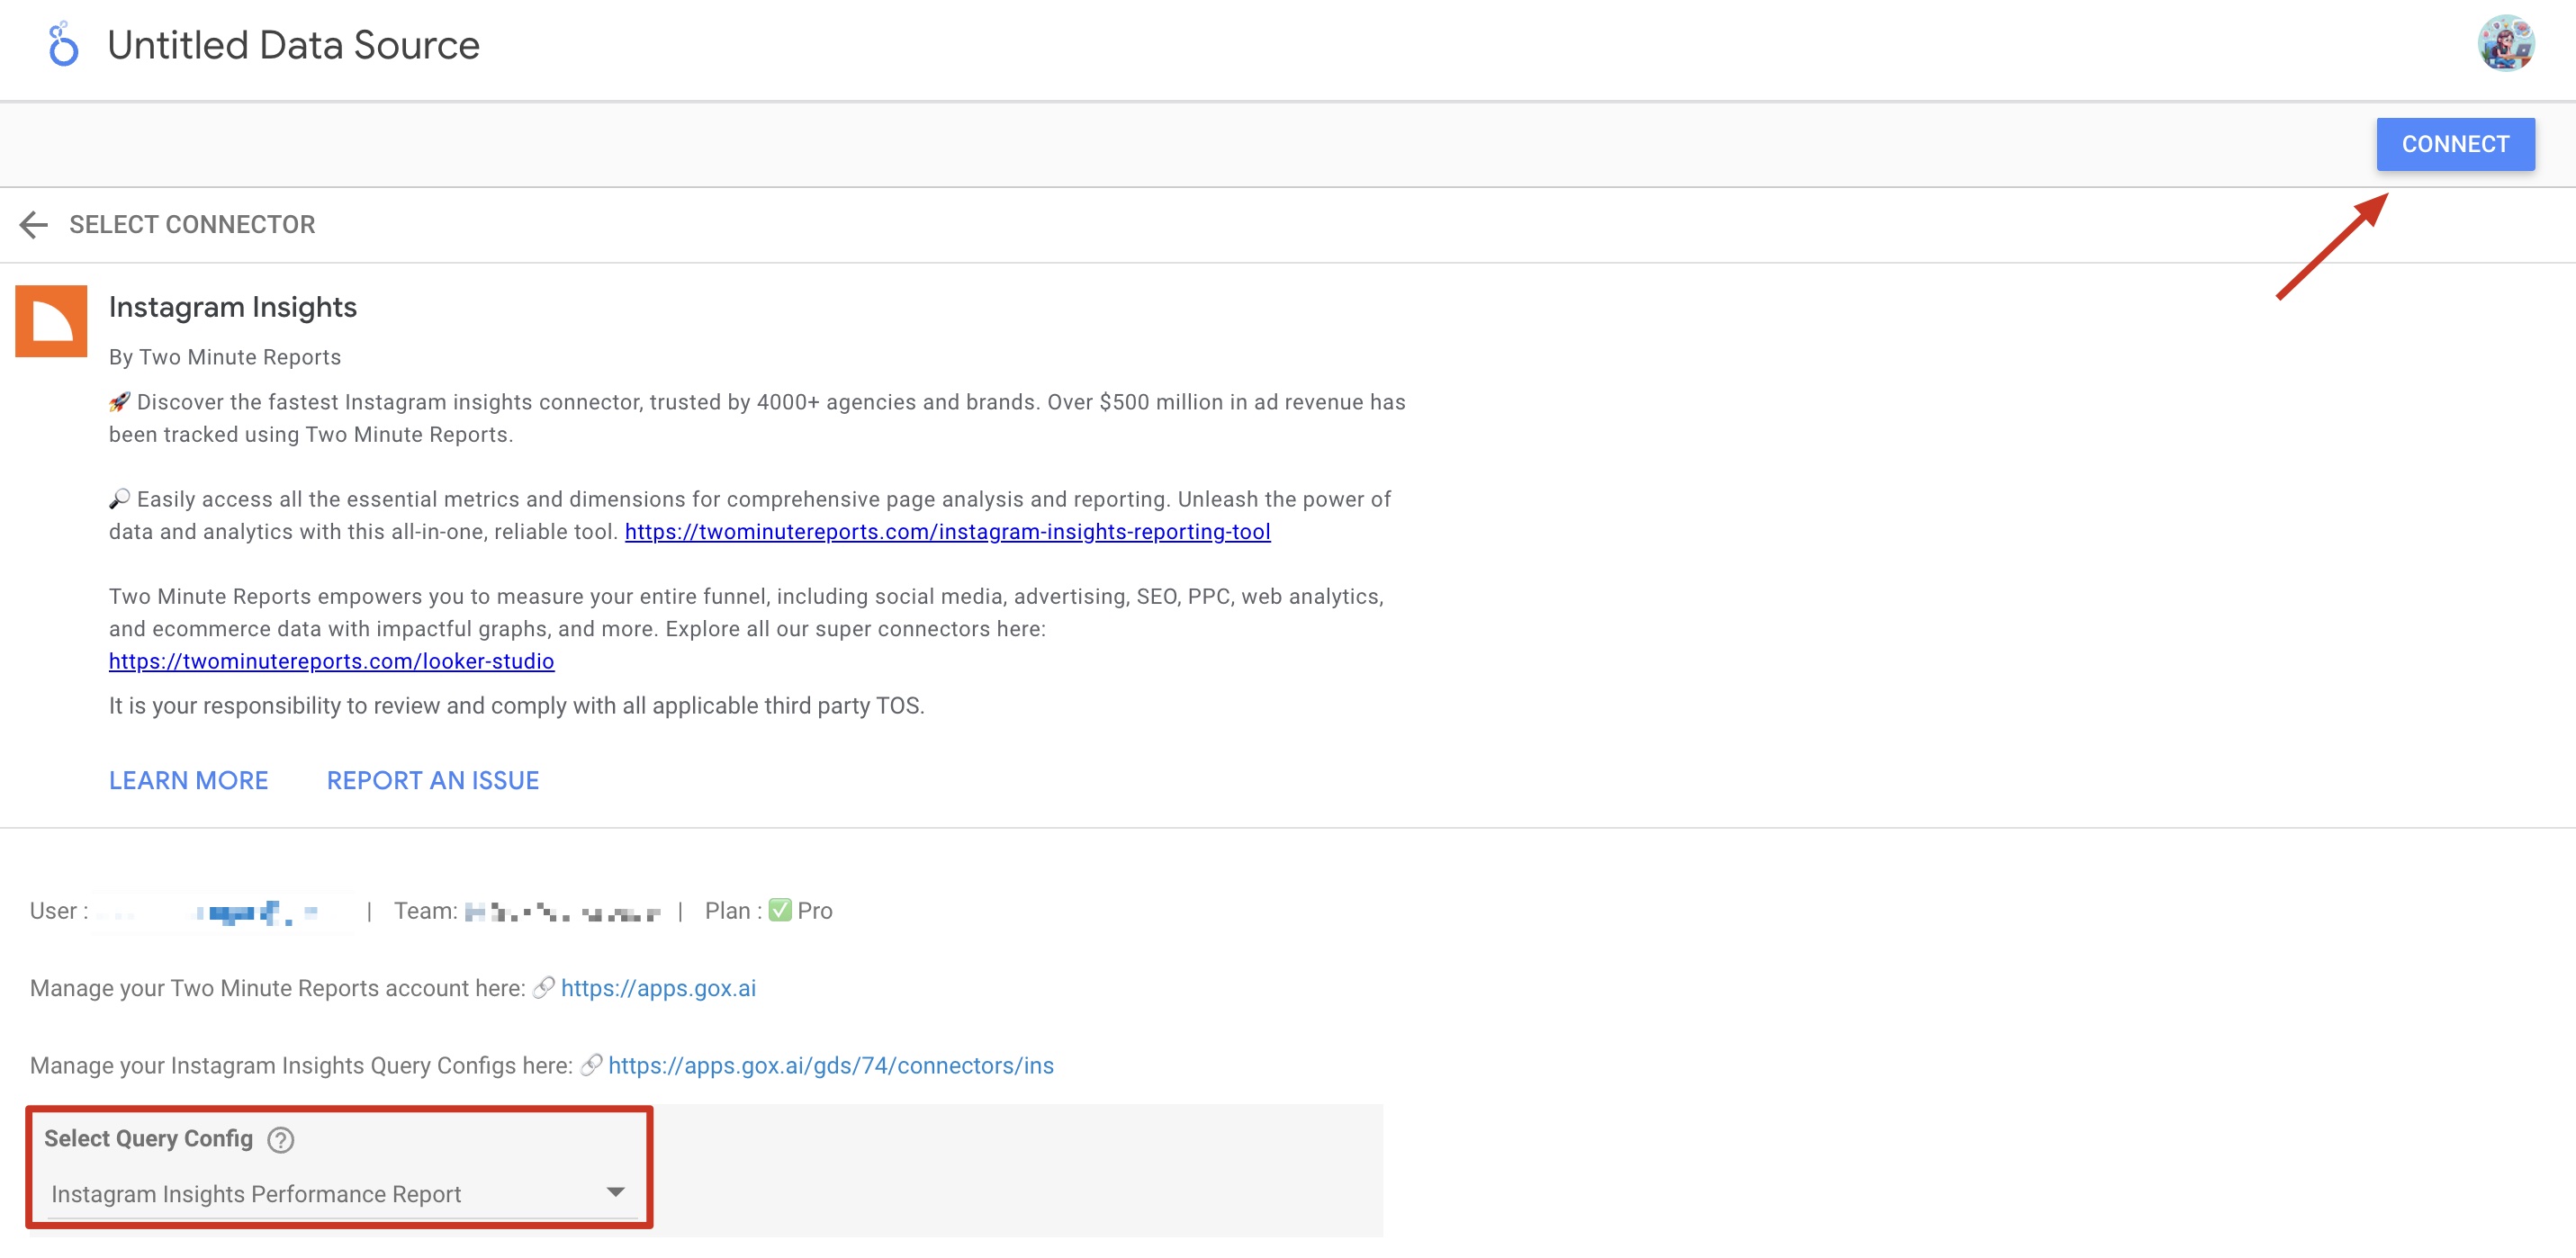
- Select the Query Config that you’ve created (in our case, it’s ‘Instagram Insights Performance Report’) from the list of options. Click Next and choose ‘Create report from scratch’ to open the Looker Studio dashboard.
- Once the Looker Studio dashboard opens, select your team and the required Query Config from the dropdown. Click Connect in the top-right corner.
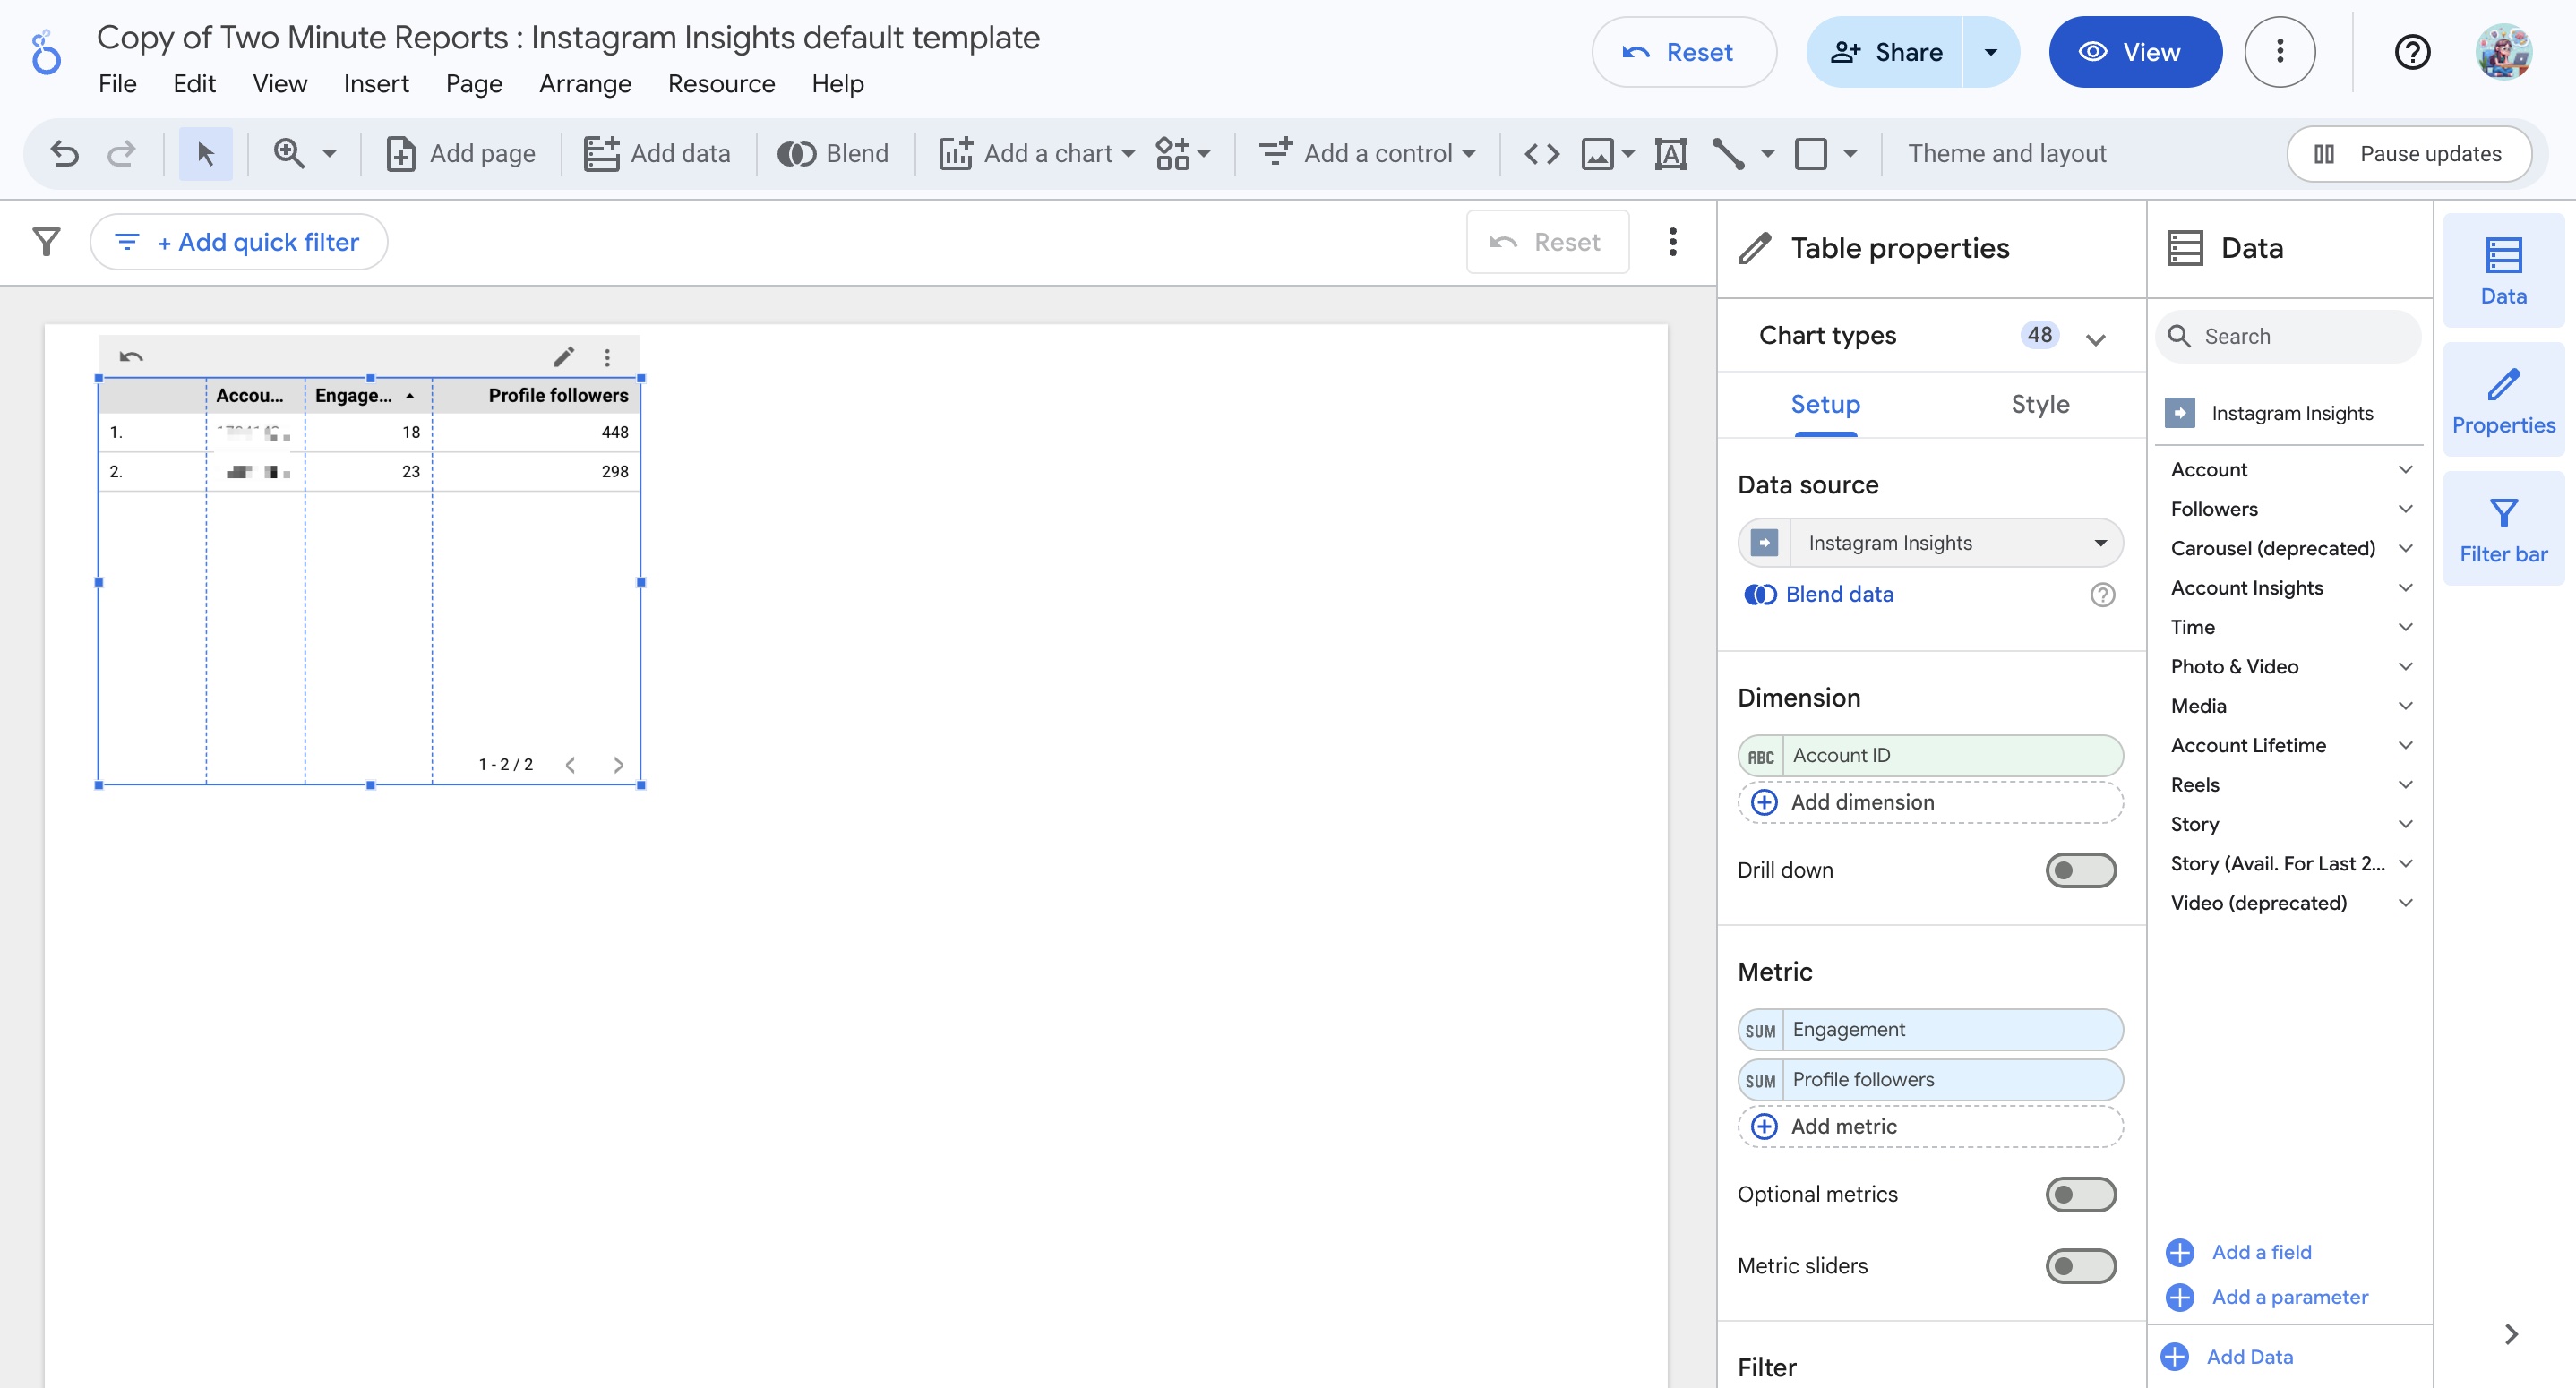
- After clicking Create Report, you’ll be directed to the Looker Studio dashboard. Here, you can drag and drop the associated Instagram Insights metrics and dimensions to measure your Instagram page(s) performance.
- To make your Looker Studio report compelling, use charts and visualizations. Click Add a chart and choose relevant chart types to configure your dashboard.
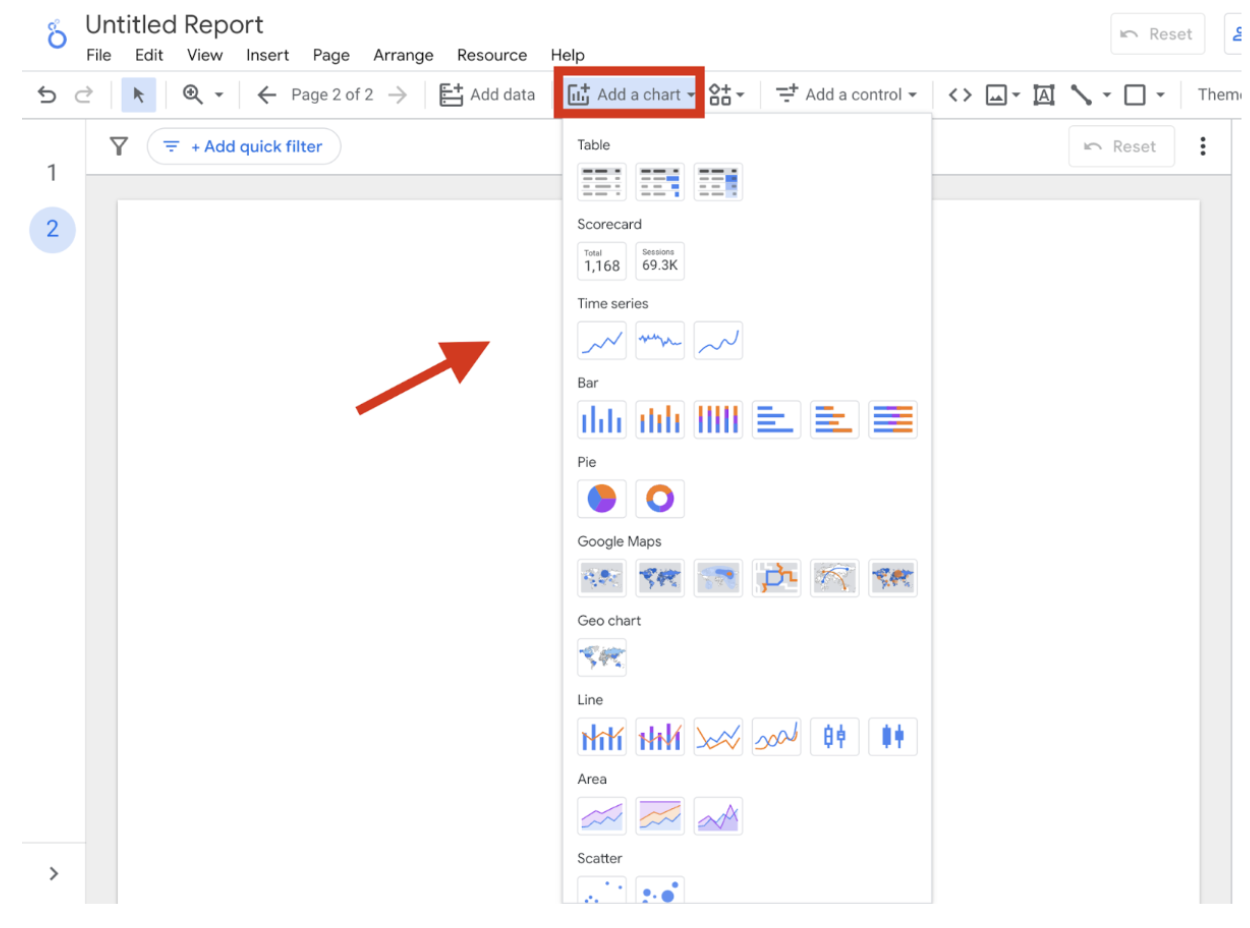
For instance, you can use bar charts to visualize trends such as reach, engagement, and follower growth. With a pie chart, you can analyze content performance by type (reels, stories, posts) to understand engagement patterns and improvement areas for maximum impact.
Note: It cannot be easy to keep track of if you’re using multiple data sources with similar names but different query configurations. Please refer to our troubleshooting article to understand how to rename your data source and avoid confusion.
We hope you found this article helpful. If you have any questions, please contact our support team via [email protected].