TMR’s LinkedIn Ads Connector for Looker Studio allows you to easily extract actionable ad insights without any coding. Simply connect your accounts, select the metrics you want to track, and view your data-driven outcomes instantly at your fingertips. Before connecting your LinkedIn Ads data to Looker Studio, ensure you have the following permissions:
Required permissions
- You must have at least Viewer access to the LinkedIn Ads account. For guidance on granting access, refer to the LinkedIn help article.
- You must have Admin access to the Company page to measure ad content, headlines, images, CTAs, and metadata such as impressions, clicks, etc.
Now that you understand the prerequisite, let’s go through the steps to connect your LinkedIn Ads data to Looker Studio via TMR.
Step 1: Streamline your LinkedIn Ads account in Looker Studio
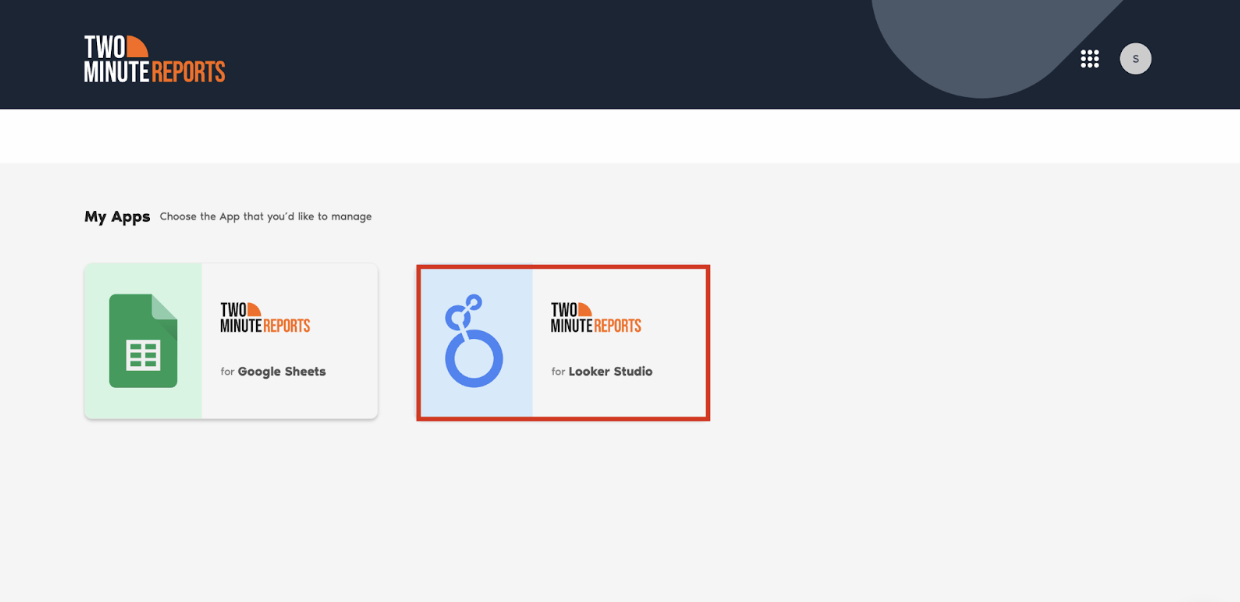
- Go to https://apps.gox.ai/ and choose Two Minute Reports for Looker Studio.
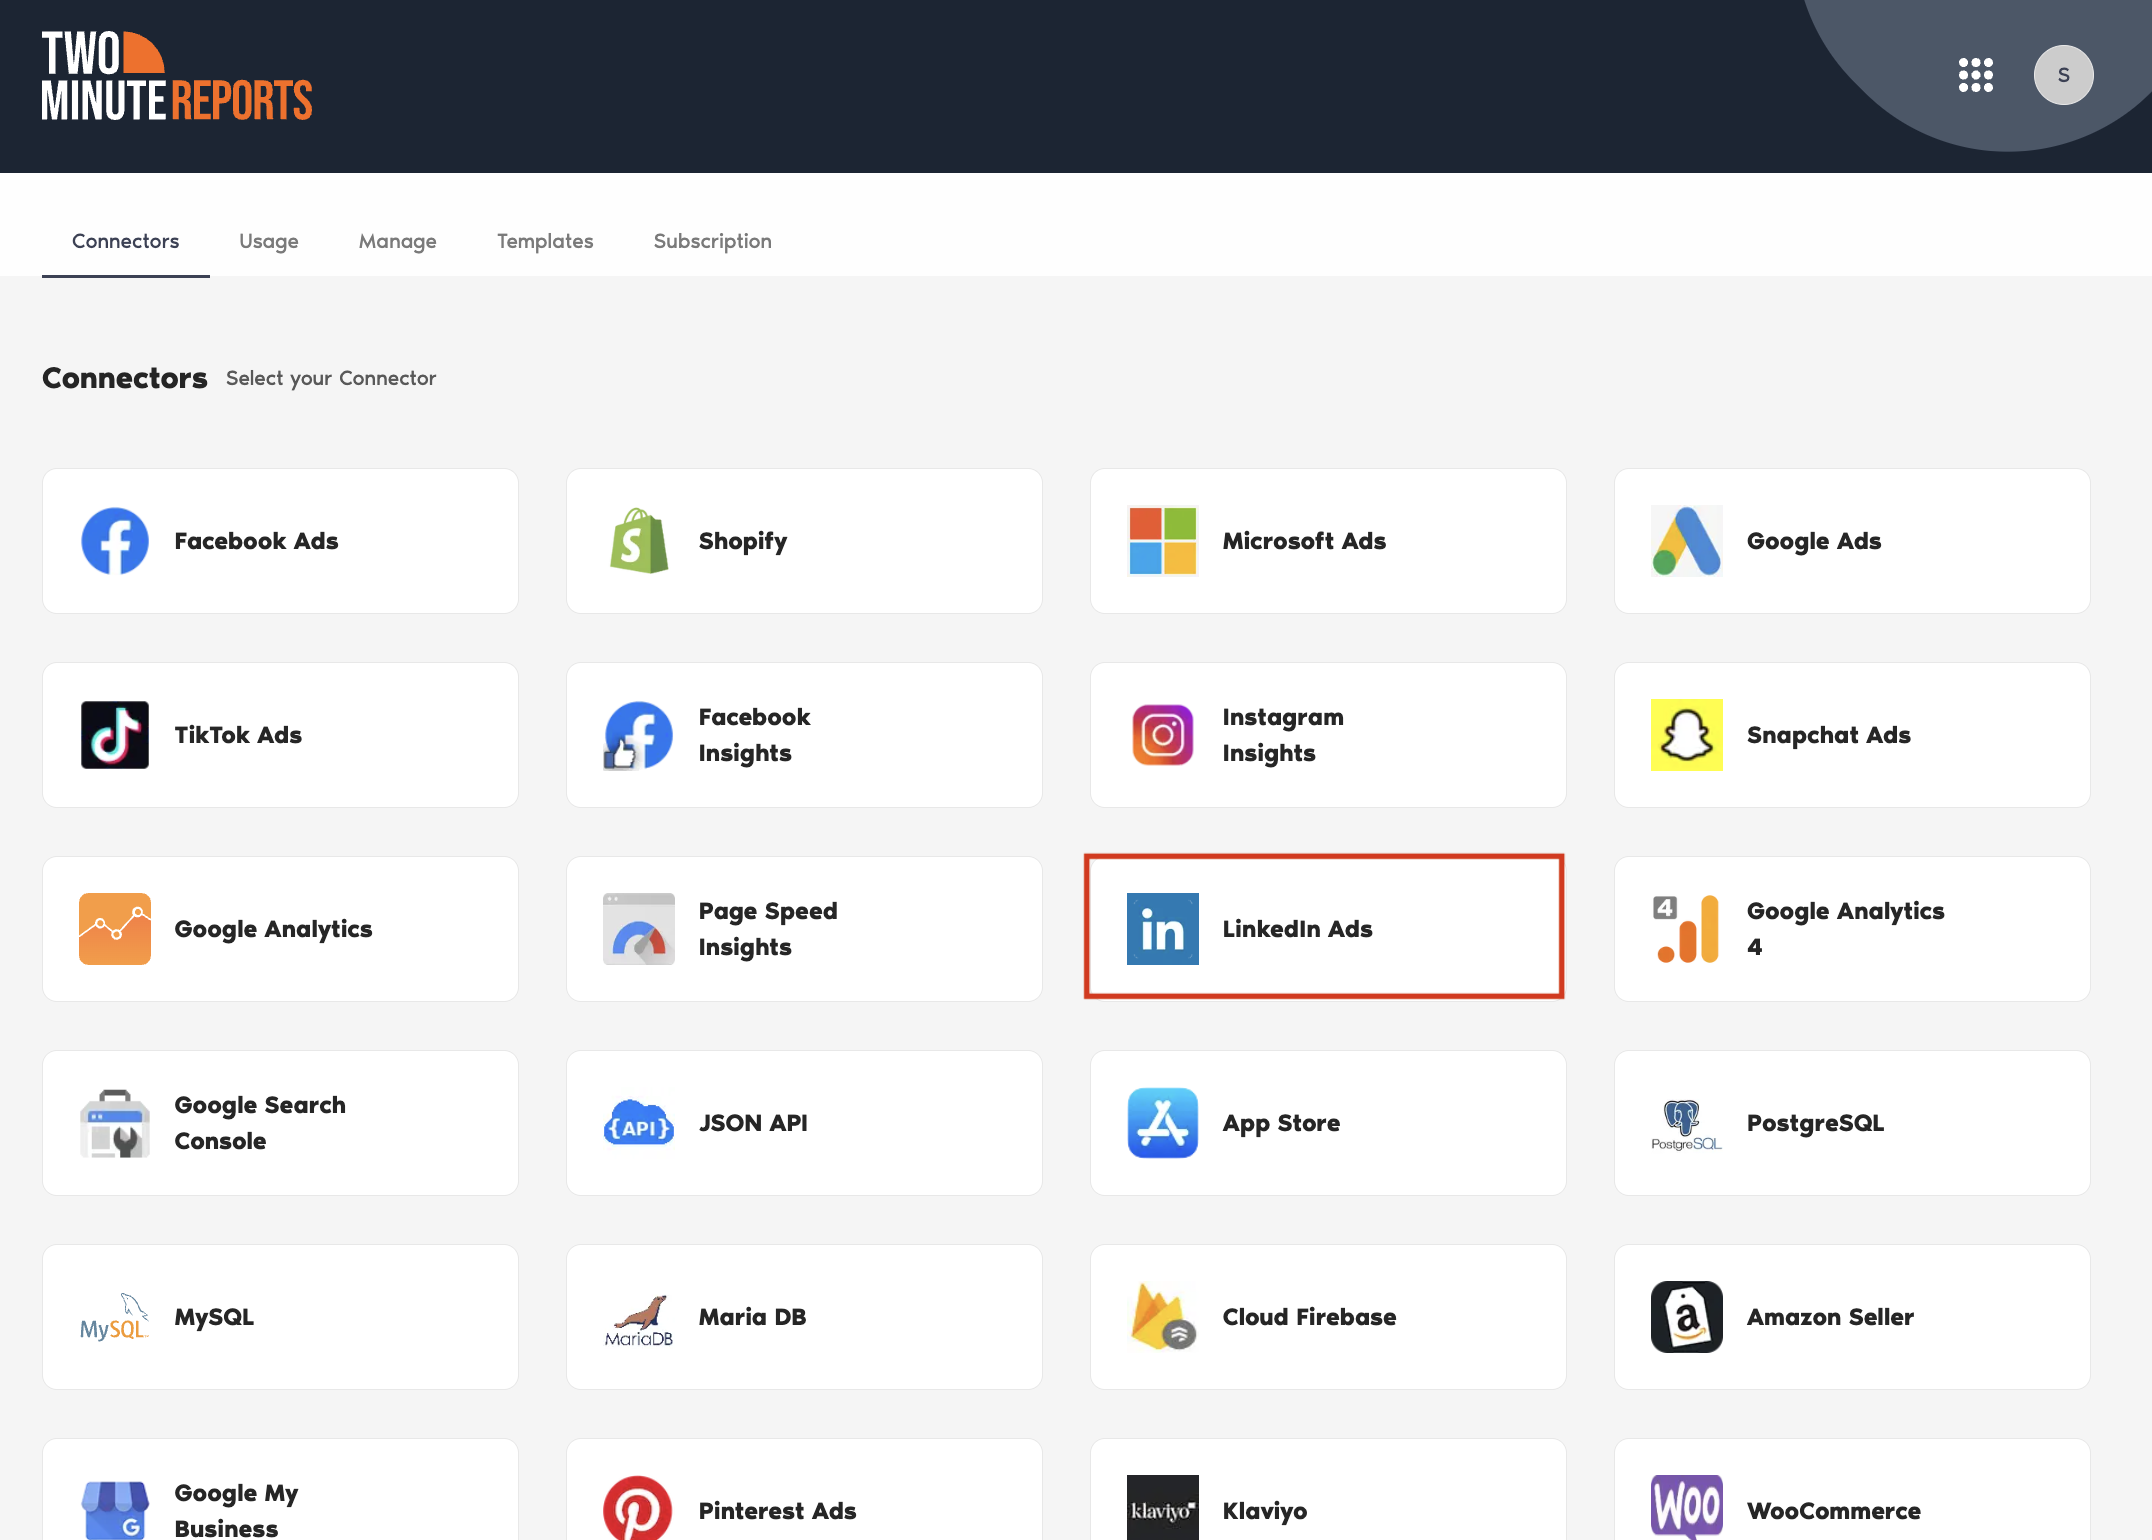
- Select LinkedIn Ads from the list of connectors.
- Connect your LinkedIn Ads data by clicking New Connection to create your Connection in Looker Studio.
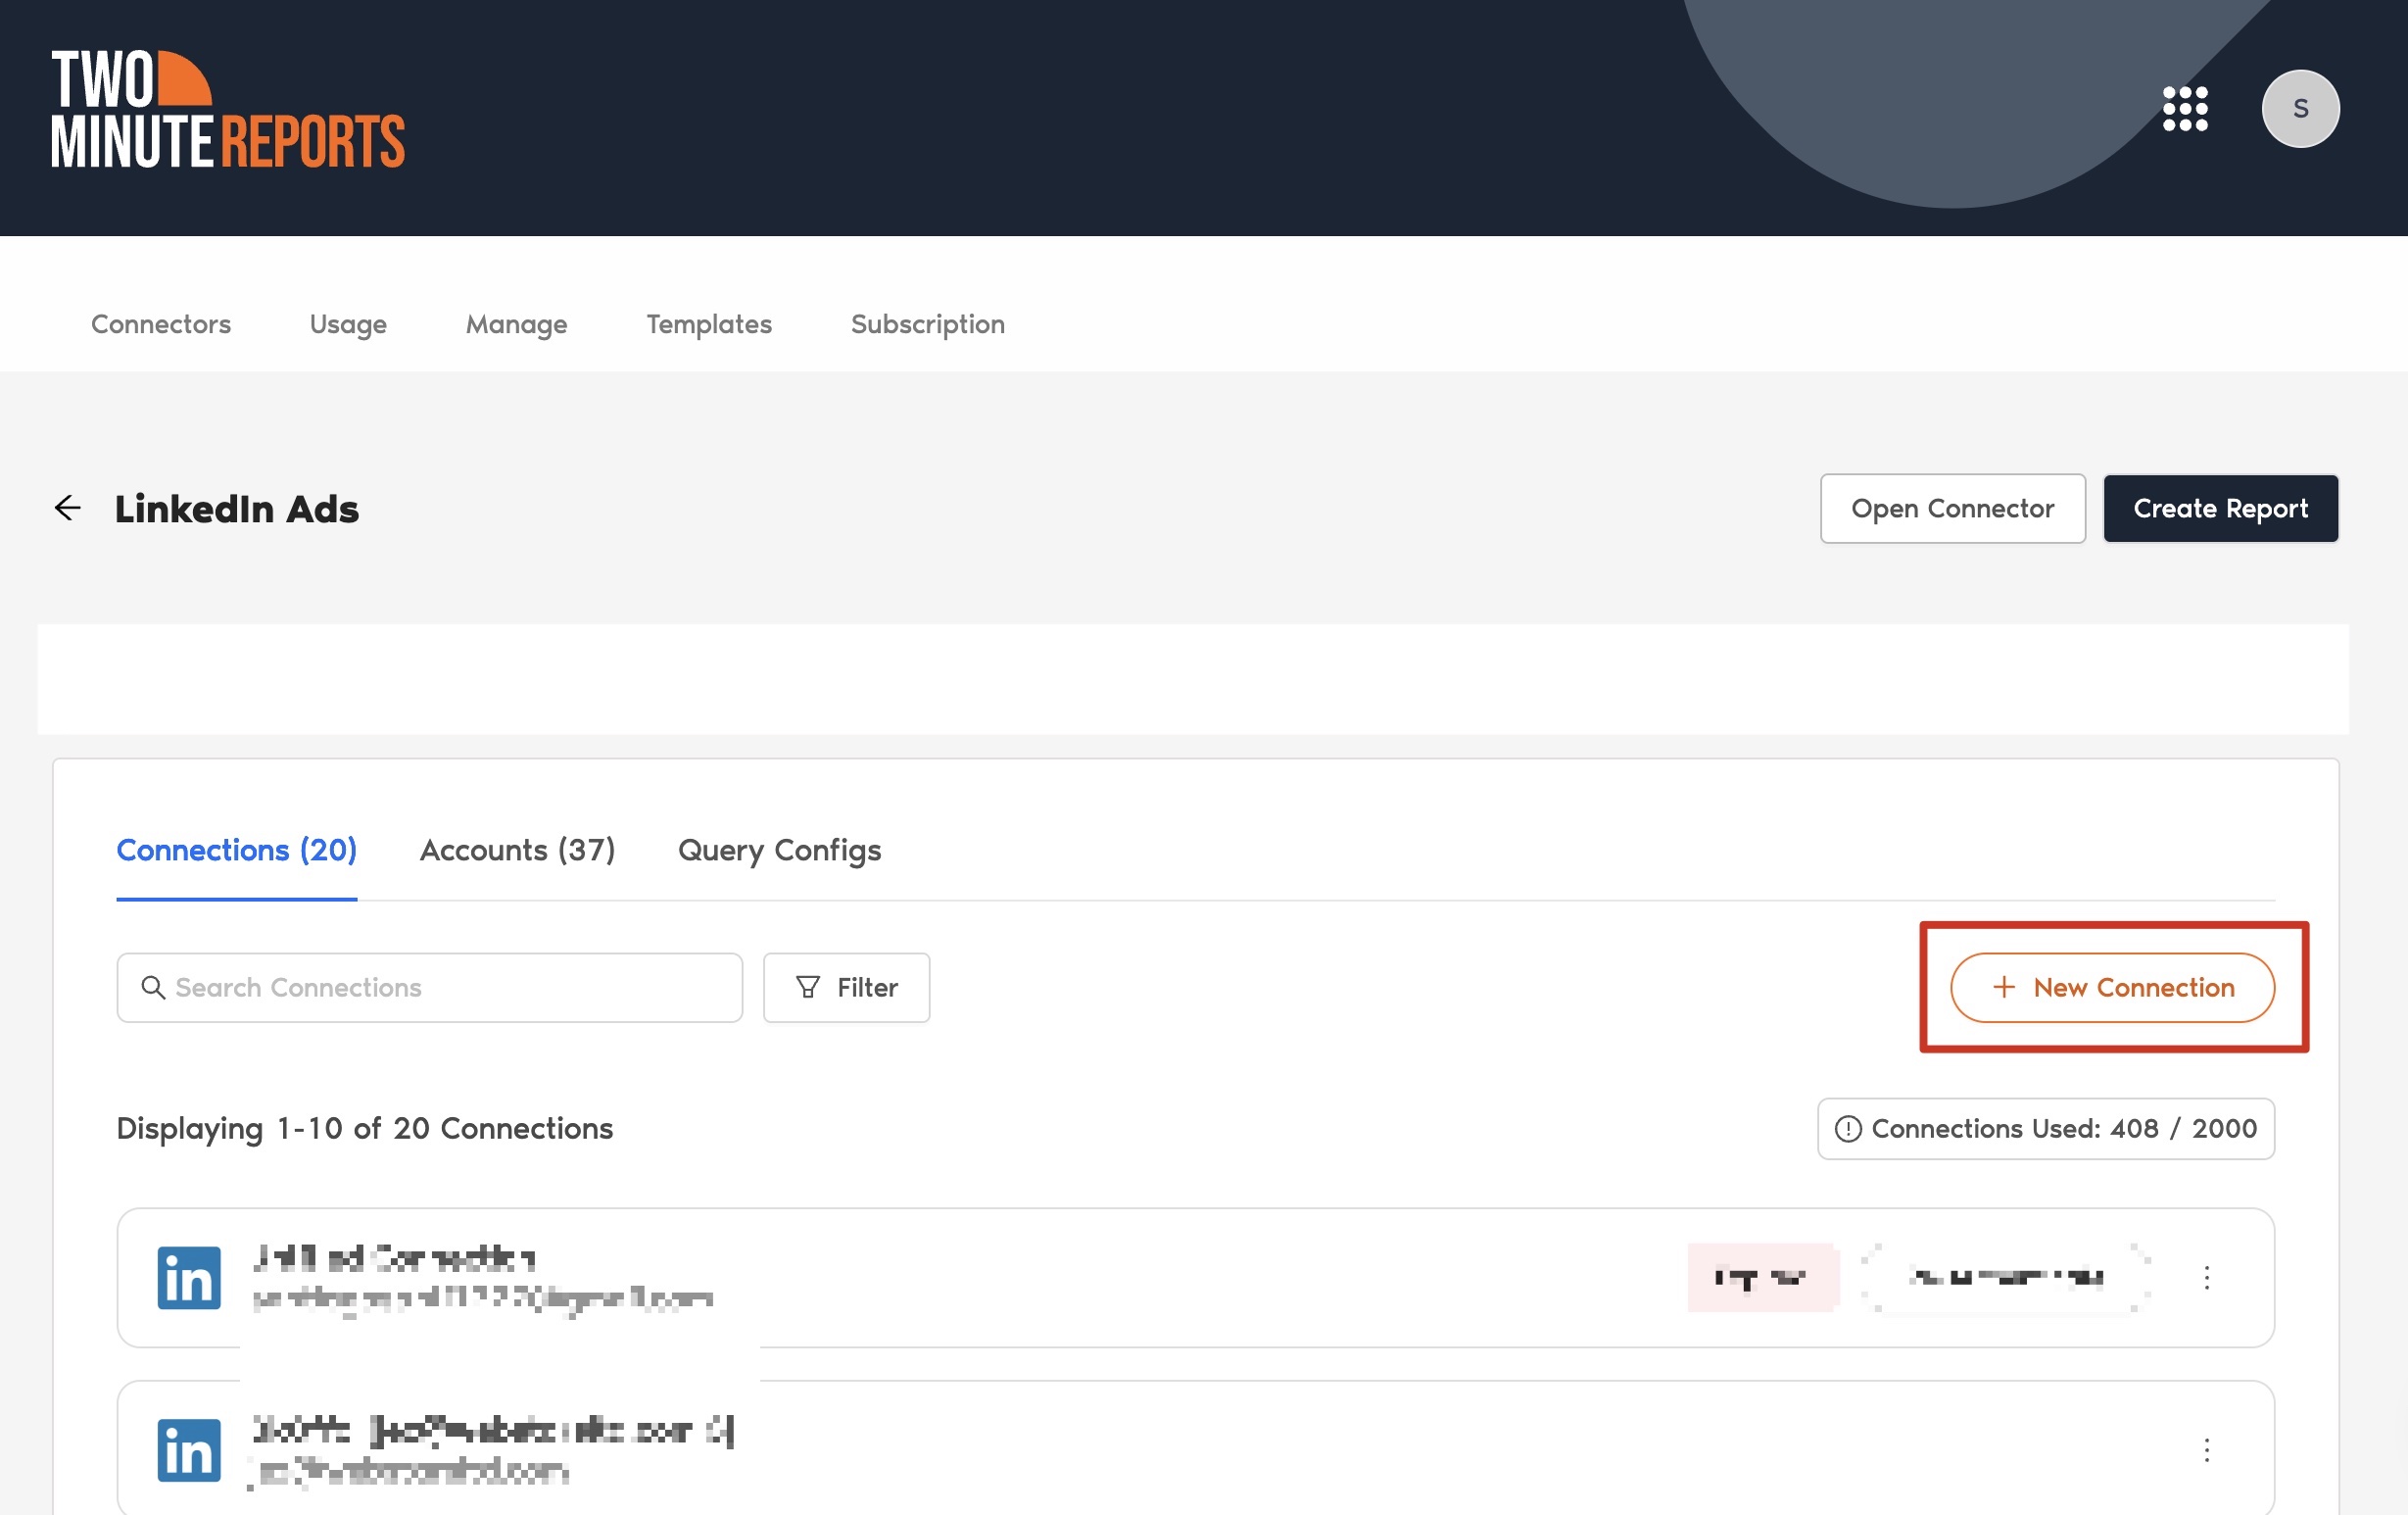
| A Connection is a link between the data source and the Connector. For example, you must use the LinkedIn Ads Connector to create a Connection with your LinkedIn Ads account to get your ads data. |
- The Adding new connection dialog box will appear. Here, you can connect the required LinkedIn Ads account in two easy steps:
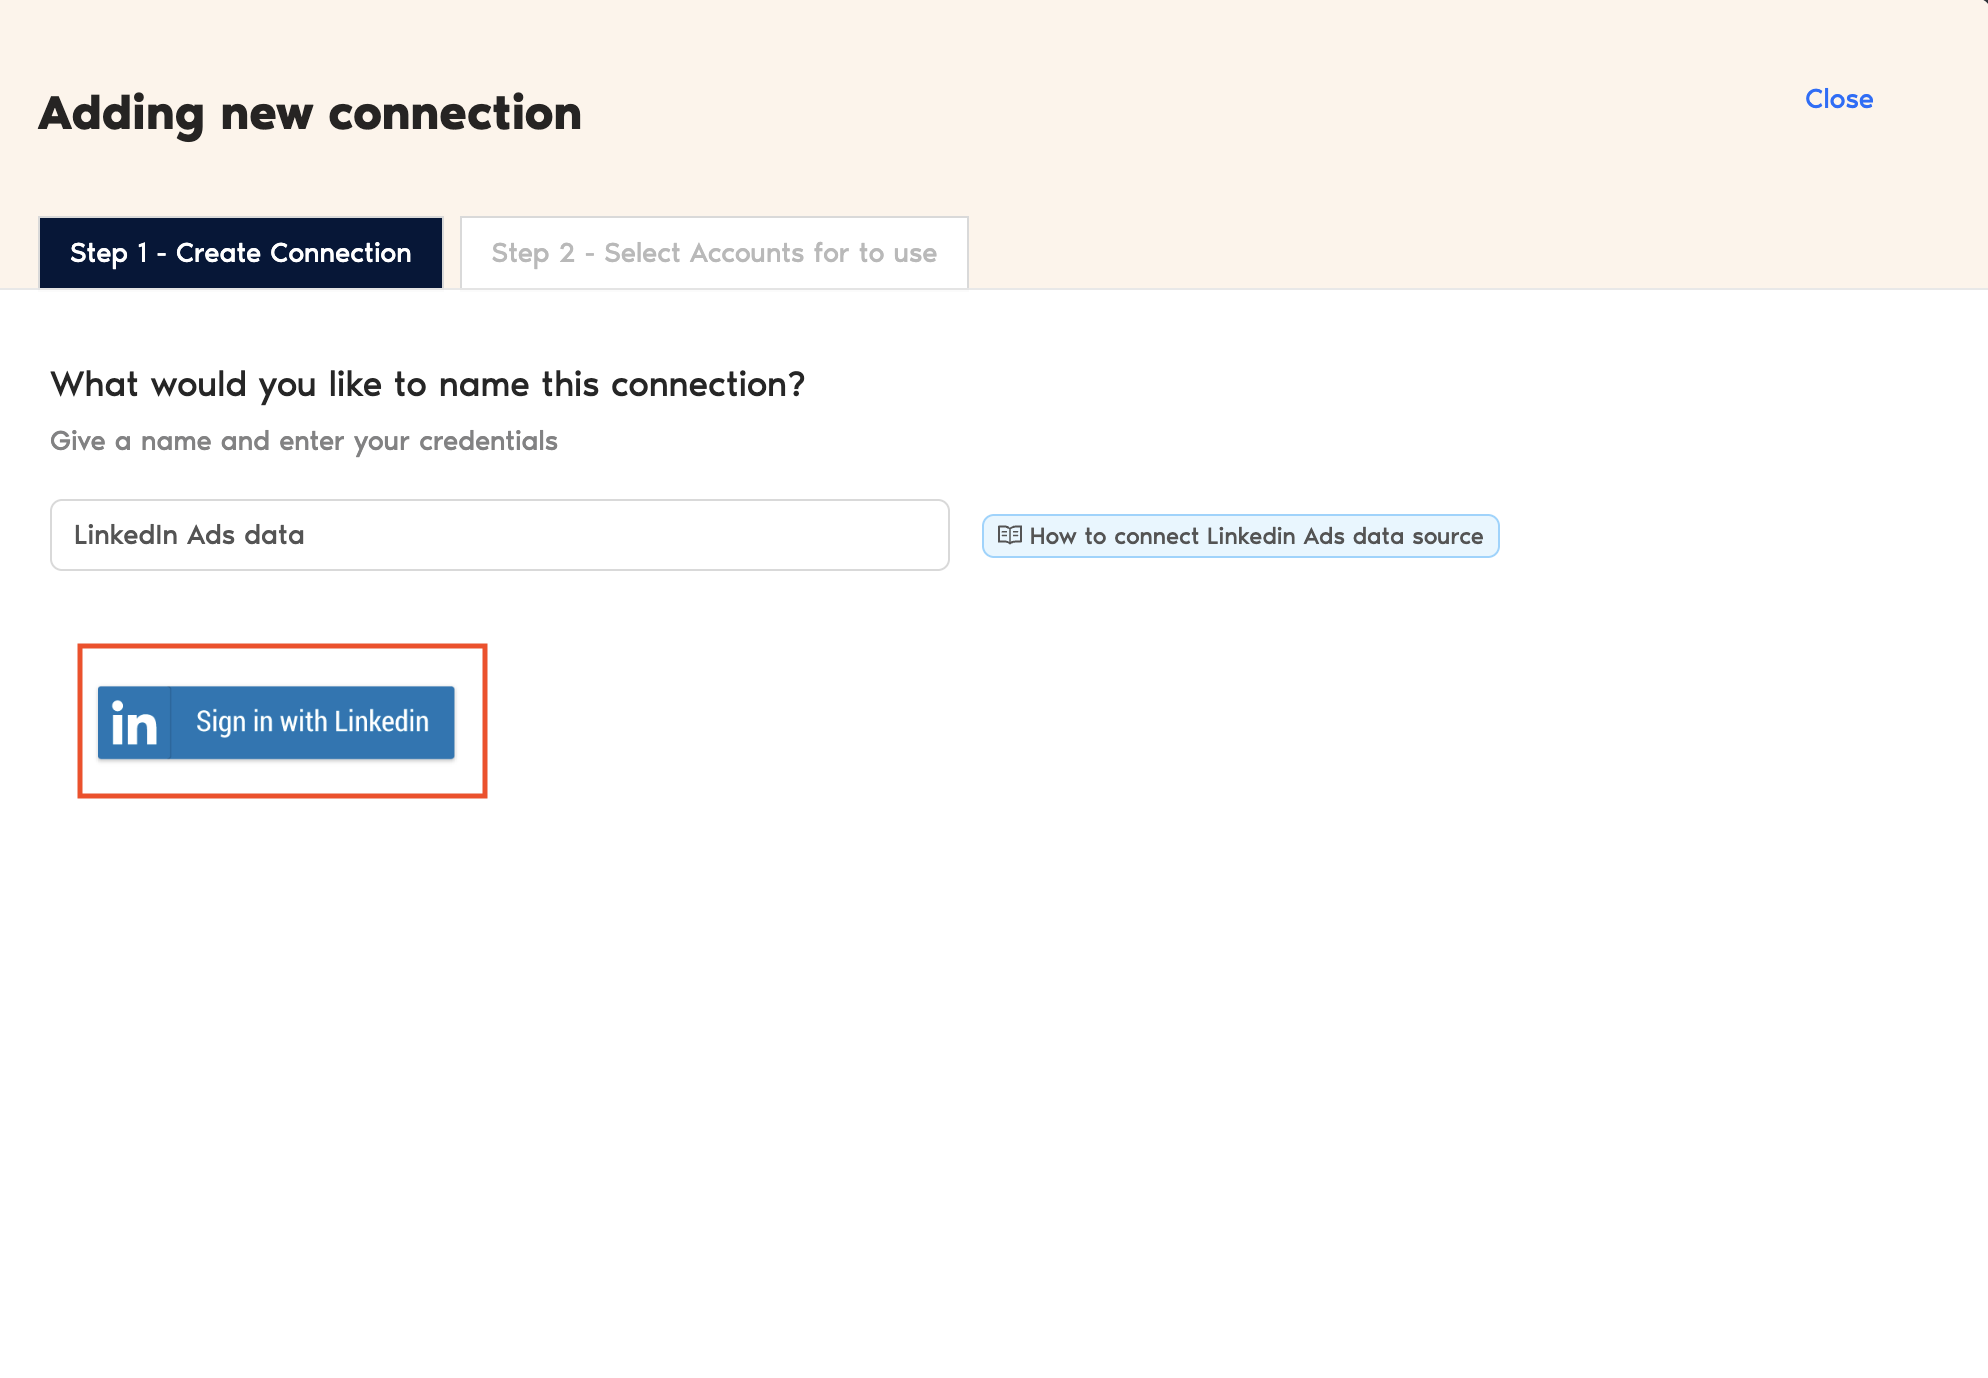
- Creating a Connection: Name your Connection and authorize the account associated with your LinkedIn Ads account.
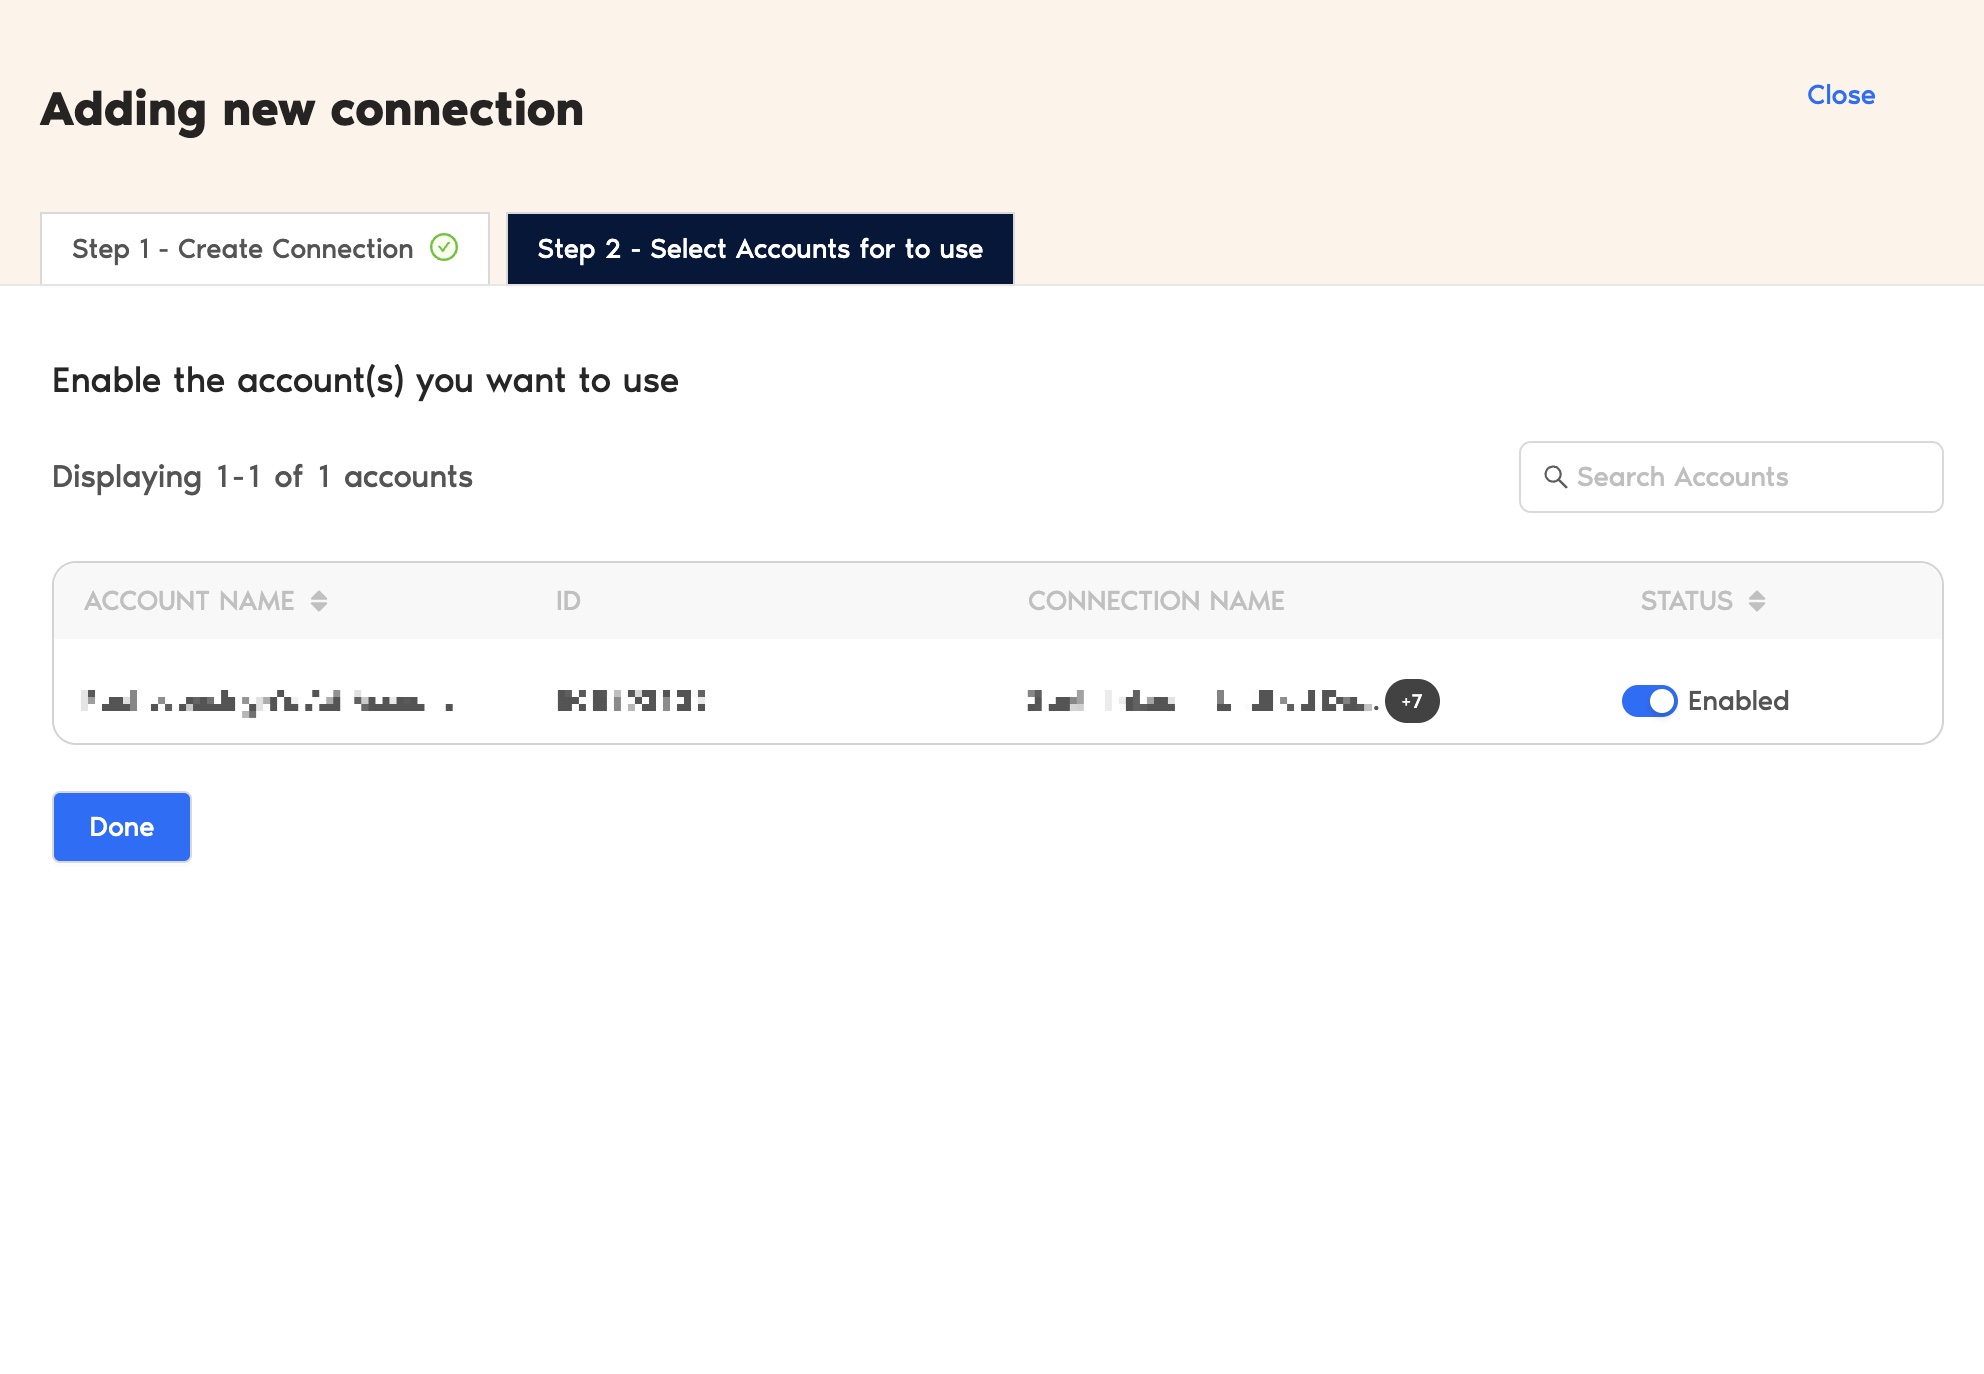
- Select accounts for use: Once authenticated, enable the necessary ad accounts to extract actionable campaign insights, as shown above. Please note that you can create reports only for the enabled ad accounts.
That’s it. You can now configure your LinkedIn Ads account to extract meaningful results.
Step 2: Configure your LinkedIn Ads account with TMR
- In the Query Configs section, click + Add New.
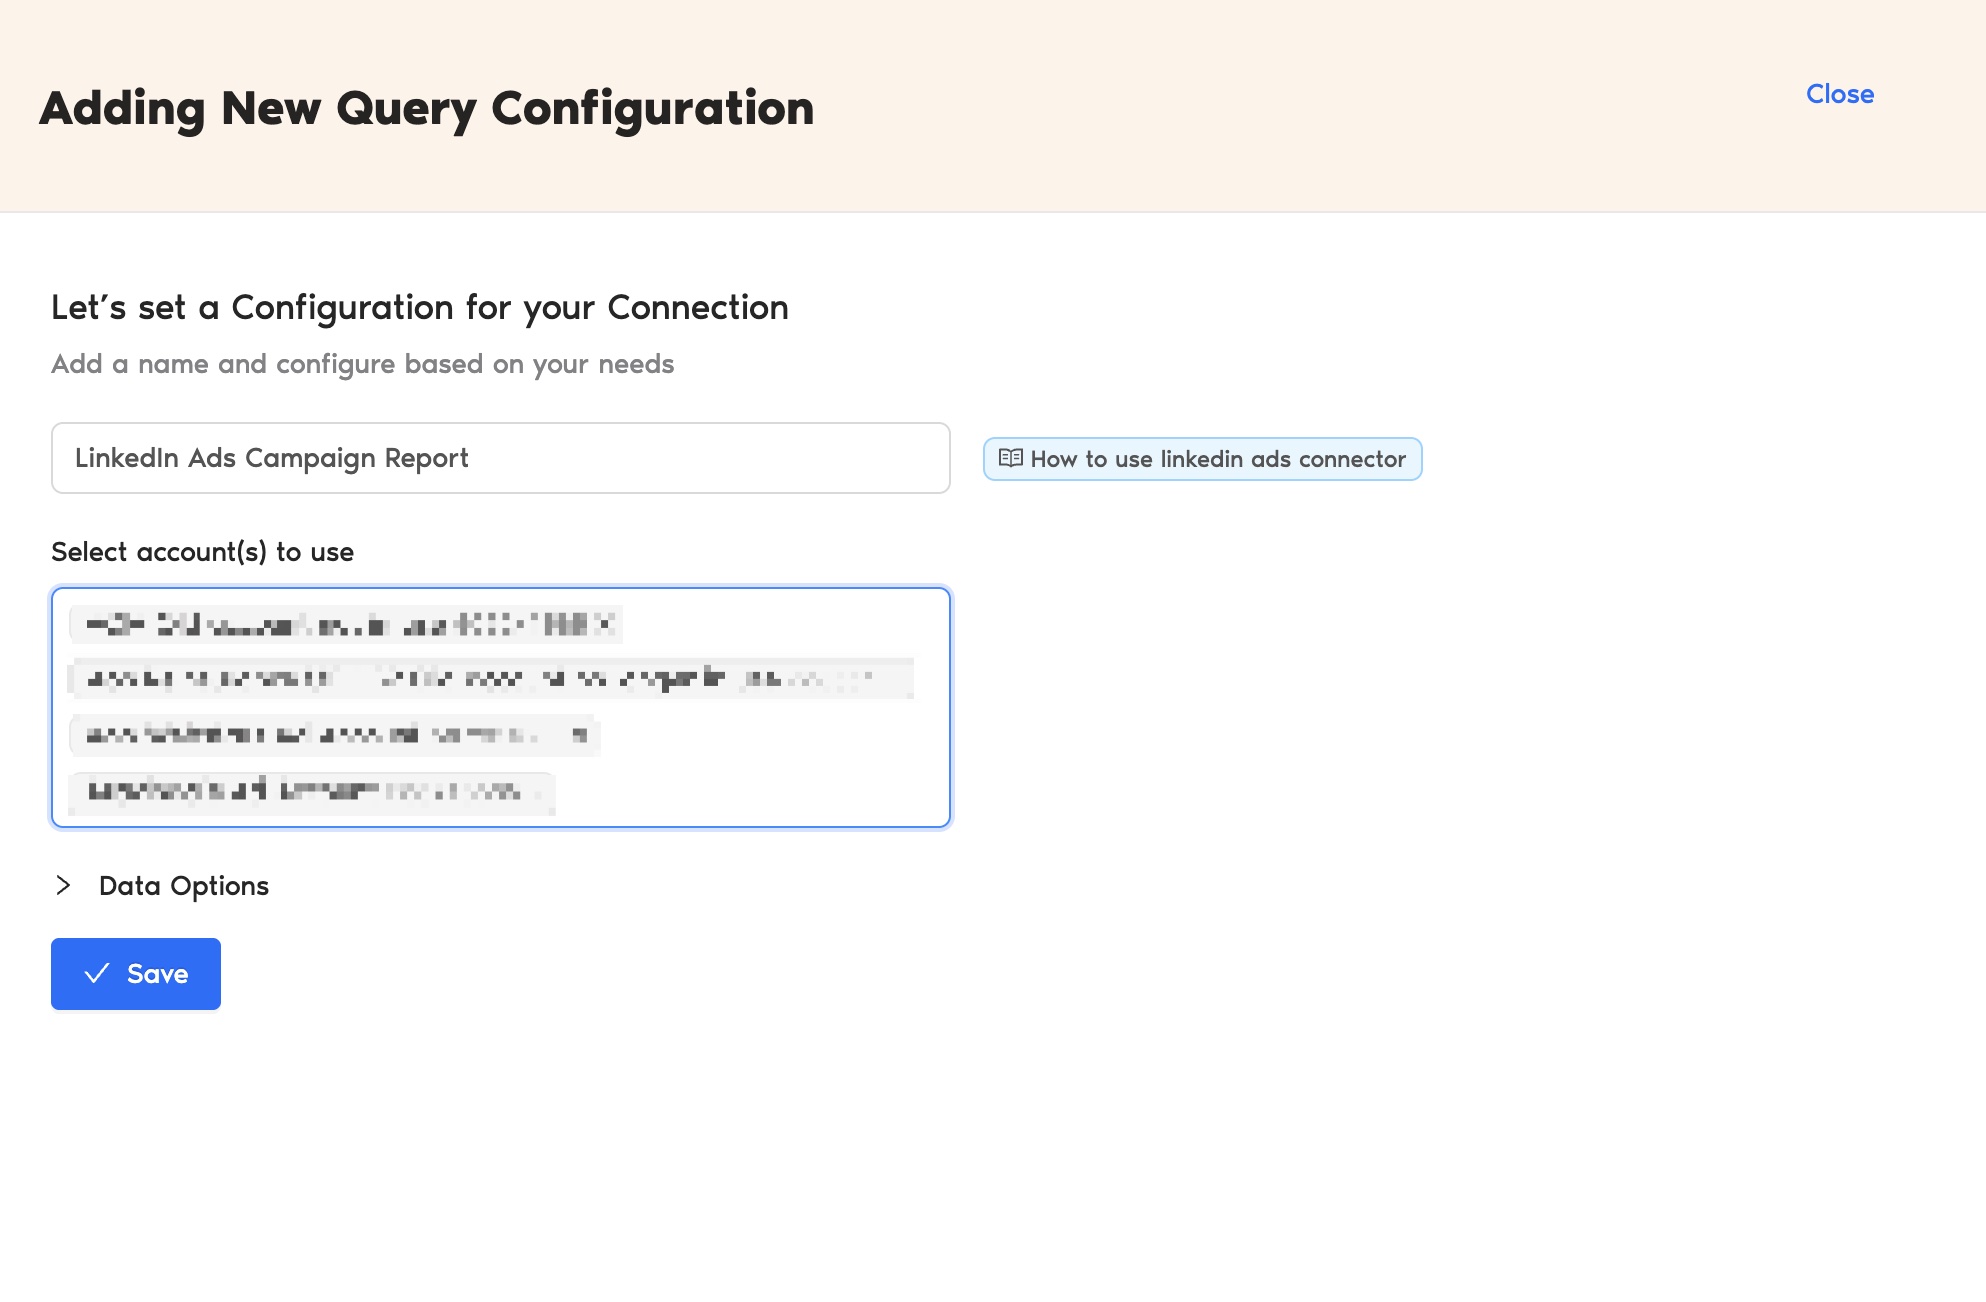
| The Query Config allows you to group multiple accounts, making it easier to view centralized insights in your Looker Studio dashboard. |
- The Adding New Query Configuration dialog box will appear. Name the query config, select (from the list of enabled) ad accounts from the dropdown, and configure your LinkedIn Ads report. Once done, click Save.
You’ve successfully created a new configuration, which you can now use to extract data for your Looker Studio reports.
Step 3: Create a LinkedIn Ads report with TMR in Looker Studio
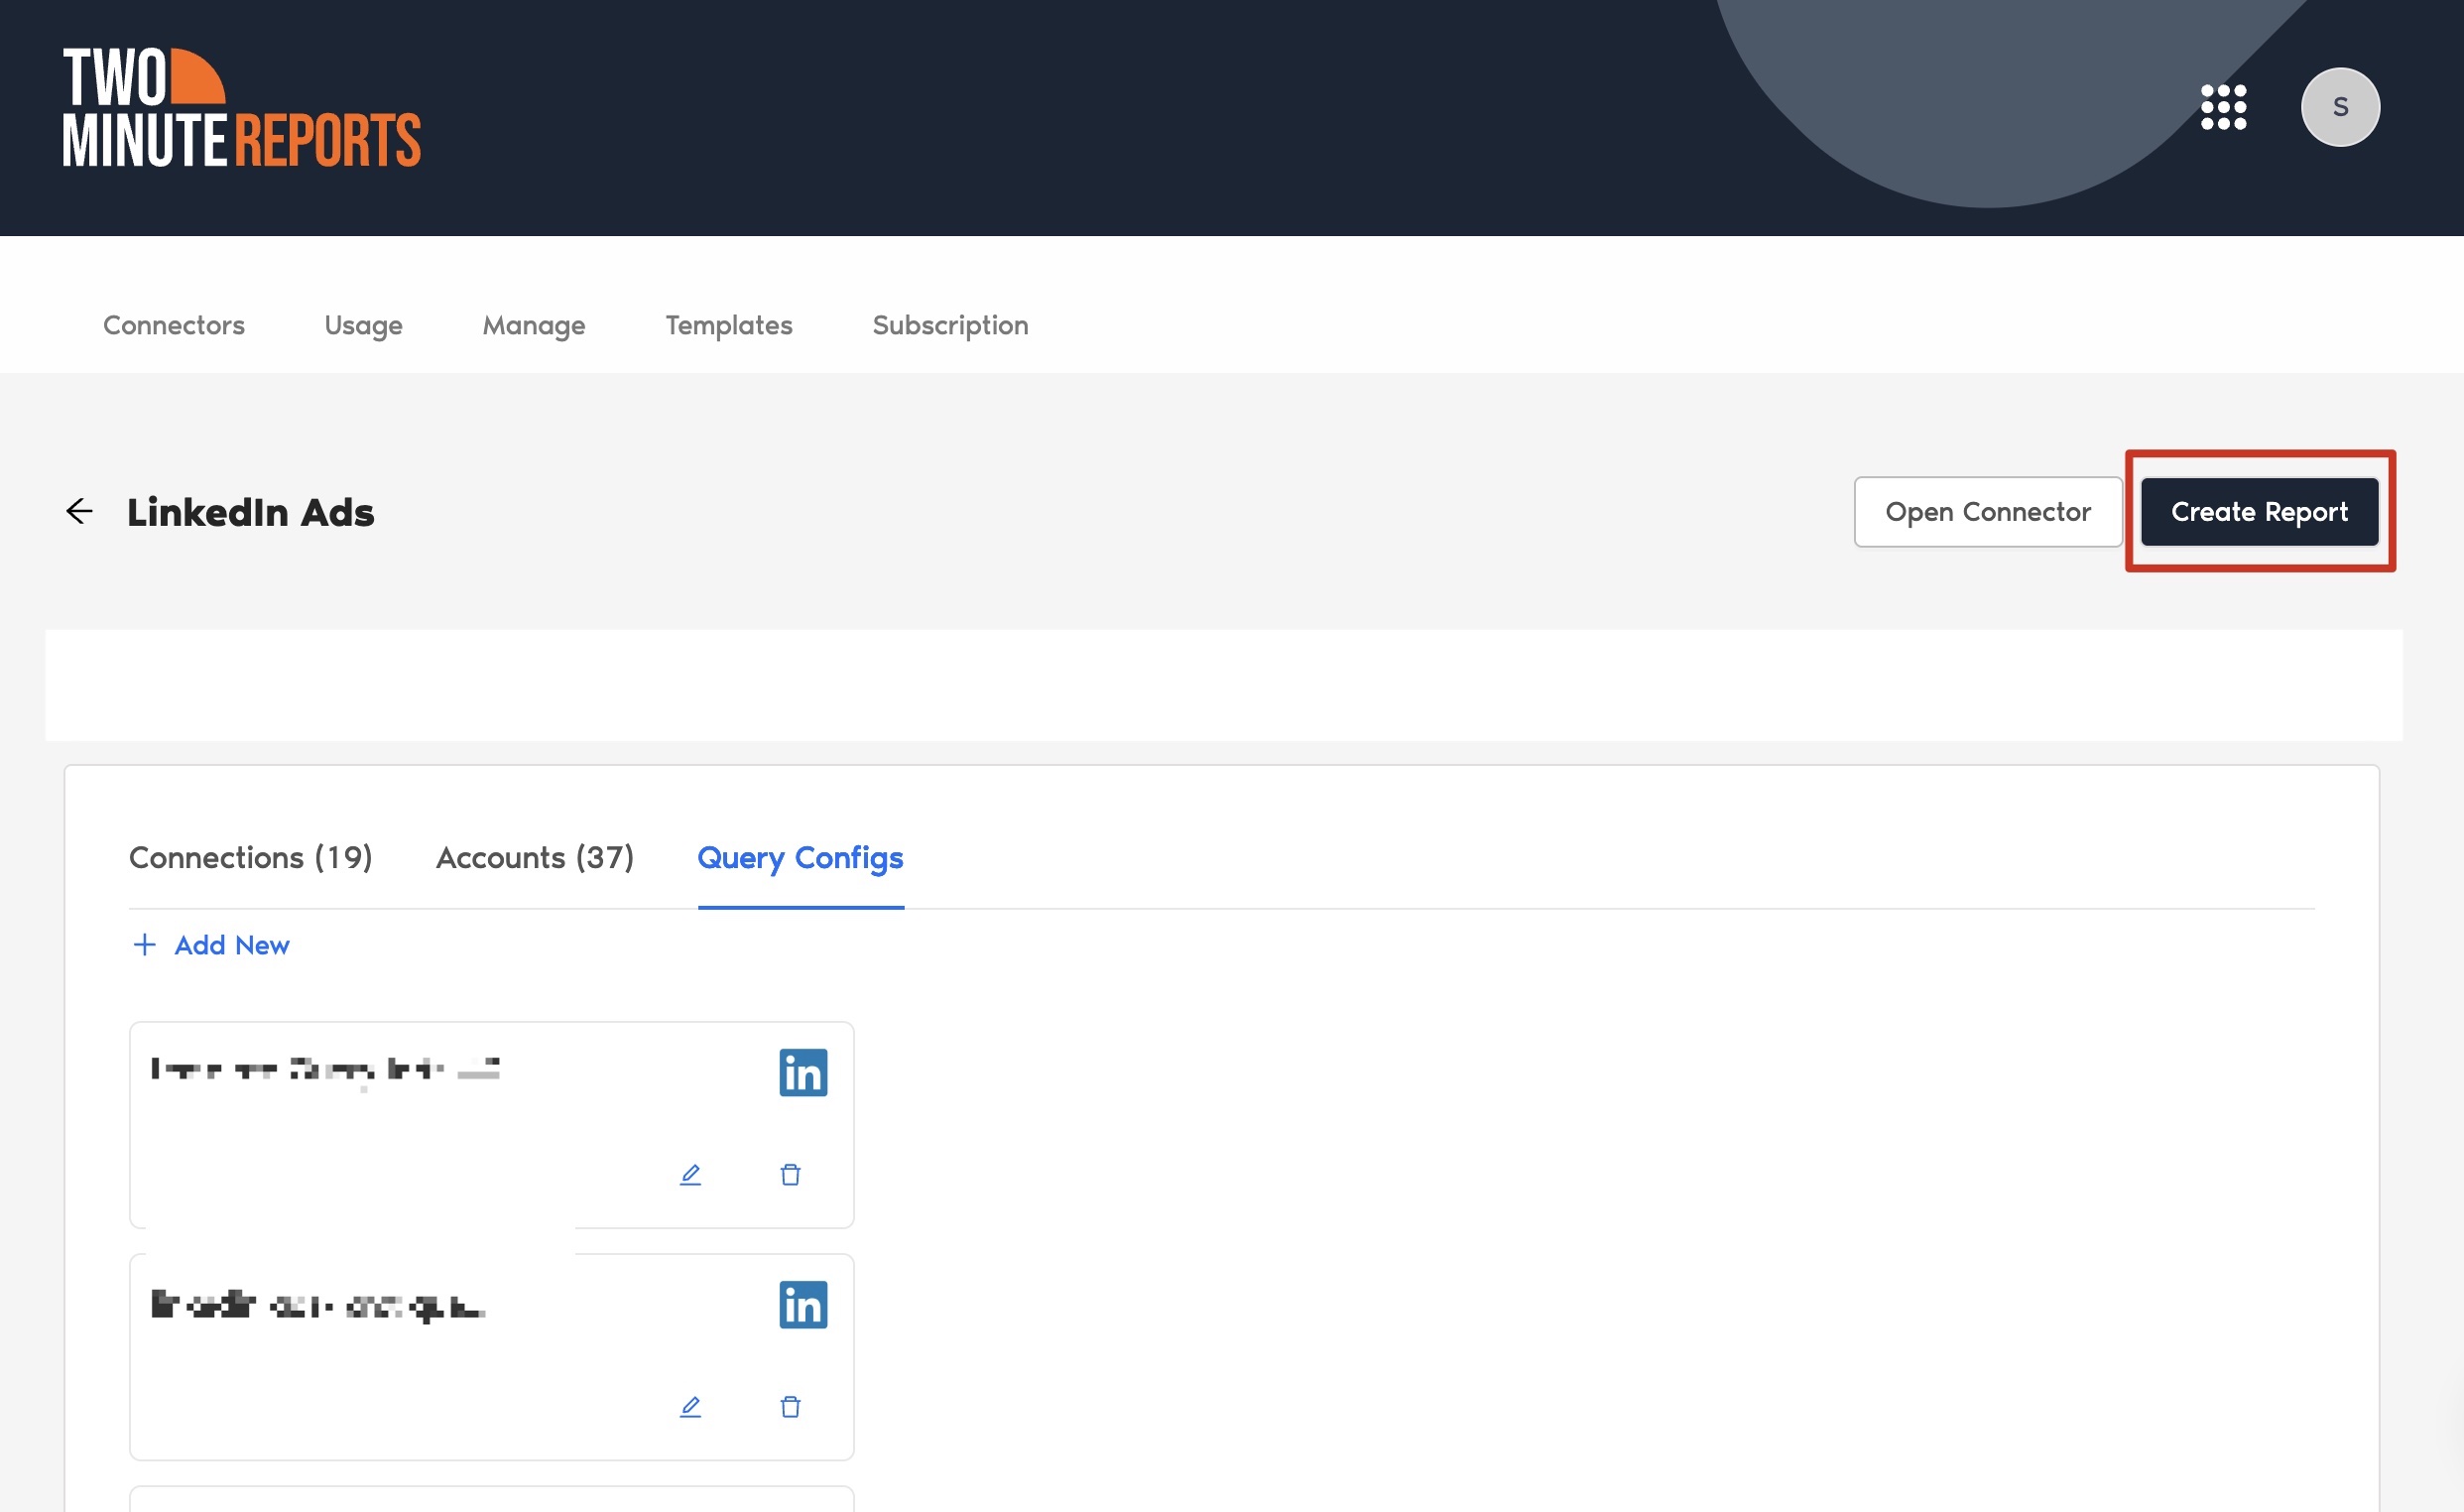
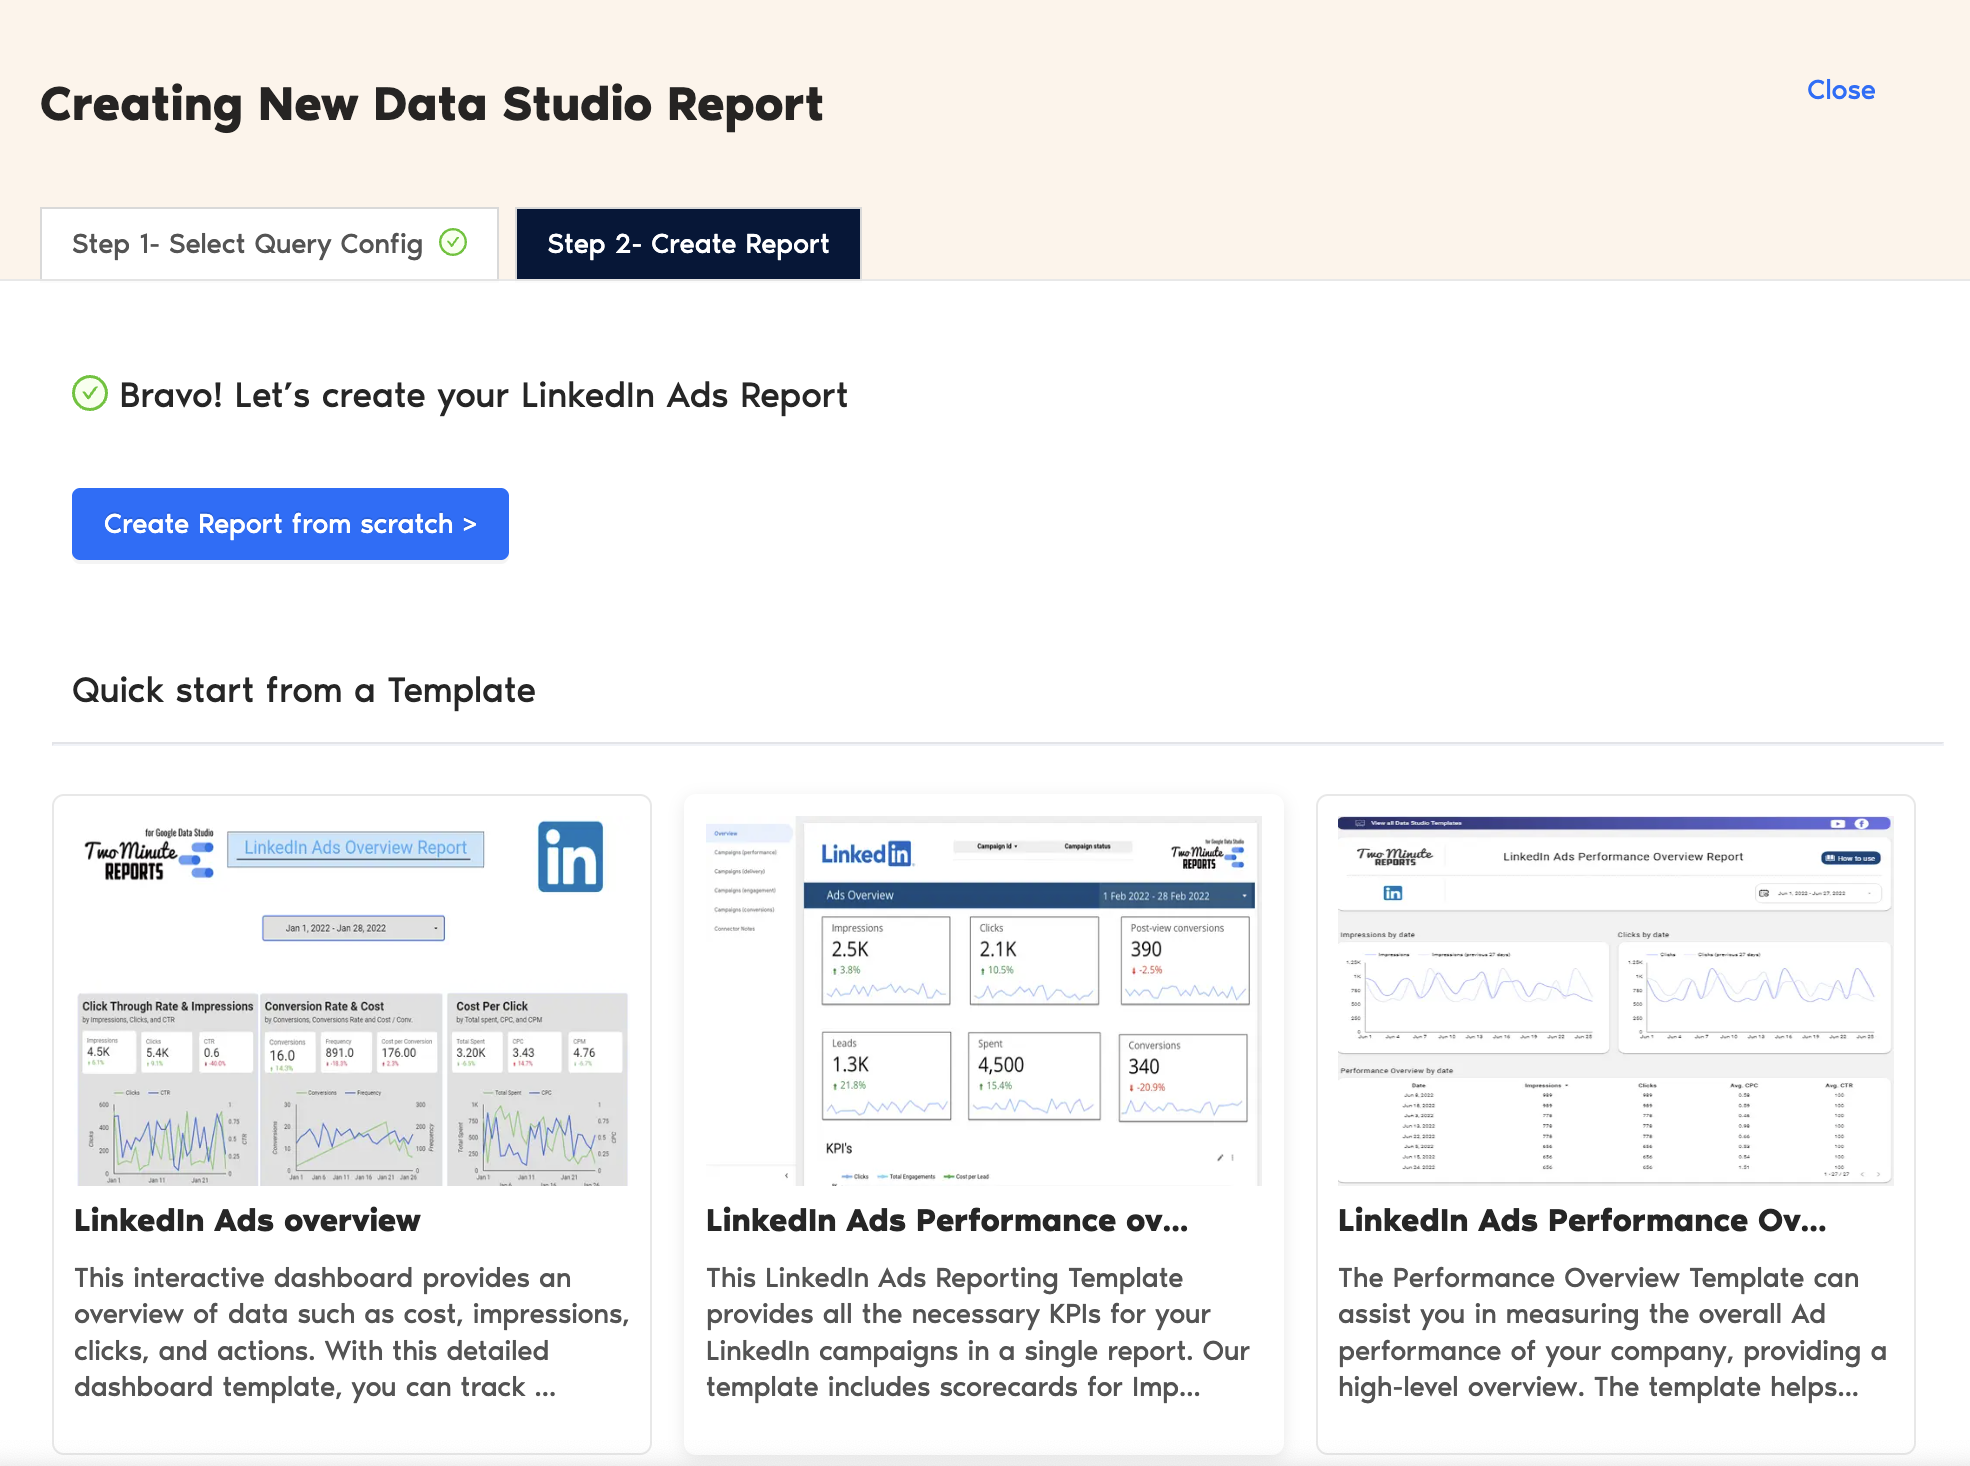
- After creating the Query Config, click Create Report in the top-right corner.
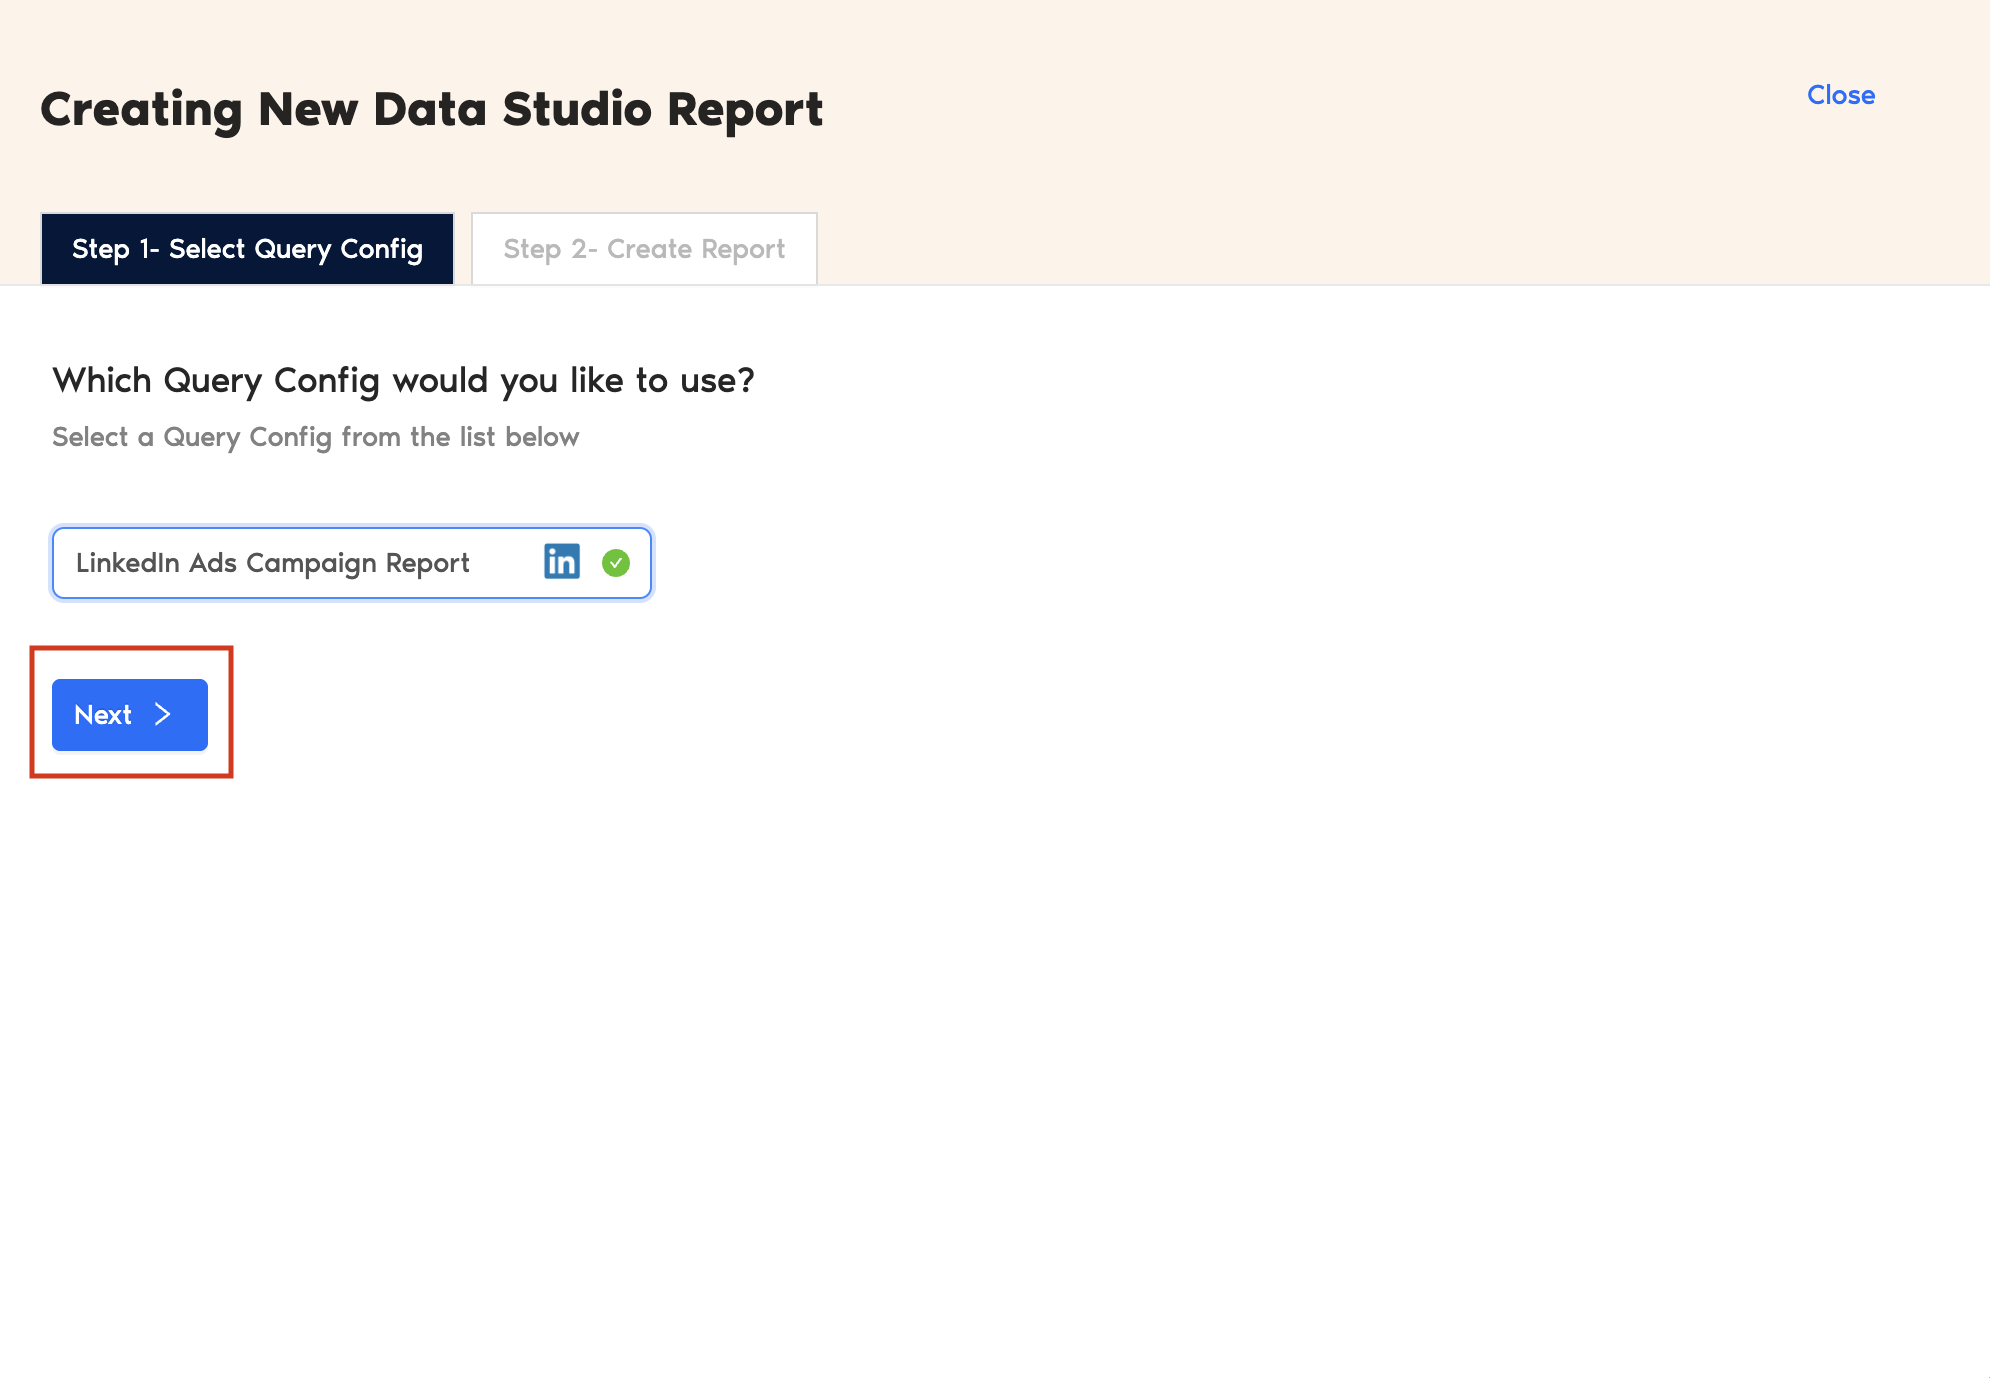
- Select the Query Config that you’ve created (in our case, it’s ‘LinkedIn Ads Campaign Report’) from the list of options. Click Next and choose ‘Create report from scratch’ to open the Looker Studio dashboard.
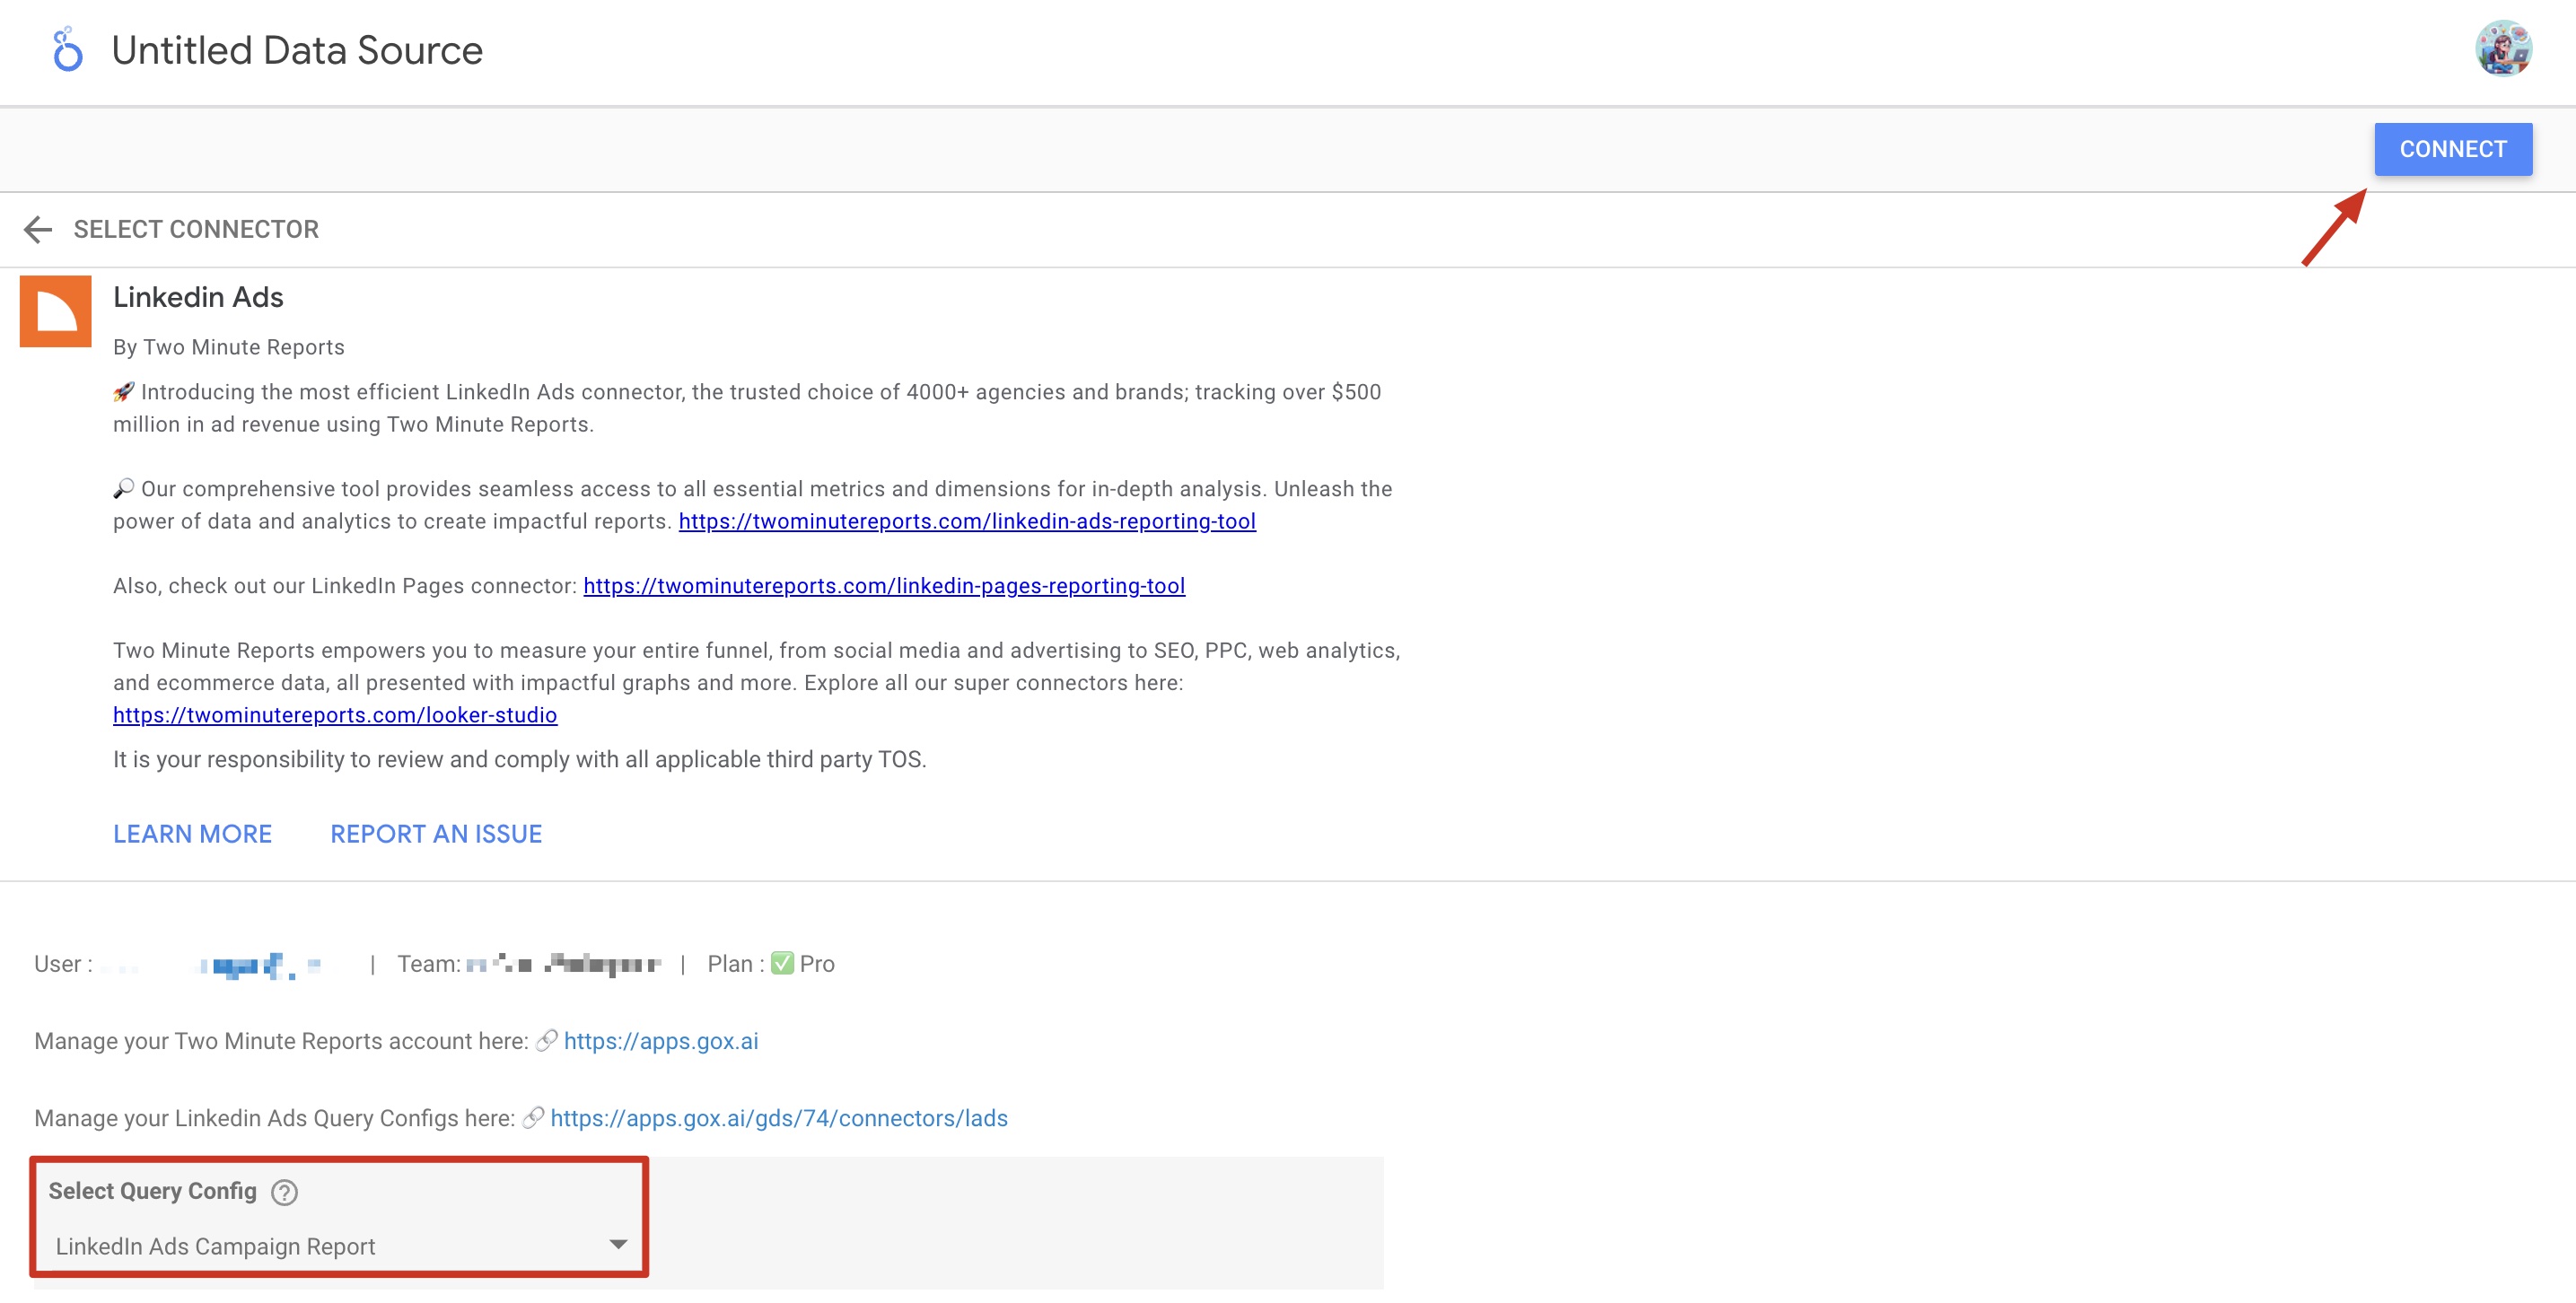
- Once the Looker Studio dashboard opens, select your team and the required Query Config from the dropdown. Click Connect in the top-right corner.
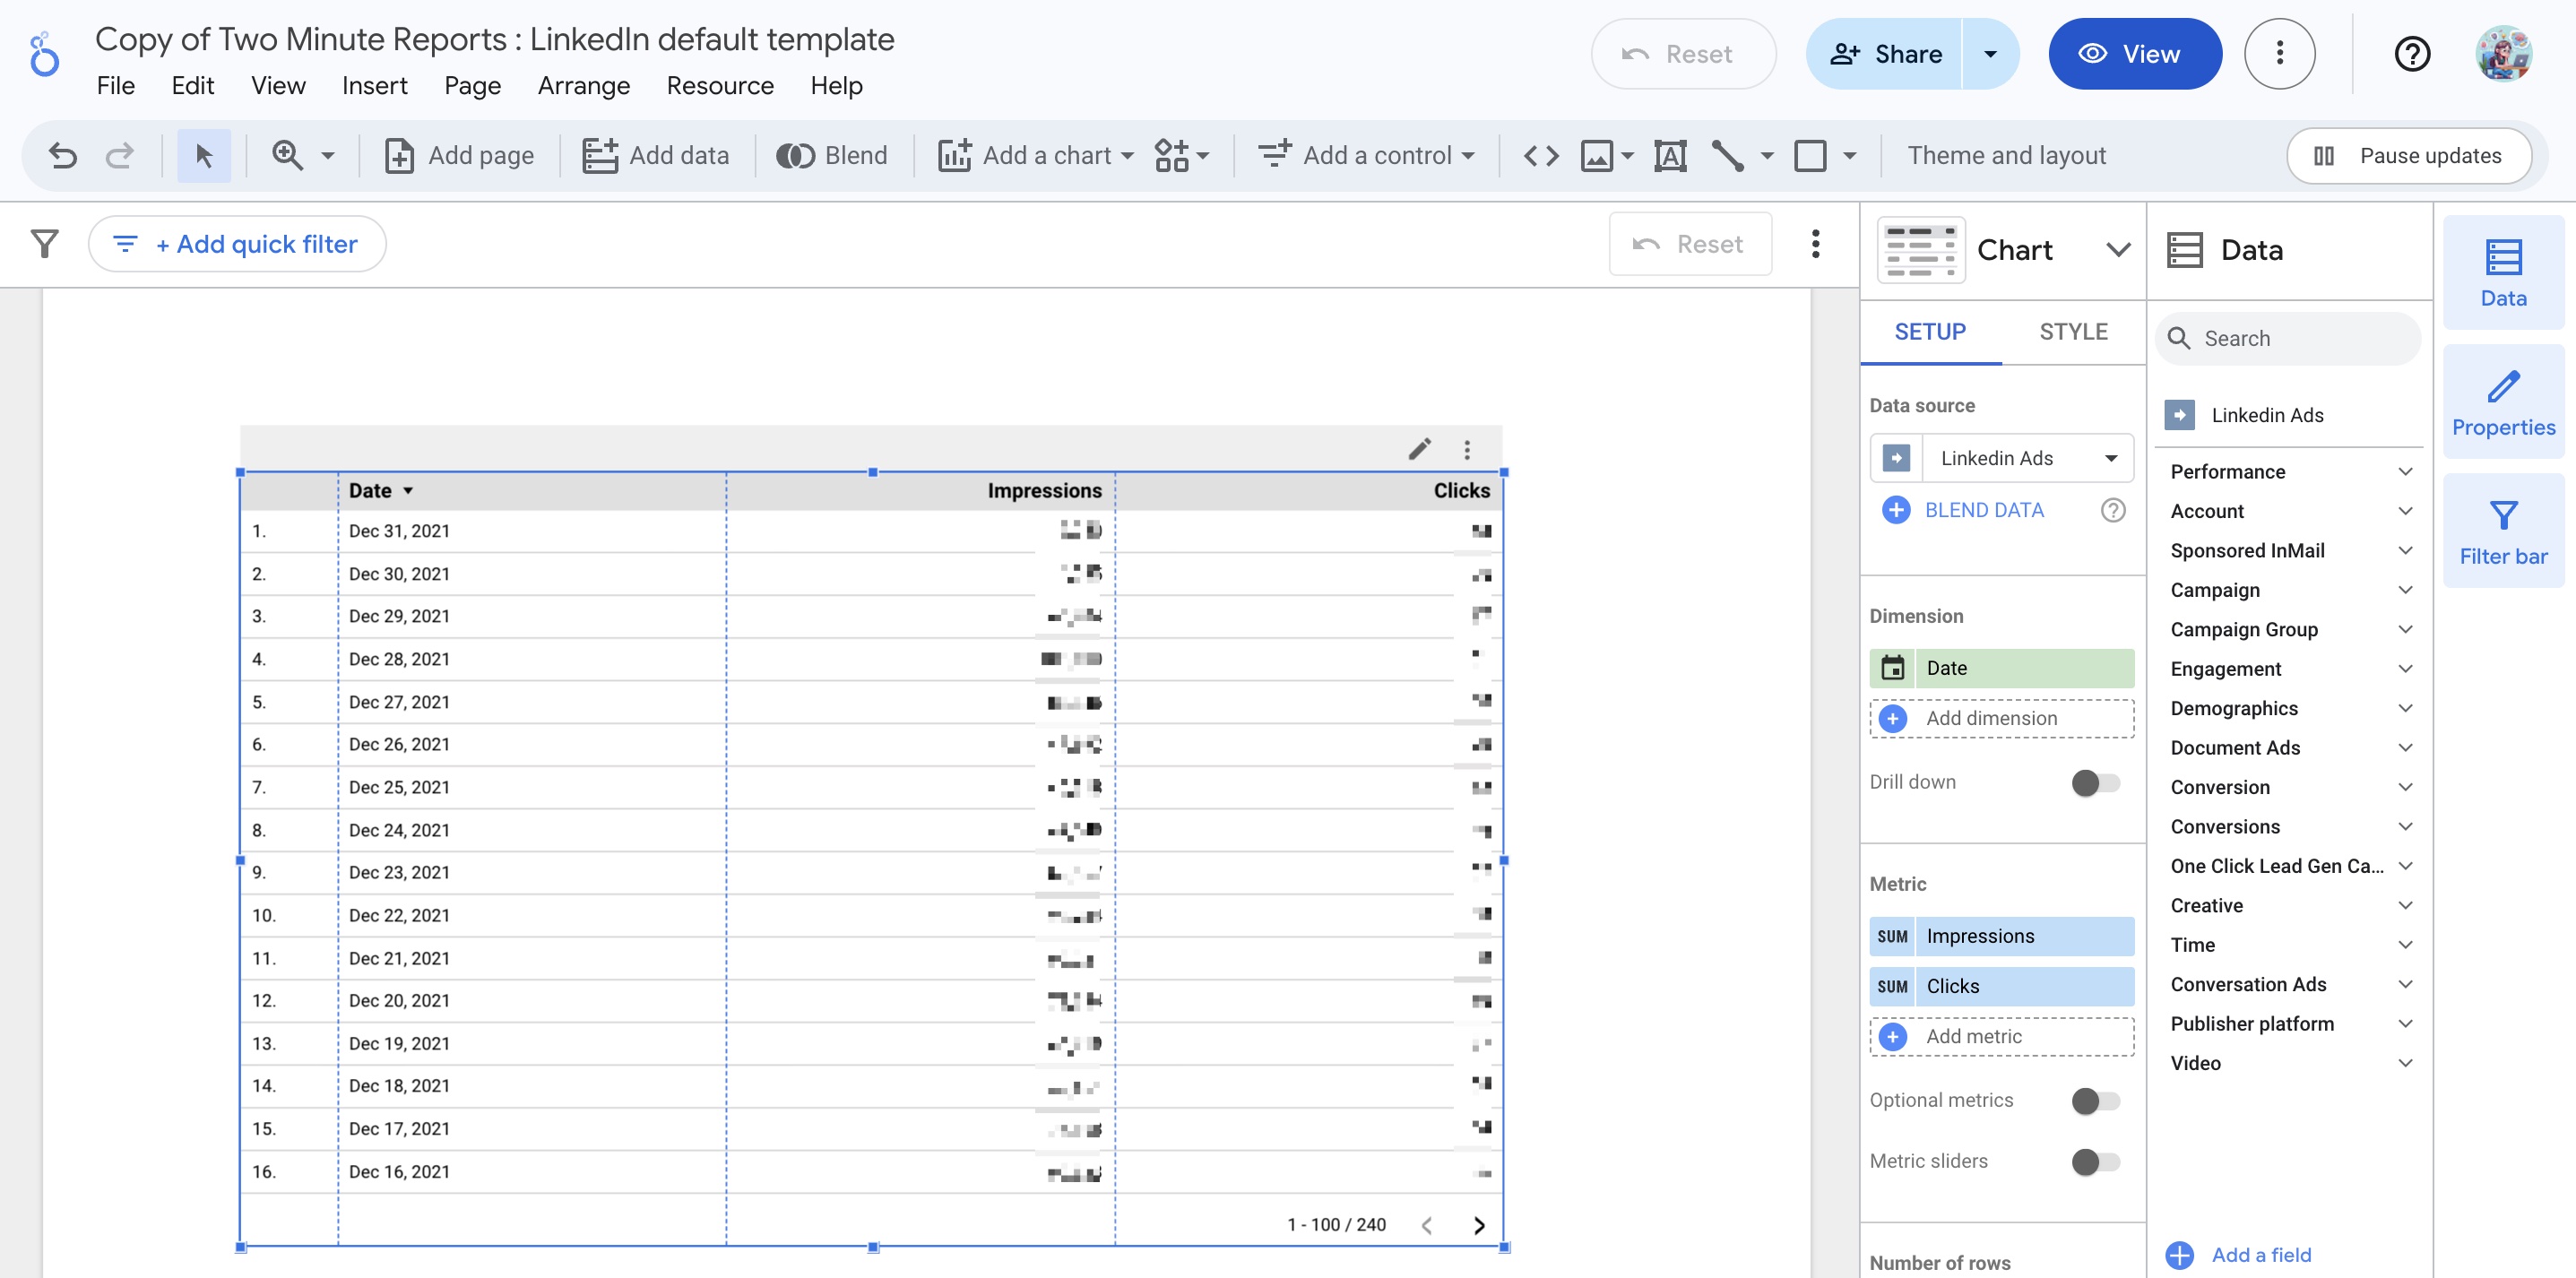
- After clicking Create Report, you’ll be directed to the Looker Studio dashboard. Here, you can drag and drop the associated LinkedIn Ads metrics and dimensions to measure and analyze campaign insights more efficiently.
- To make your Looker Studio report compelling, use charts and visualizations. Click Add a chart and choose relevant chart types to configure your dashboard.
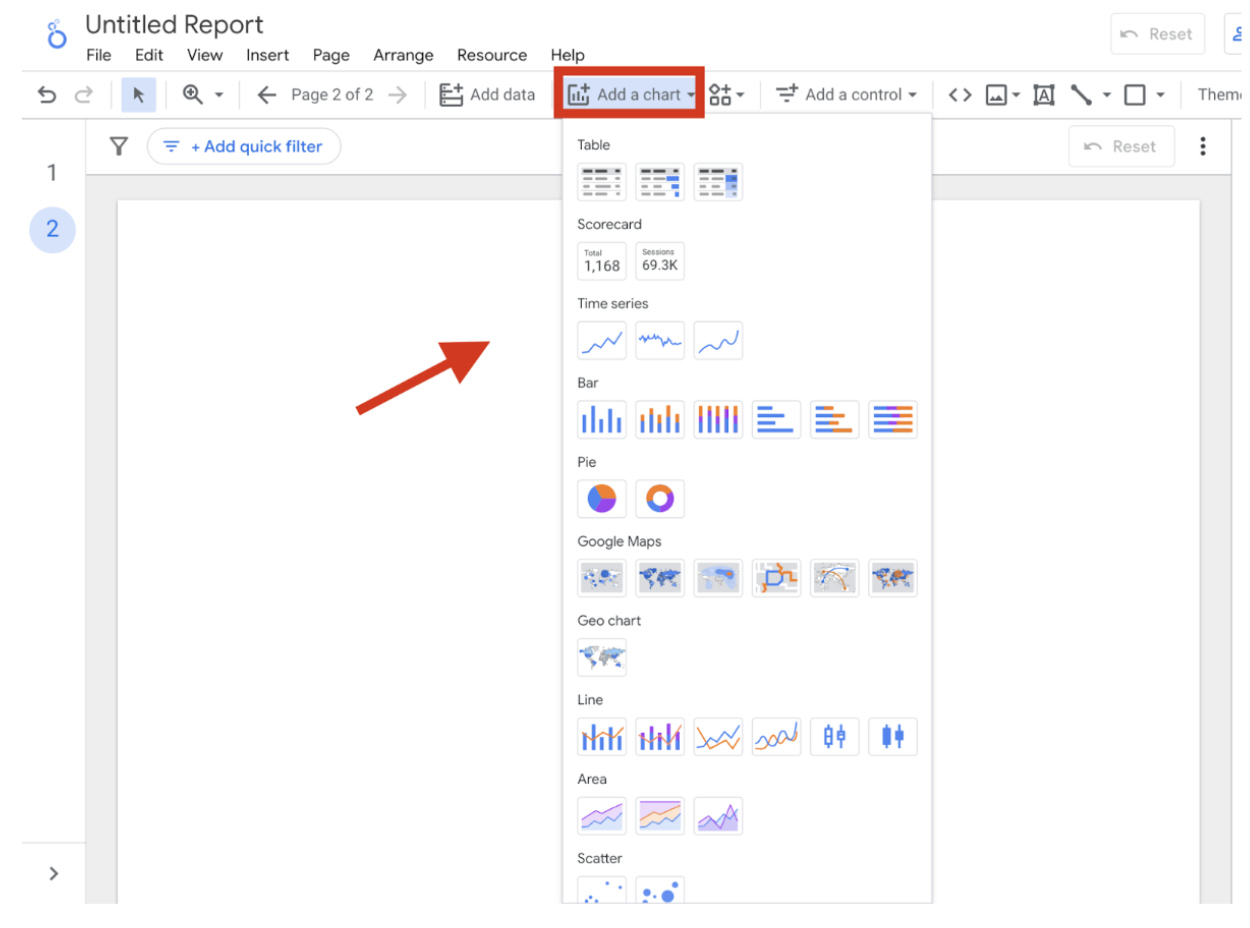
For instance, you can use bar charts to visualize trends in your LinkedIn Ads campaigns, such as impressions, engagement, and lead generation. Including date range control allows you to monitor performance during specific periods, helping you identify what’s working, spot improvement opportunities, and optimize campaigns for maximum impact.
Note: If you encounter the message “Unauthorized! User… Permission Denied” when opening Two Minute Reports in Looker Studio, please refer to our troubleshooting article to understand the issue and find the actionable steps to resolve it.
We hope you found this article helpful. If you have any questions, please contact our support team via [email protected].