With Two Minute Reports, you can easily import data from Google Search Console into Looker Studio. This saves you from spending time navigating the GSC dashboard and lets you focus directly on important SEO insights. Before connecting your GSC data to Looker Studio, make sure you have the required permissions:
Permissions Required
- The user needs to add and verify their property in Google Search Console. Only verified properties will be available for use with TMR’s GSC connector.
- You must have either Owner or Full User roles to access Search Performance data. Only an Owner can upgrade other users to the Full User role.
- Users with Owner or Full User access can authenticate via the Google login flow. Once authenticated, the connector automatically displays the user’s verified properties.
Once you’re set with these requirements, you’re ready to connect your Google Search Console data to Looker Studio.
Step 1: Streamline your Google Search Console account in Looker Studio
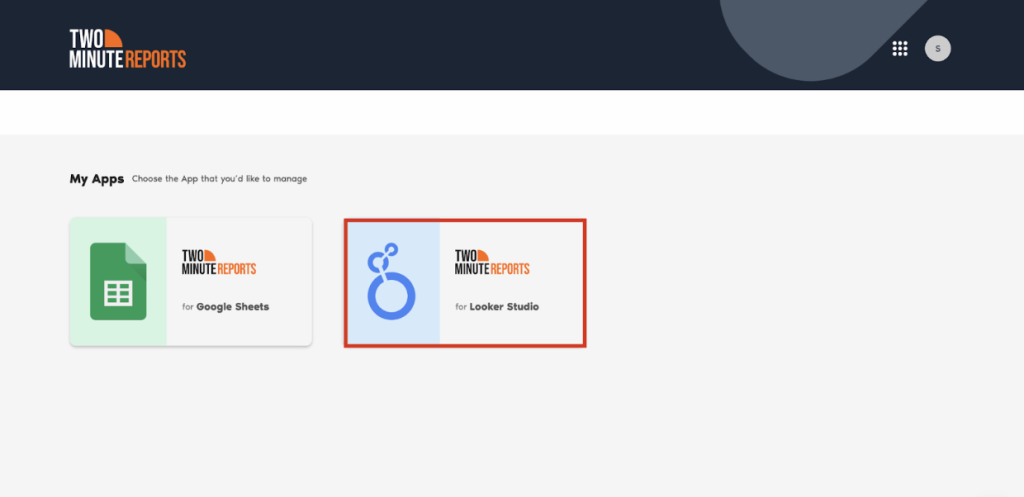
- Go to https://hub.twominutereports.com and choose Two Minute Reports for Looker Studio.
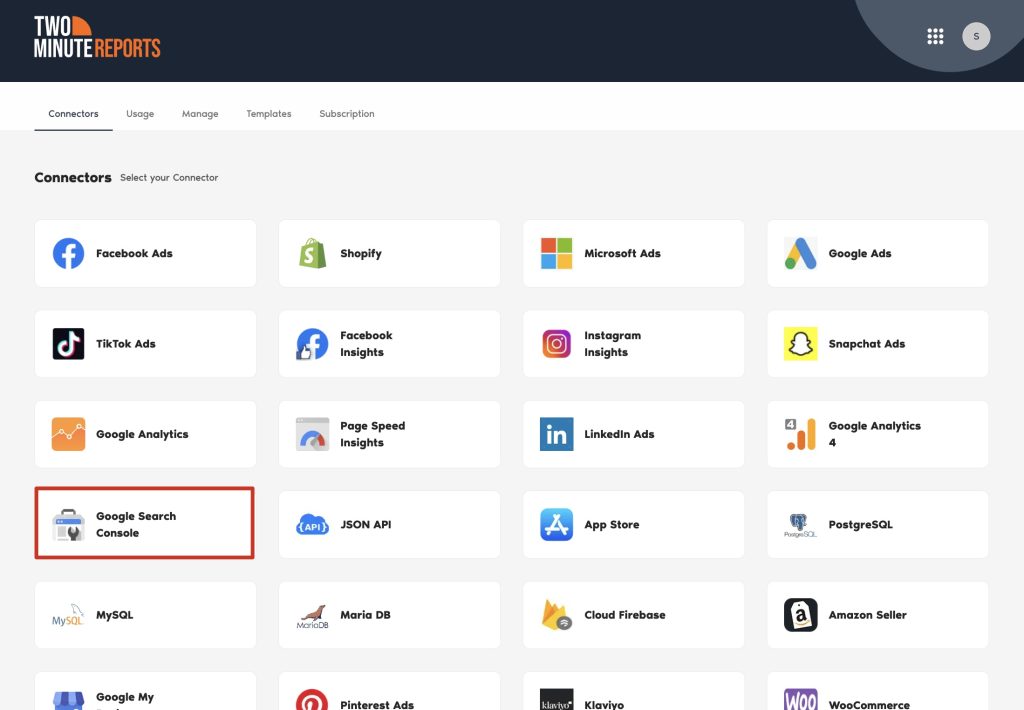
- Select Google Search Console from the list of connectors.
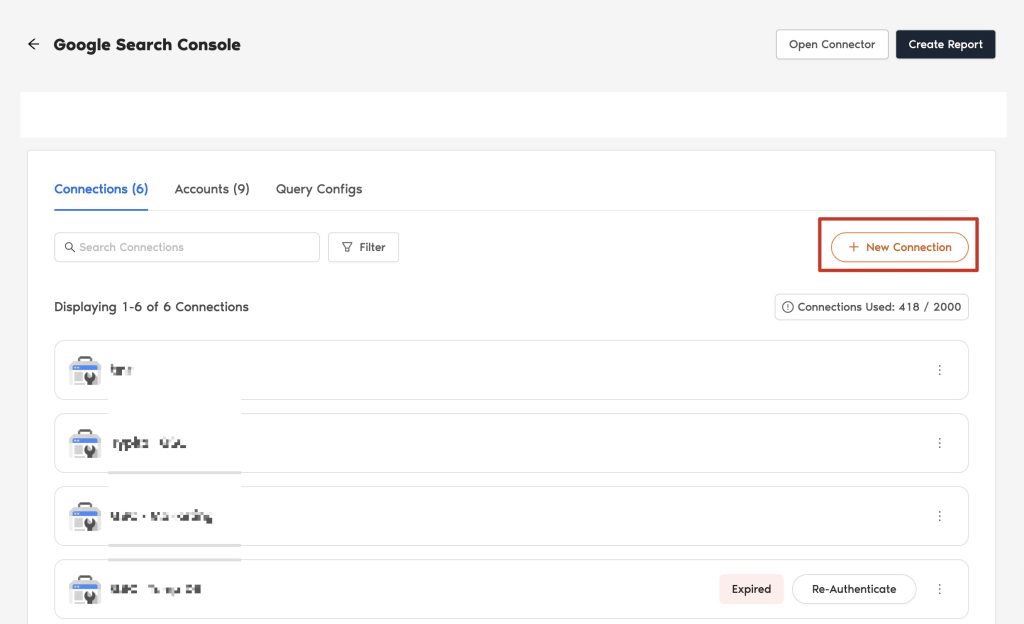
- Connect your Google Search Console data by clicking New connection to create your Connection in Looker Studio.
- The “Adding new connection” dialog box will open. From here, you can connect your Google Search Console account in just two steps:
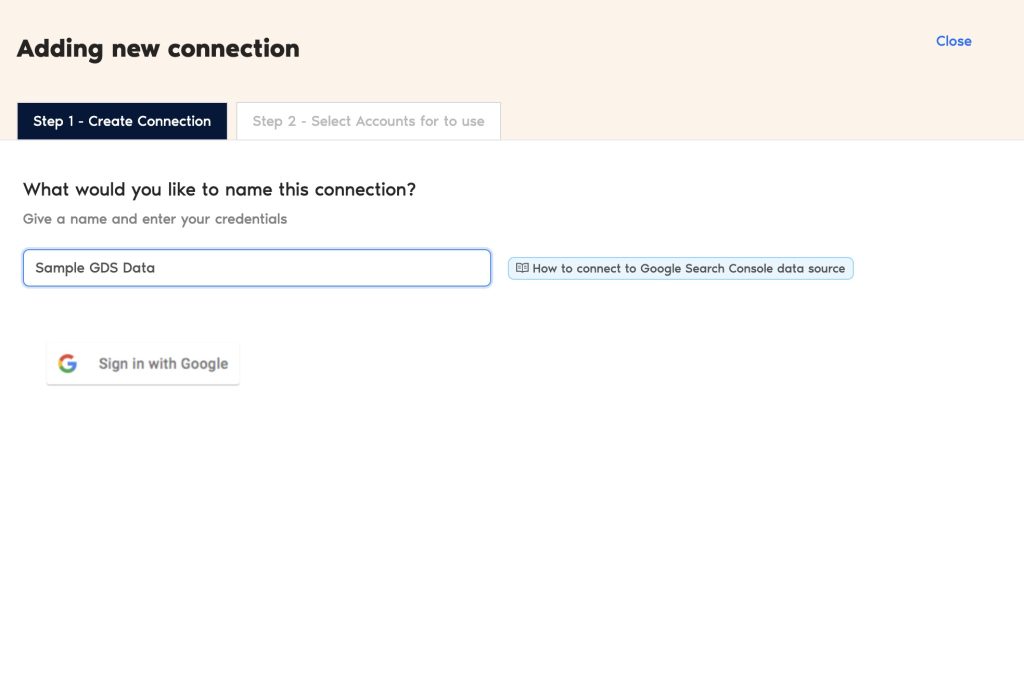
- Creating a Connection: Name the connection and authorize the email linked to your Google Search Console account.
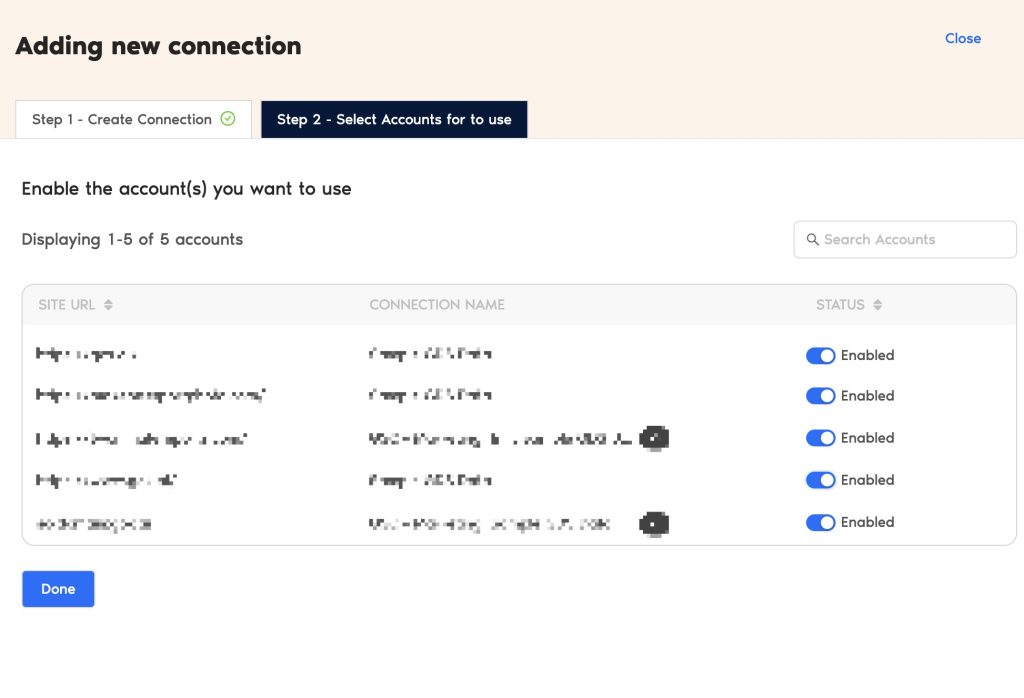
- Enable the required accounts to extract SEO insights. Reports can only be created from the accounts you enable.
That’s it. You can now configure your Google Search Console account to track your website’s performance.
Step 2: Configure your Google Search Console account with TMR
- In the Query Configs section, click + Add New.
| The Query Config allows you to group multiple accounts, making it easier to view centralized insights in your Looker Studio dashboard. |
- The Adding New Query Configuration dialog box will appear. Give your query a name, choose an account from the list of enabled accounts, and pick the type of GSC report you need – Analytical Report, Sitemap Report, or URL Inspection Report. When you’re done, click Save.
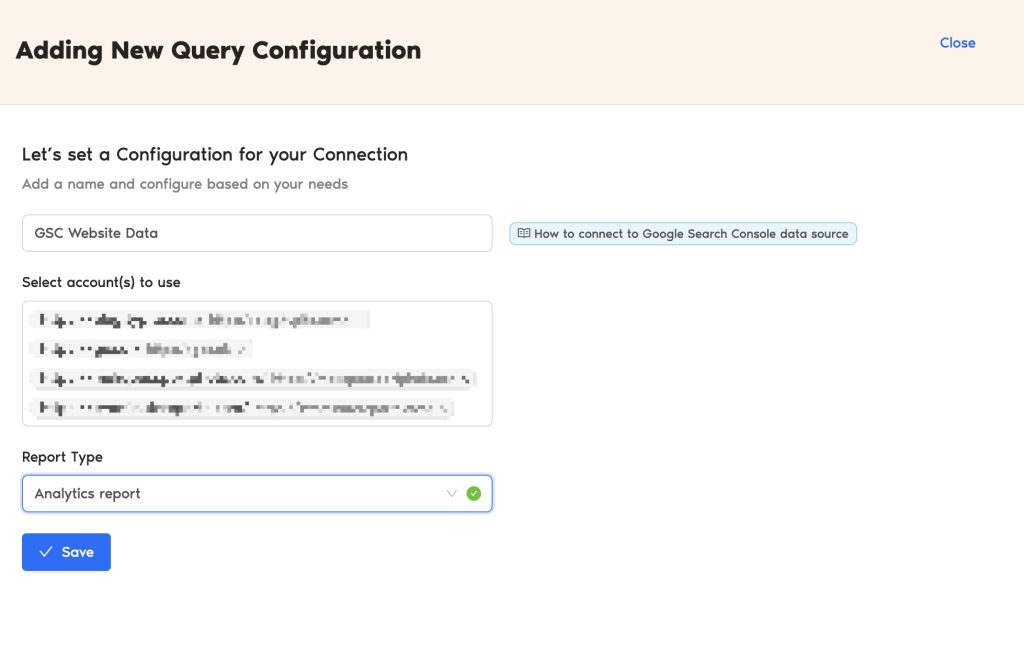
- You’ve successfully created a new configuration, which you can now use to extract data for your Looker Studio reports.
Step 3: Create your Google Search Console Report with TMR in Looker Studio
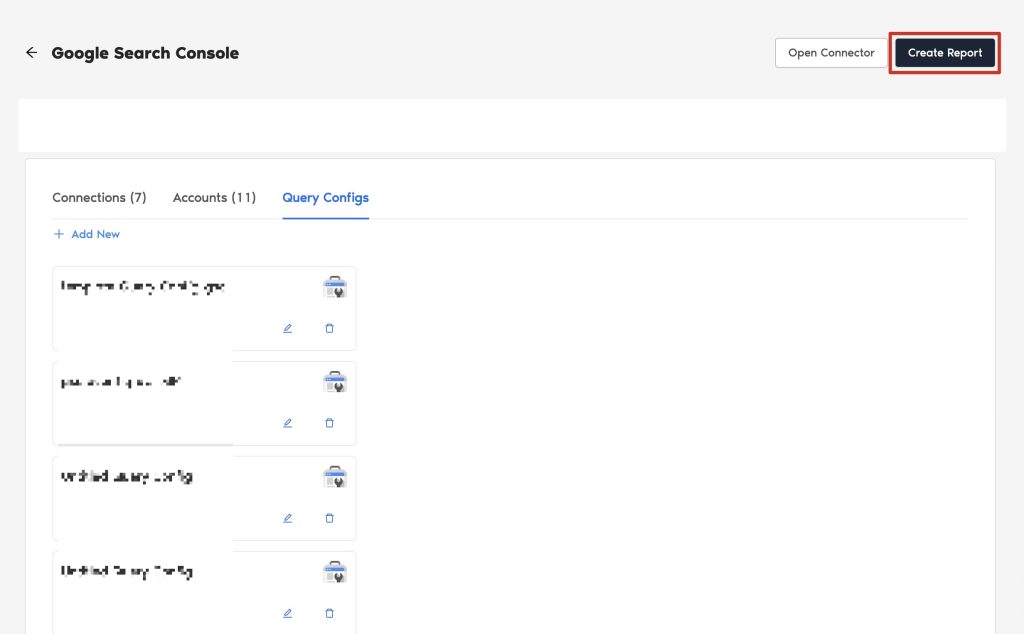
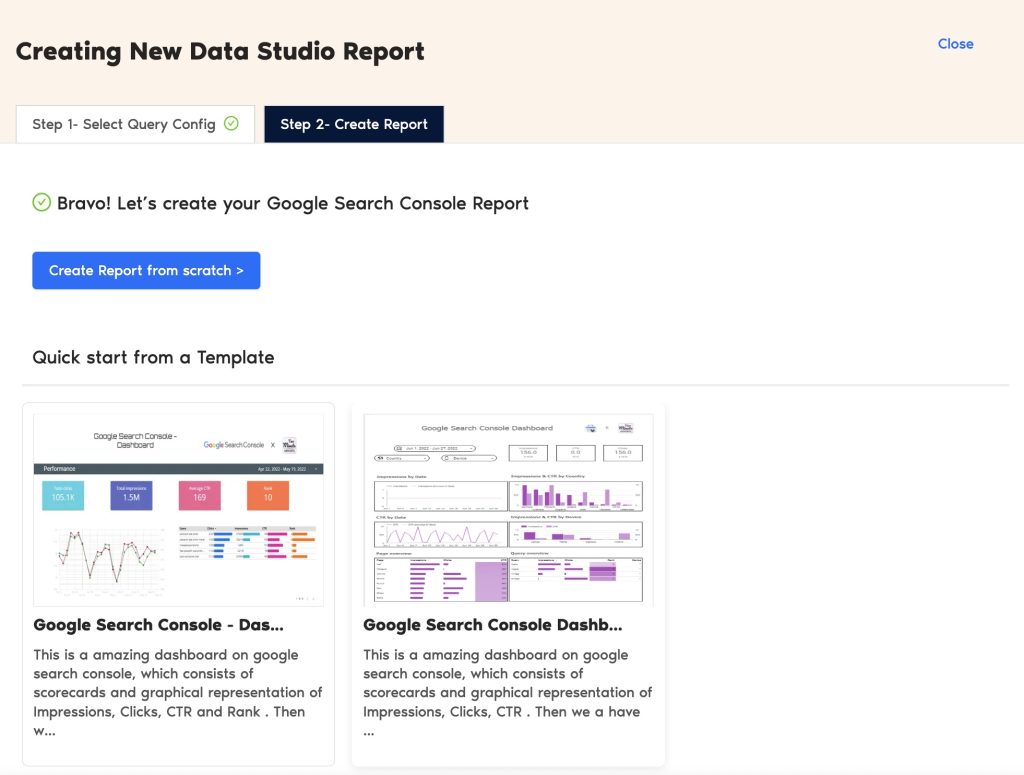
- After creating the Query Config, click Create Report in the top-right corner.
- Select the Query Config that you’ve created (in our case, it’s ‘GSC Website Data’) from the list of options. Click Next and choose ‘Create report from scratch’ to open the Looker Studio dashboard.
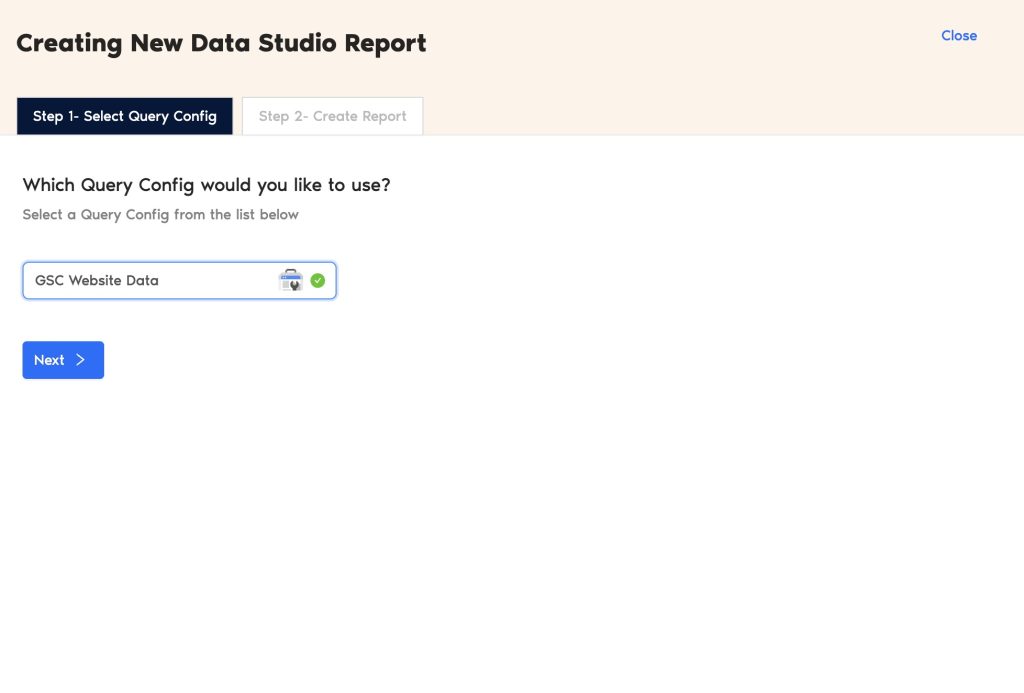
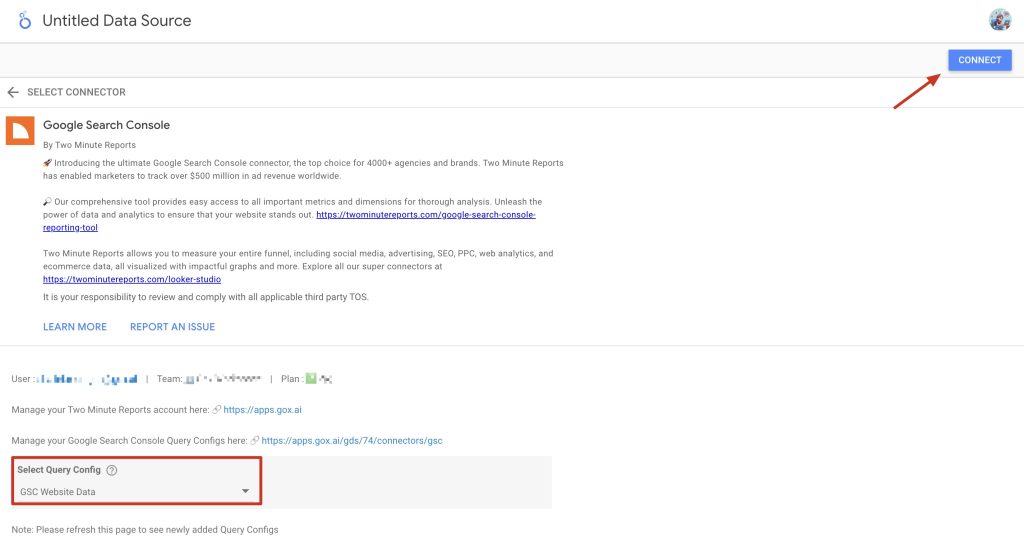
- Once the Looker Studio dashboard opens, select your team and the required Query Config from the dropdown. Then click Connect in the top-right corner.
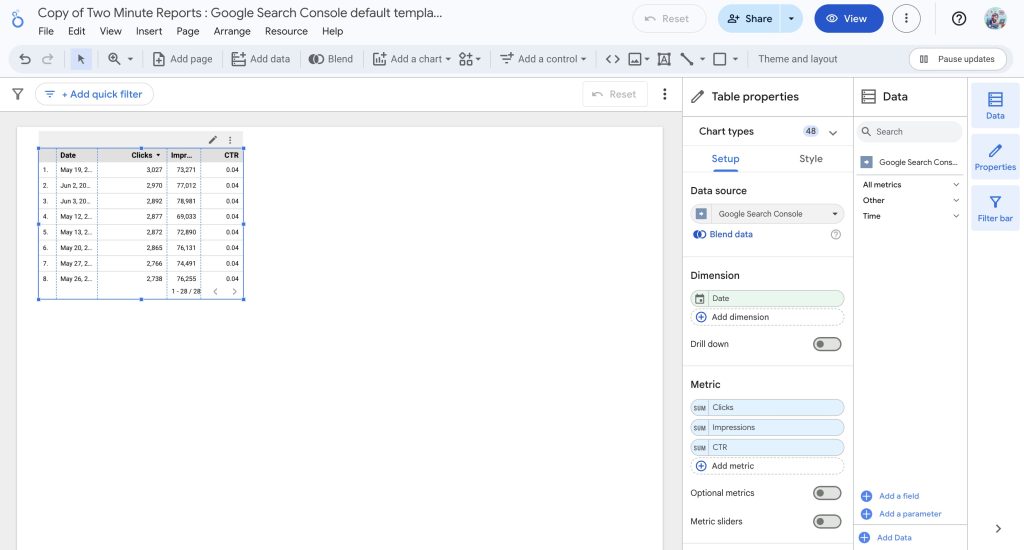
- After you click Create Report, you’ll be taken to the Looker Studio dashboard. From there, select the GSC metrics and dimensions you want to use to build your website analytics report.
- You can also inspect multiple URLs on your site and check the status and processing details of your submitted XML sitemaps. To select your preferred report type, follow these steps:
- Go to the Query Config tab, select GSC Website Data, click the pencil icon, and choose your report type from the dropdown menu.
- To make your Looker Studio report engaging, add charts and visualizations. Click Add a chart and select the chart types you need to set up your dashboard.
For example, you can use bar charts to track key trends like total clicks, impressions, and average position over time. This helps you see which time periods, queries, or pages bring the most visibility and traffic to your site.
Note: We’ve also listed some common issues marketers face while running reports on Looker Studio and practical solutions to fix them. Read the full article here.
We hope you found this article helpful. If you have any questions, please contact our support team via [email protected].
