Visualize your email campaign performance in one place using TMR’s Klaviyo Connector for Looker Studio. Monitor key email KPIs, build real-time interactive dashboards, and gain clear, actionable insights into what’s working and what isn’t. Before connecting your Klaviyo data to Looker Studio, ensure you have the following permissions:
Required permissions
To connect with Two Minute Reports, your Klaviyo account must have one of the following user roles: Admin, Owner, or Manager. You must also generate a private API key with read-only scope to connect your Klaviyo account data. Refer to Step 2 in the article for guidance on this. Keep your API key safe and secure to prevent loss.
For more user management and privileges information, refer to Klaviyo’s help article.
Now that you understand the prerequisites, let’s connect your Klaviyo data to Looker Studio via TMR.
Step 1: Streamline your Klaviyo account in Looker Studio
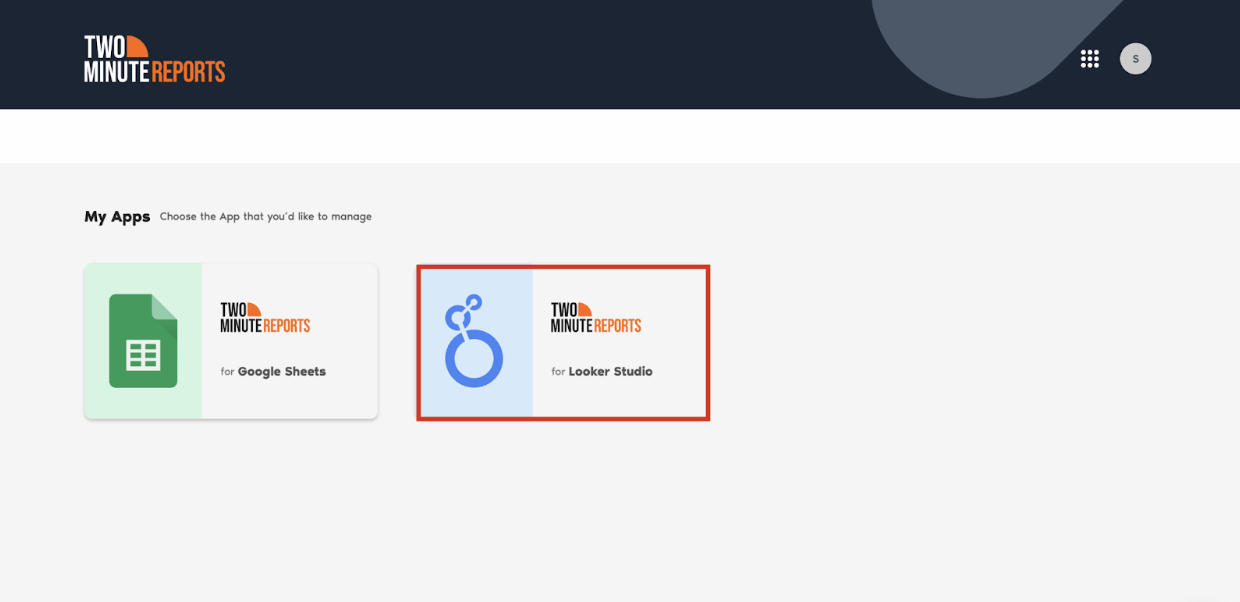
- Go to https://hub.twominutereports.com/ and select Two Minute Reports for Looker Studio.
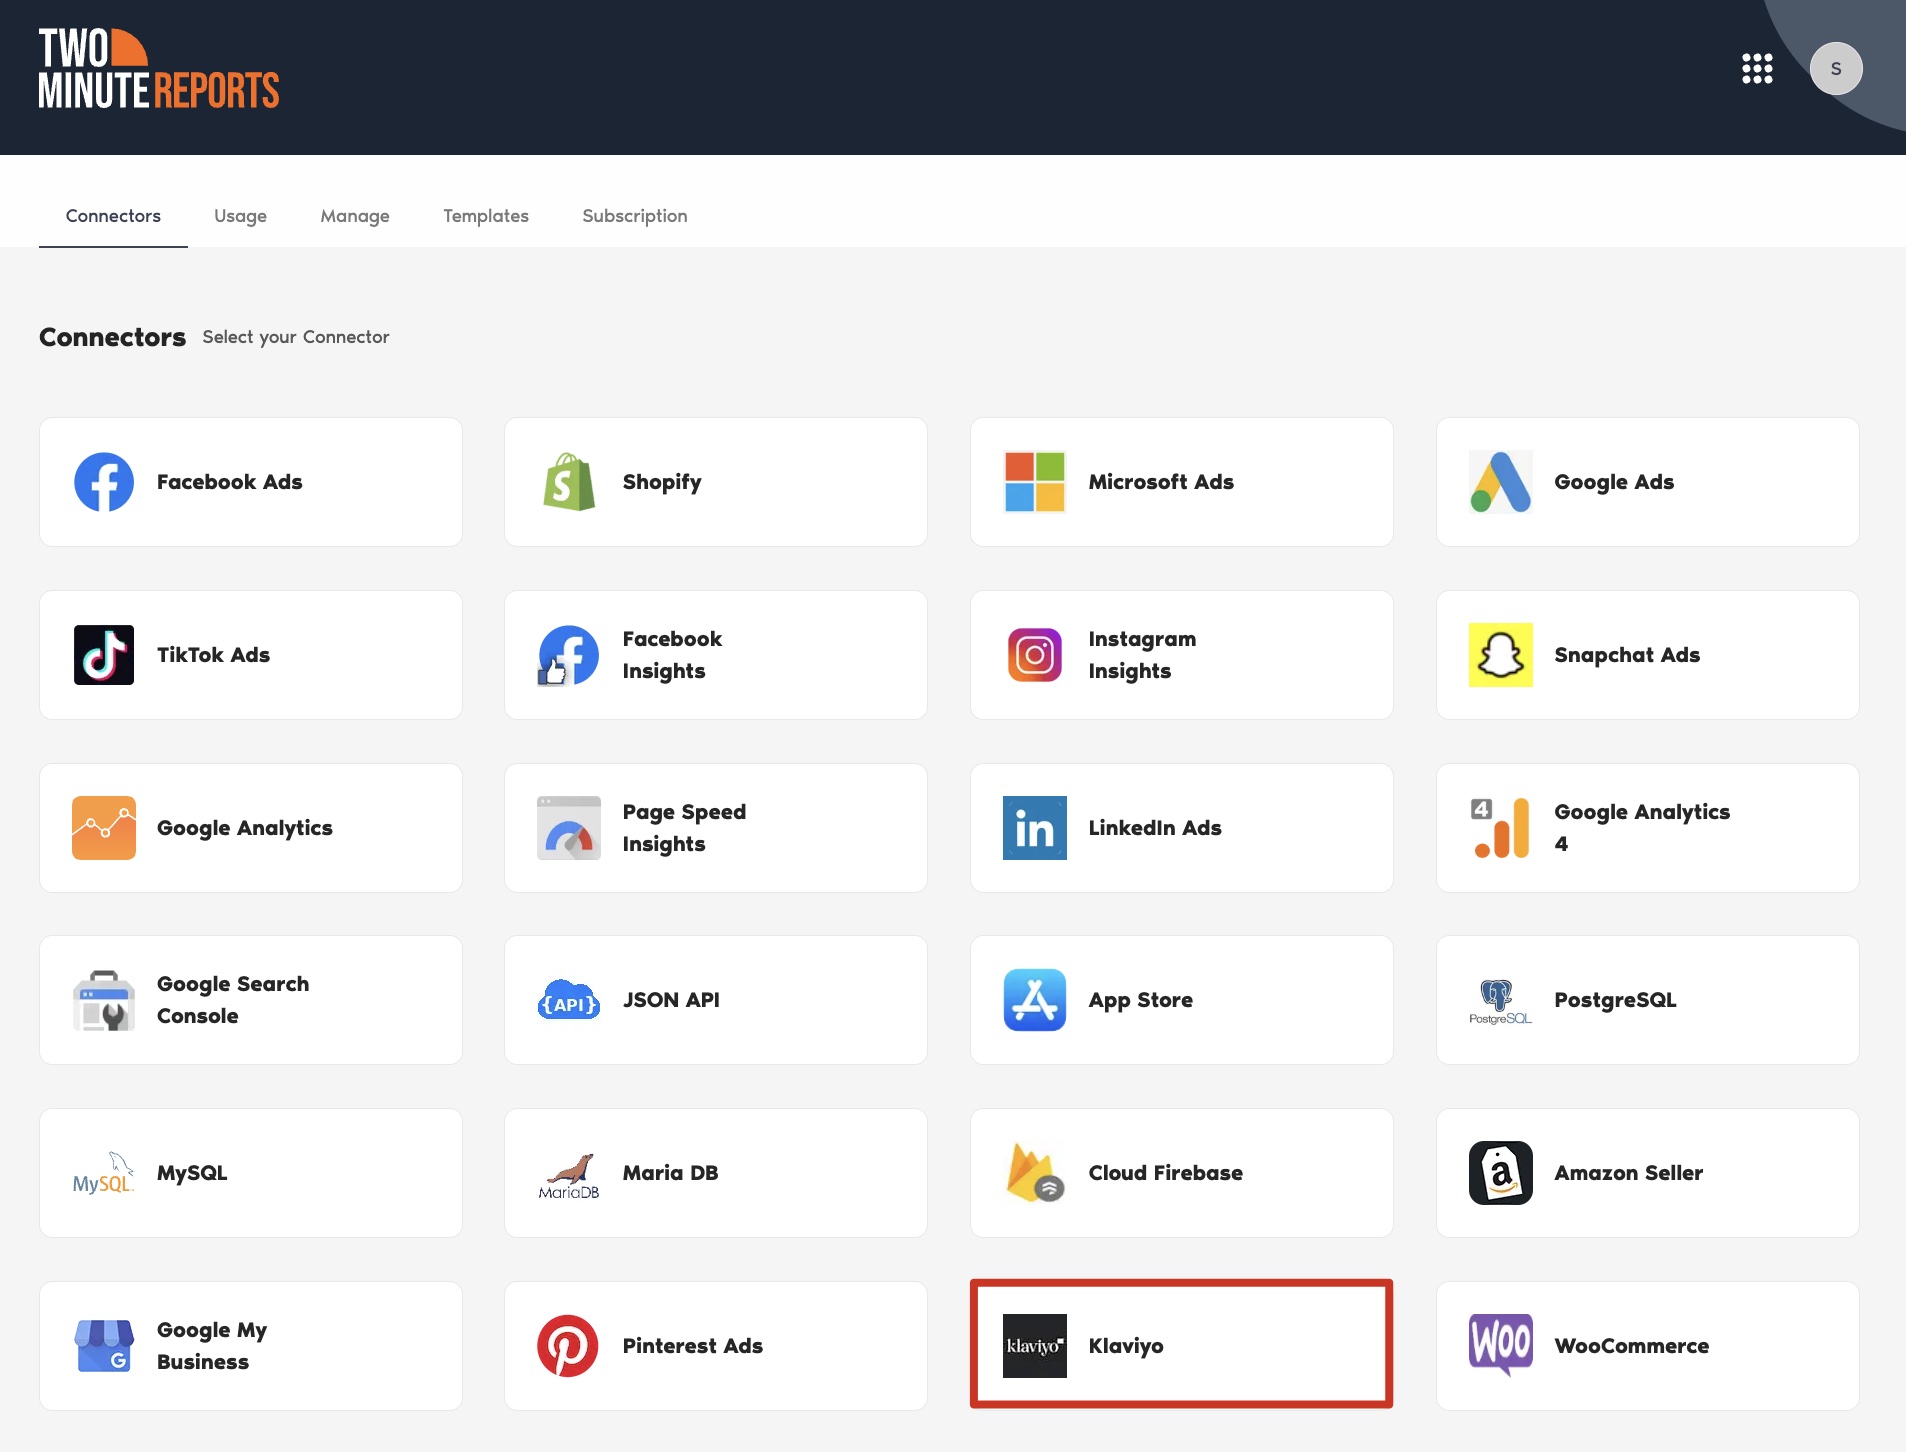
- Choose Klaviyo from the list of connectors.
- To connect your Klaviyo data, click “New Connection” to create your connection in Looker Studio.
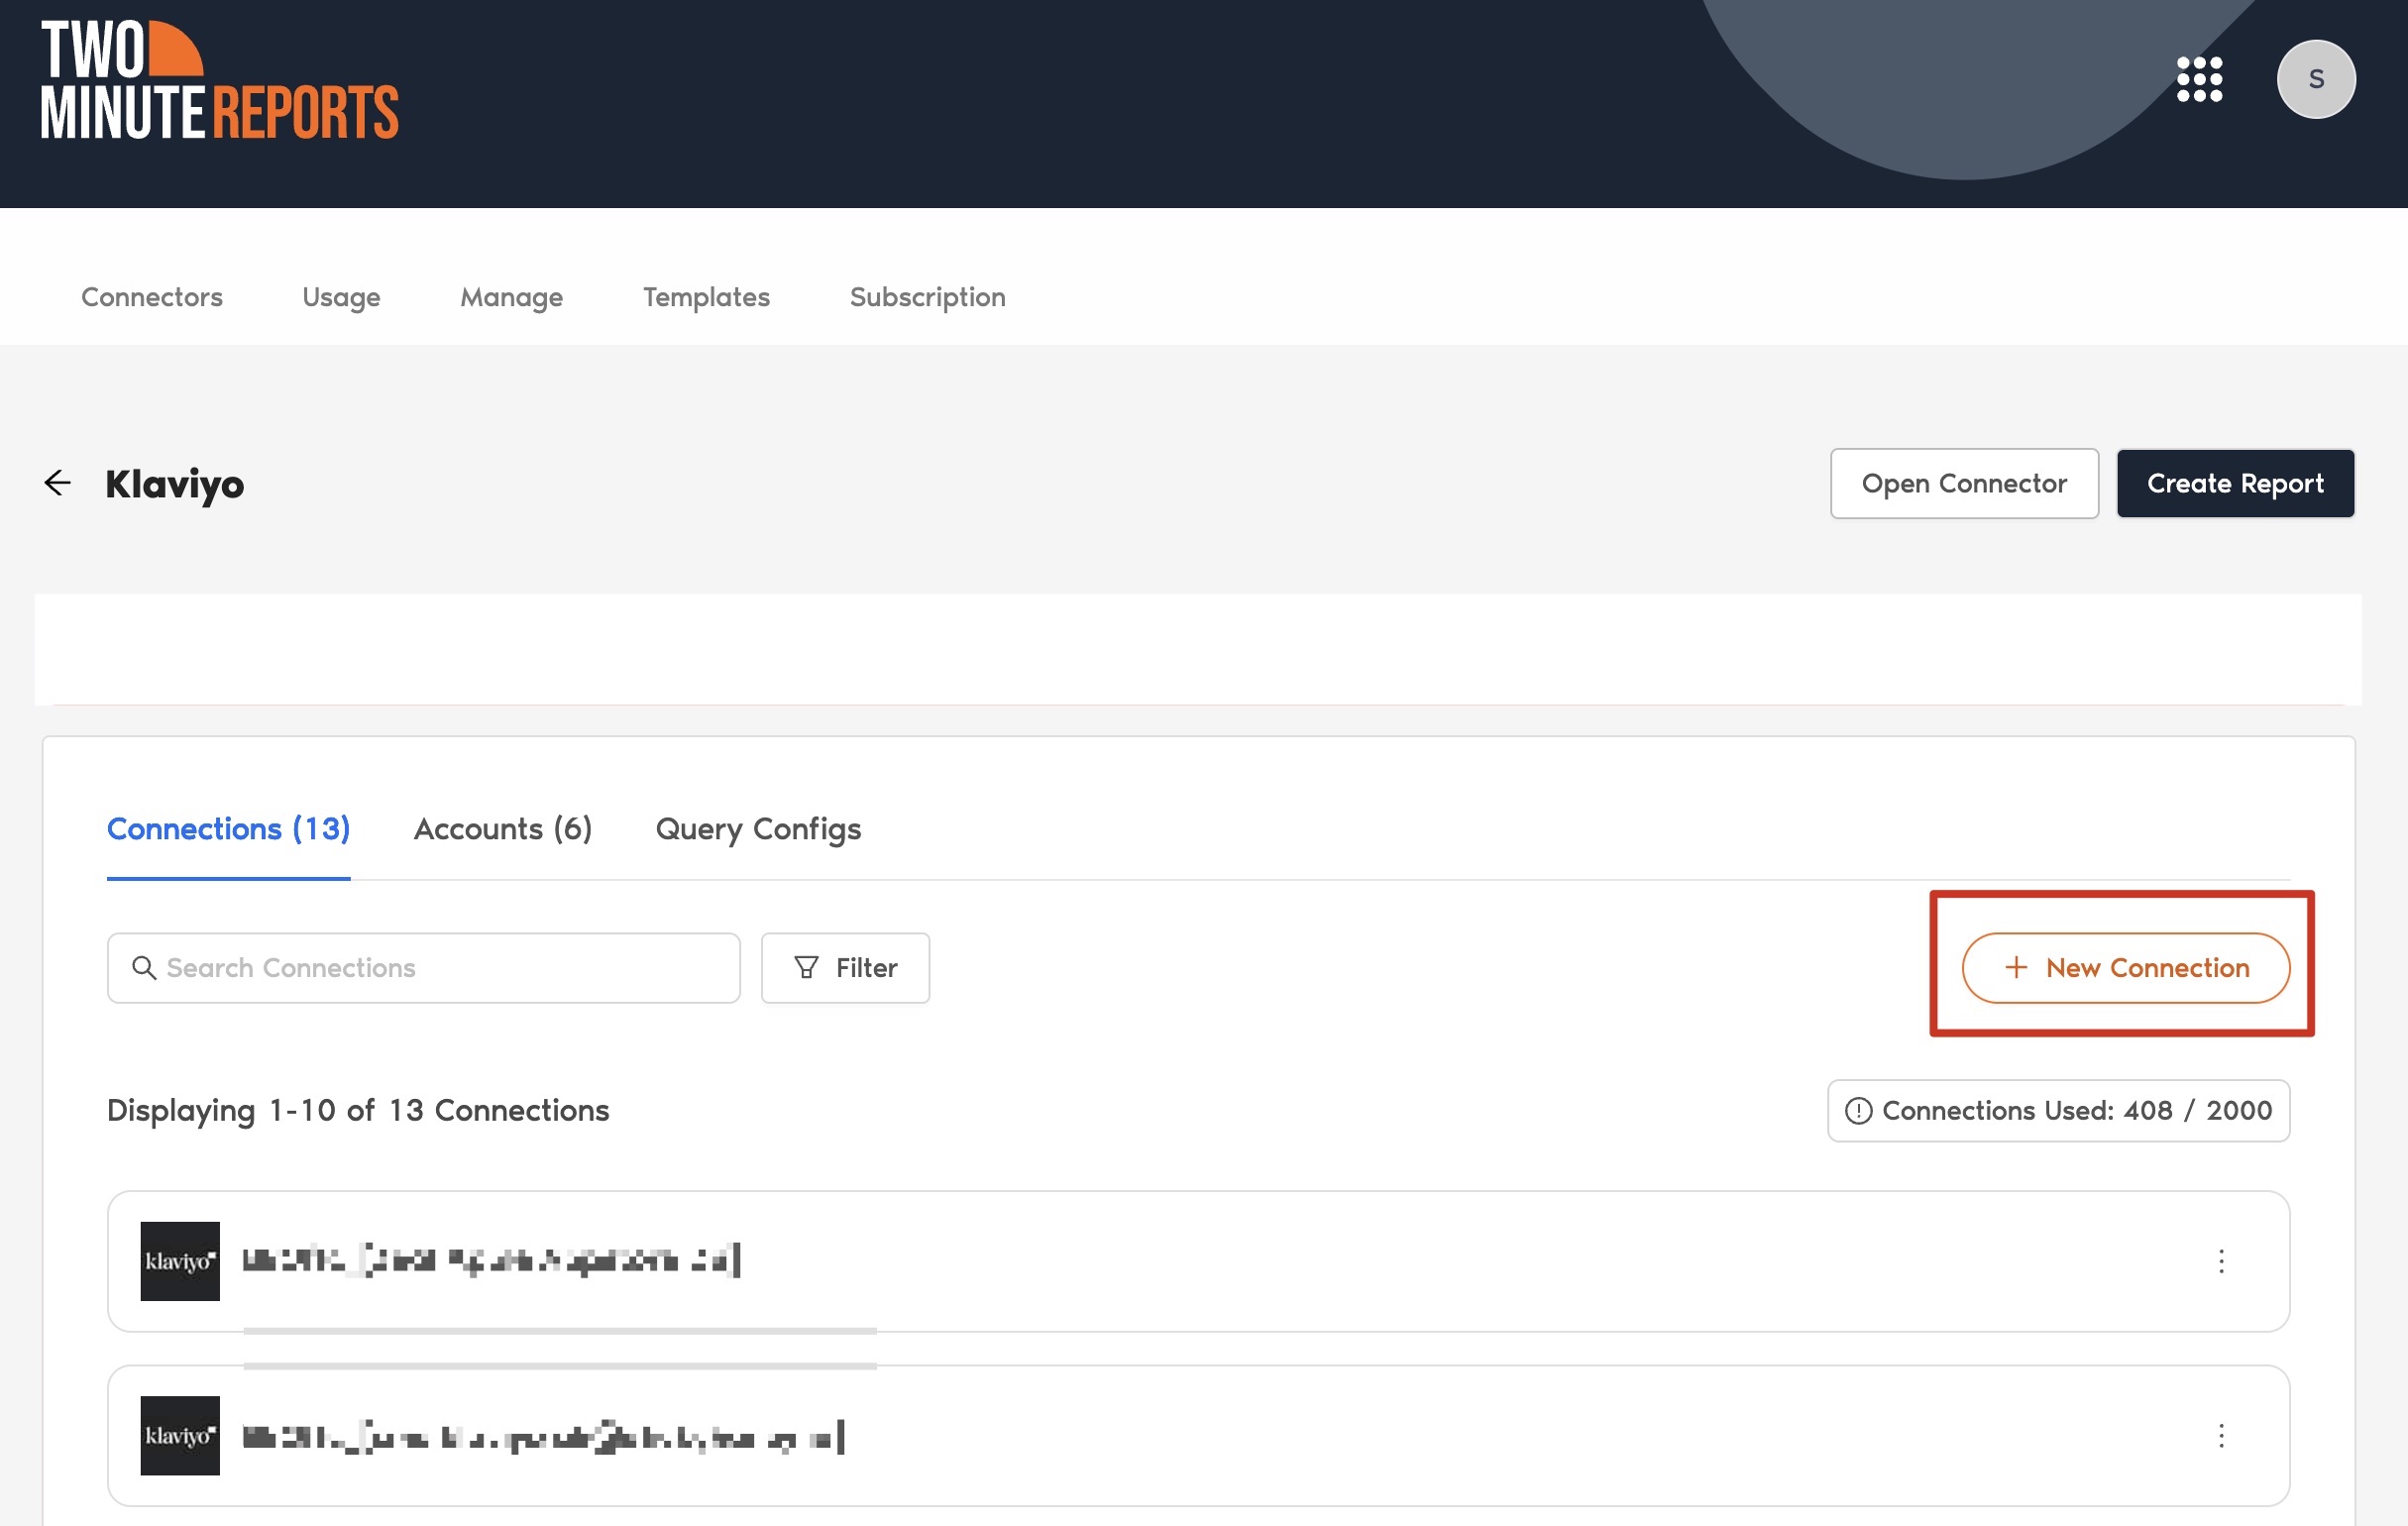
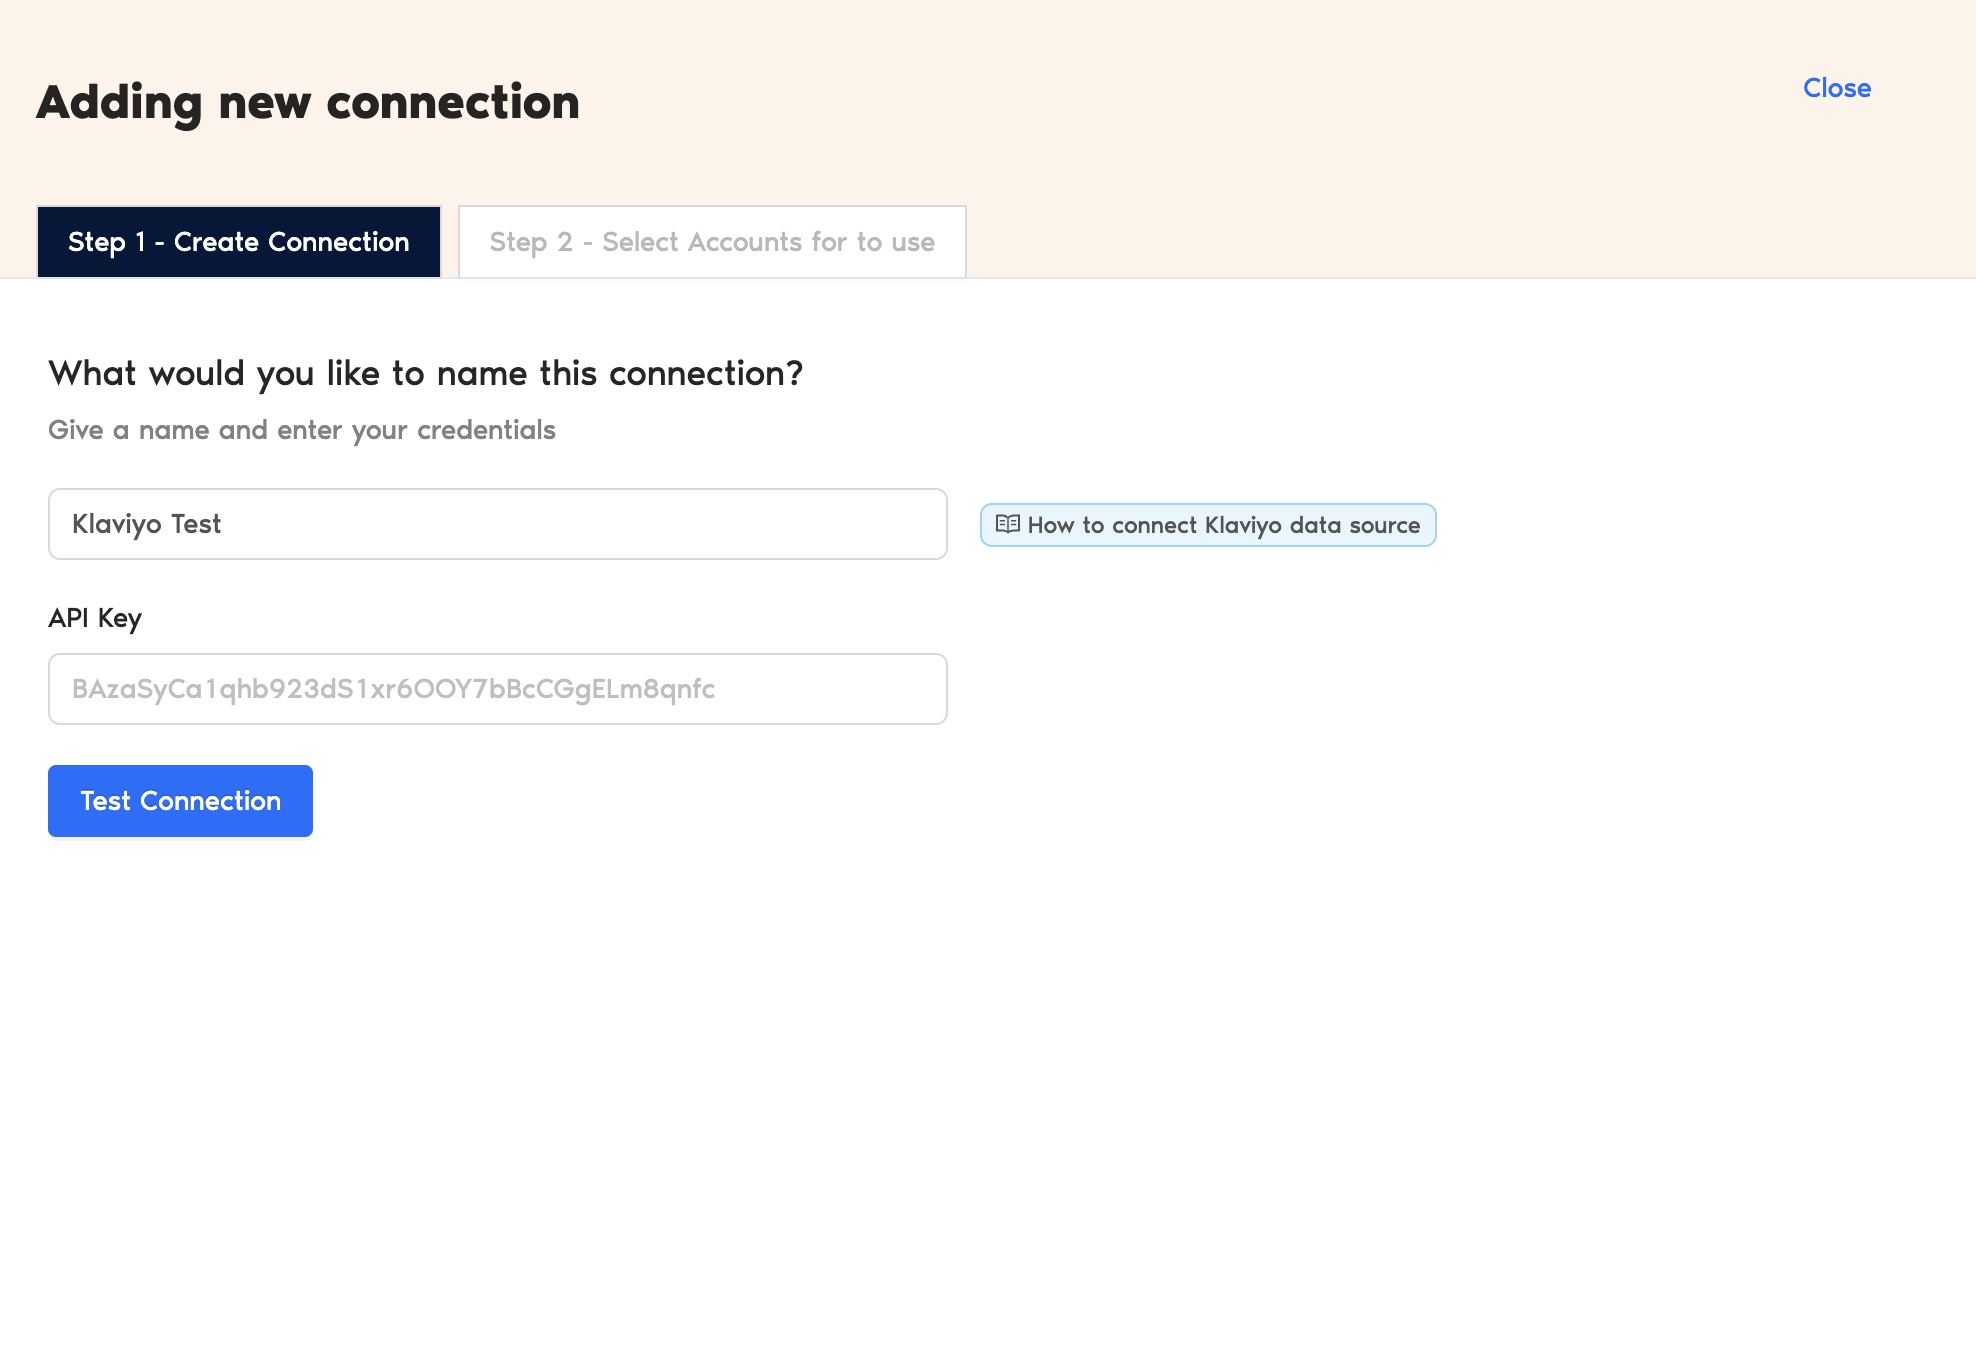
- The Adding New Connection dialog box will appear. You can connect your Klaviyo account by generating an API key from the Klaviyo dashboard.
Step 2: Generating API key from the Klaviyo dashboard
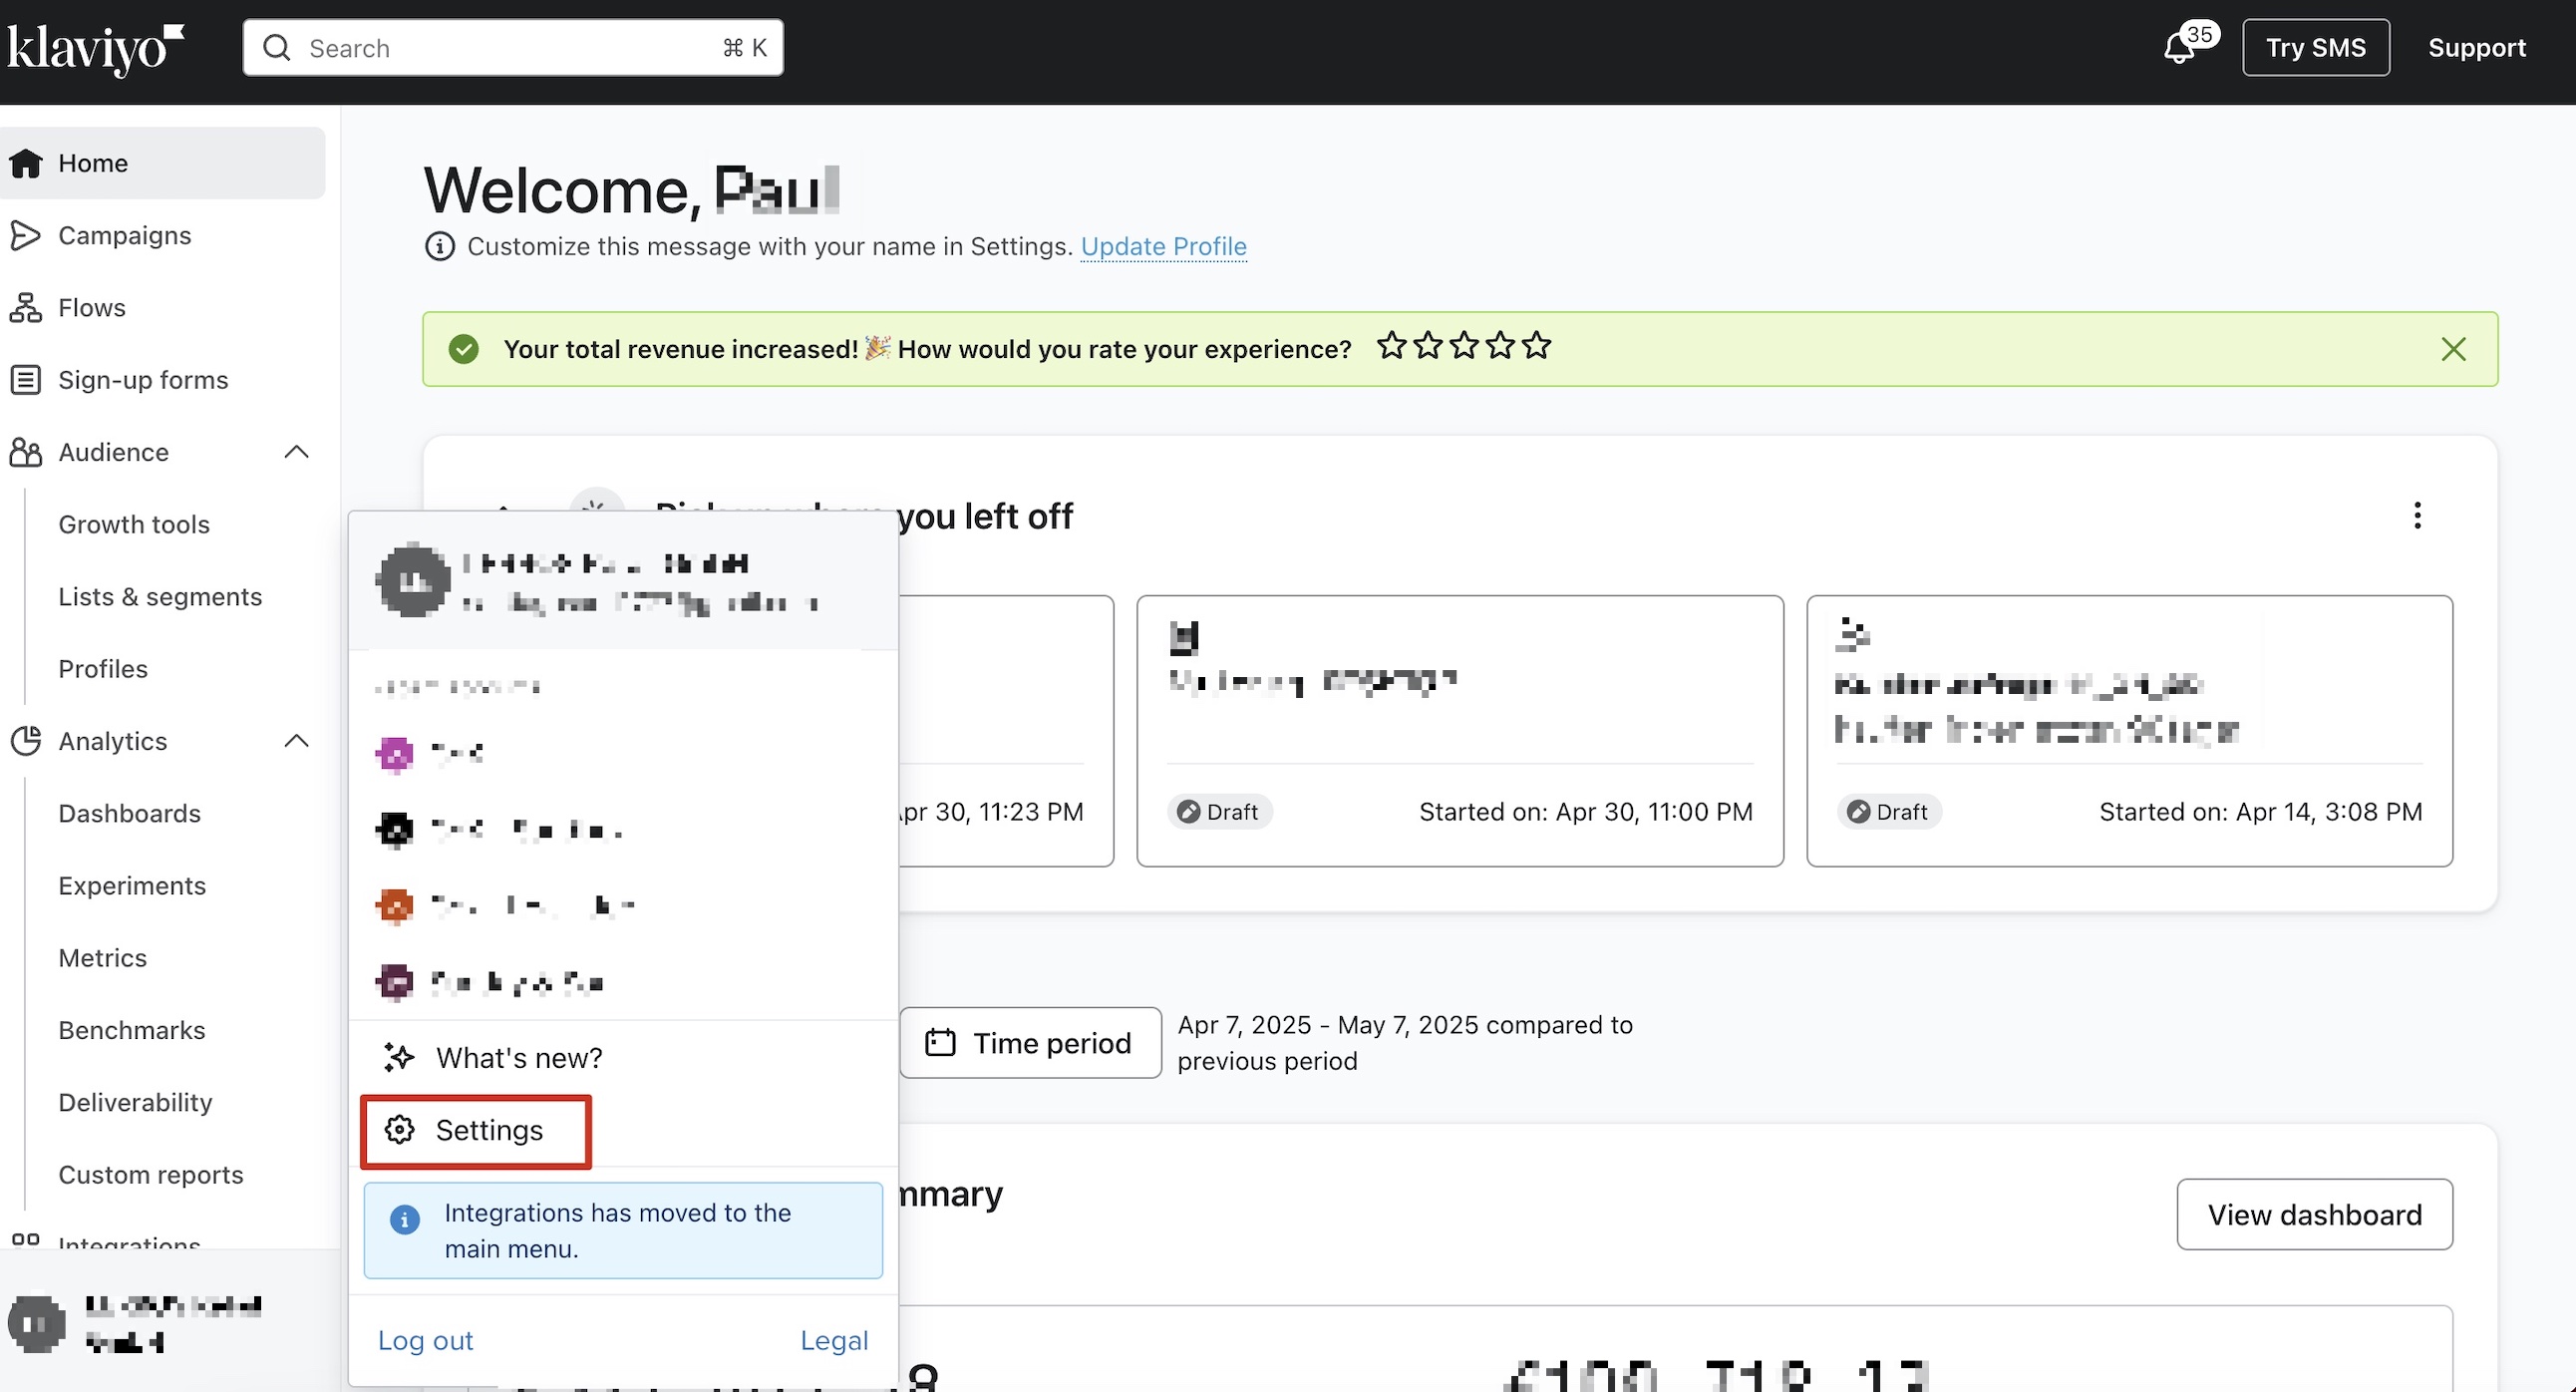
- In your Klaviyo dashboard, select the Profile option. Next, choose the Settings option.
- Click API keys under the account menu.
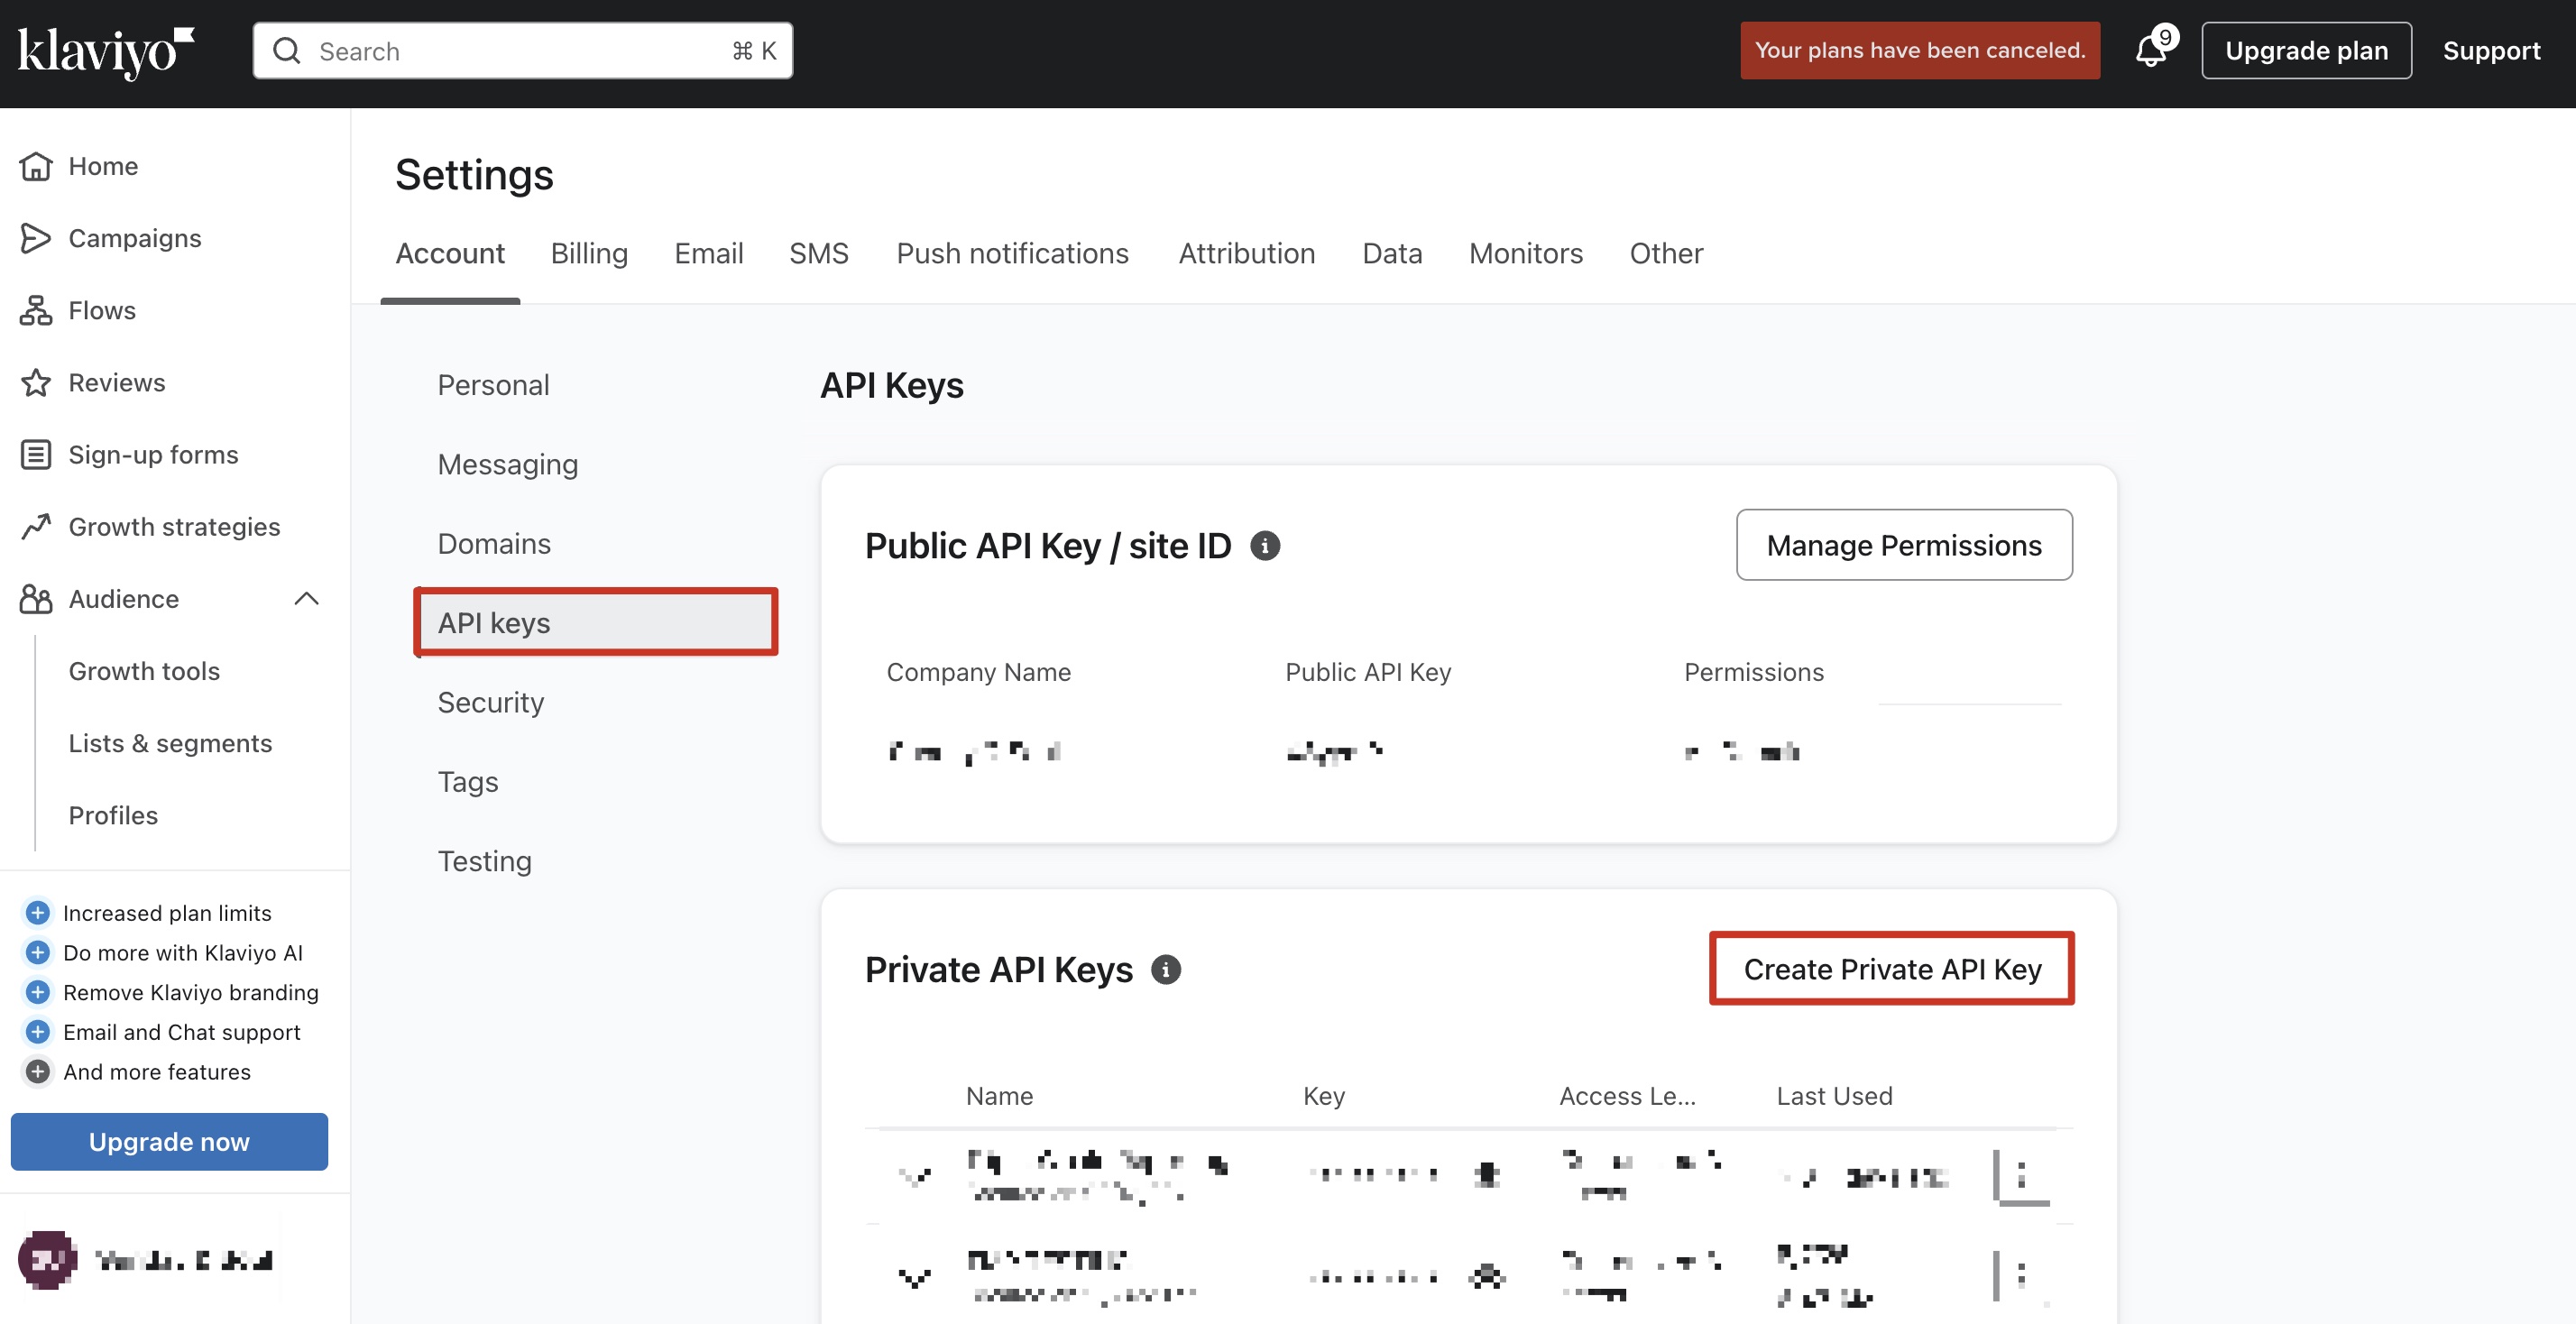
- You can see previously created API Keys. To create a new one, click Create Private API Key.
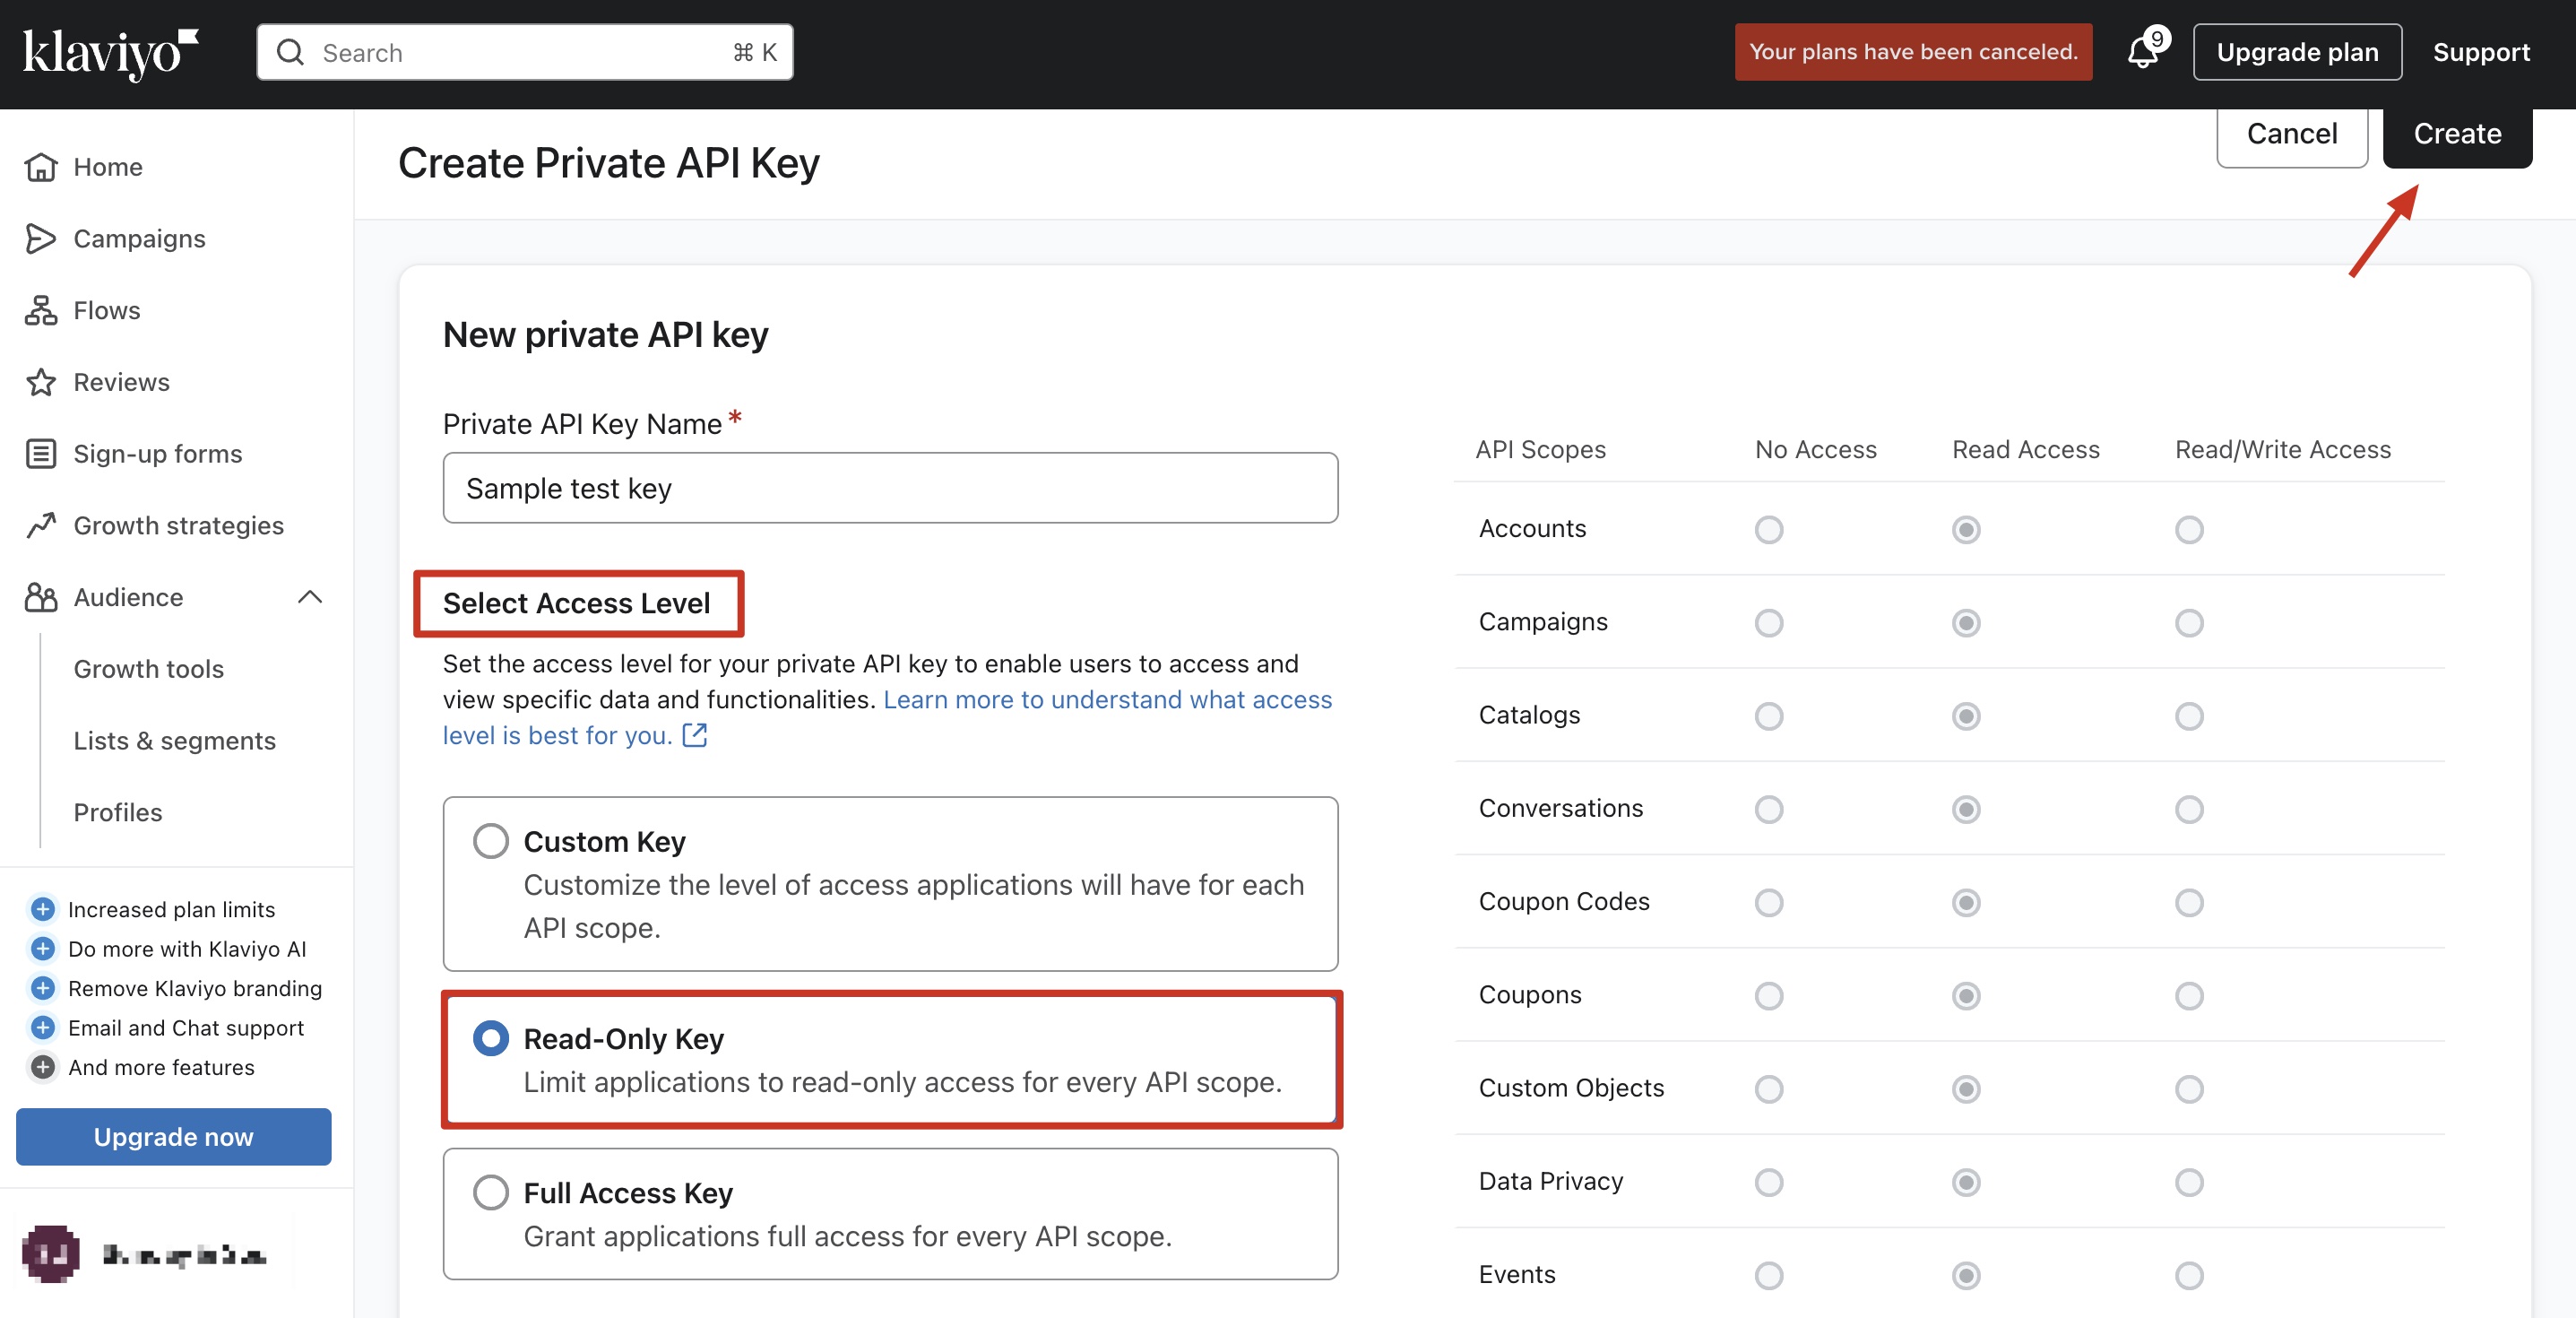
- Name your new API Key. Under Select Access Level, choose Read Access to grant read-only access for API scopes.
- After completing these steps, click Create in the top right corner of the Klaviyo dashboard. Klaviyo will now generate your API key.
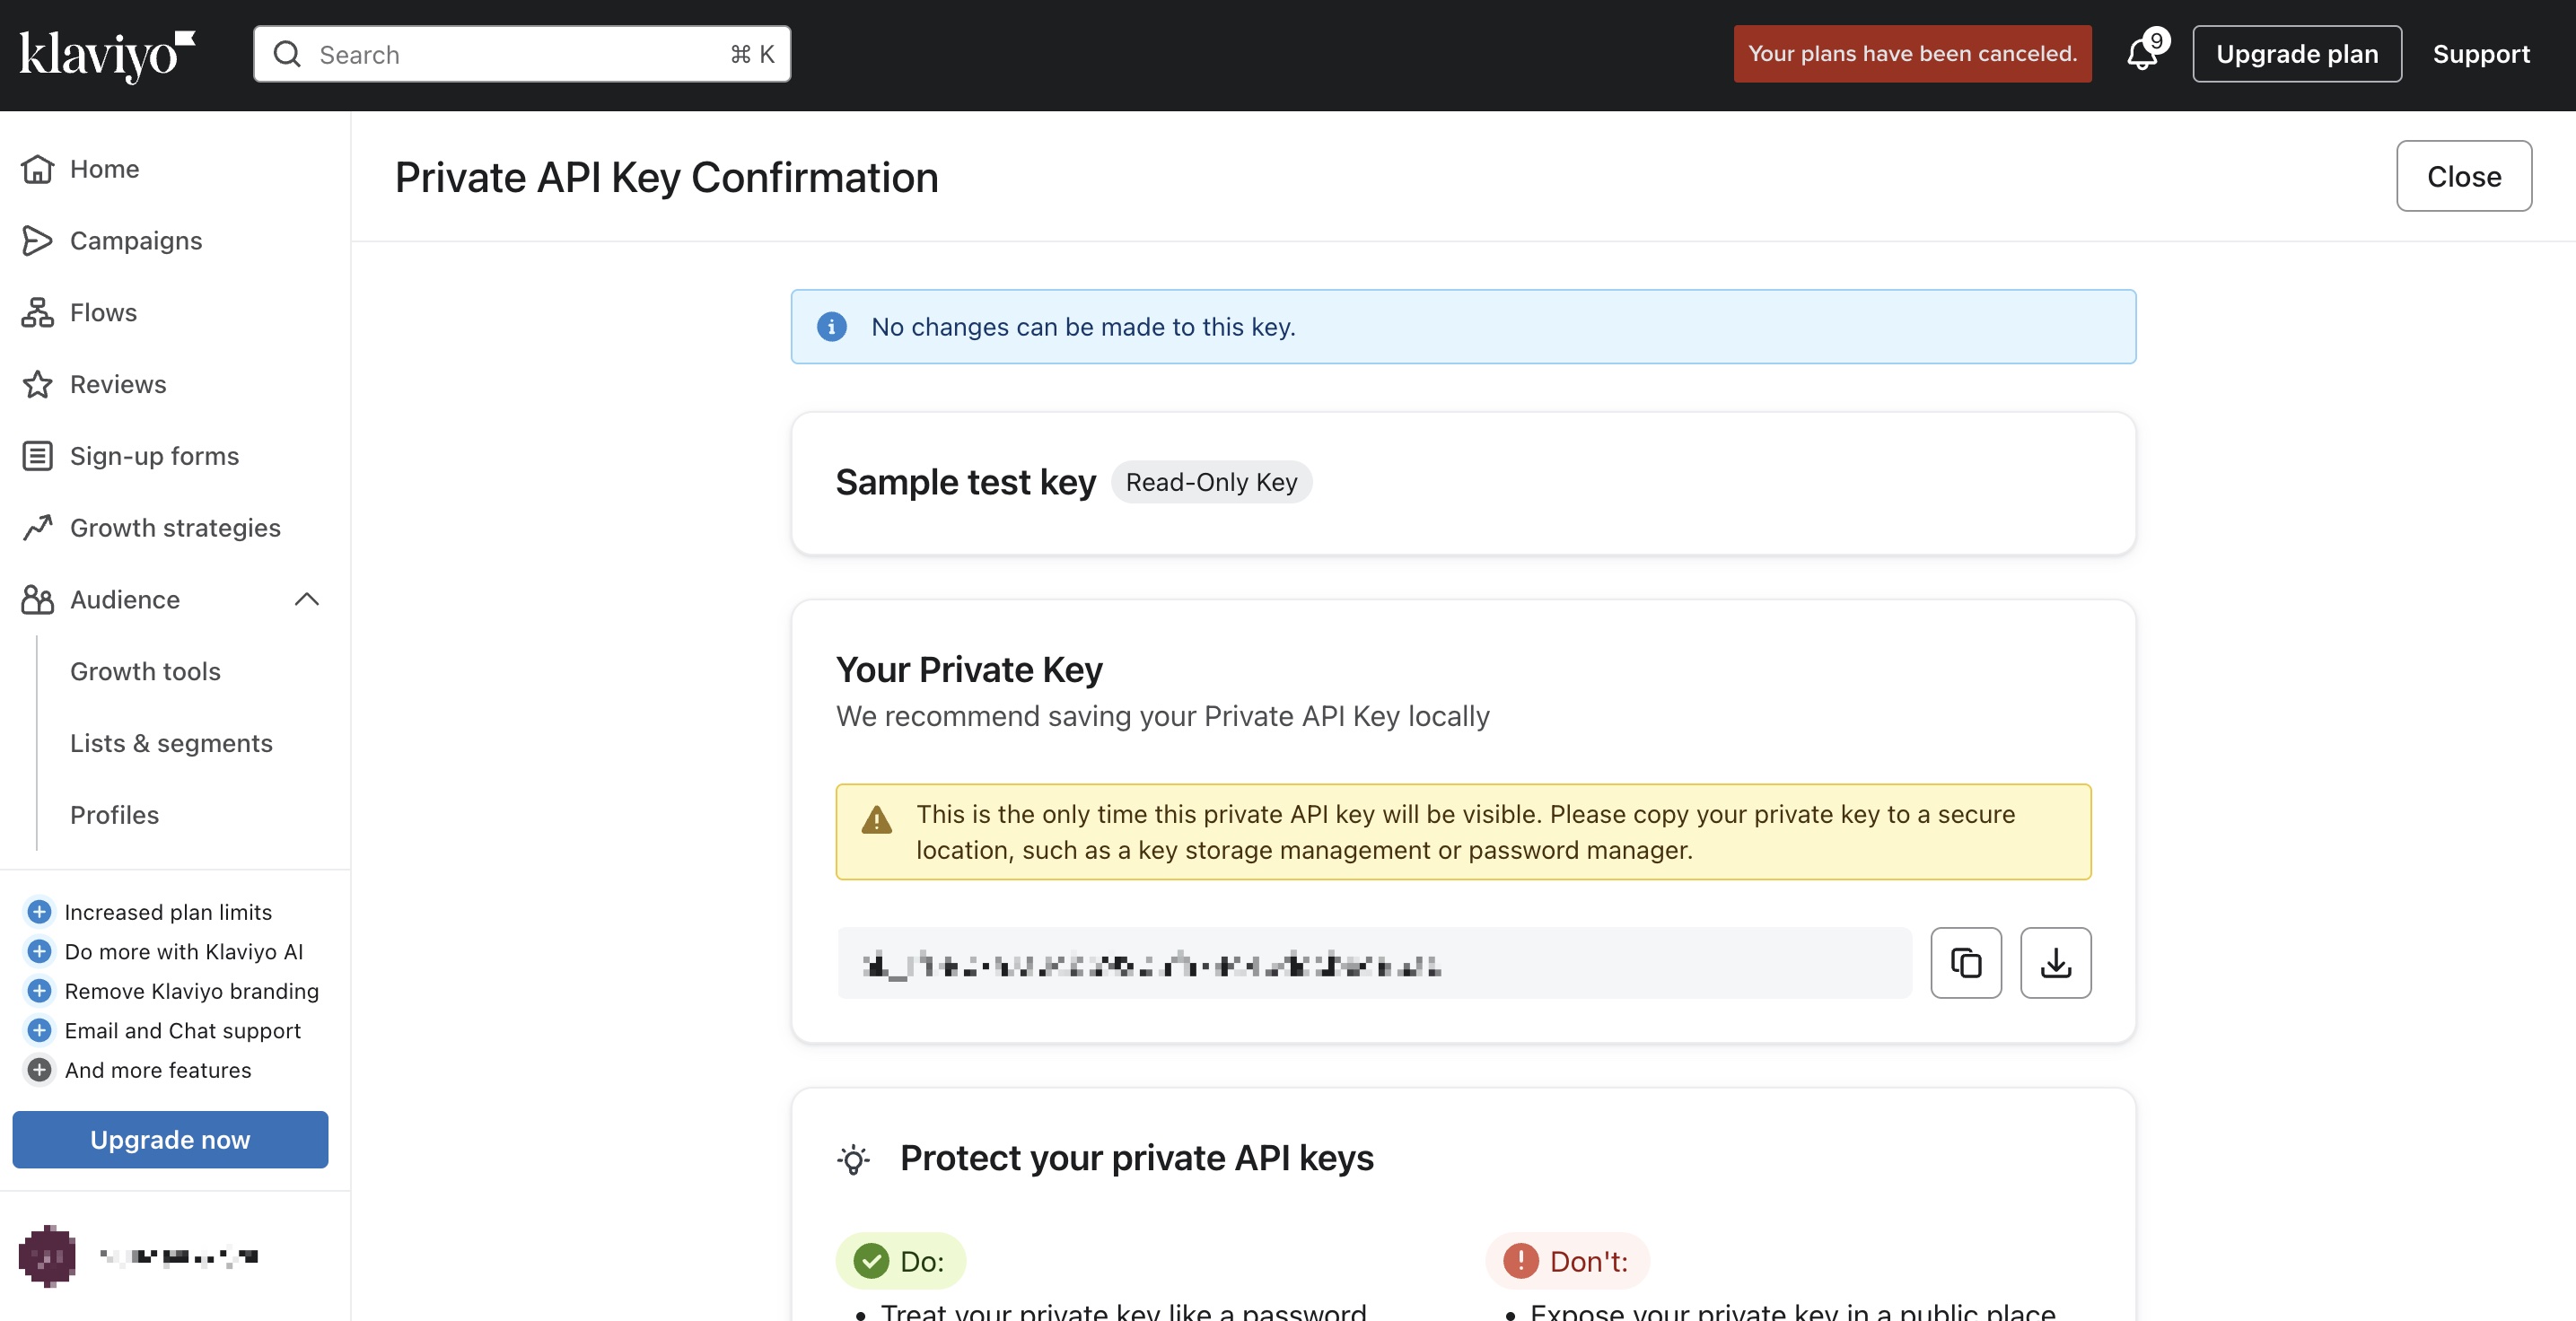
- Copy and paste the API key into Step 1: Adding new connection window.
Note: Your private key will be visible only once. To avoid losing it, save or download it in a secure place.
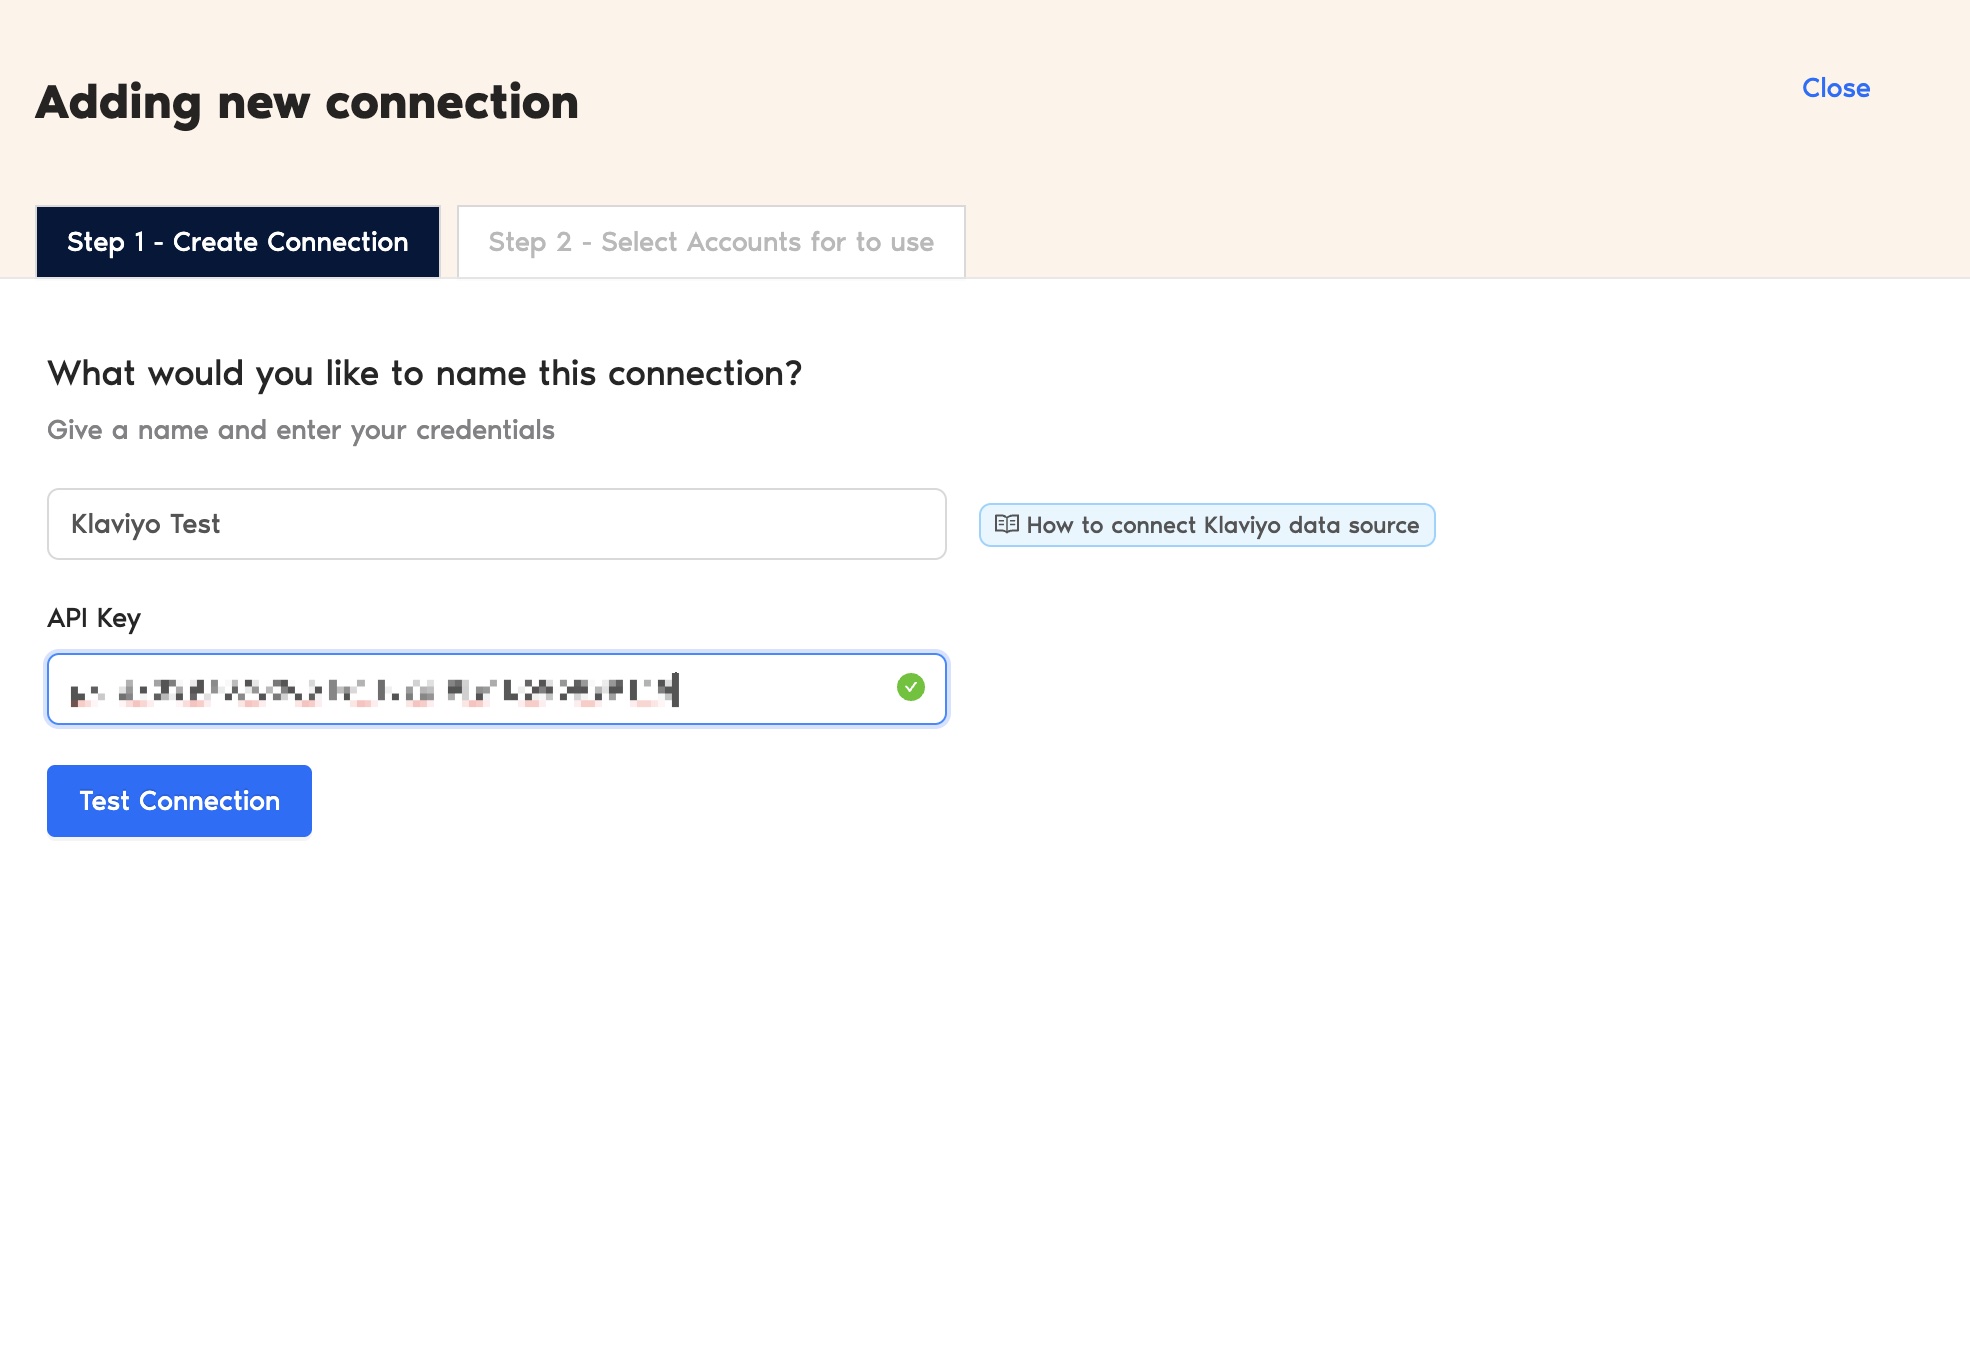
- Paste the API key as shown above and click Test Connection. Your Klaviyo Connection will then be successfully authenticated.
- Once authenticated, you will see a screen displaying your Account name, ID, Connection name, and Status, as shown below.
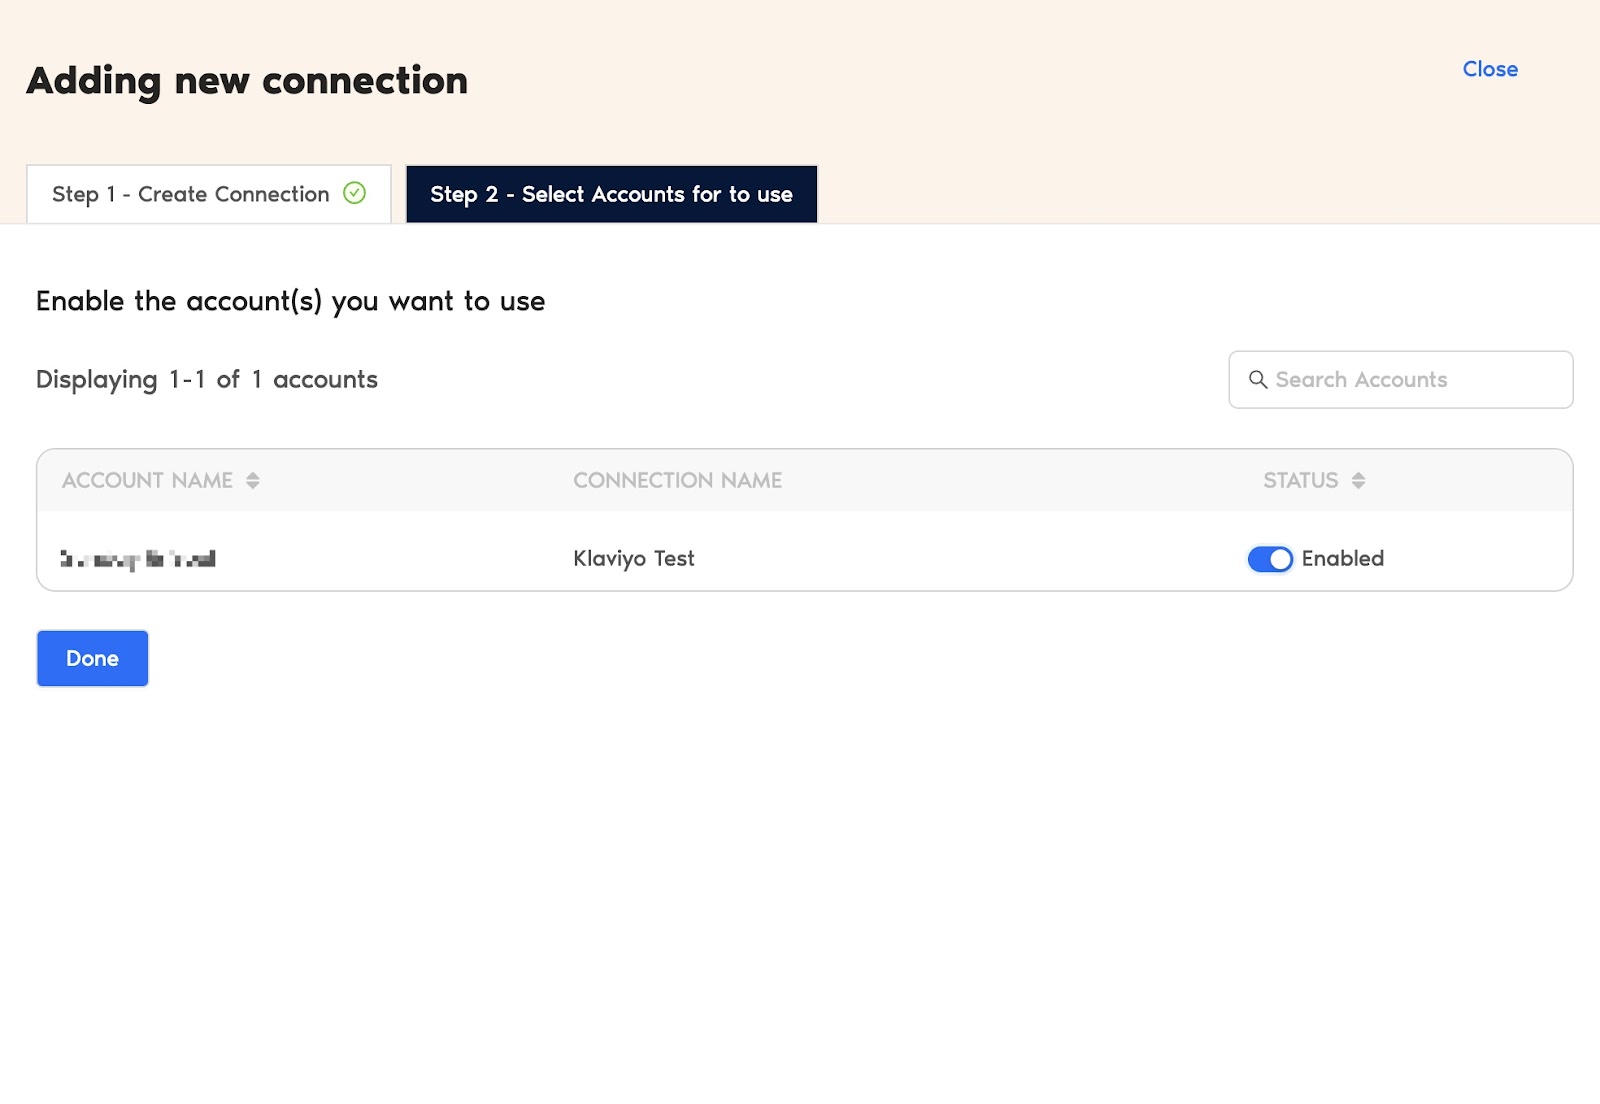
- Enable the necessary accounts to extract actionable campaign insights, as shown above. Please note that reports can only be created for the enabled accounts.
That’s it. You can now configure your Klaviyo account to track meaningful results.
Step 3: Configure your Klaviyo account with TMR
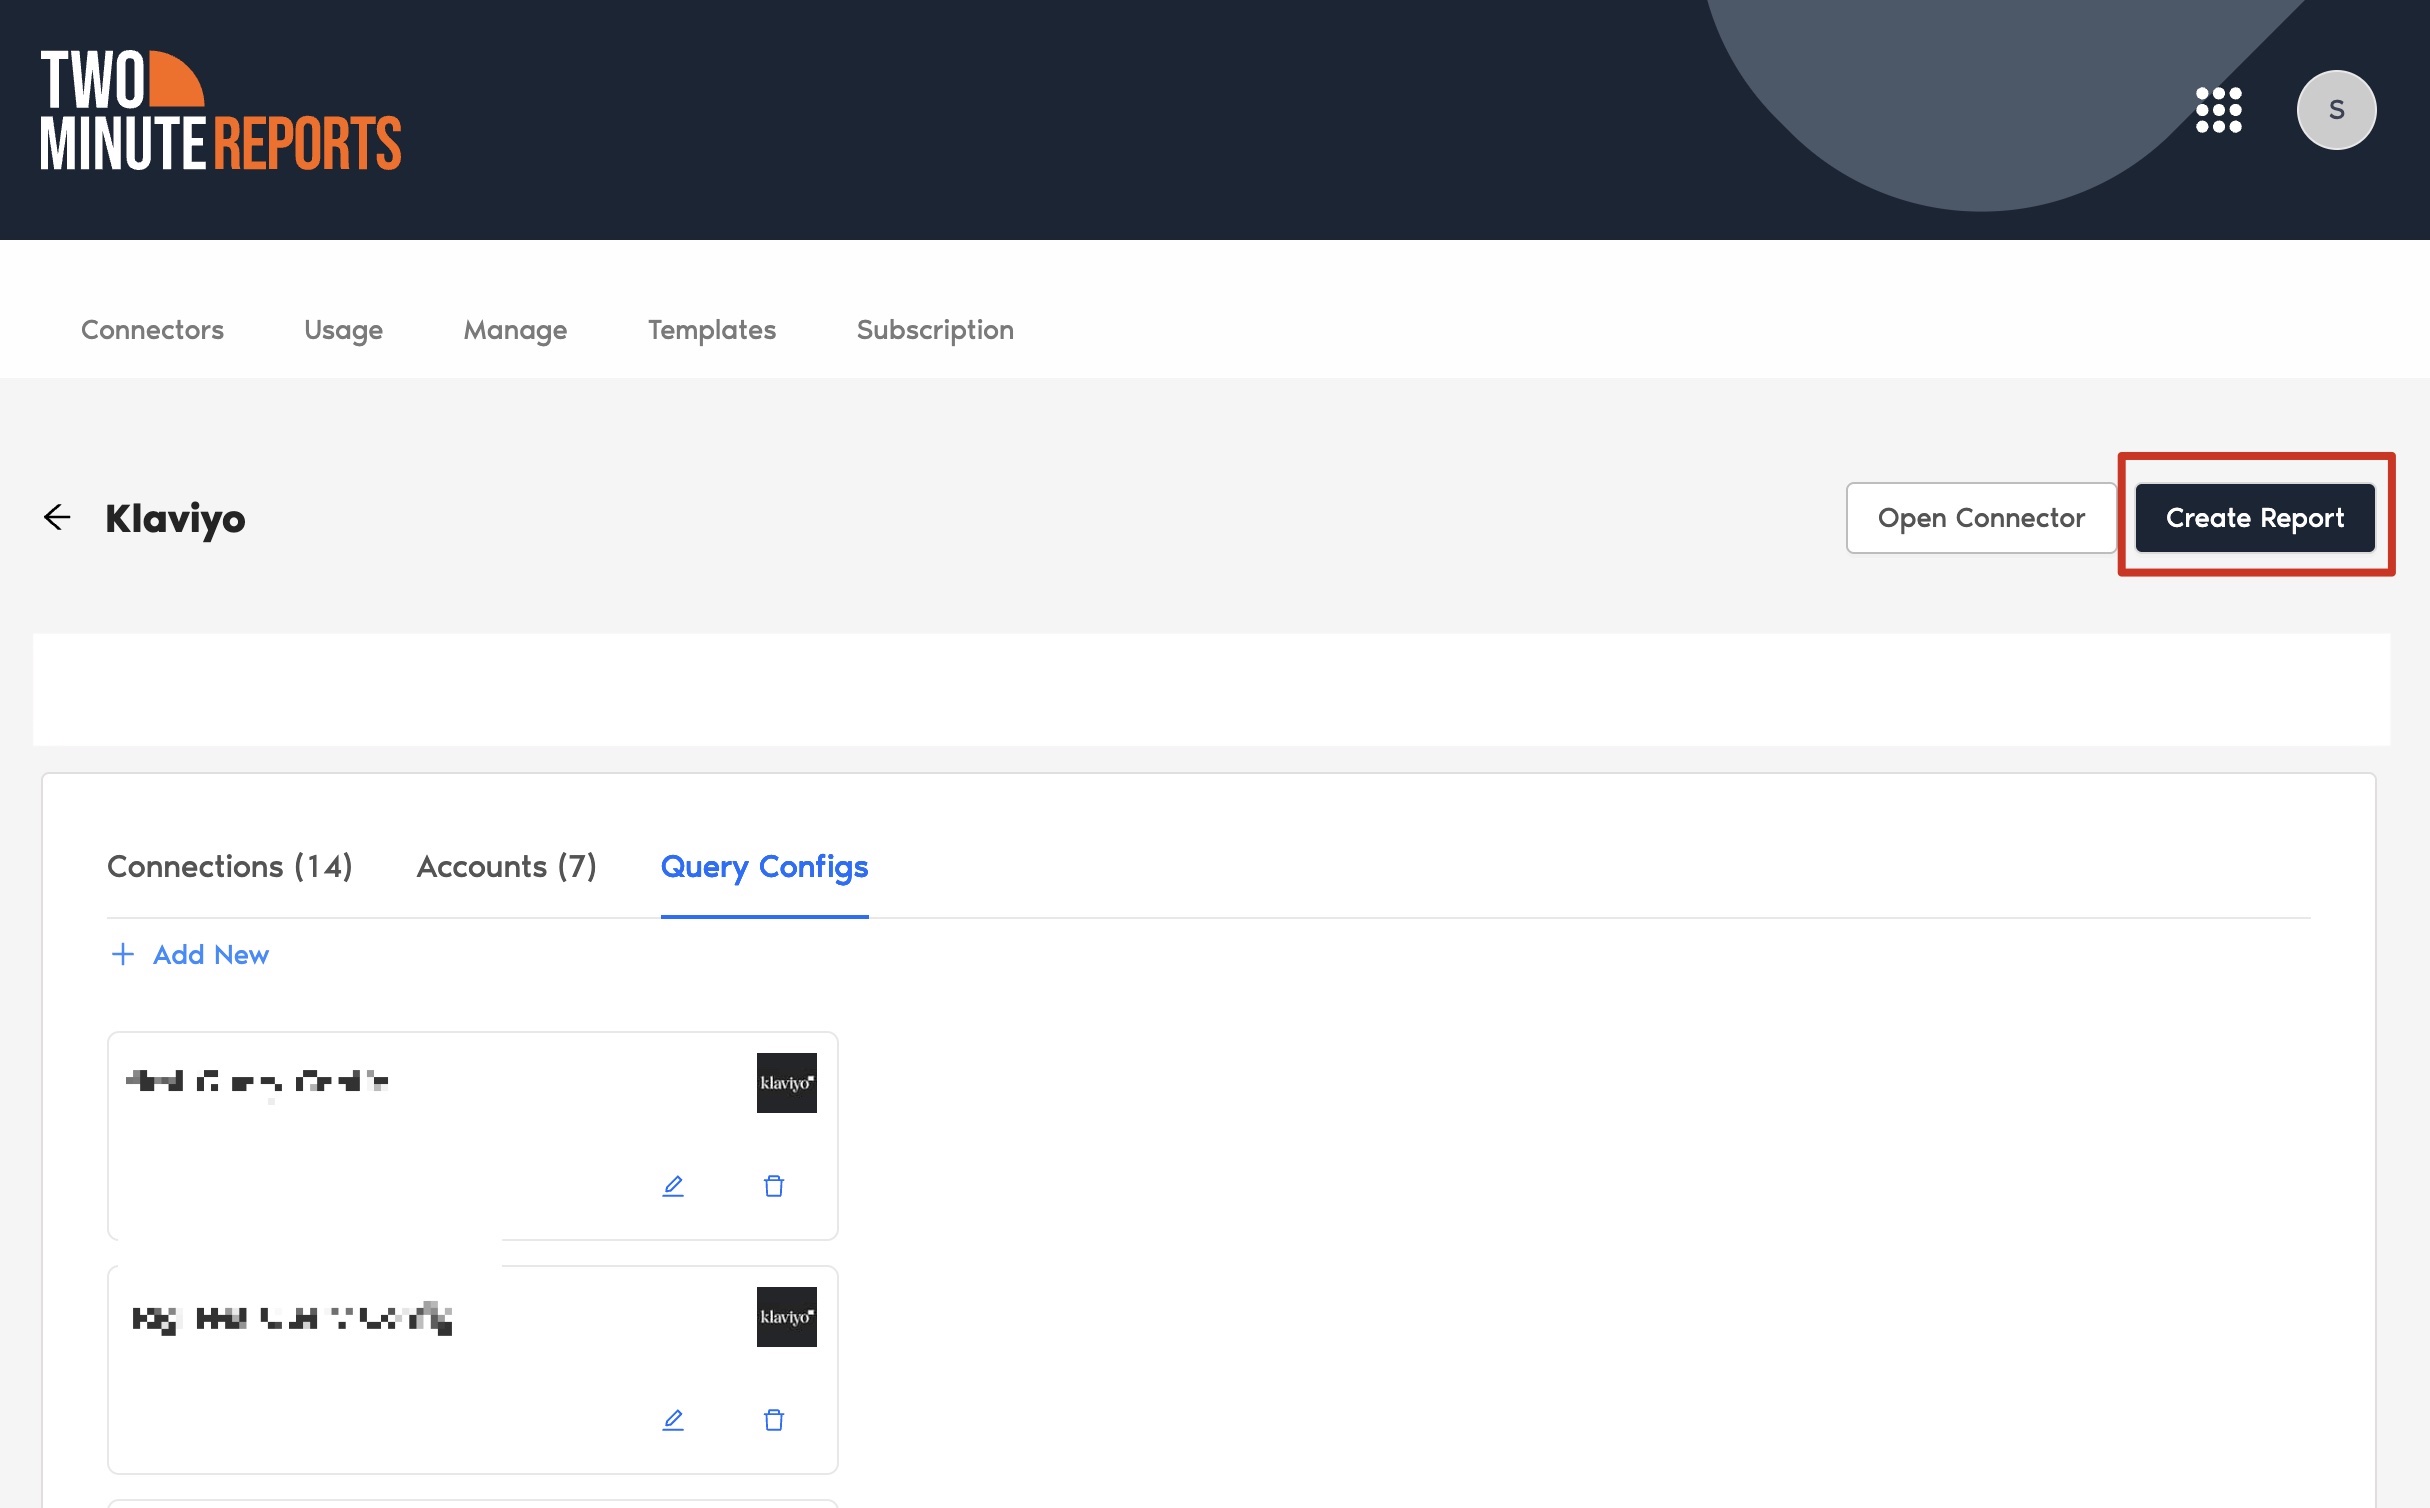
- In the Query Configs section, click + Add New.
| The Query Config allows you to group multiple accounts, making it easier to view centralized insights in your Looker Studio dashboard. |
- The Adding New Query Configuration dialog box will appear. Name the query config, select (from the list of enabled) accounts from the dropdown, and configure your Klaviyo report. Once done, click Save.
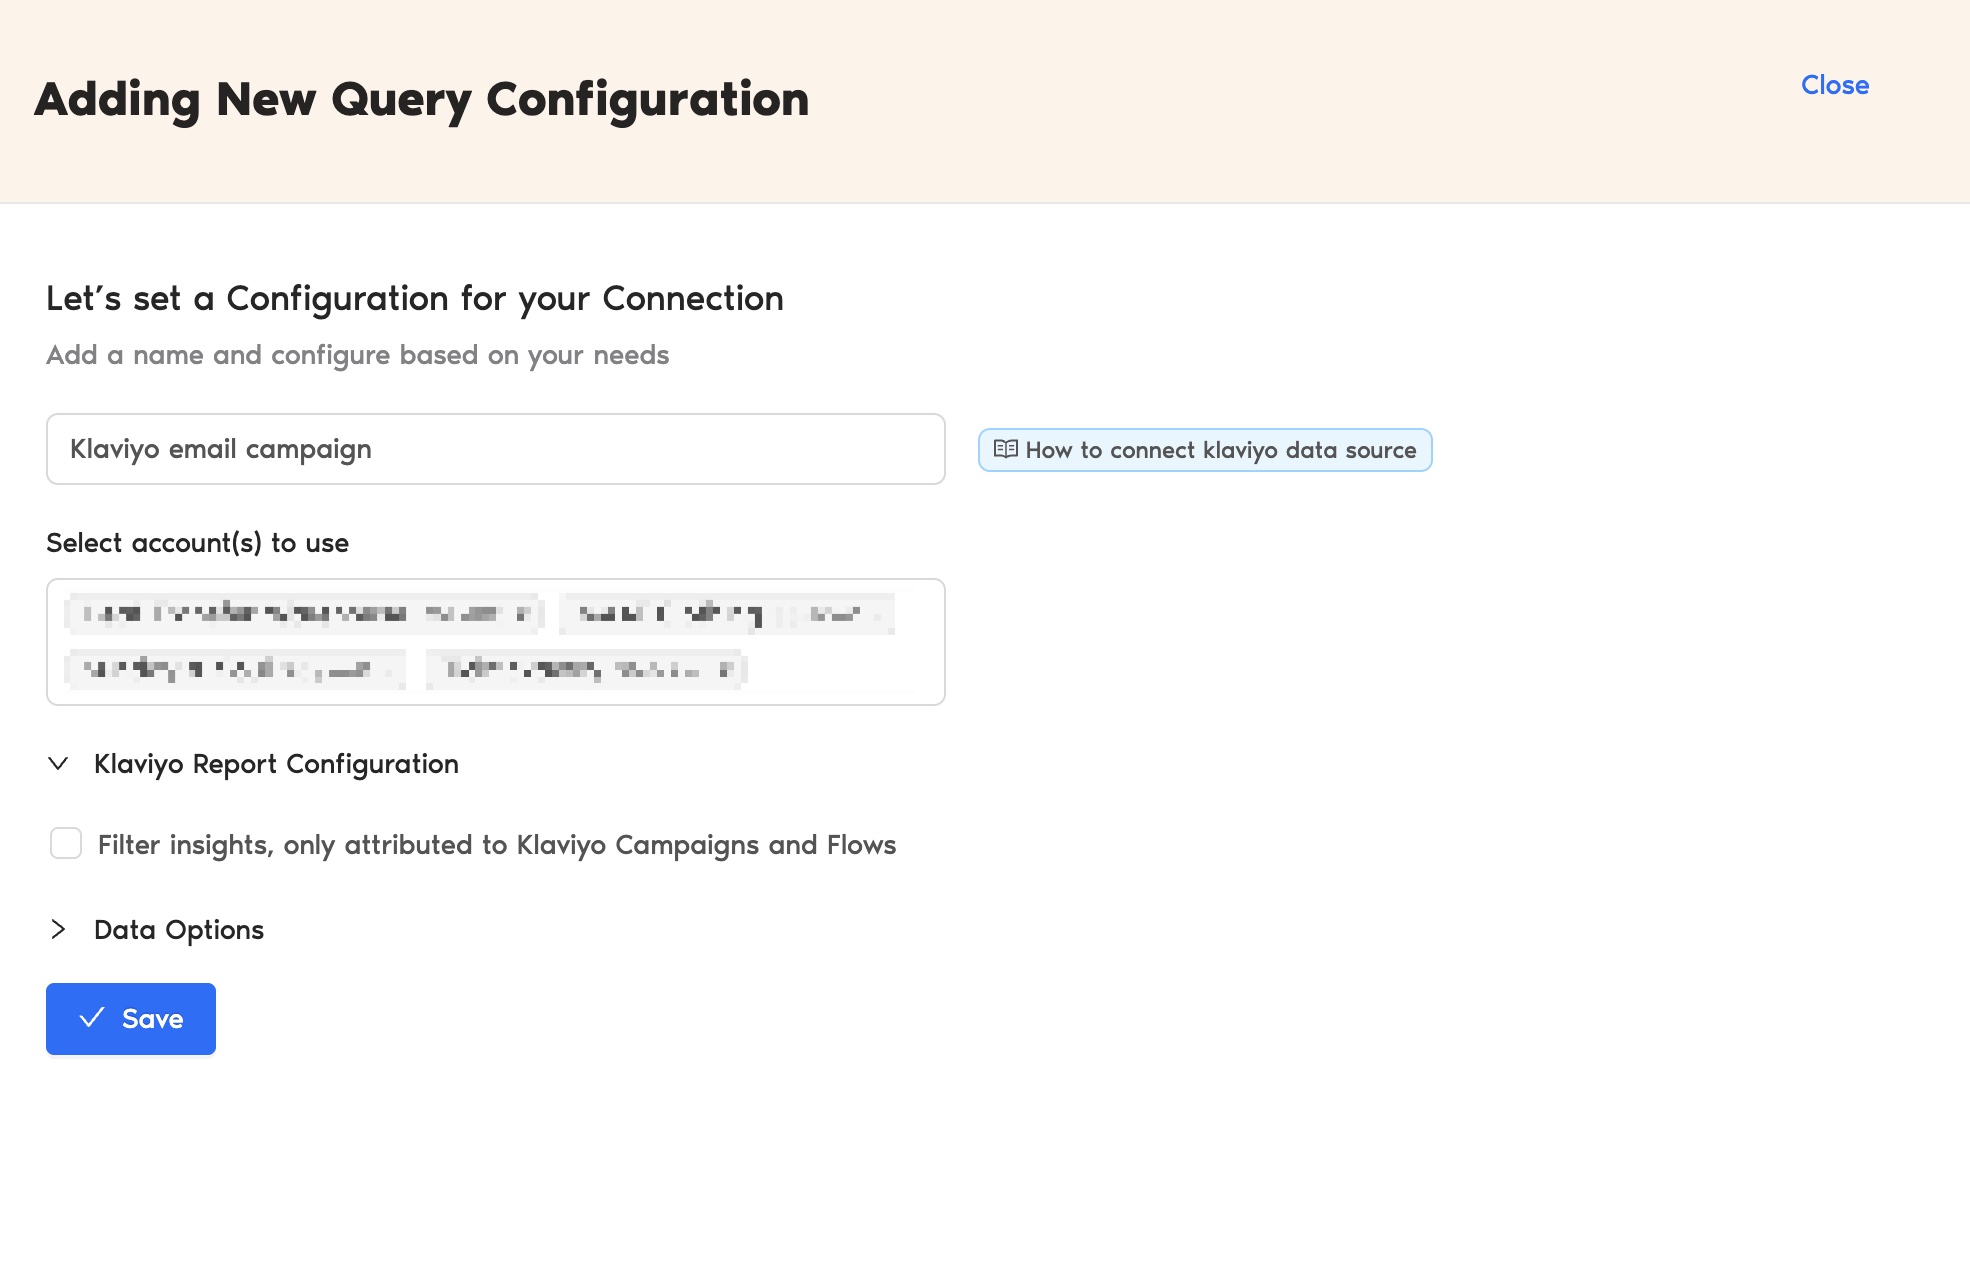
Note: To view only the performance data from Klaviyo campaigns and flows, check the checkbox under Klaviyo Report Configuration.
You have successfully created a new configuration, which you can now use to extract data for your Looker Studio reports.
Step 4: Create your Klaviyo report with TMR in Looker Studio
- After creating the Query Config, click Create Report in the top-right corner.
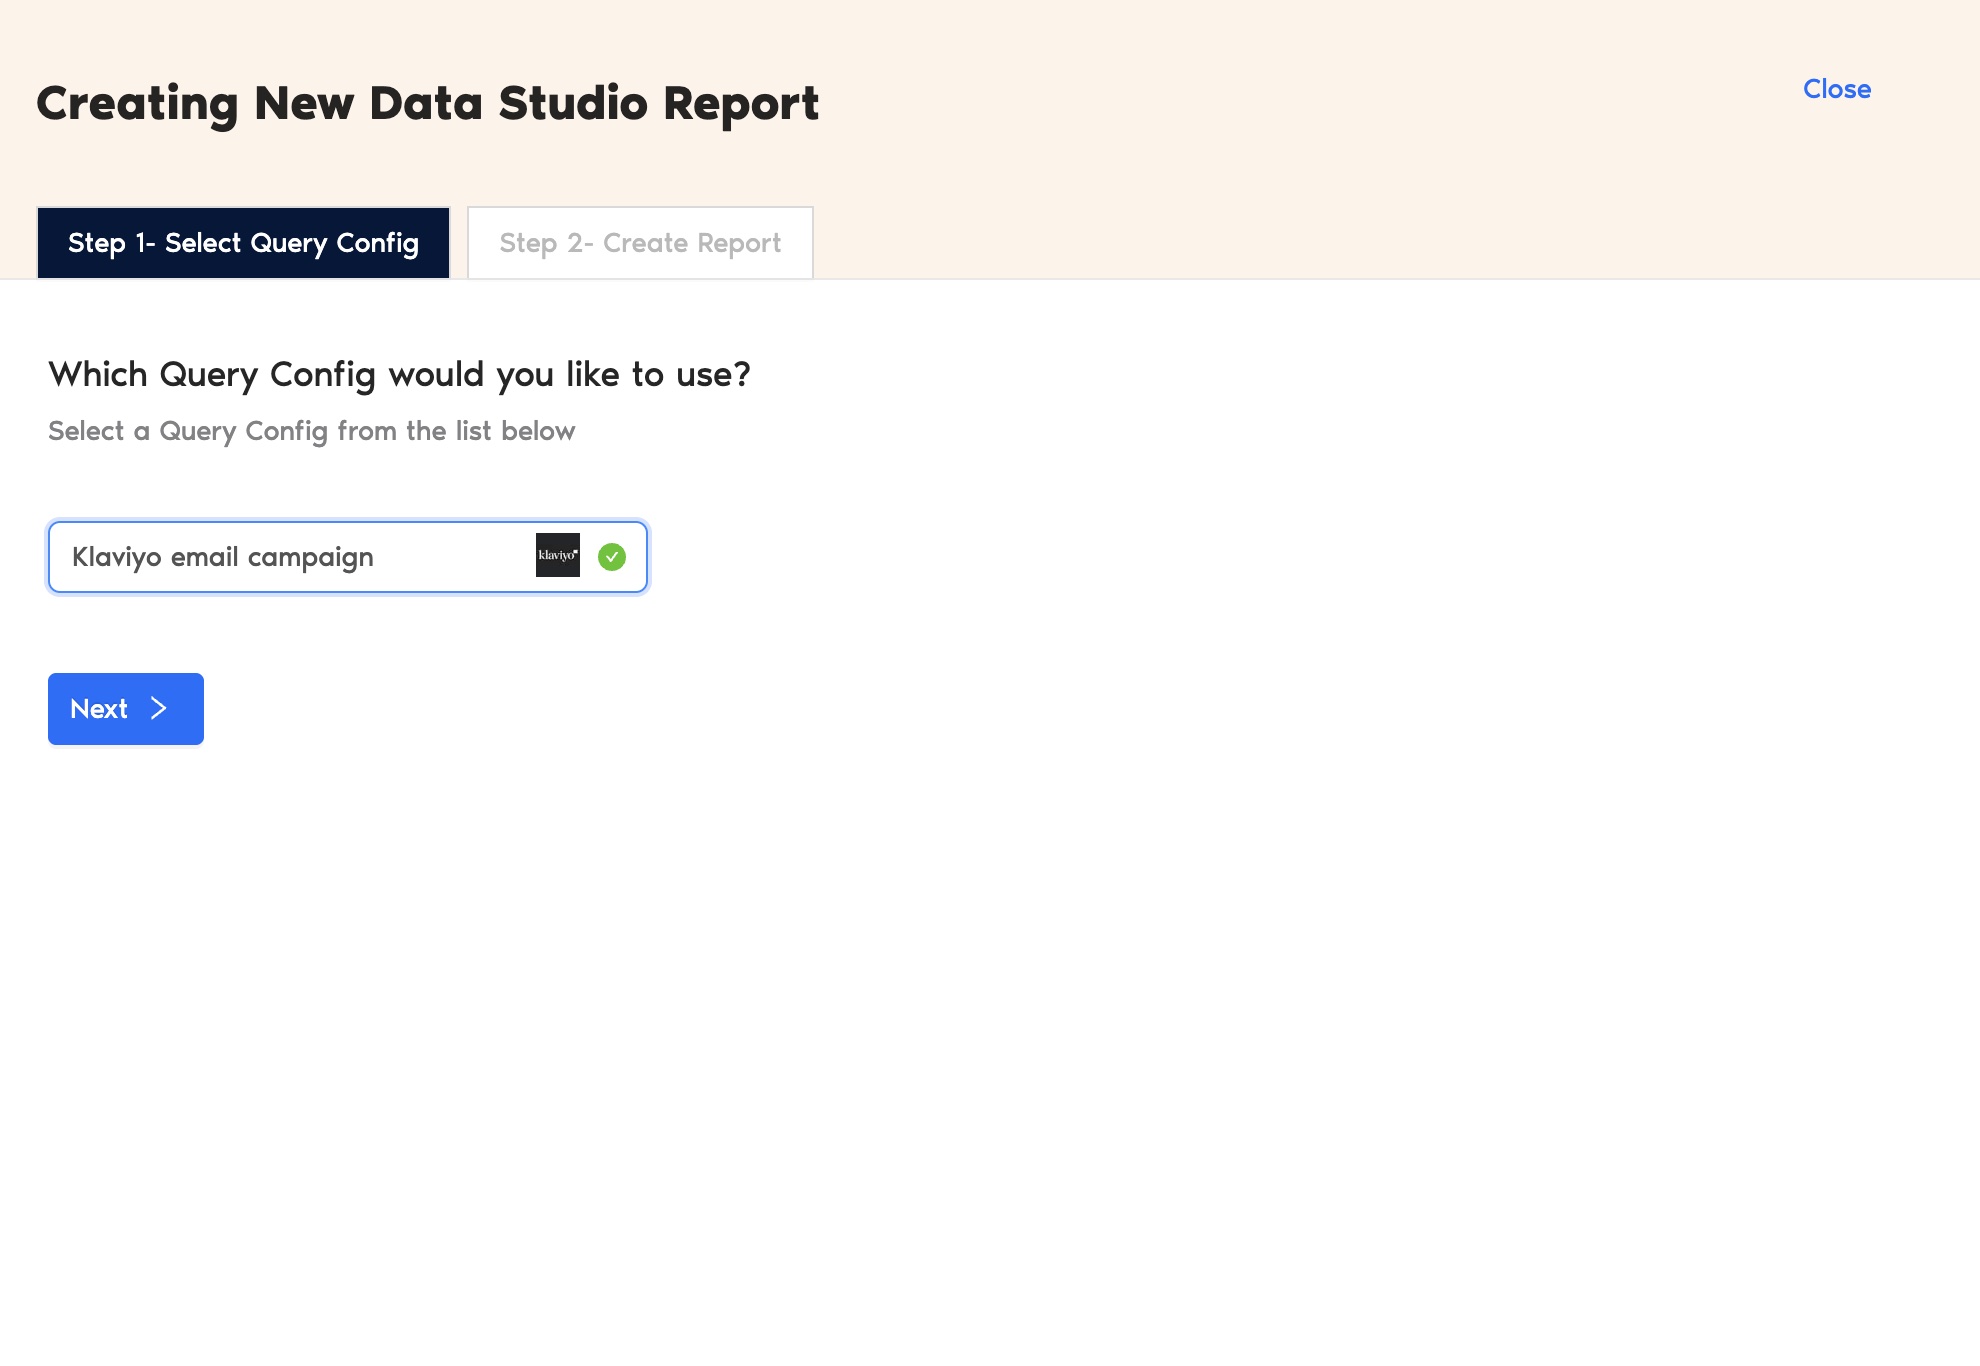
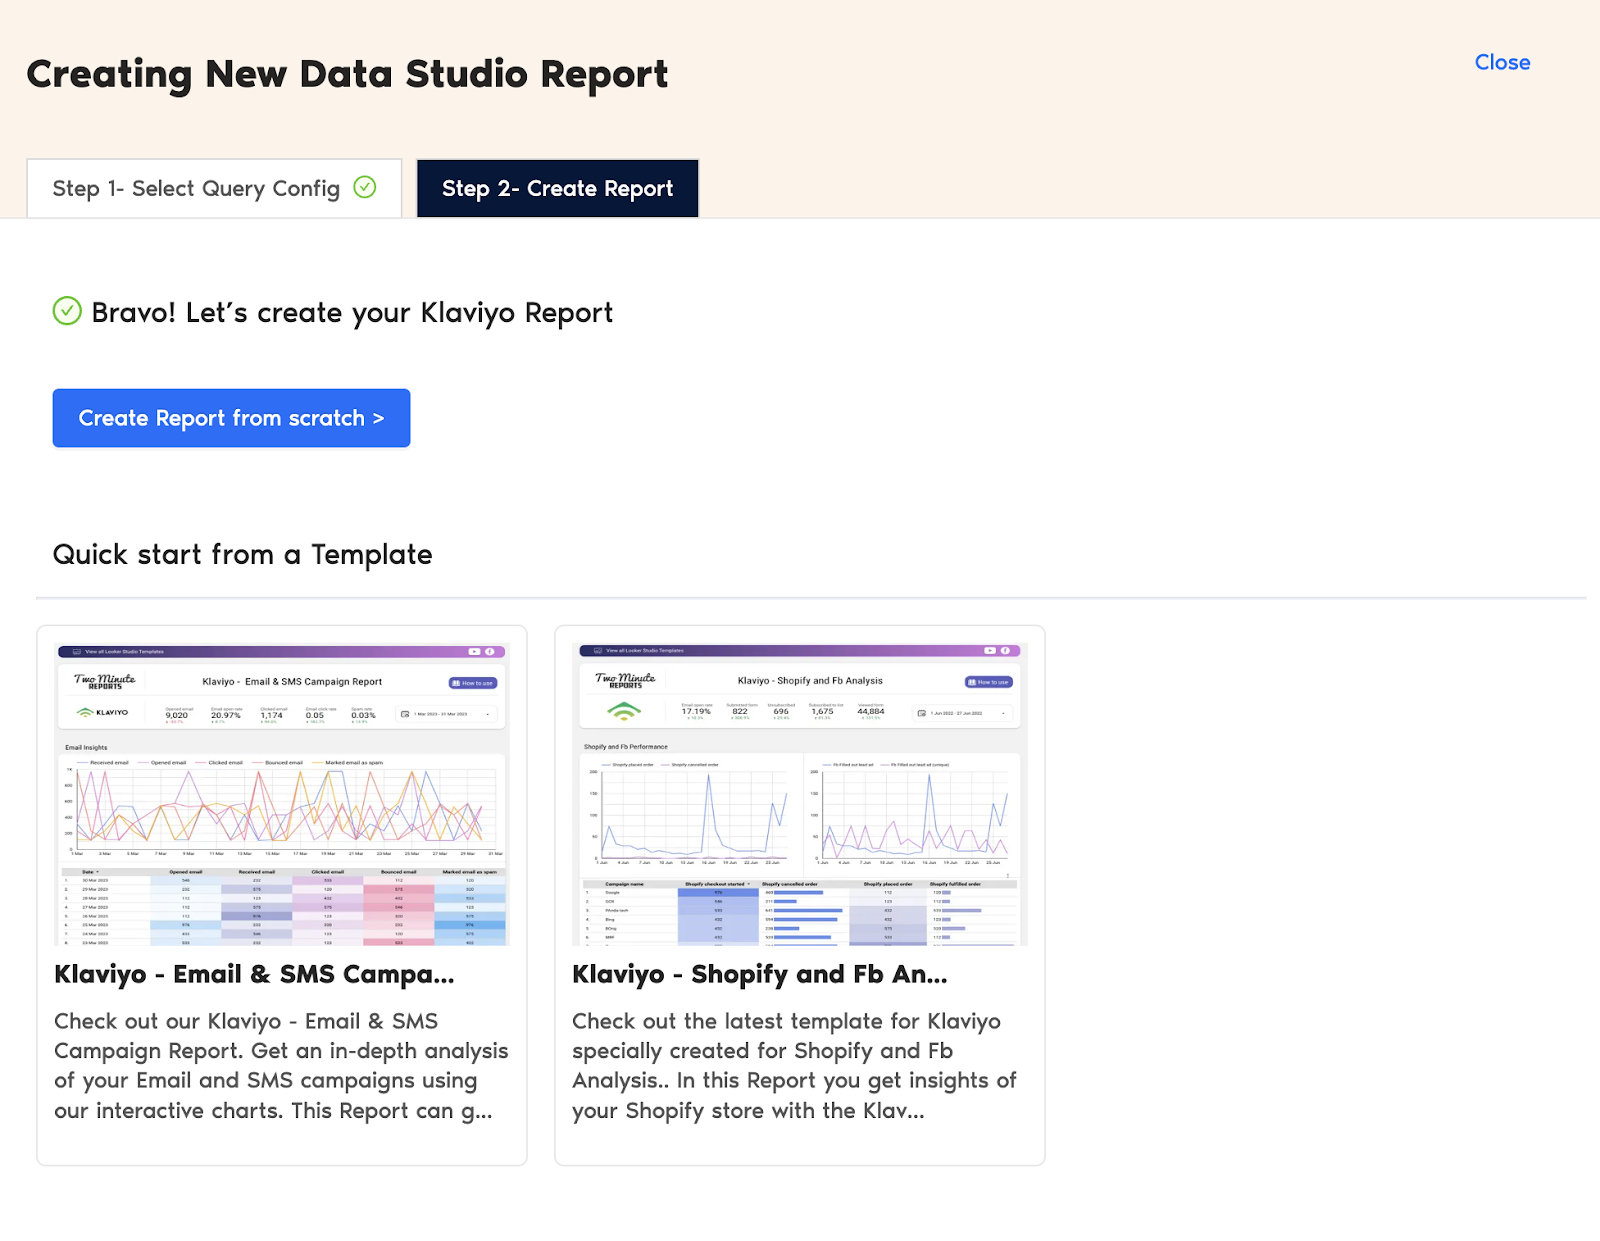
- Select the Query Config you created (in our case: ‘Klaviyo email campaign’) from the list of options. Click Next and choose ‘Create report from scratch’ to open the Looker Studio dashboard.
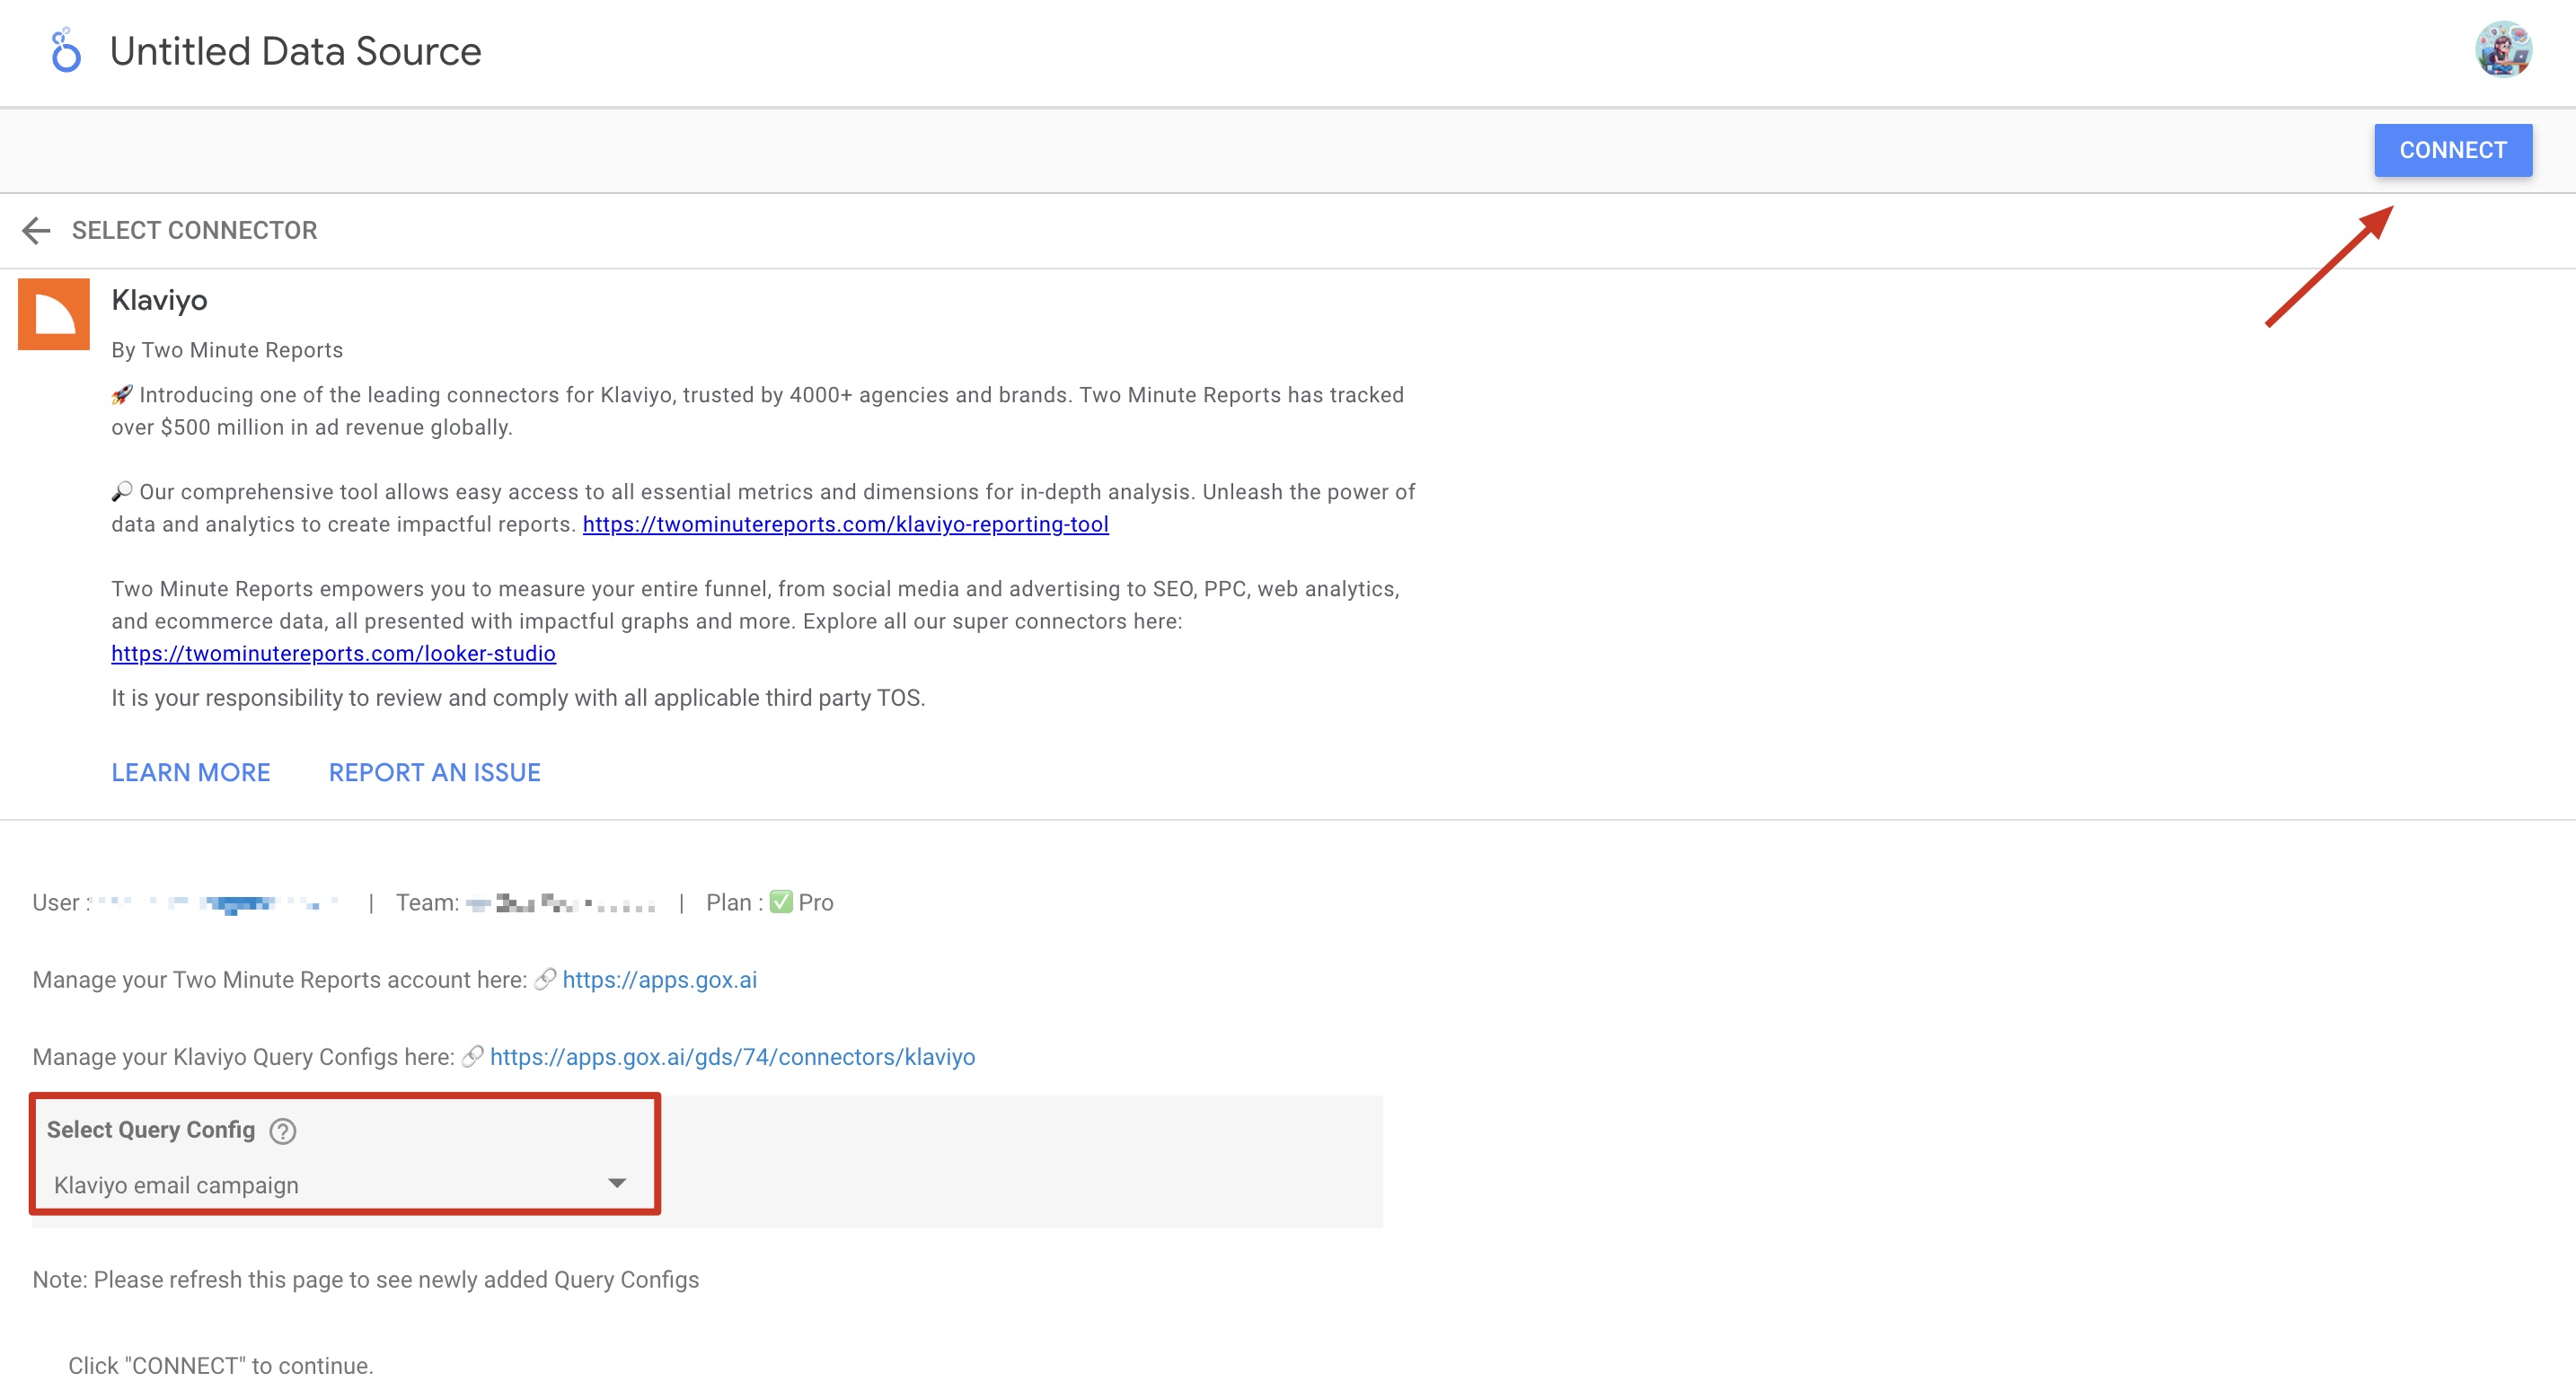
- Once the Looker Studio dashboard opens, select your team and the required Query Config from the dropdown menu. Click Connect in the top-right corner.
- After clicking Create Report, you’ll be directed to the Looker Studio dashboard, where you can drag and drop the associated Klaviyo metrics and dimensions to measure and analyze campaign insights.
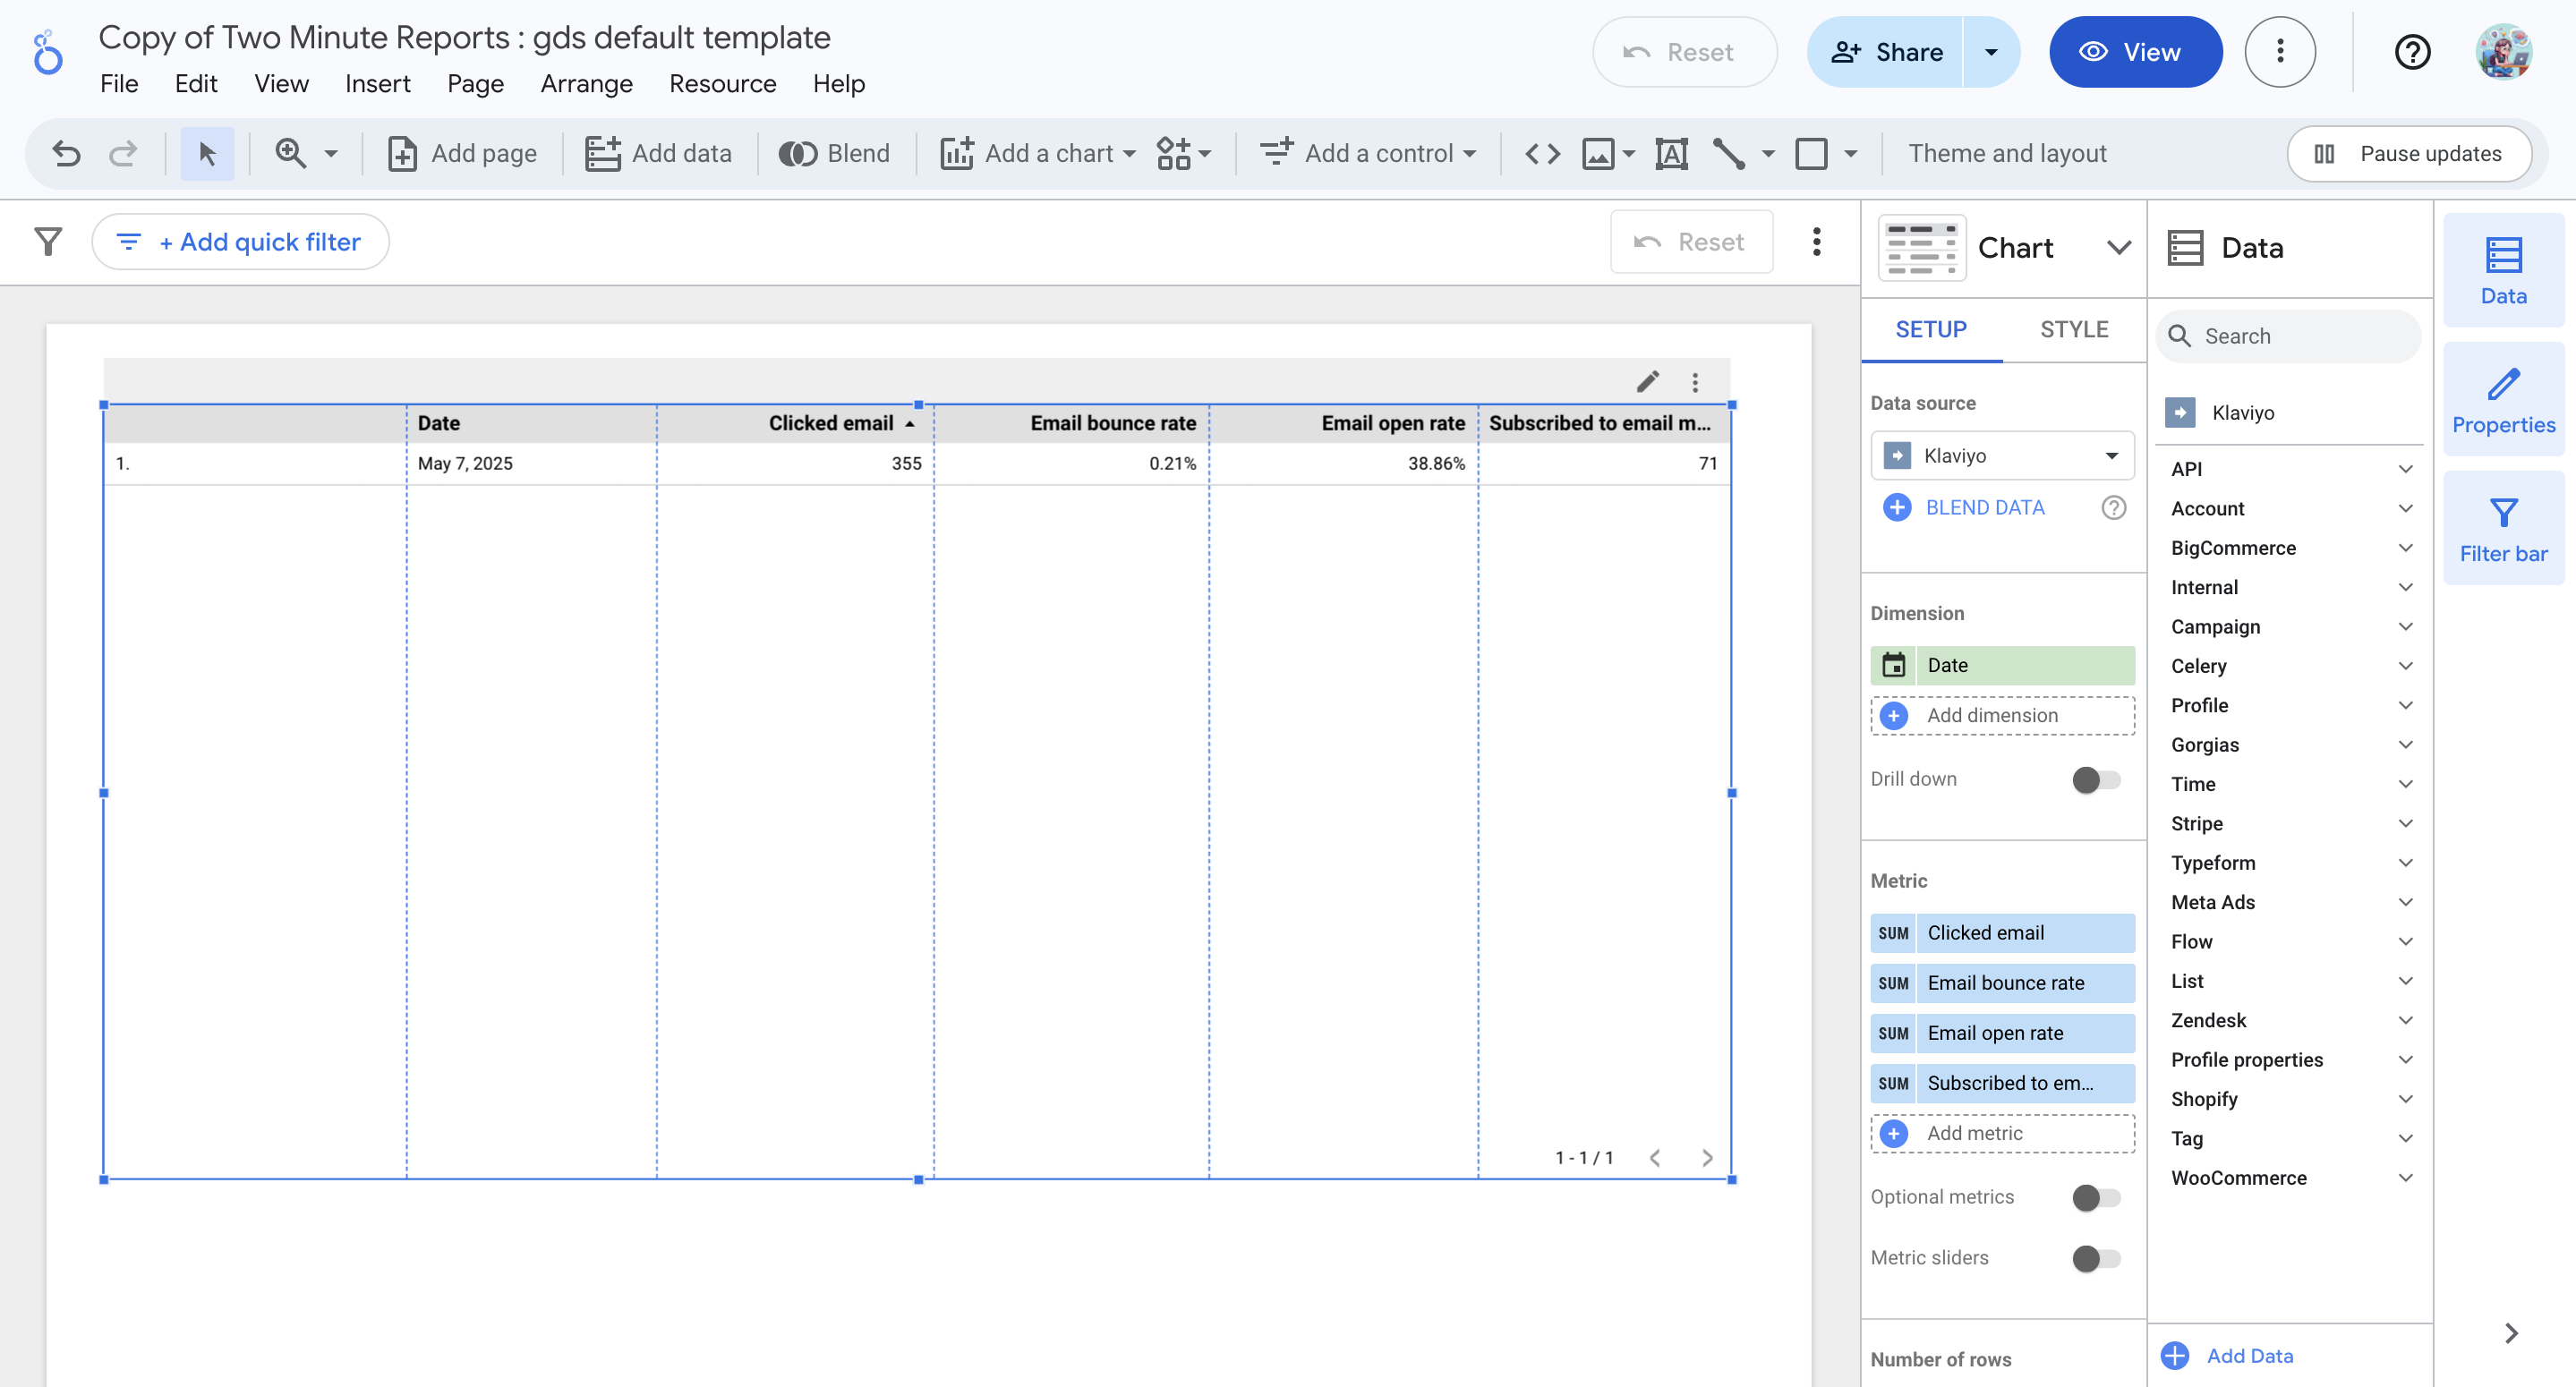
- To create a compelling Looker Studio report, use charts and visualizations. Click Add a chart and choose relevant chart types to configure your dashboard.
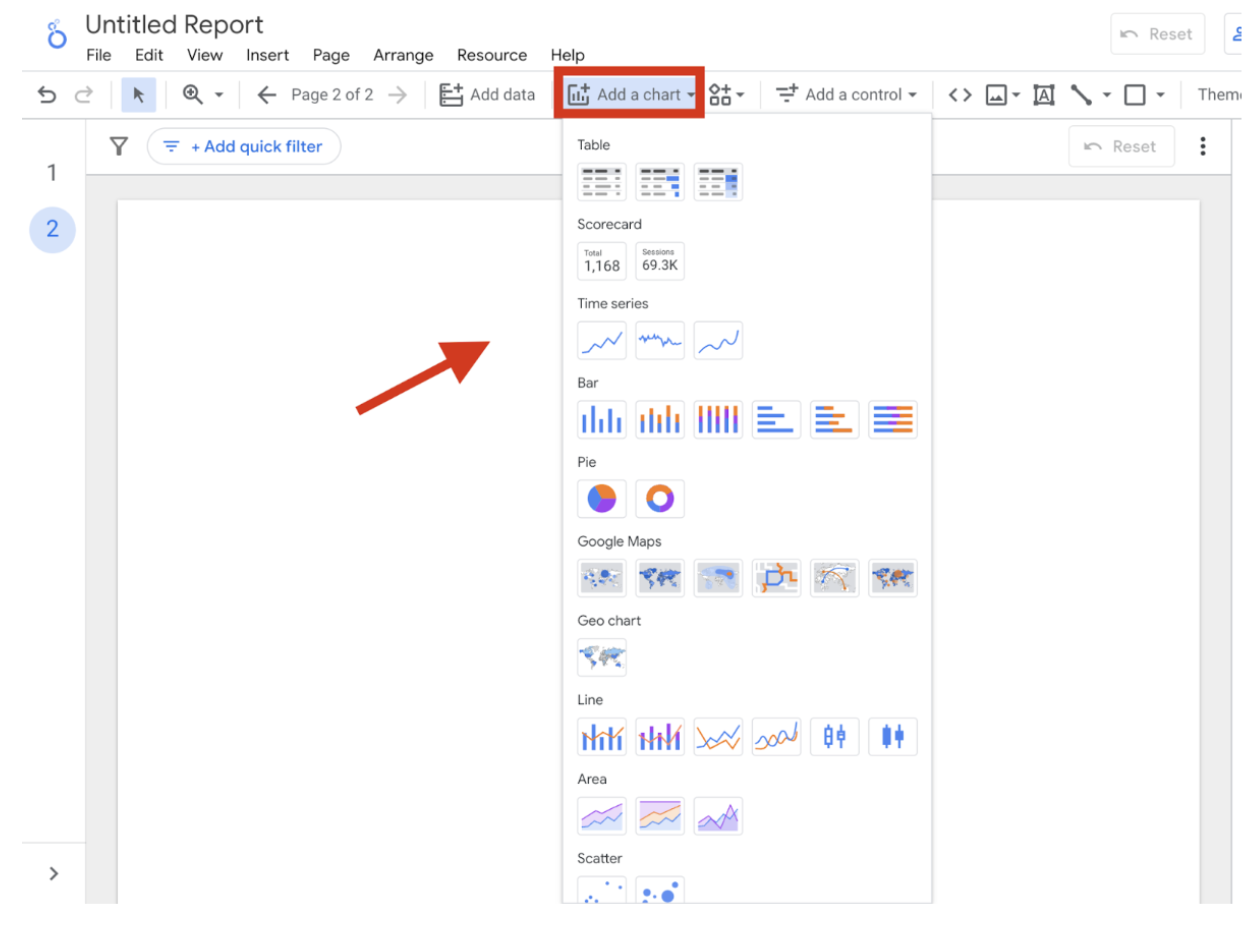
For example, you can use bar charts to visualize key trends such as open rates, CTR, and conversions from your campaigns and flows. You can also add a date range to view insights over specific periods, helping refine your email marketing strategy for better outcomes.
Note: While using Klaviyo data with Two Minute Reports, you may encounter discrepancies related to flows, metrics, open rate, CTR, etc. Refer to our troubleshooting article to understand the common issues and actionable steps to resolve them.
We hope you found this article helpful. If you have any questions, please contact our support team at [email protected].