MySQL
Two Minute Reports' MySQL connector lets you access and analyze your data directly in Google Sheets or Looker Studio. Build custom reports, monitor key metrics, and make data-driven decisions - all without writing any code.
What you can report on
- Any custom data stored in your MySQL database
- Sales, orders, and transactional data from your systems
- User activity, signups, and product usage metrics
- Inventory and fulfillment data
- Custom KPIs and business metrics specific to your product
Prerequisites
- A MySQL server accessible over the network
- Database host, port, username, and password
- A database user with SELECT permissions on the tables you want to query
- TMR's server IPs whitelisted in your database firewall (see IP whitelisting below)
How to create a connection
- Go to https://hub.twominutereports.com/connections
- Click New Connection to create a connection
- Select MySQL from the list of available connectors
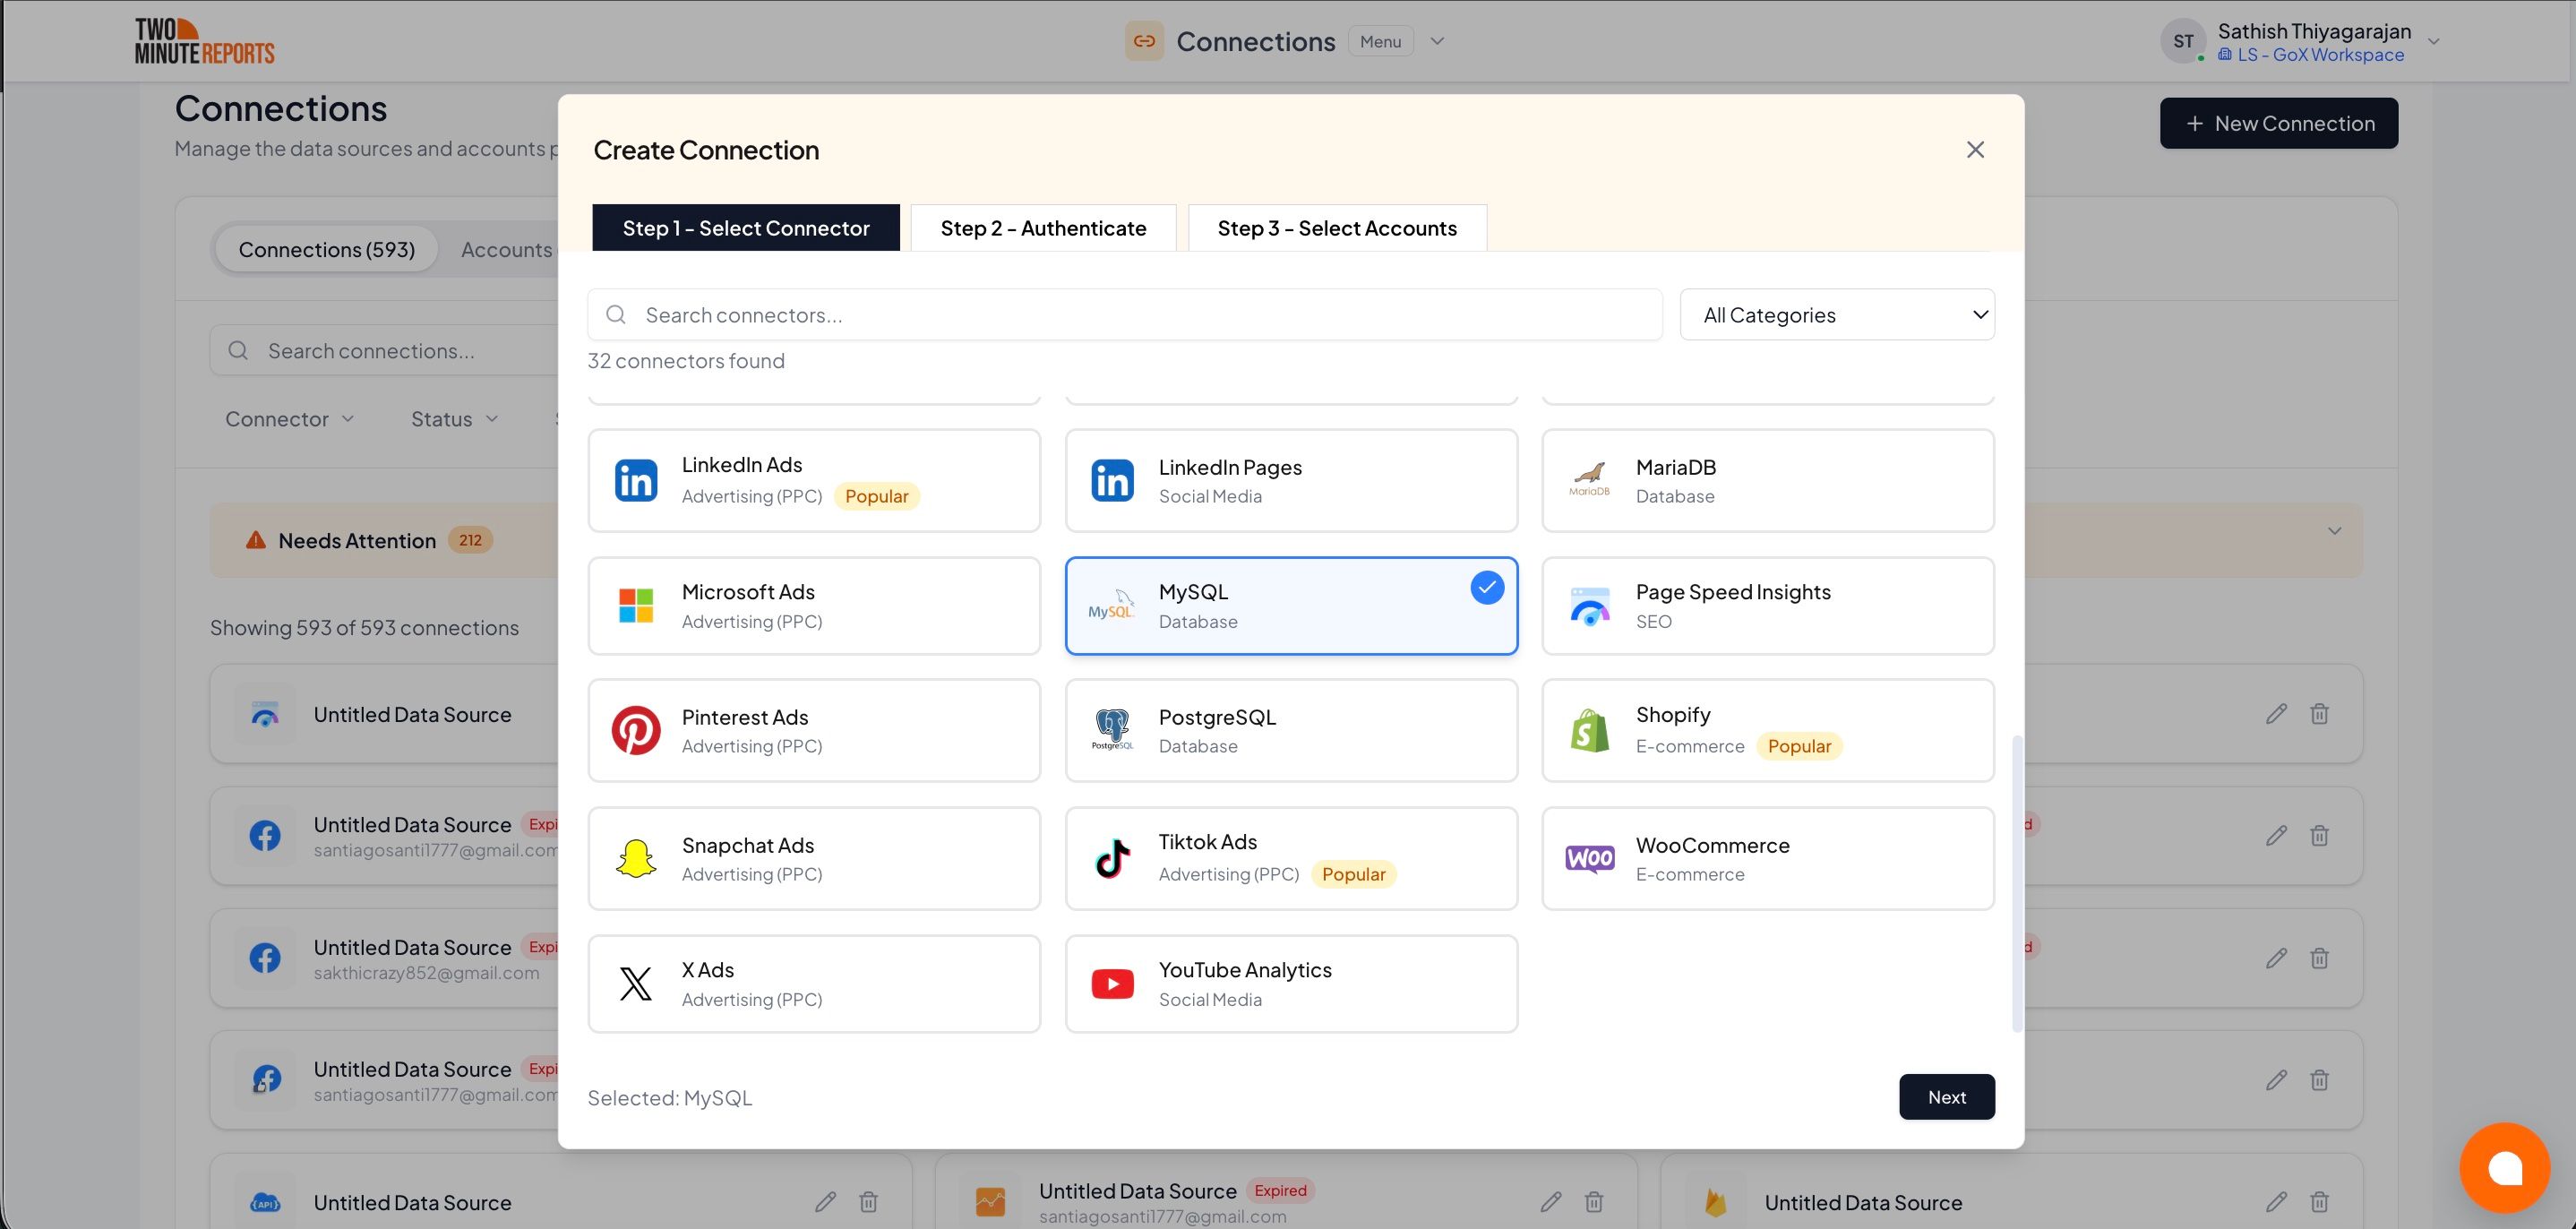
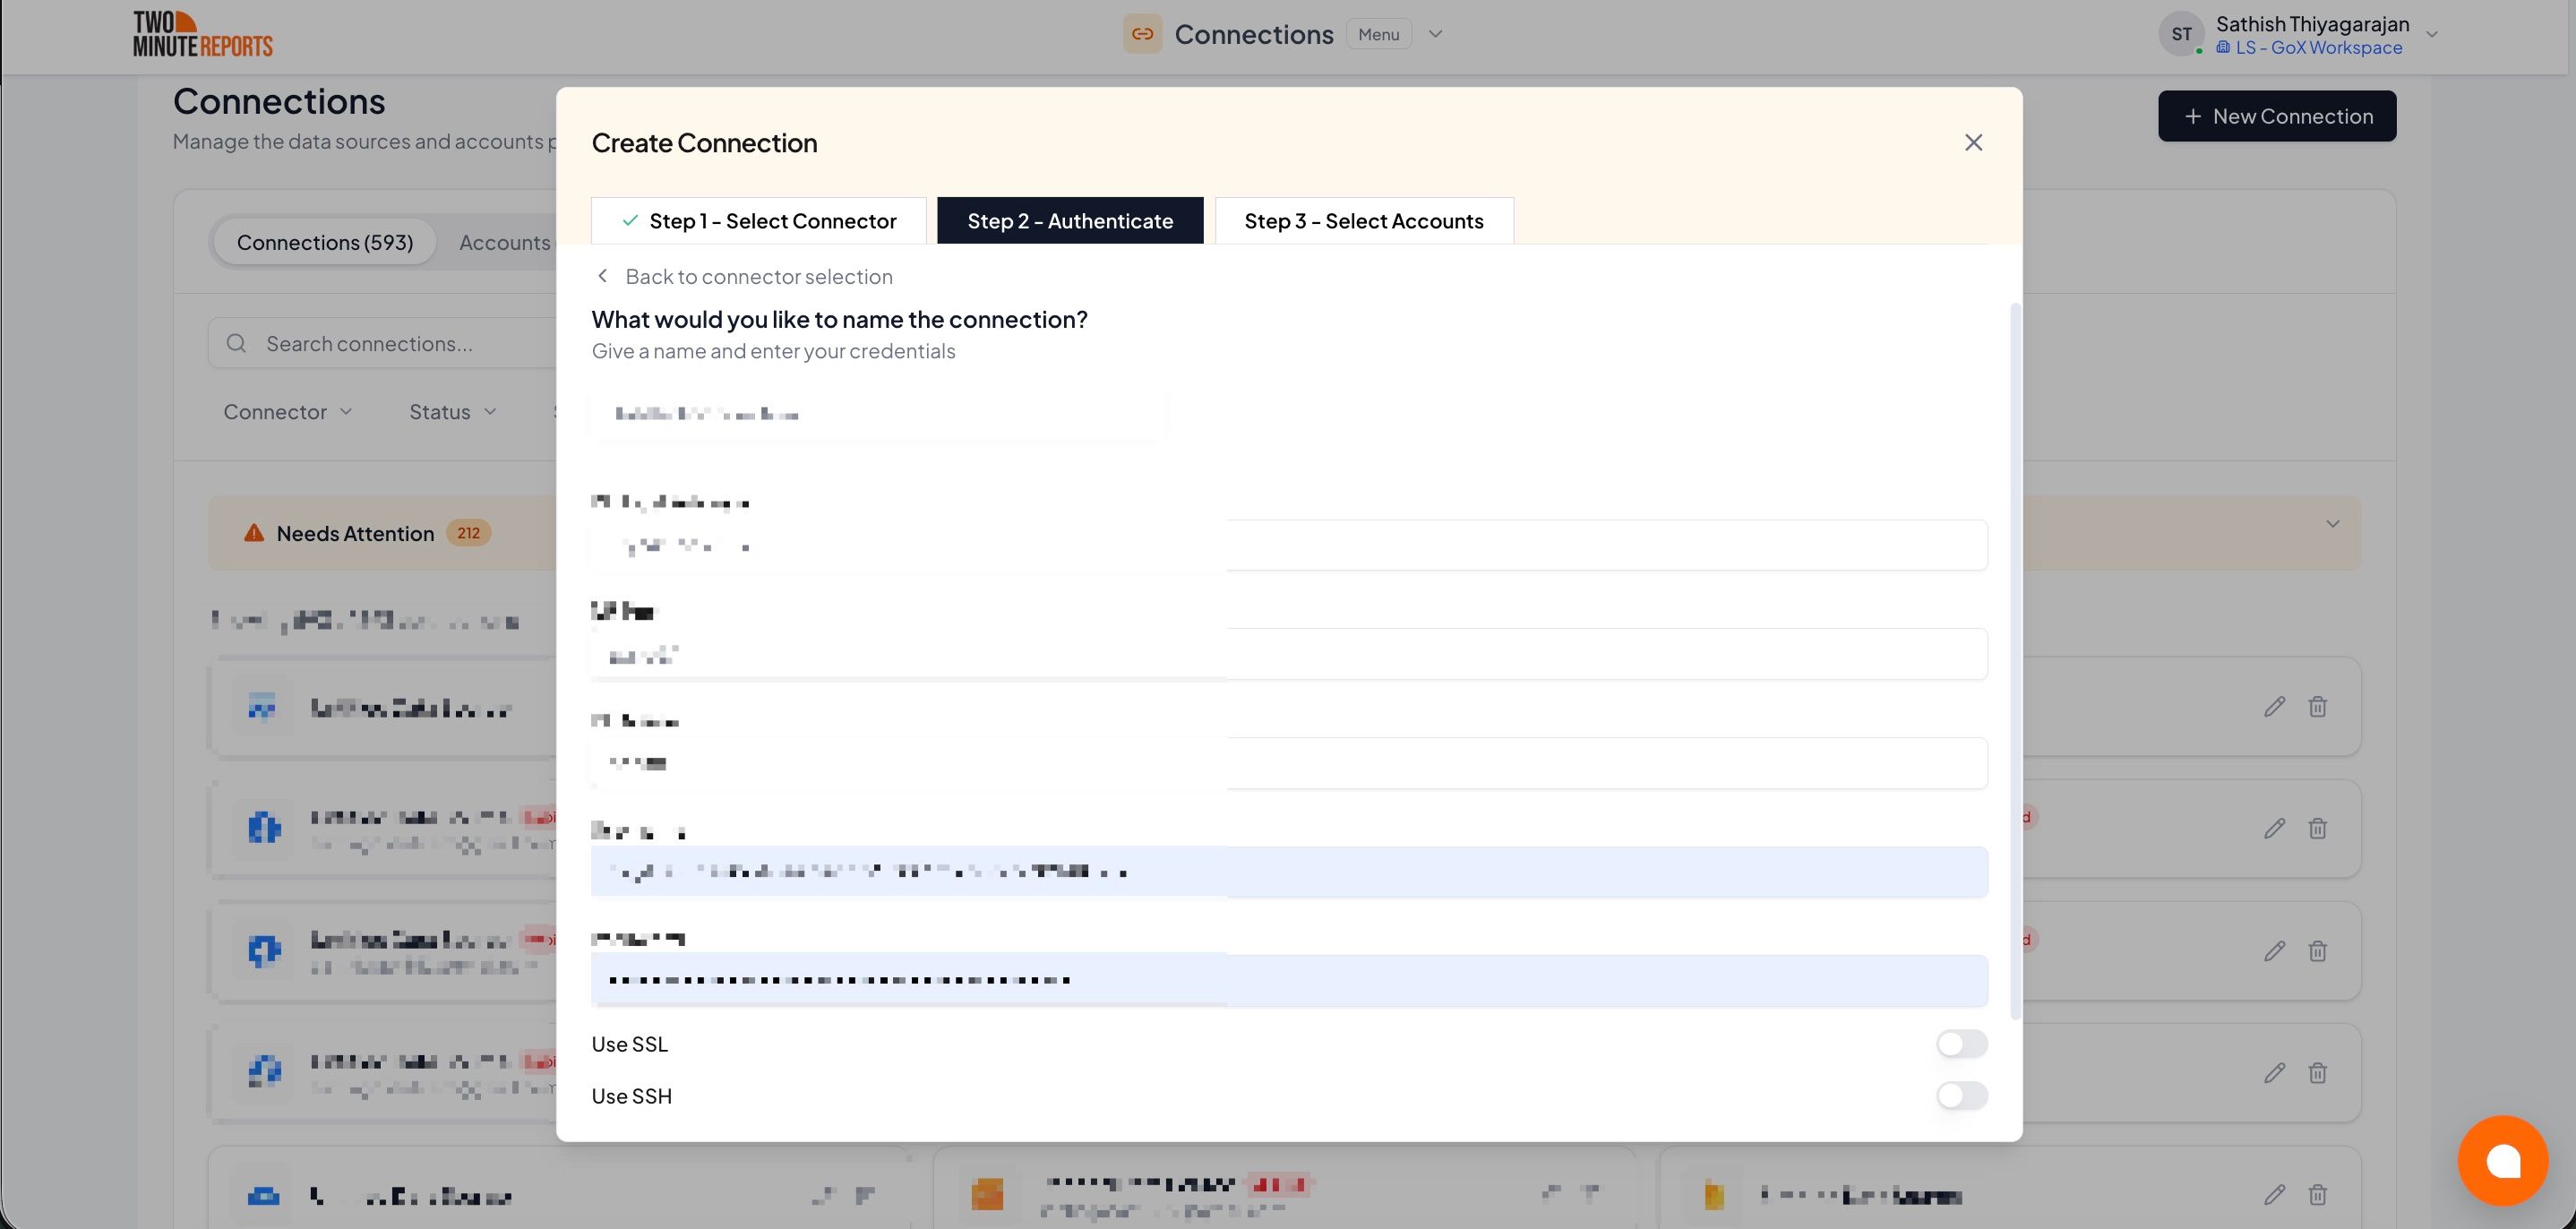
- Name the connection and authorize with your account credentials
After creating a connection:
- Enable the accounts you want to use from the available options
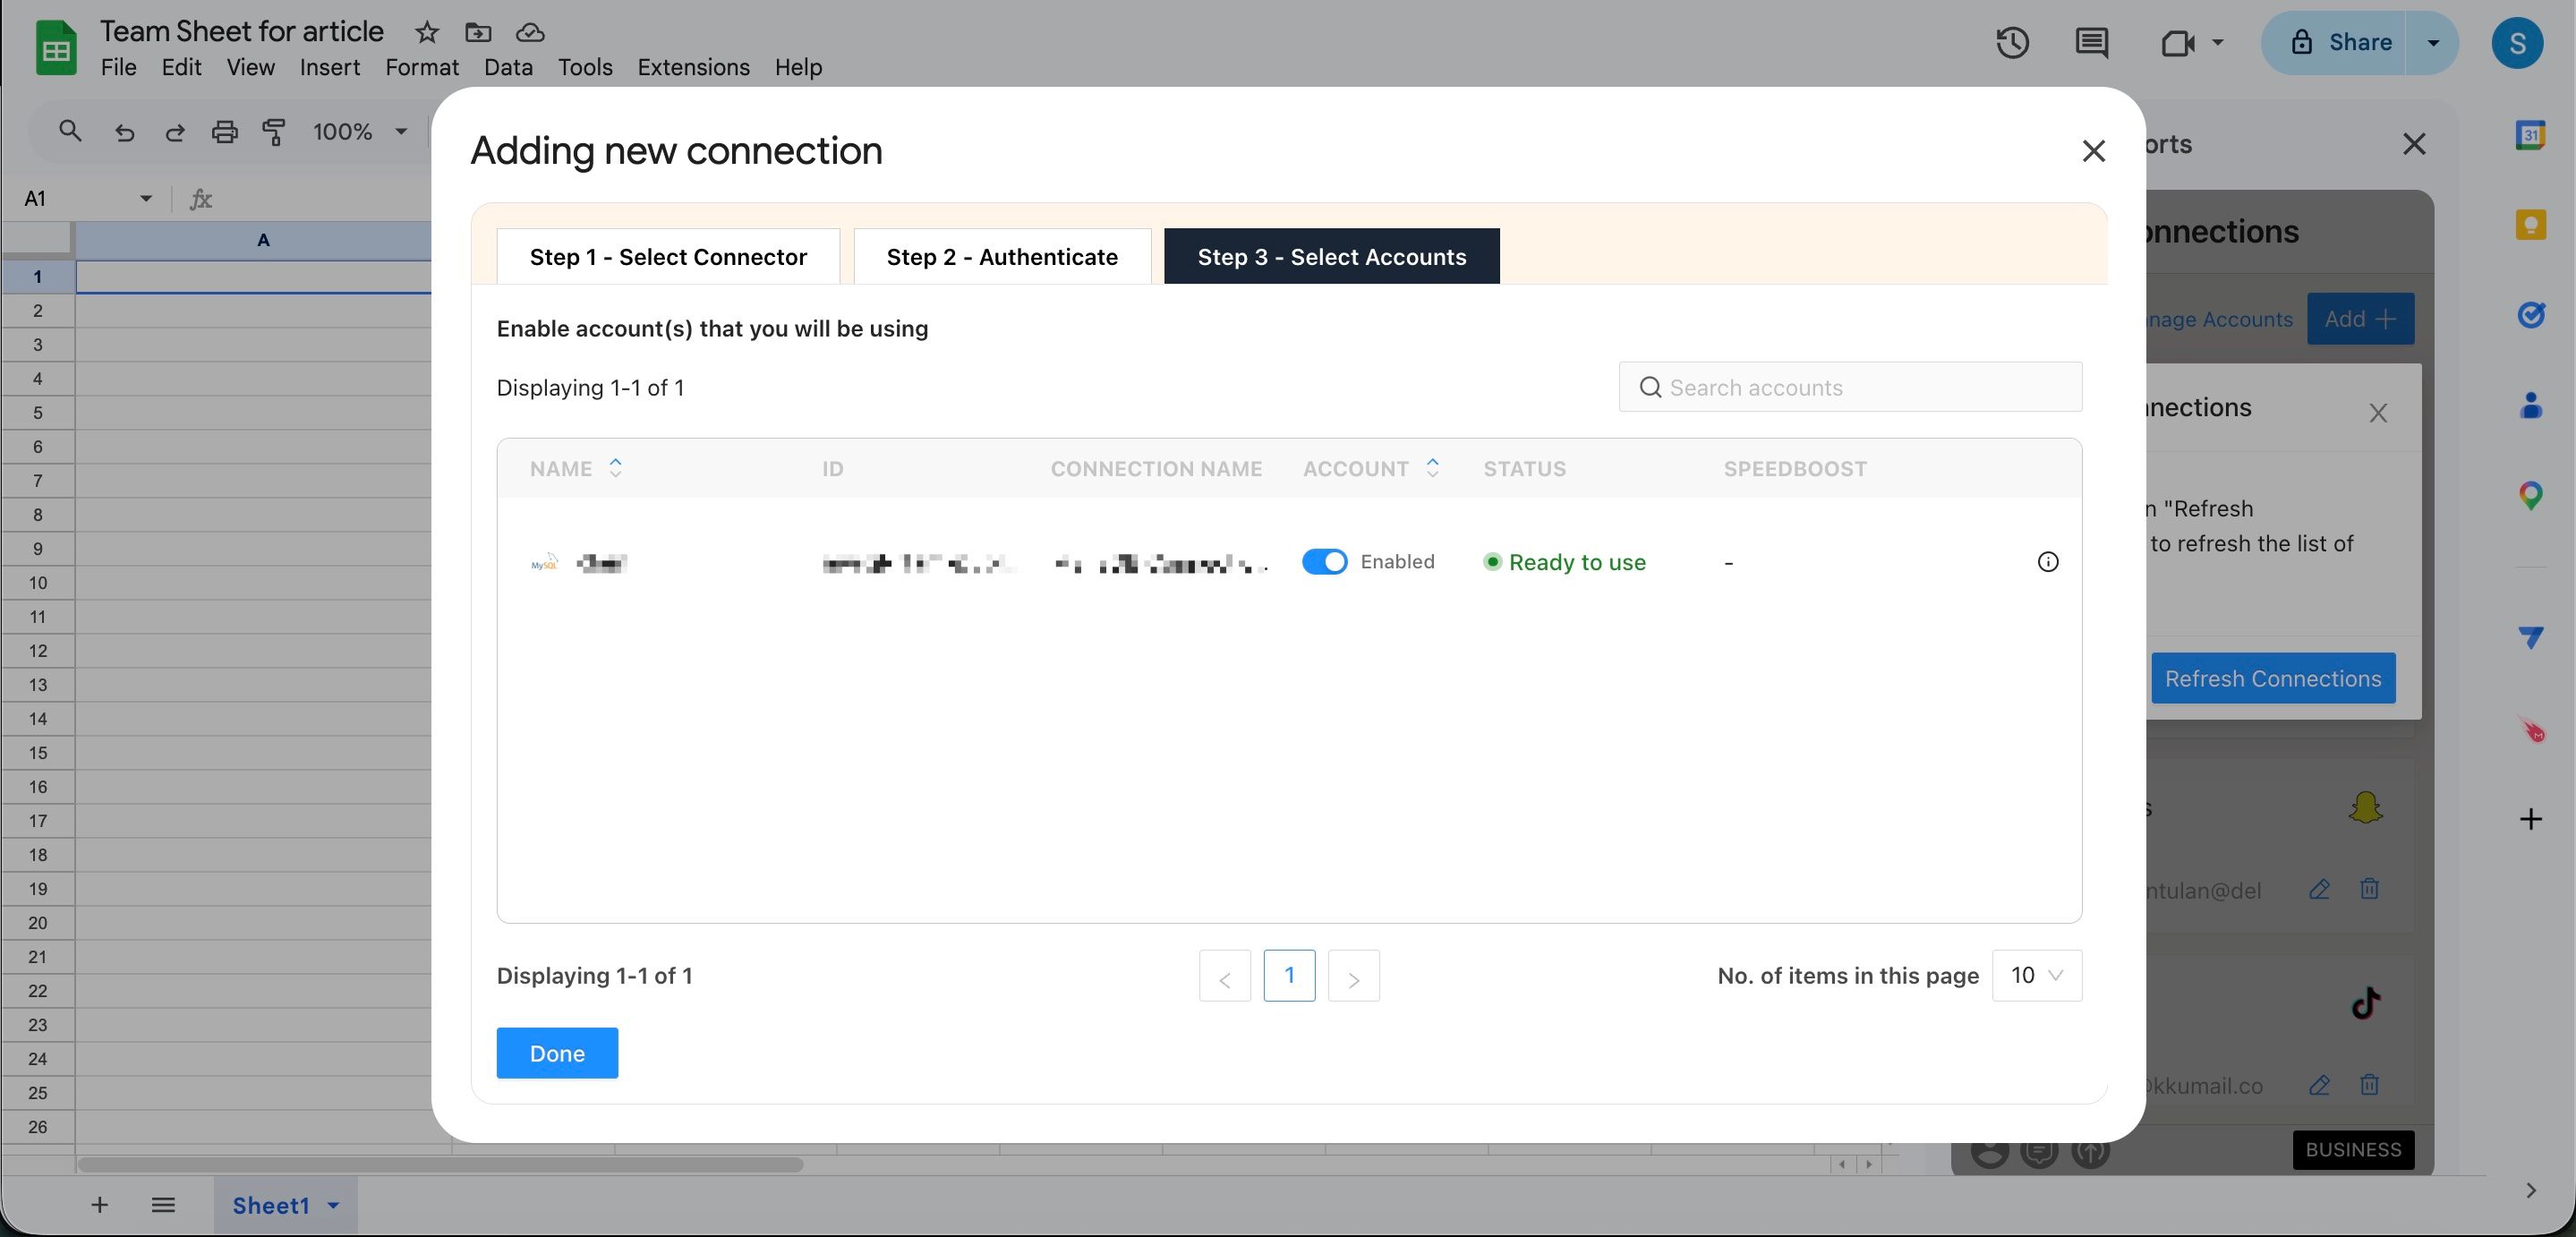
Important: Only enabled accounts can fetch data and count toward your plan usage. You can enable or disable accounts at any time in the hub to manage your plan usage efficiently.
How to get MySQL data into your reports
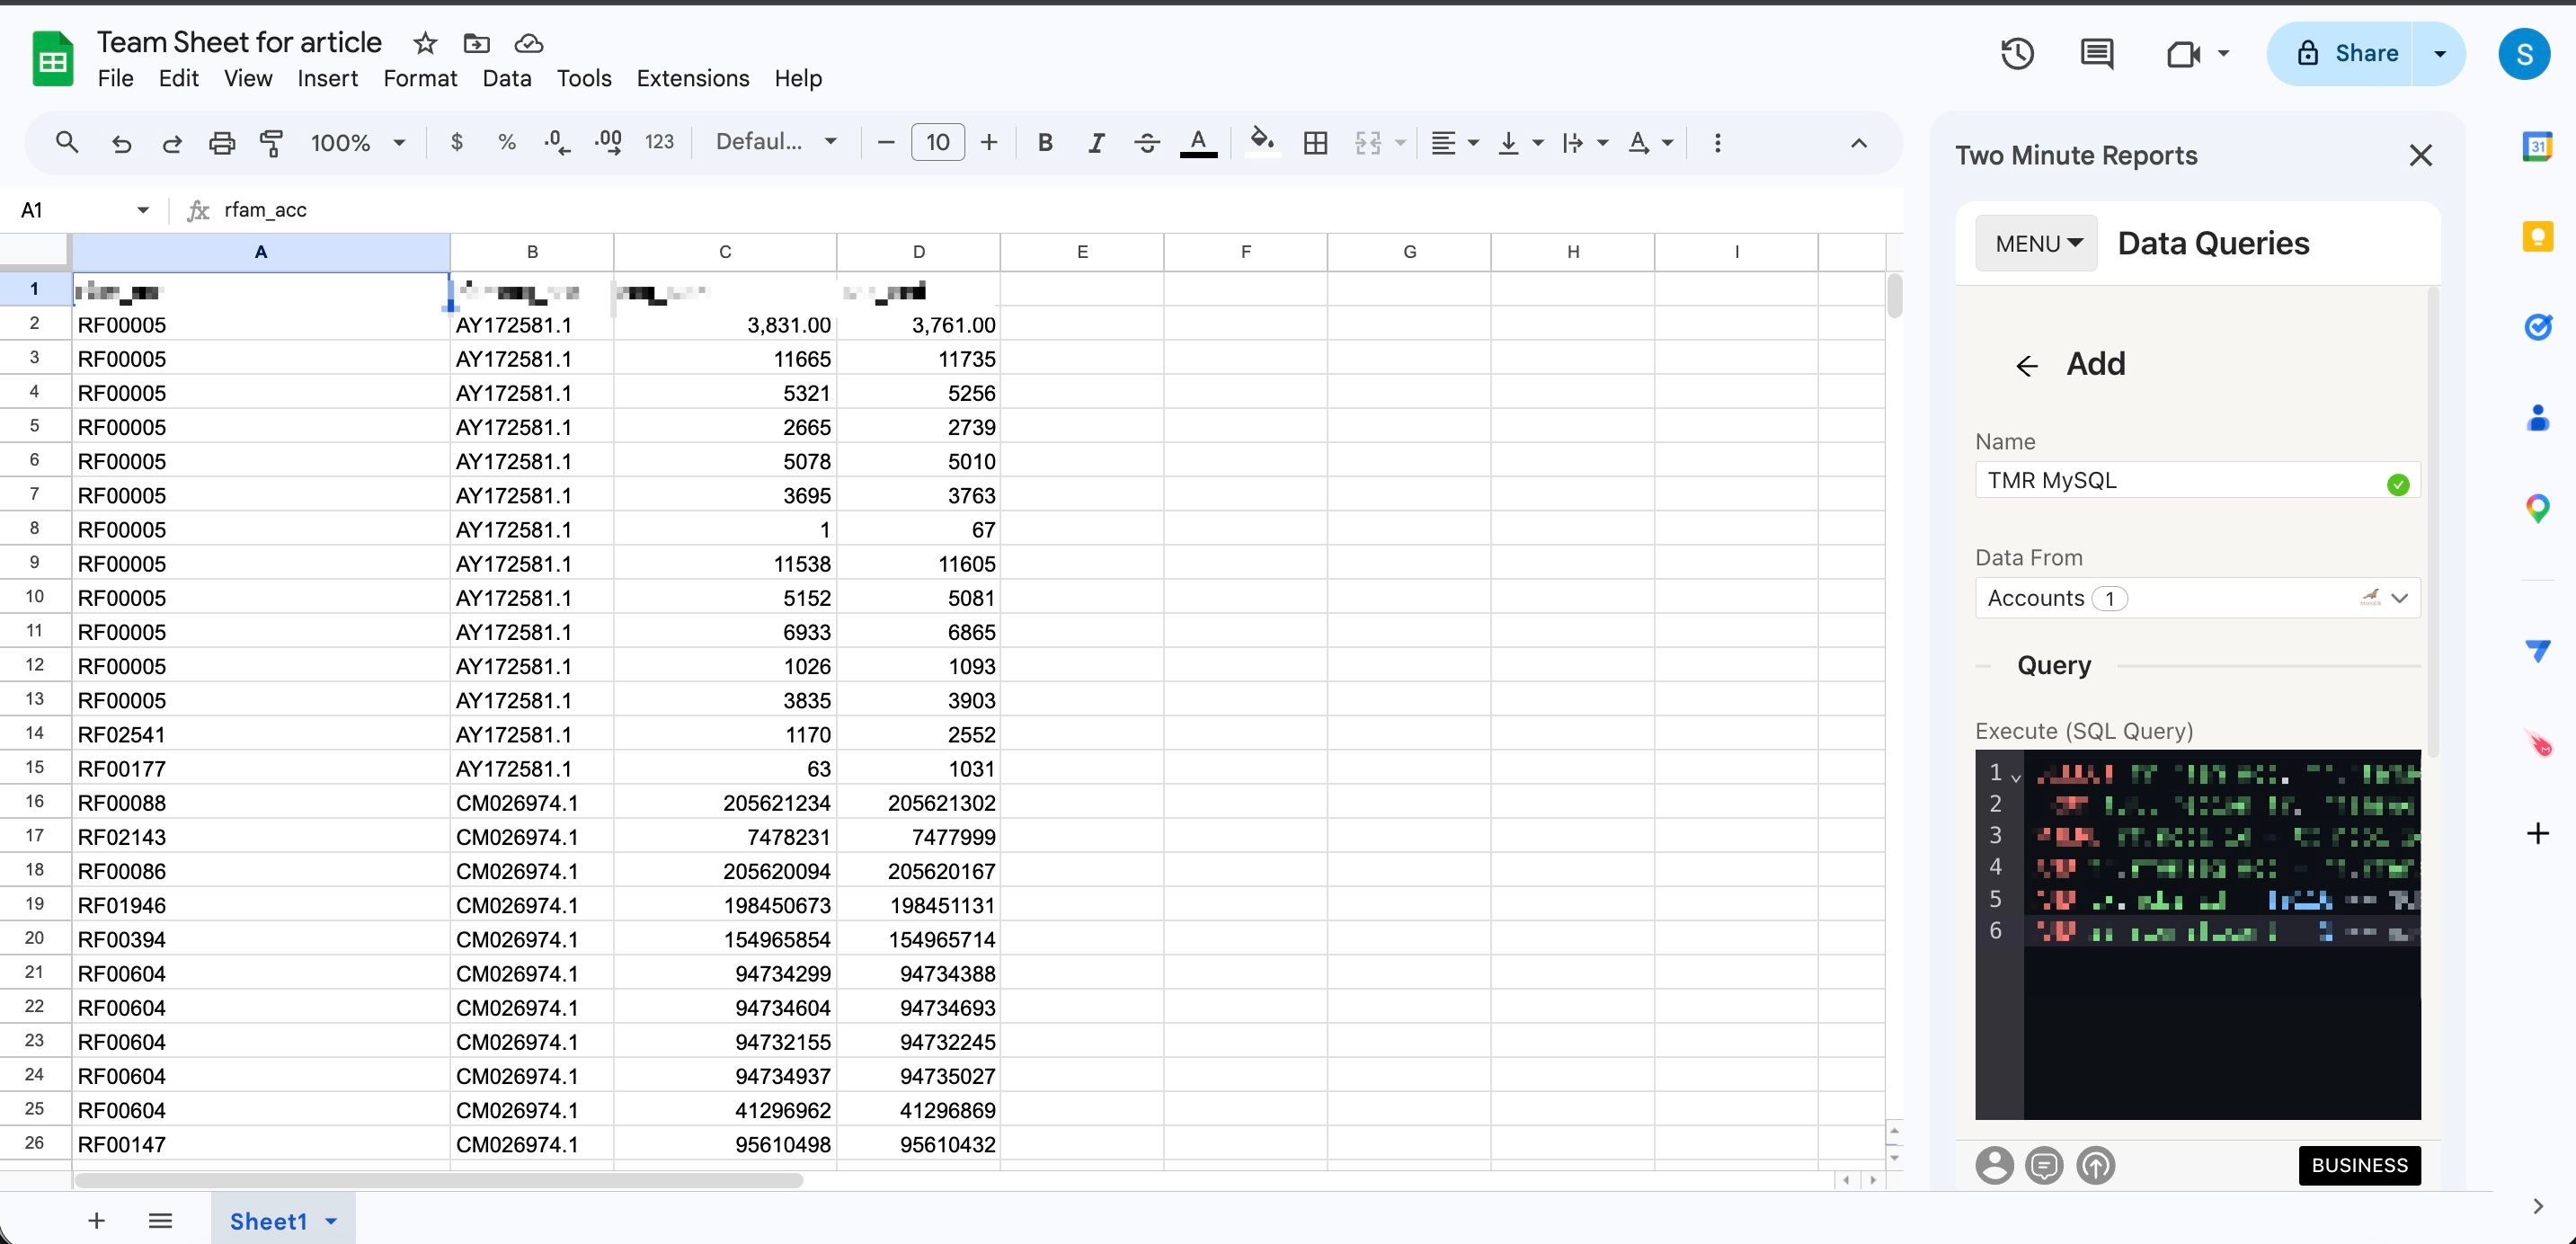
To pull MySQL data into Google Sheets:
- In the TMR sidebar, go to Data Queries and click Add
- Select the accounts you want to analyze (can select multiple)
- Choose your metrics and dimensions from available options
- Select the date range for your analysis
- Configure sorting and filtering options as needed
- Click Run Query to populate the data into Google Sheets

To pull MySQL data into Looker Studio:
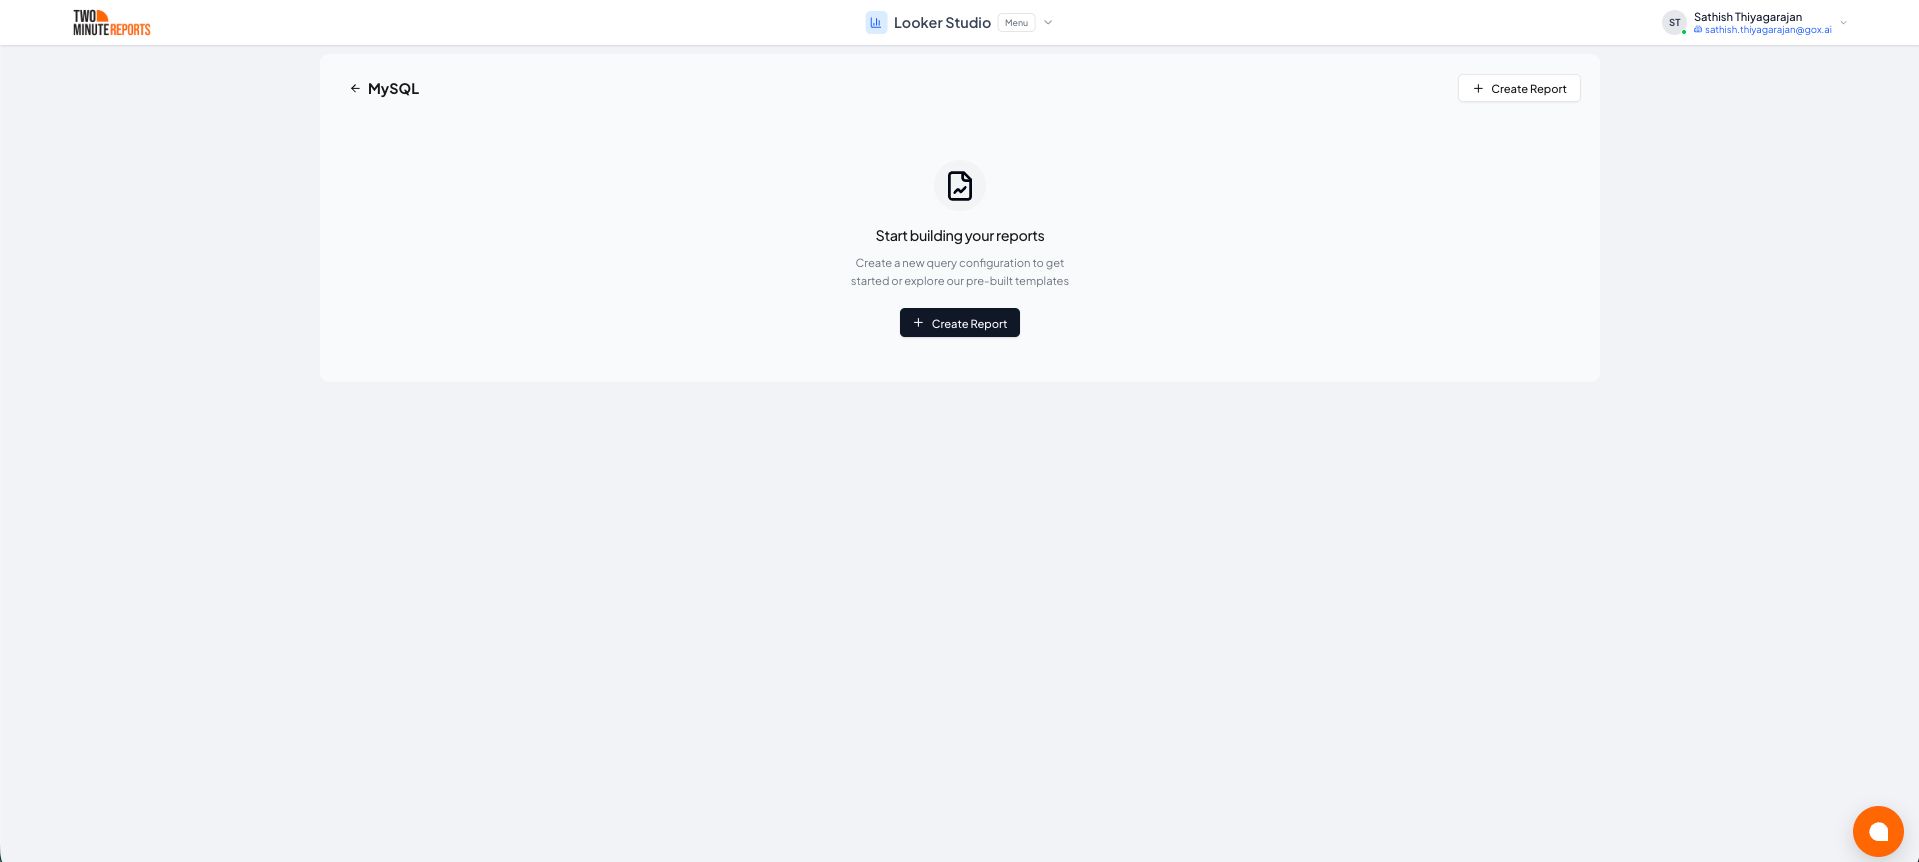
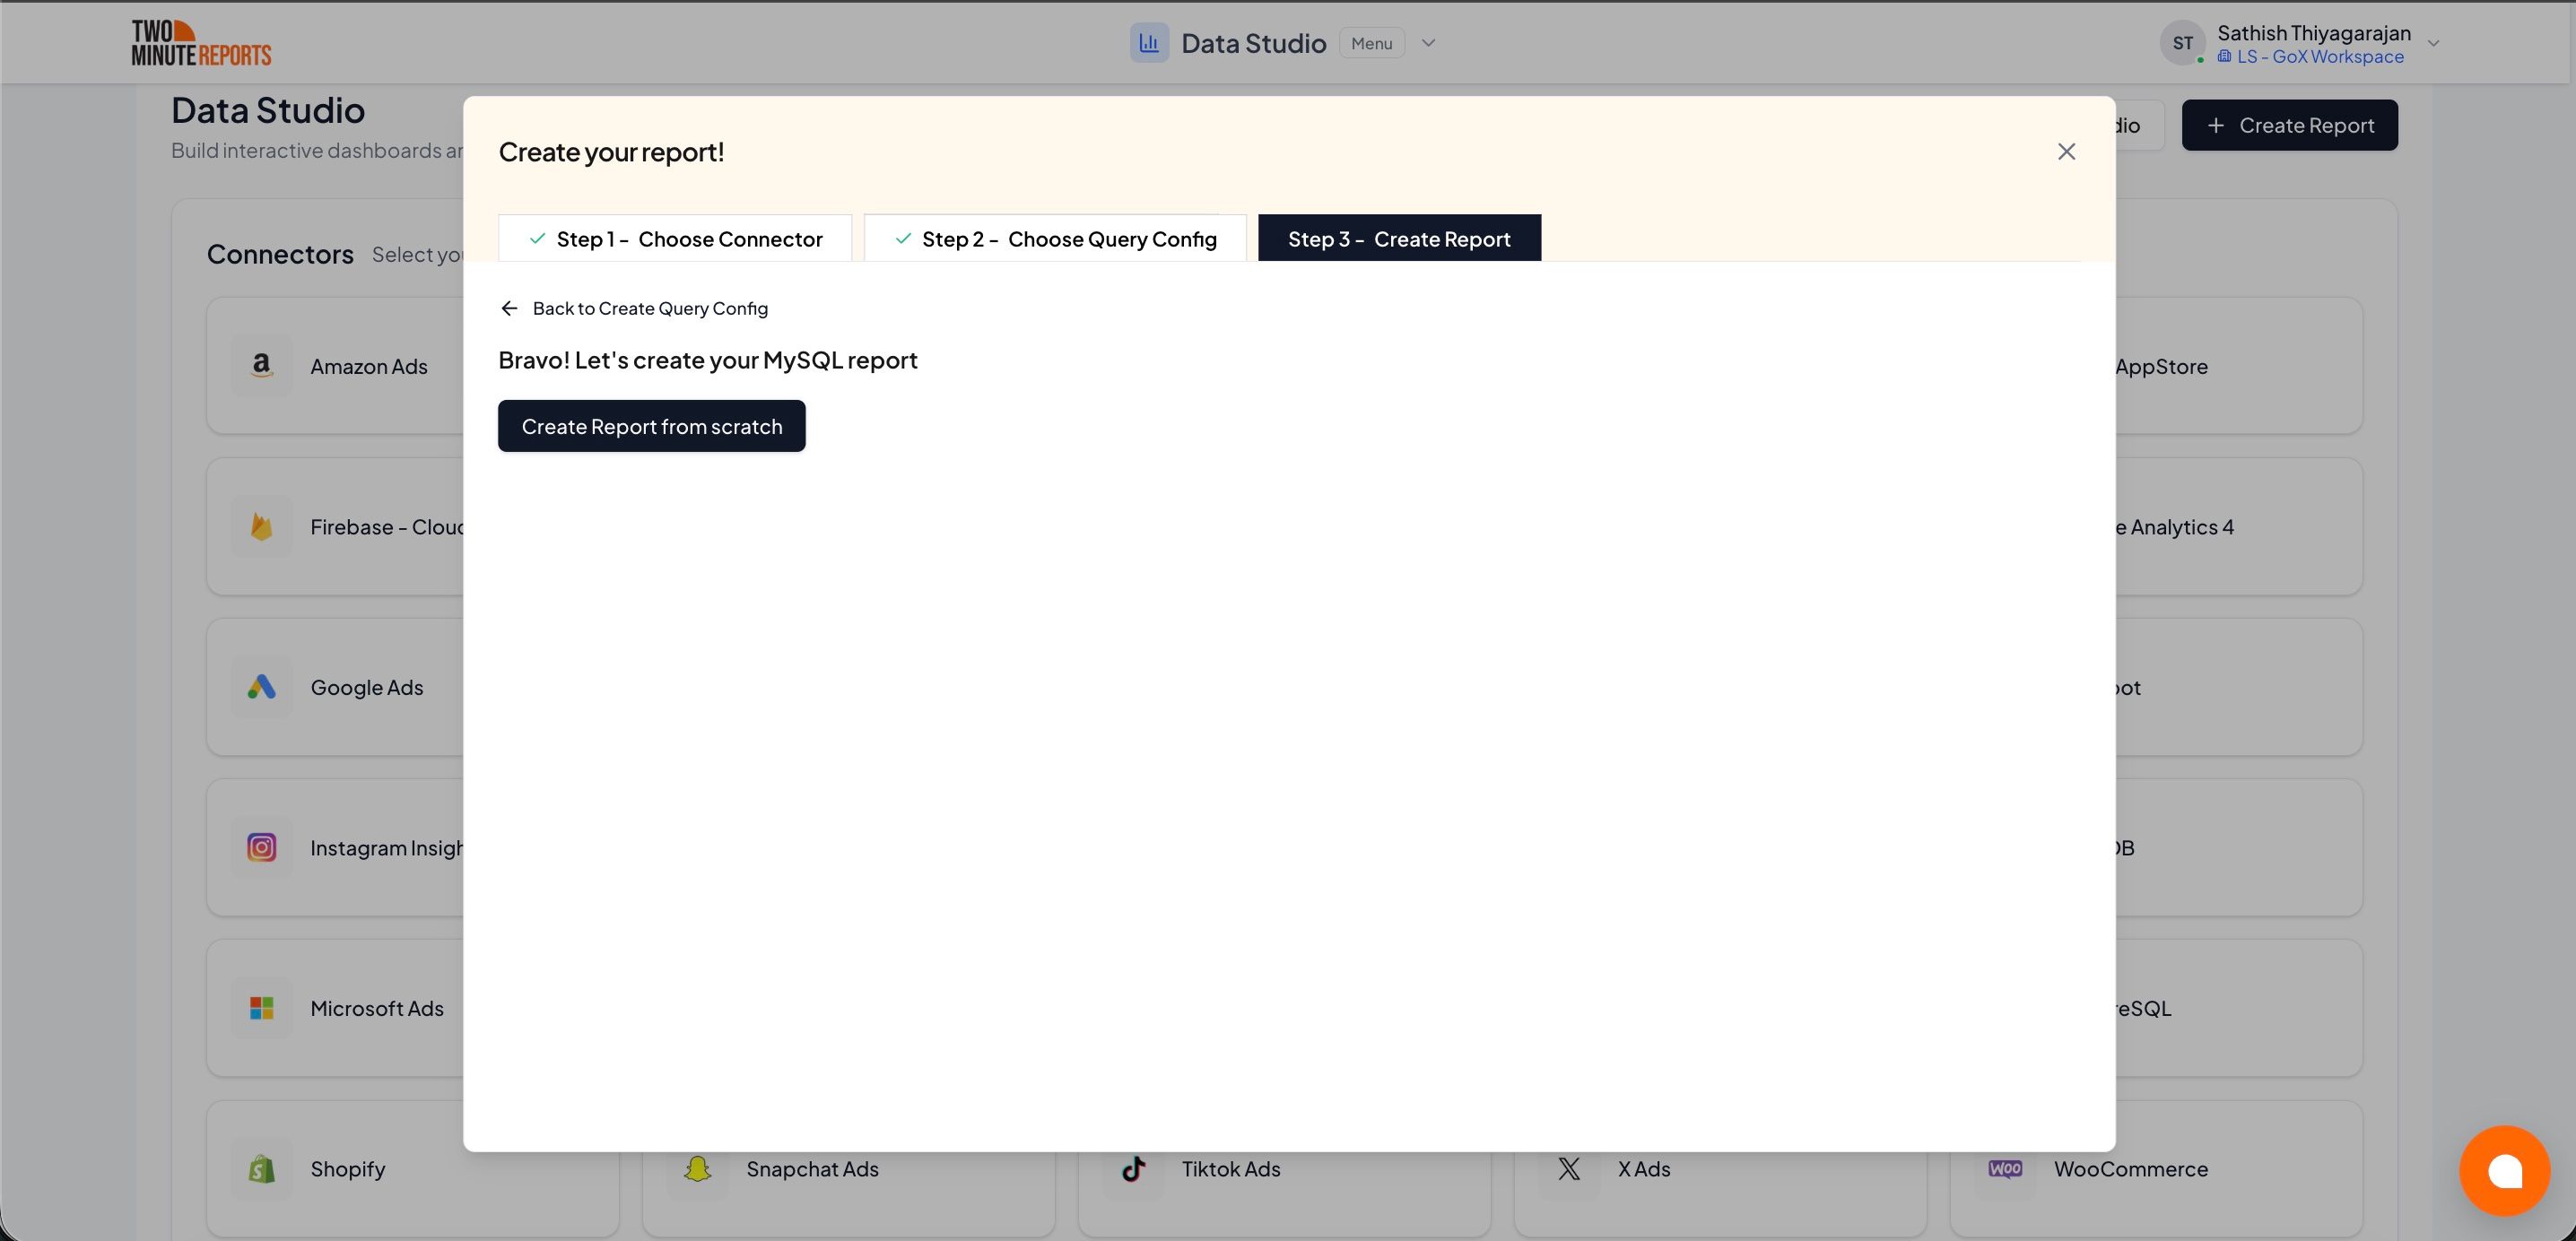
- Click Open in Looker Studio, then click + Create Report.
- A query config panel will appear. Do one of the following:
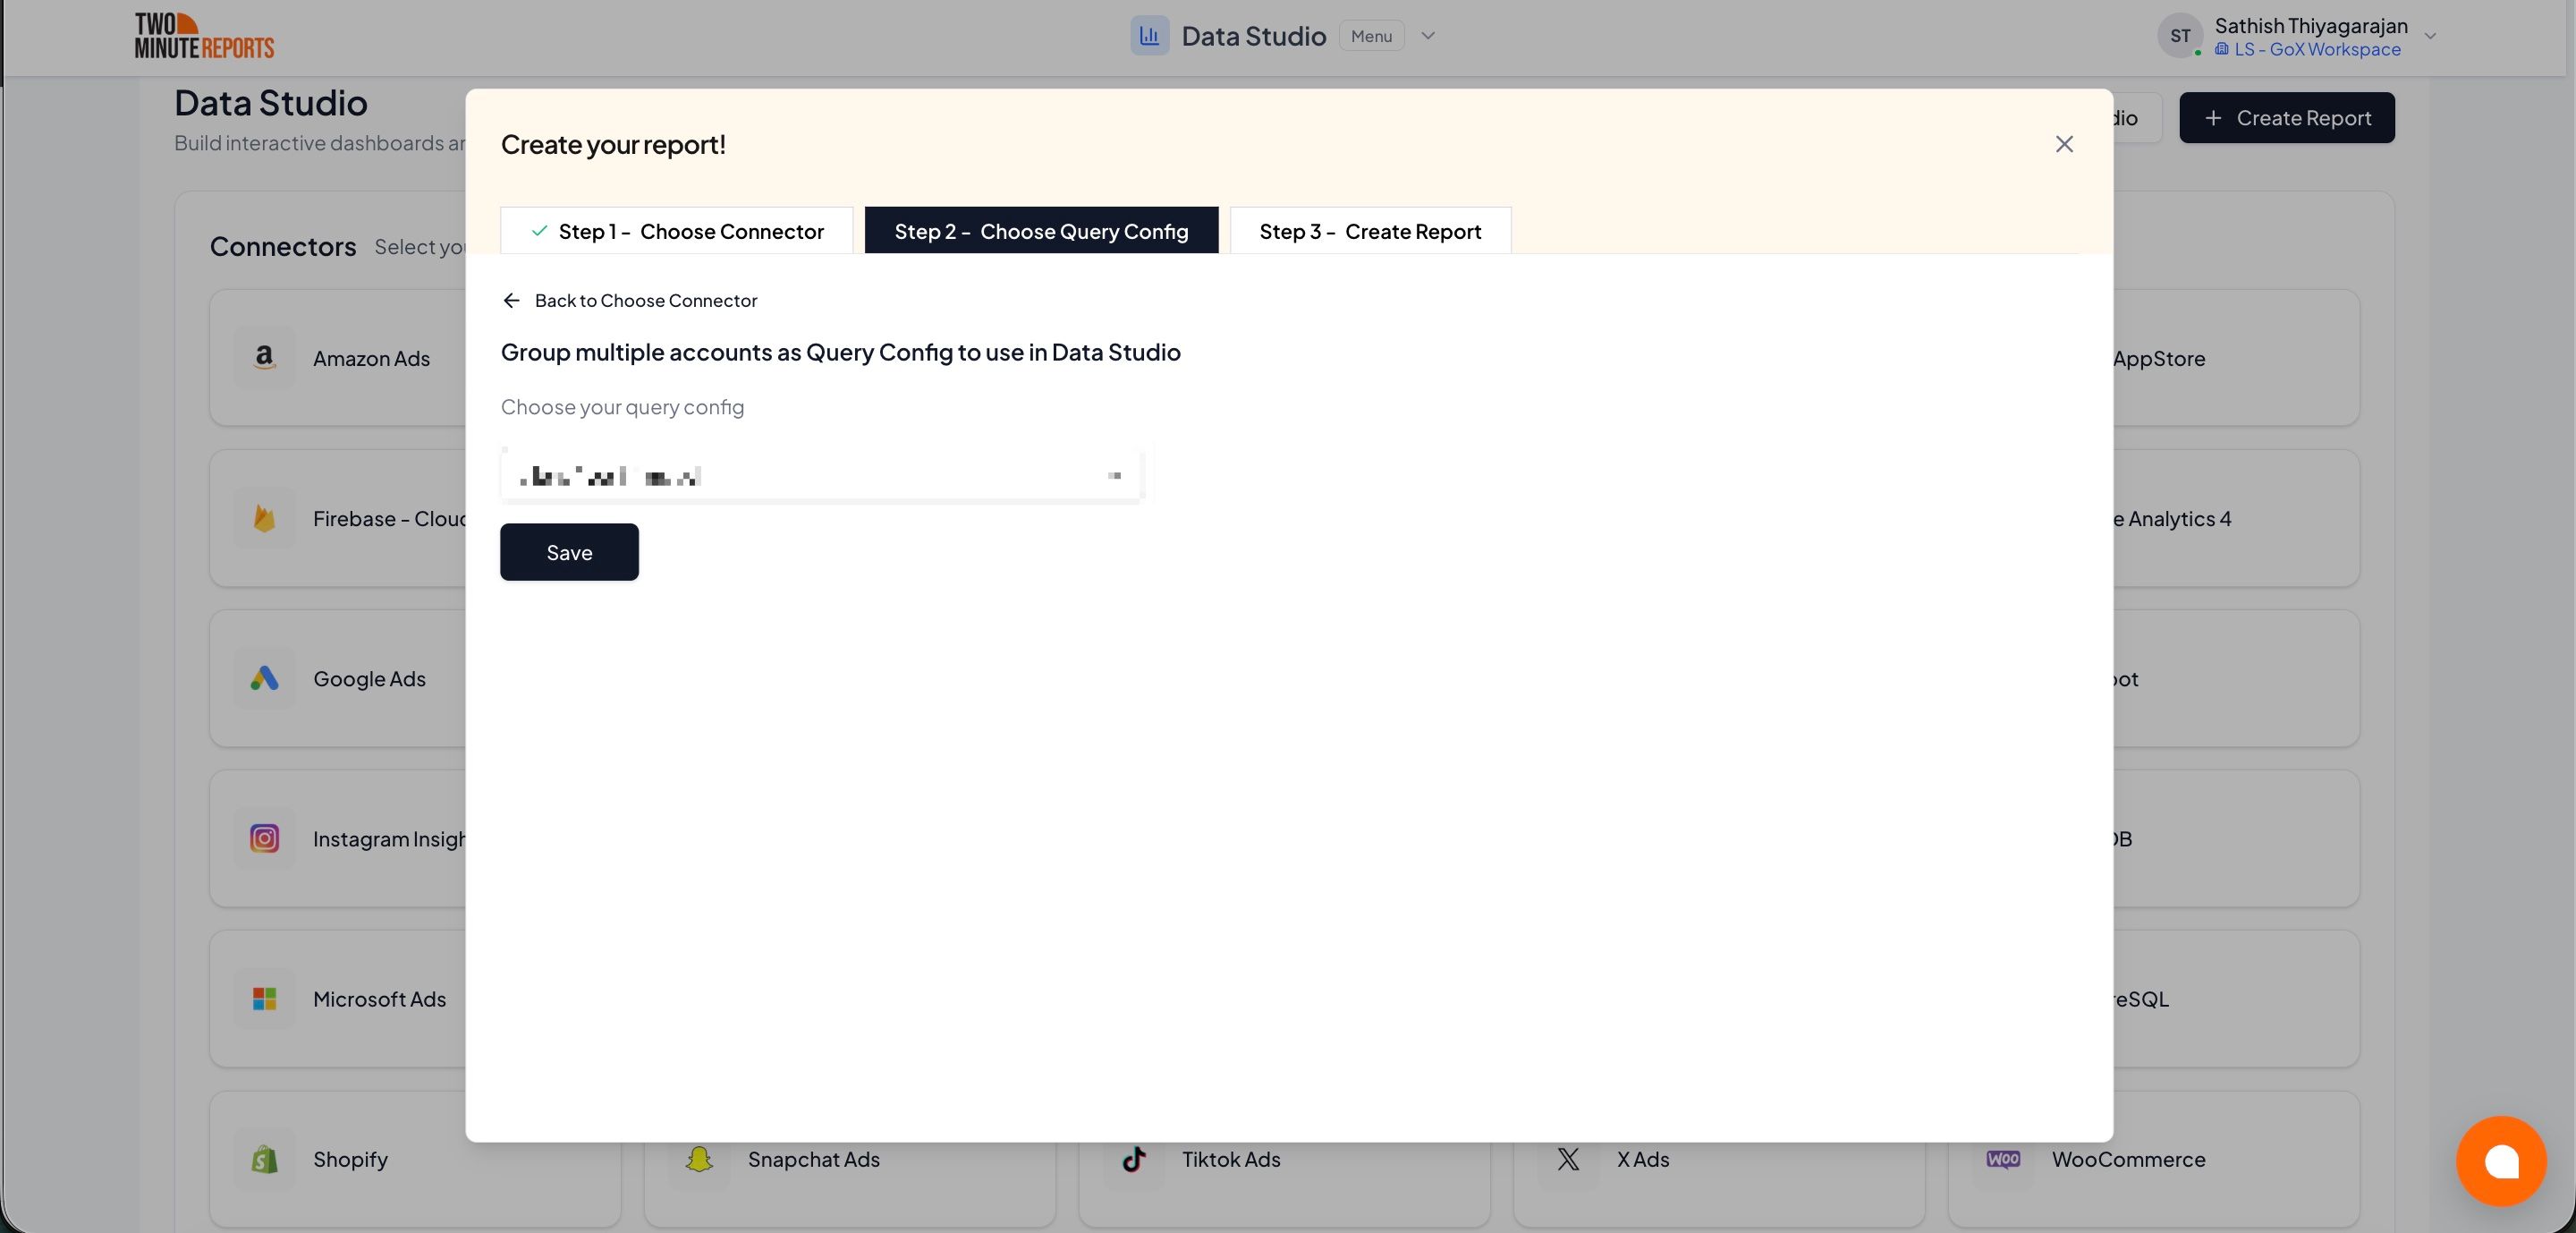
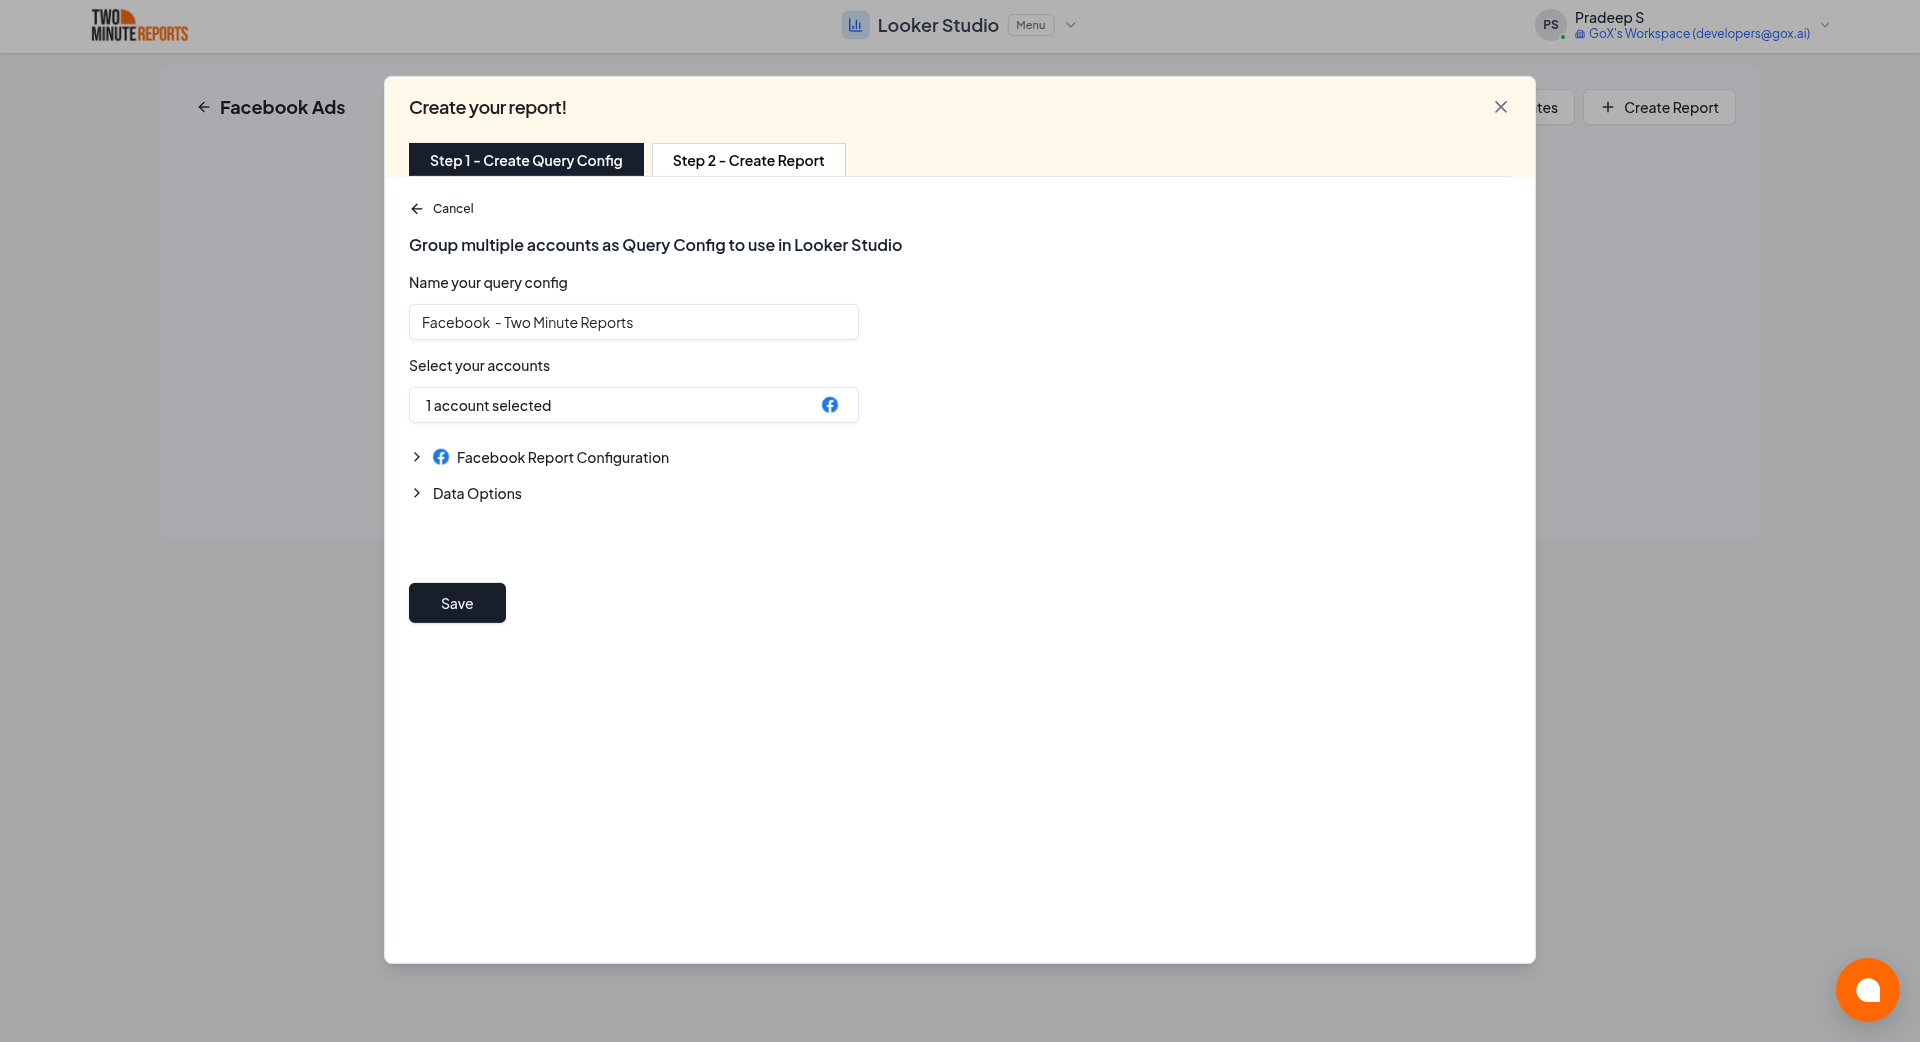
Creating a new query config: Enter a name, select the accounts you want to include from the dropdown, then click Save.
- Choose Create report from scratch to build a custom report, or select one of the pre-built templates to get started quickly.
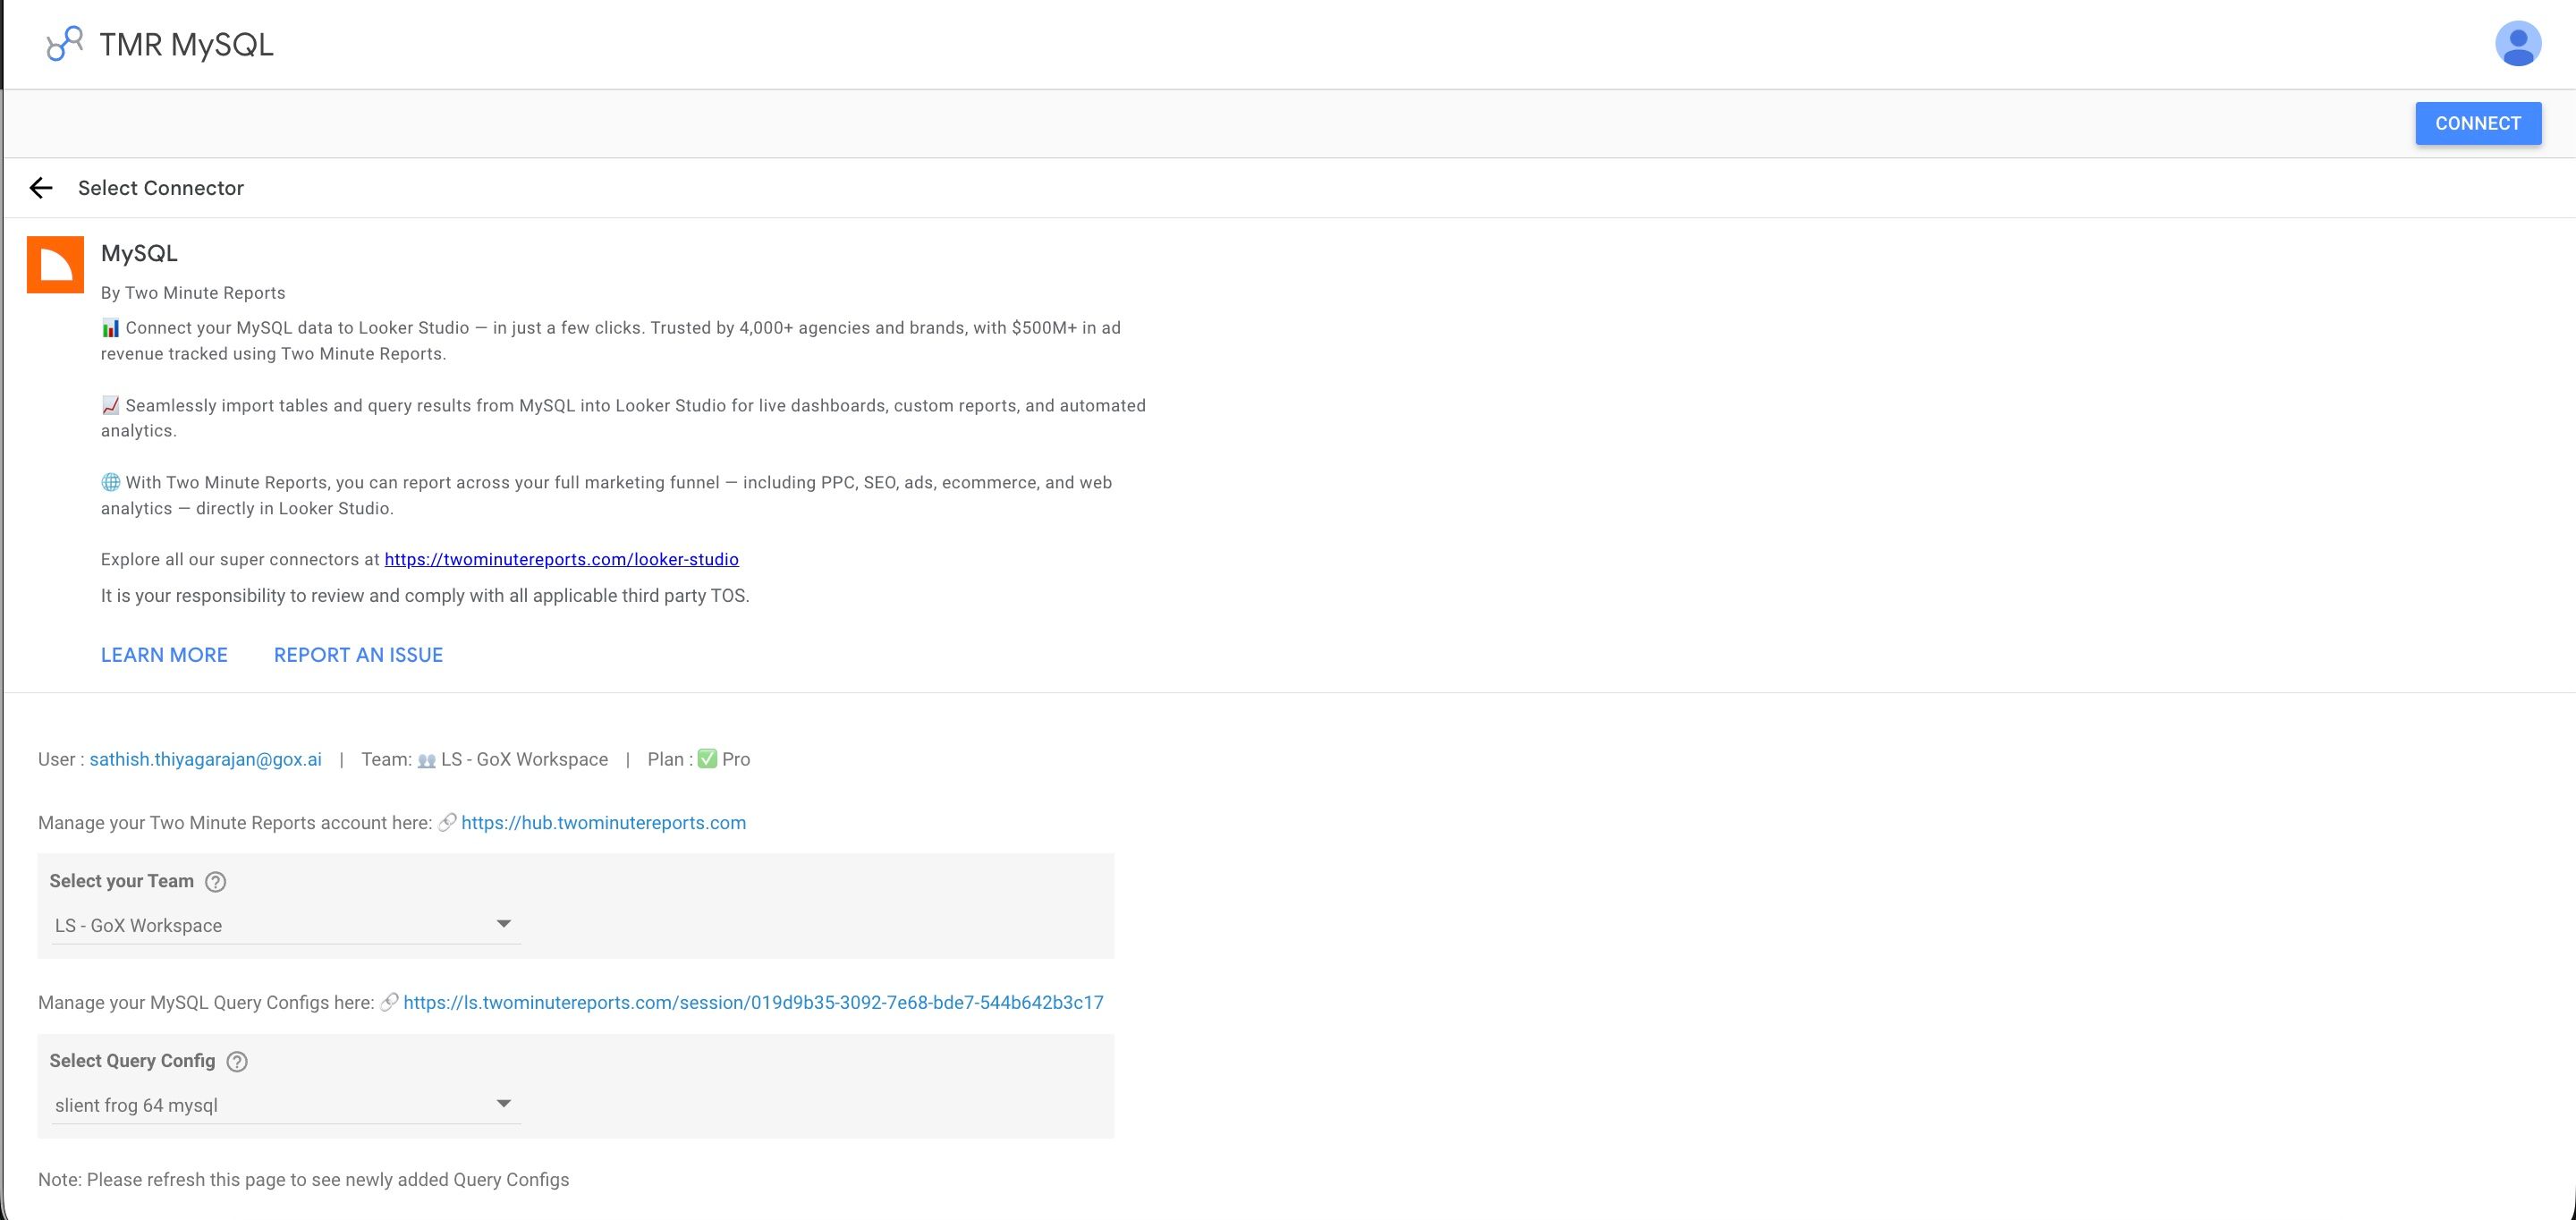
- In the Looker Studio connector panel, select your team and choose the required query config from the dropdown. Click Connect in the top-right corner.
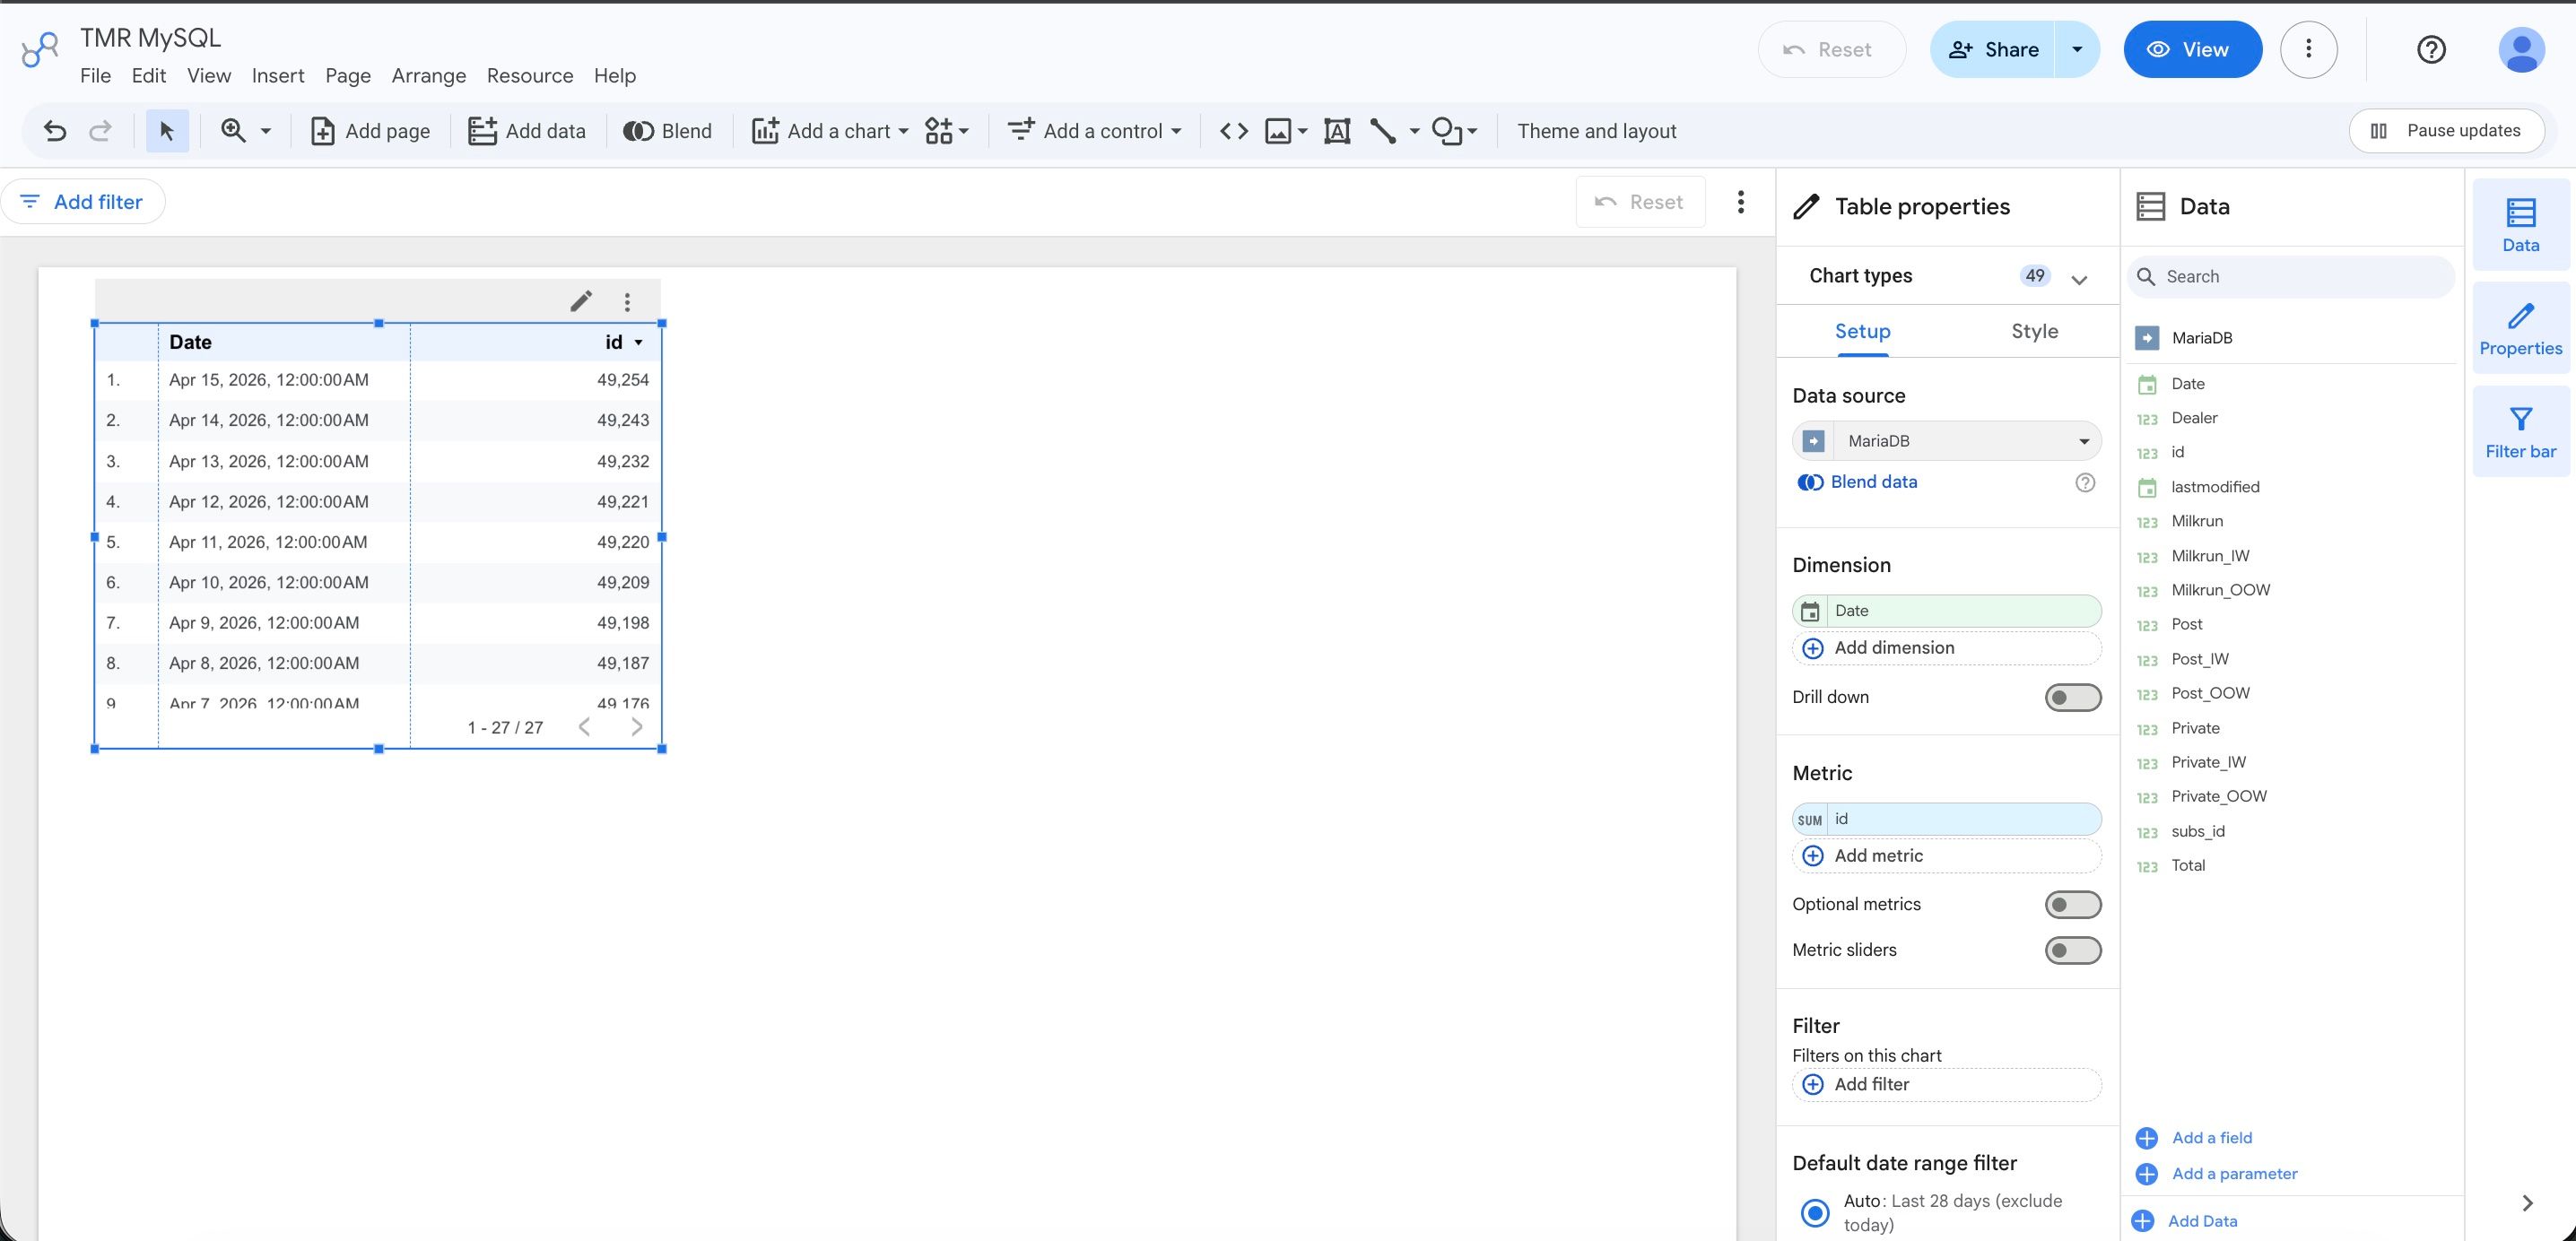
- You'll land on the Looker Studio dashboard. Drag and drop the available MySQL metrics and dimensions onto your canvas to start analyzing your data.
Dynamic dates
When your query config contains a fixed date range in the SQL WHERE clause, you have to manually update it every time. Instead, use the @startDate and @endDate parameters — TMR replaces them with the date range selected in the report at query time, so the SQL always fetches only the relevant data.
Example — static query:
SELECT * FROM orders
WHERE order_date BETWEEN '2024-01-01' AND '2024-01-31'
Same query with dynamic dates:
SELECT * FROM orders
WHERE order_date BETWEEN @startDate AND @endDate
When the report refreshes, TMR substitutes @startDate and @endDate with the selected date range. This keeps reports fast because the database returns only the requested rows instead of the full table.
IP whitelisting
TMR connects to your MySQL database from these fixed IP addresses. Add all five to your database firewall or GRANT statements before creating a connection:
49.13.34.182
5.75.217.220
116.203.164.91
95.216.182.151
91.99.28.86
To grant access in MySQL, run the following for each IP (replace your_user and your_password):
GRANT SELECT ON your_database.* TO 'your_user'@'49.13.34.182' IDENTIFIED BY 'your_password';
GRANT SELECT ON your_database.* TO 'your_user'@'5.75.217.220' IDENTIFIED BY 'your_password';
GRANT SELECT ON your_database.* TO 'your_user'@'116.203.164.91' IDENTIFIED BY 'your_password';
GRANT SELECT ON your_database.* TO 'your_user'@'95.216.182.151' IDENTIFIED BY 'your_password';
GRANT SELECT ON your_database.* TO 'your_user'@'91.99.28.86' IDENTIFIED BY 'your_password';
FLUSH PRIVILEGES;