
Summarize this blog post with:
GA4 gives you access to a wealth of website data, but turning that into clear performance insights can be challenging. You need to identify which pages are driving traffic, where visitors are dropping off, which channels are converting, and what’s actually contributing to your website performance.
With Two Minute Reports’ GA4 Google Data Studio connector, you can bring all your GA4 accounts into Data Studio and make performance trends easier to spot and act on.
In this guide, I’ll walk you through a step-by-step workflow to connect GA4 to Data Studio, build marketing dashboards, and help you make better decisions.
How to Export Google Analytics 4 Data to Google Data Studio?
You can connect GA4 data to Google Data Studio using the following methods:
- Method 1: Connect GA4 data to Google Data Studio via Two Minute Reports Hub
- Method 2: Connect GA4 data to Google Data Studio via pre-built templates
Method 1: Connect GA4 data to Google Data Studio via TMR Hub
Two Minute Reports Hub is your dedicated workspace for adding, organizing, and managing your GA4 data in one place. Here’s how to get started:
Step 1: Creating a Connection
1. Go to hub.twominutereports.com and click Connections → Create Connection.
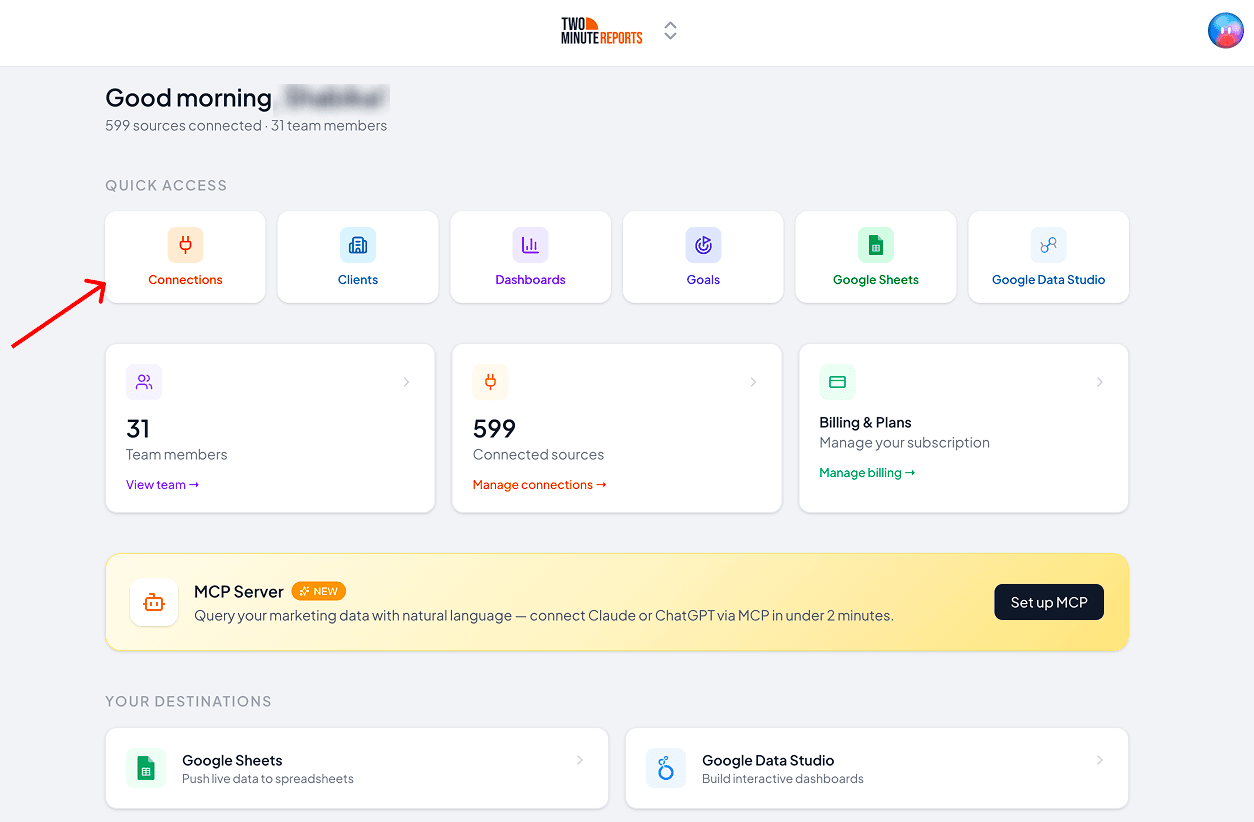
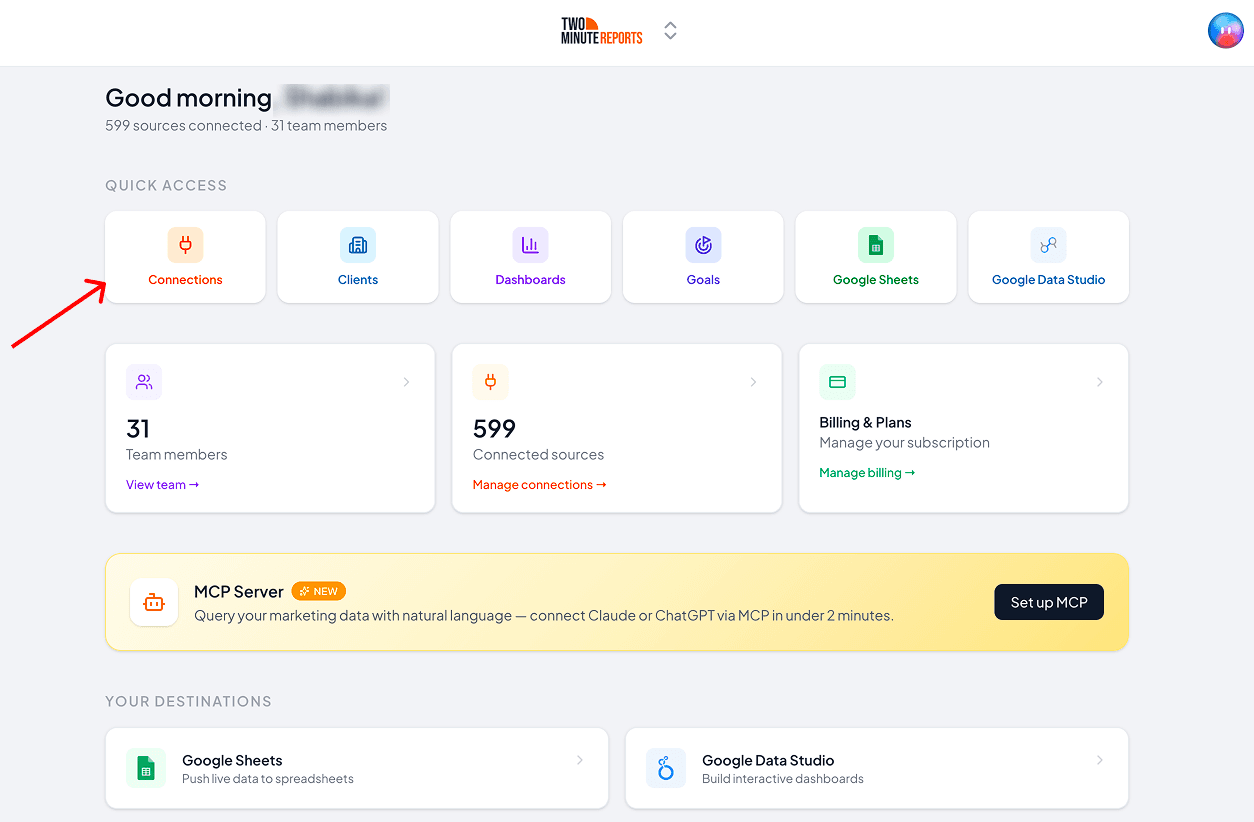
2. Inside the dialog box, complete these three steps:
- Select Google Analytics 4 from the list of options.
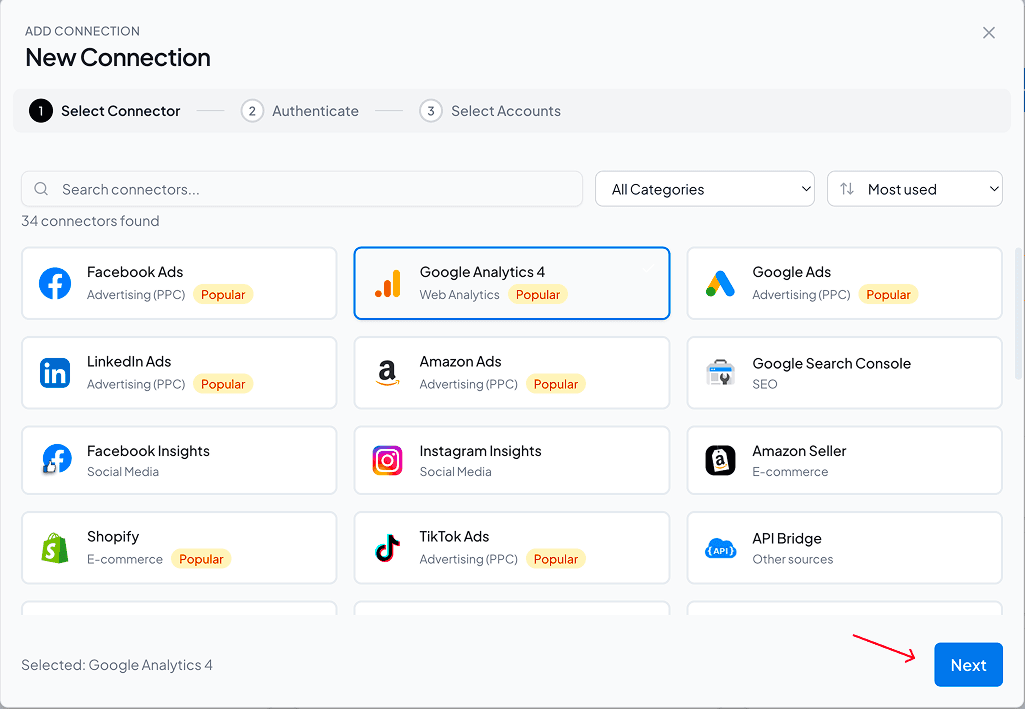
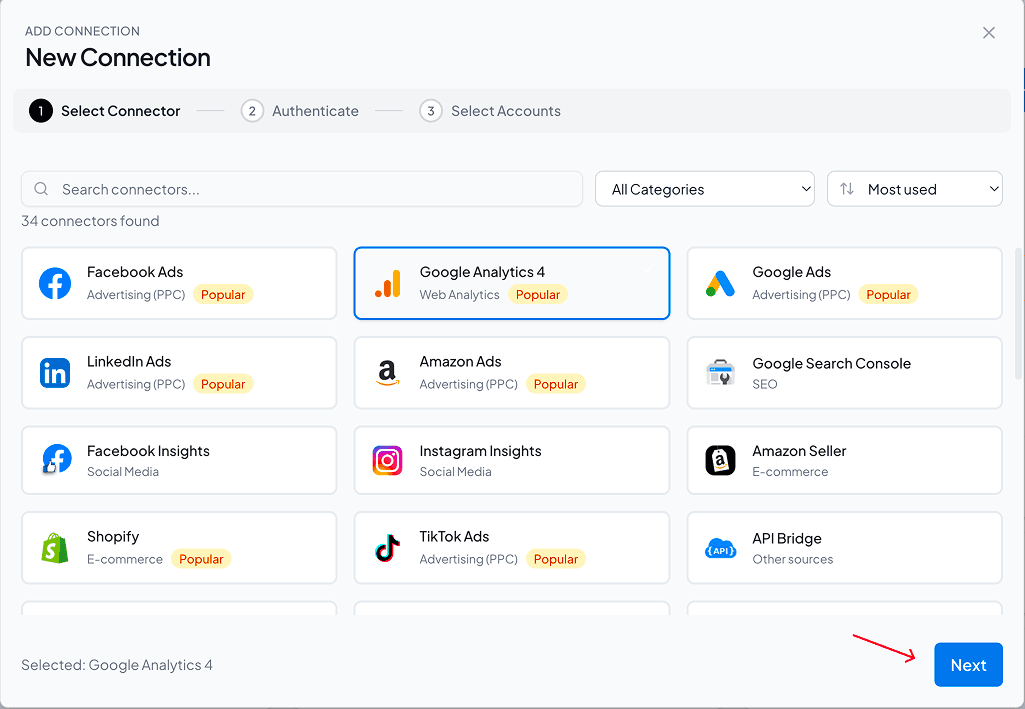
- Next, authorize your connection by entering your login credentials.
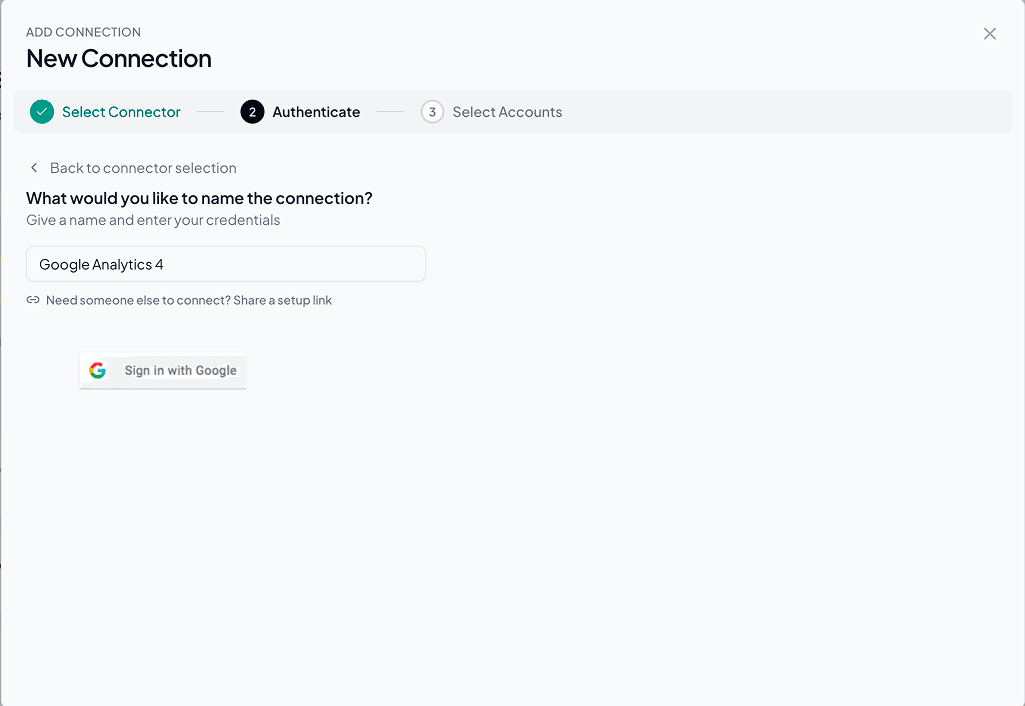
- Once authenticated, enable the GA4 accounts you want to track performance. Please note that you cannot query disabled accounts.
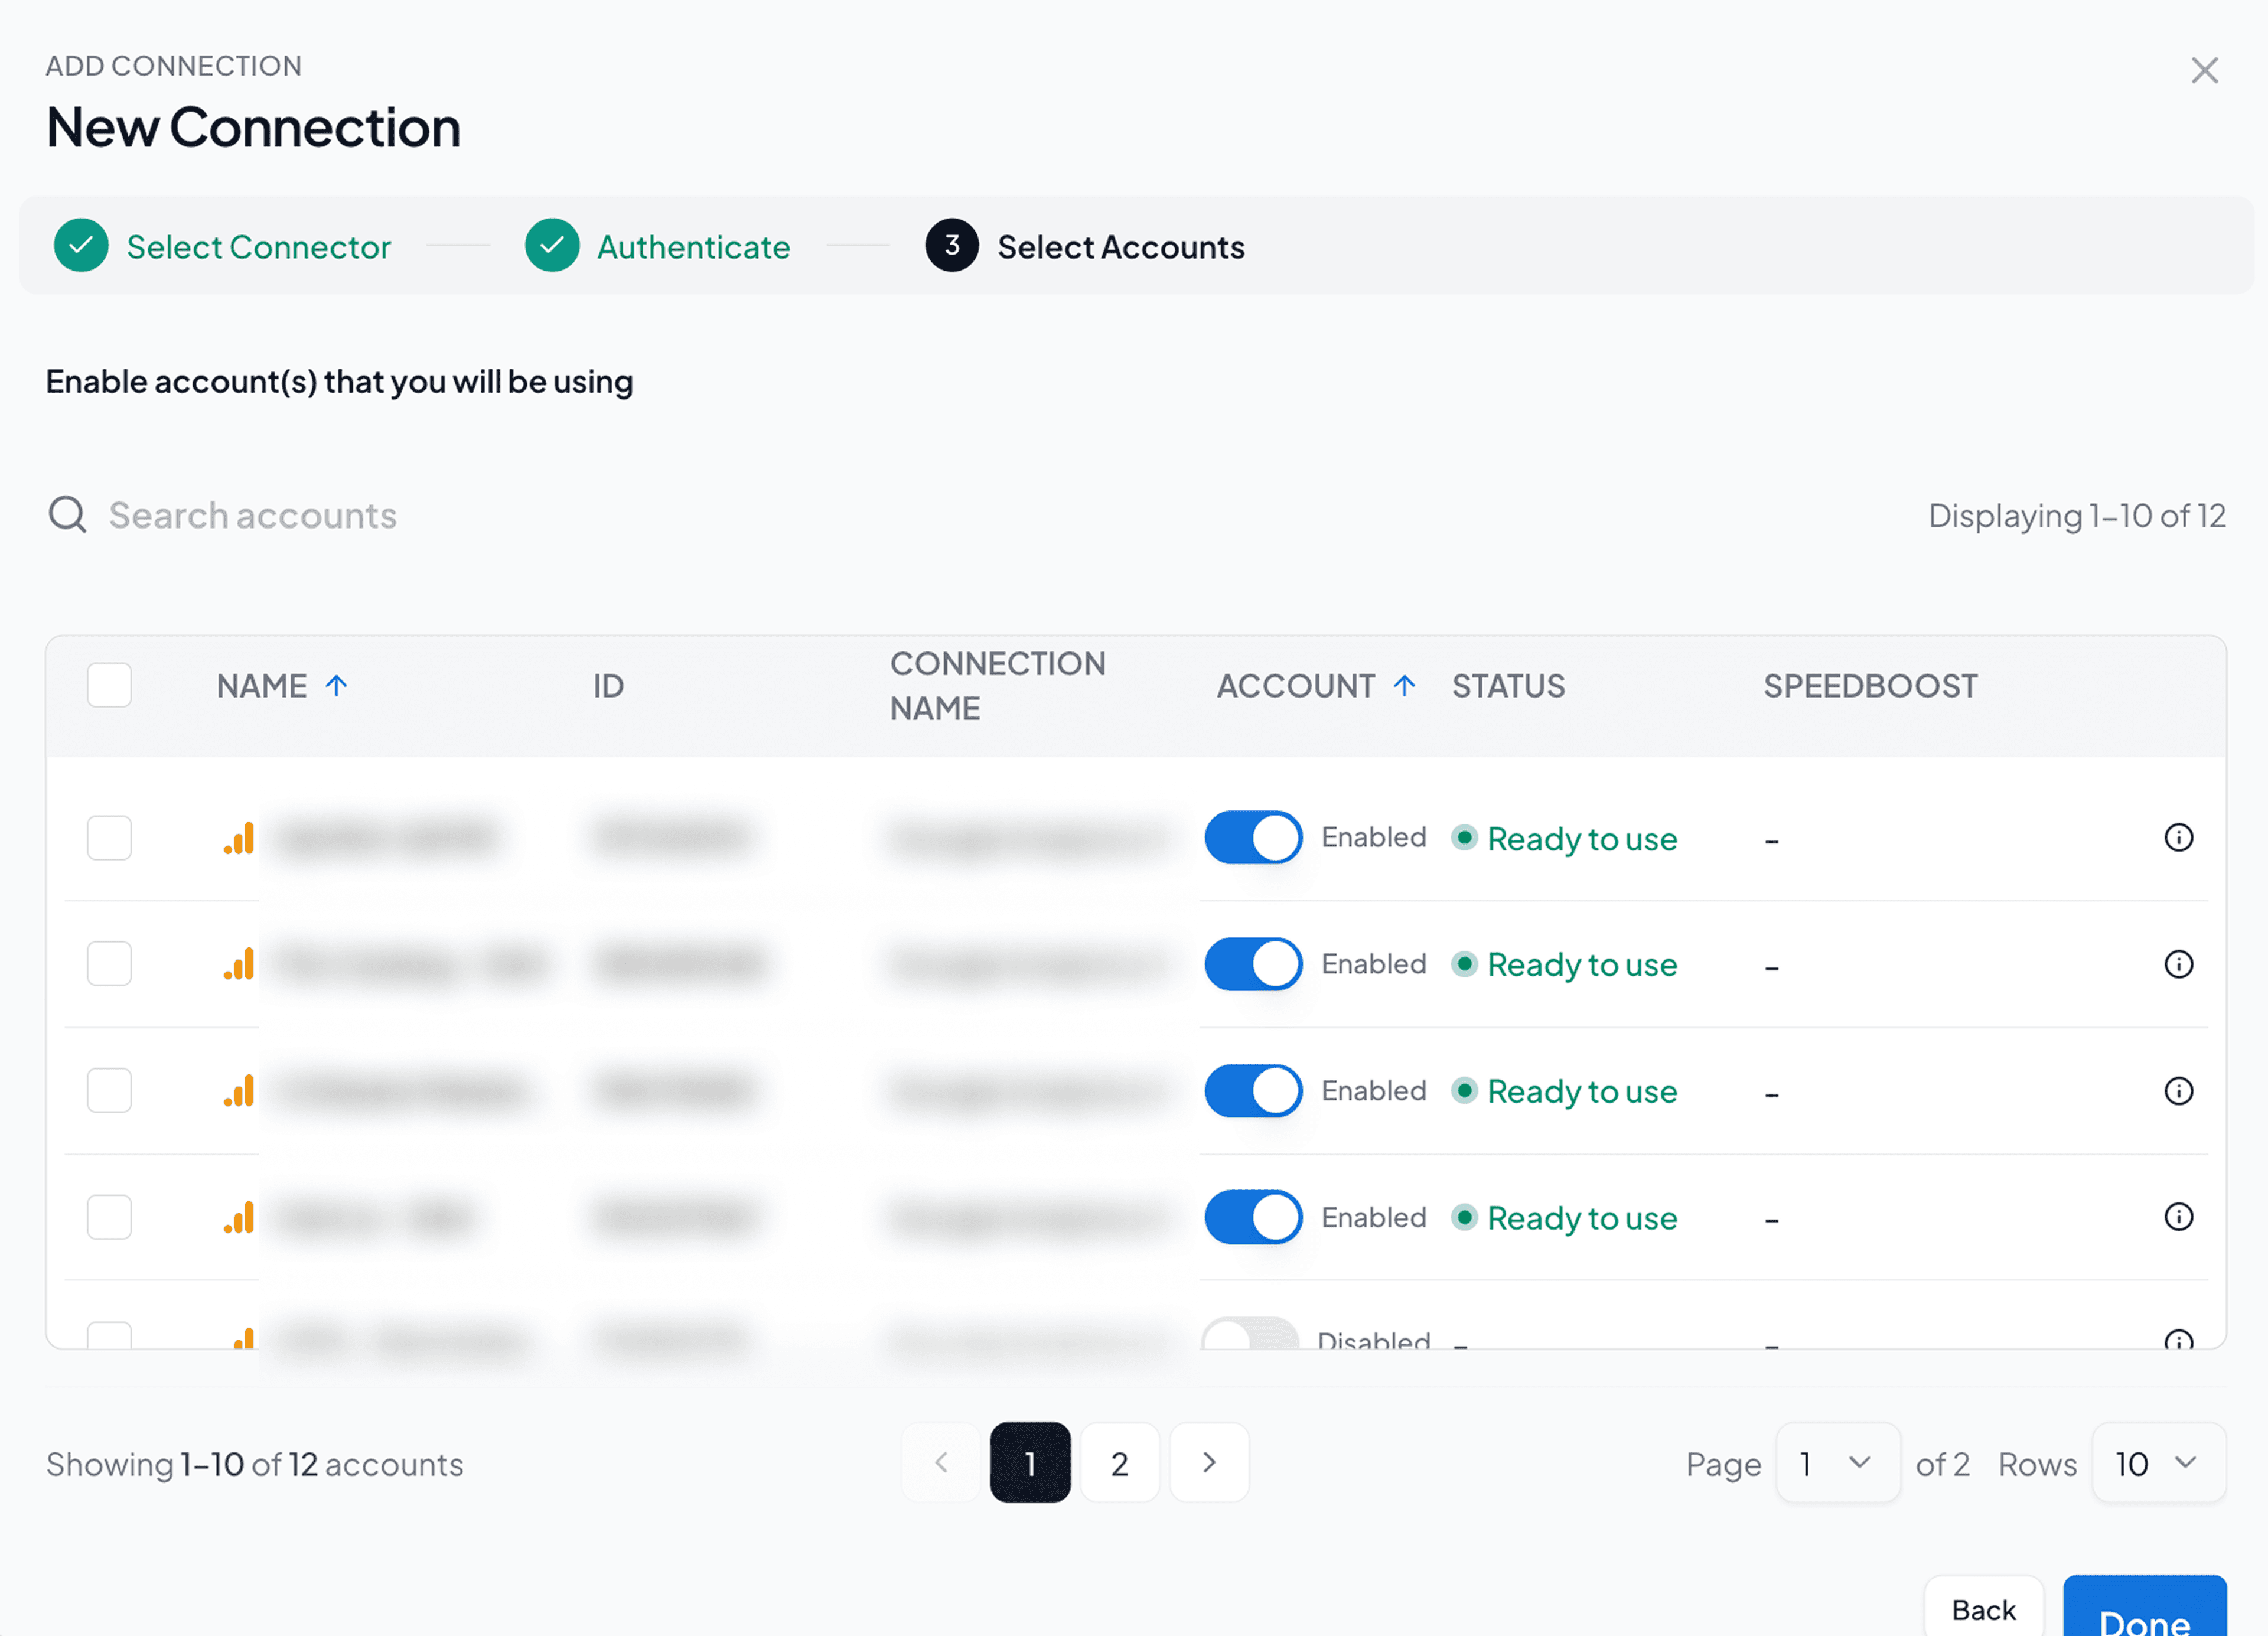
3. Once done, go back to the Hub homepage, click Google Data Studio and proceed with the steps below to build your GA4 reports and dashboards in Data Studio.
Step 2: Configure Your GA4 Accounts in Google Data Studio
- Once you’re in the Google Data Studio menu, click Create Report.
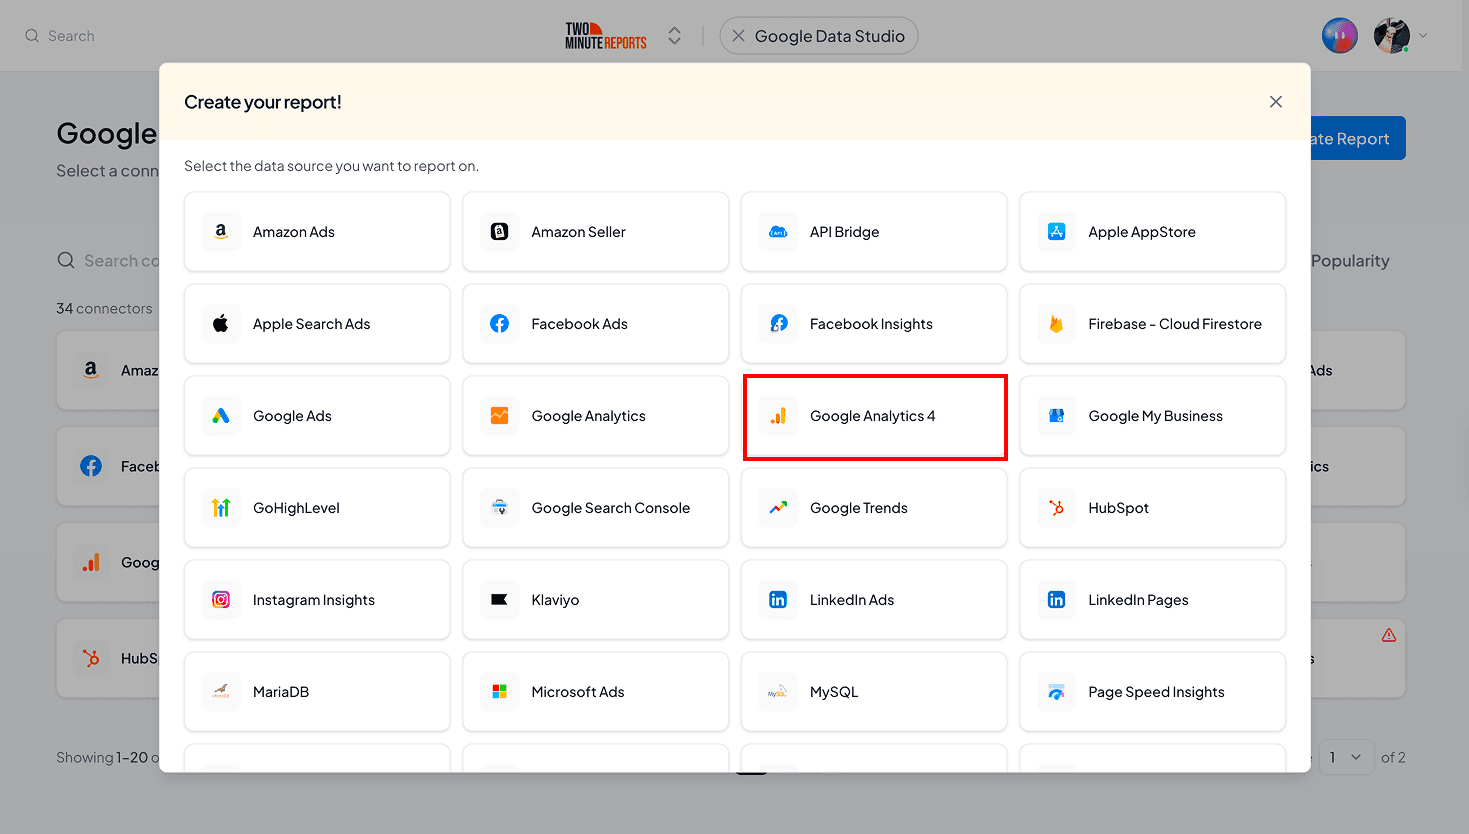
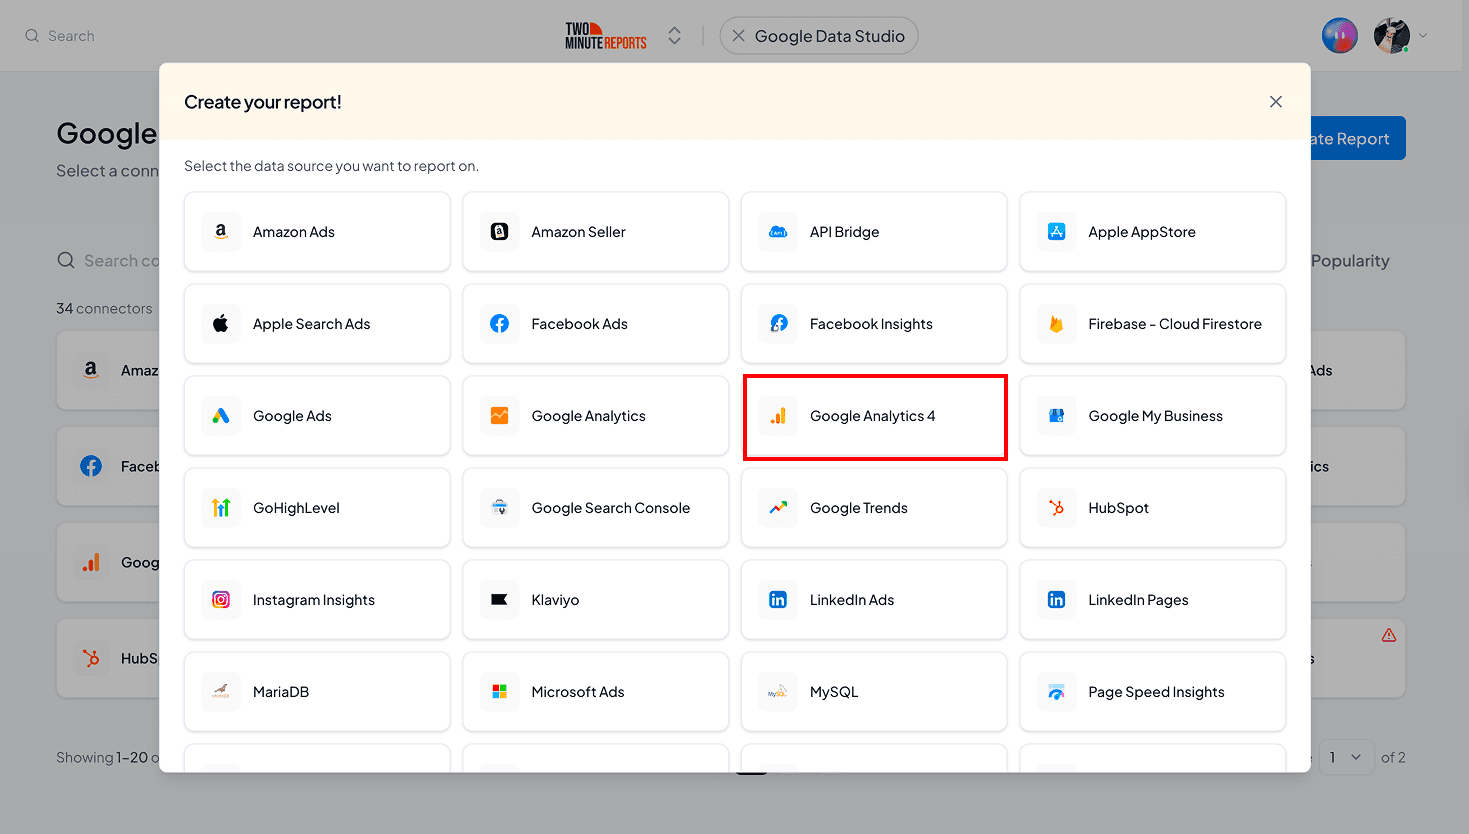
- Select the GA4 Google Data Studio connector from the list.
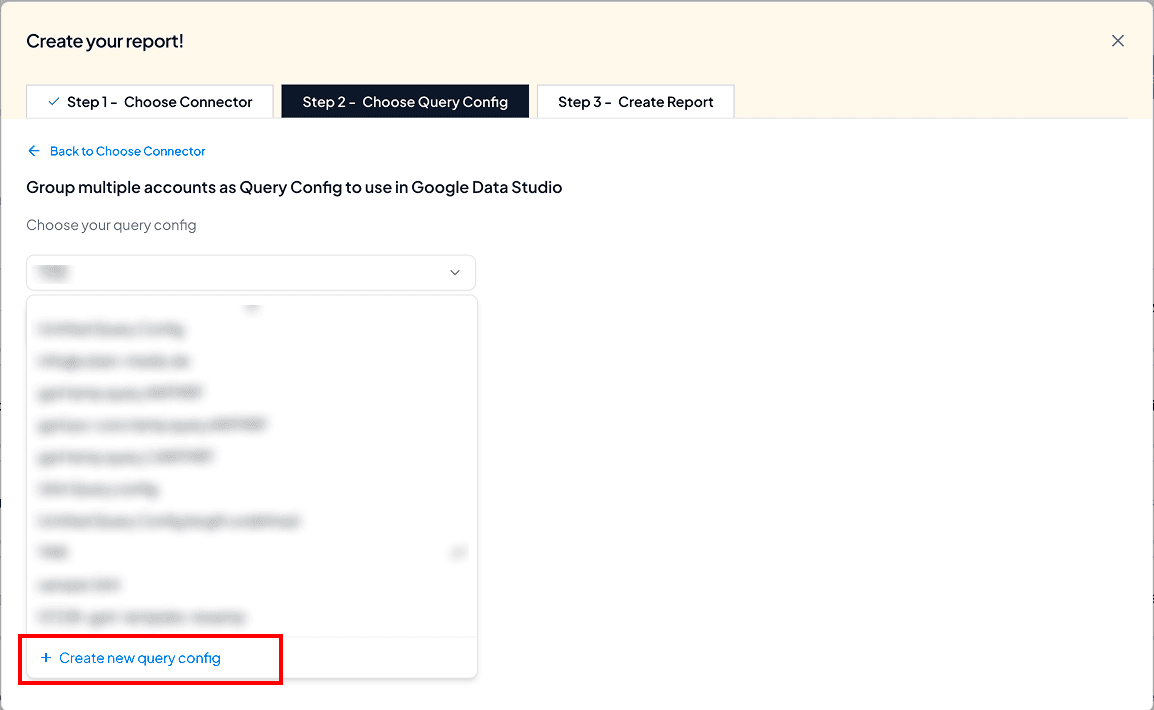
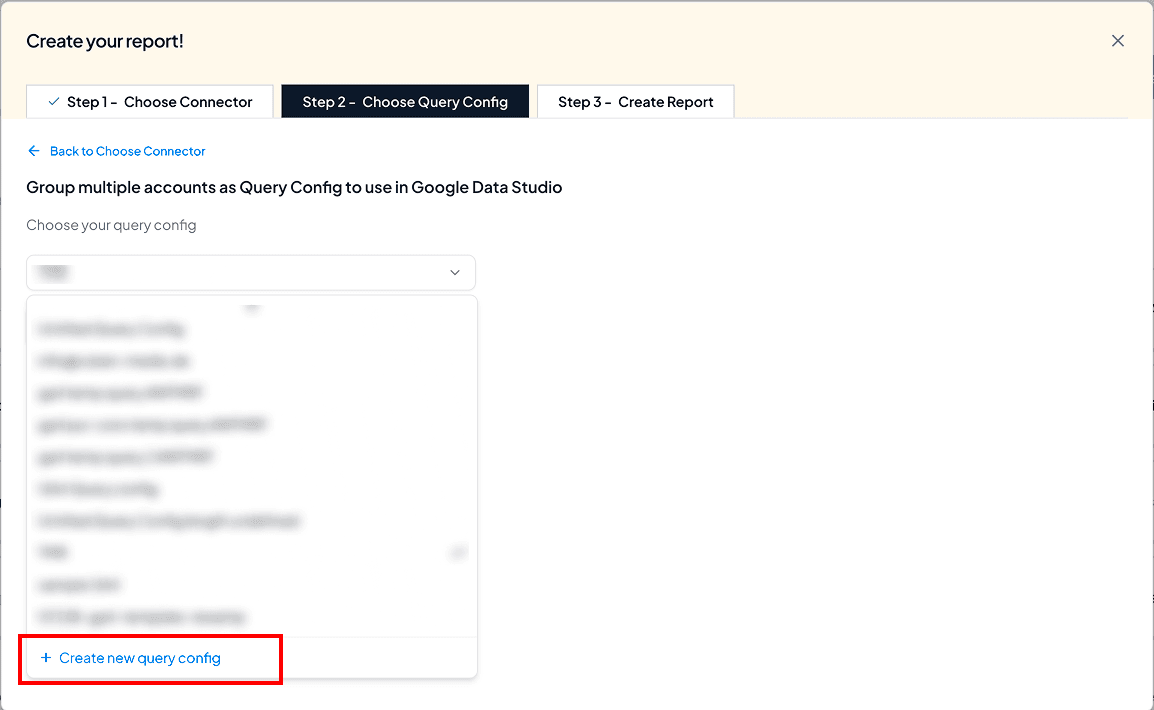
- In Step 2 (Choose Query Config Dropdown), click +Create new query config.
Query Config lets you group multiple accounts, making it easier to access centralized insights in your Data Studio dashboard.
- Once you click Create New Query Config, you can specify the name of your Query Config and select the required GA4 accounts to connect to Google Data Studio. Click Save.
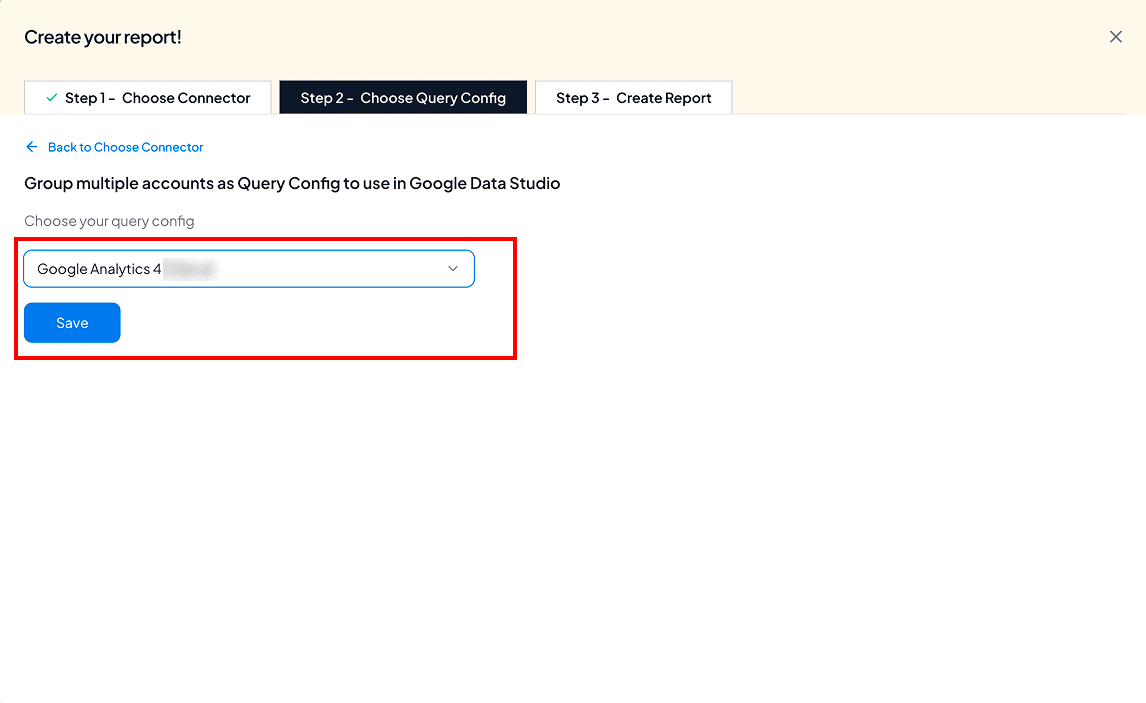
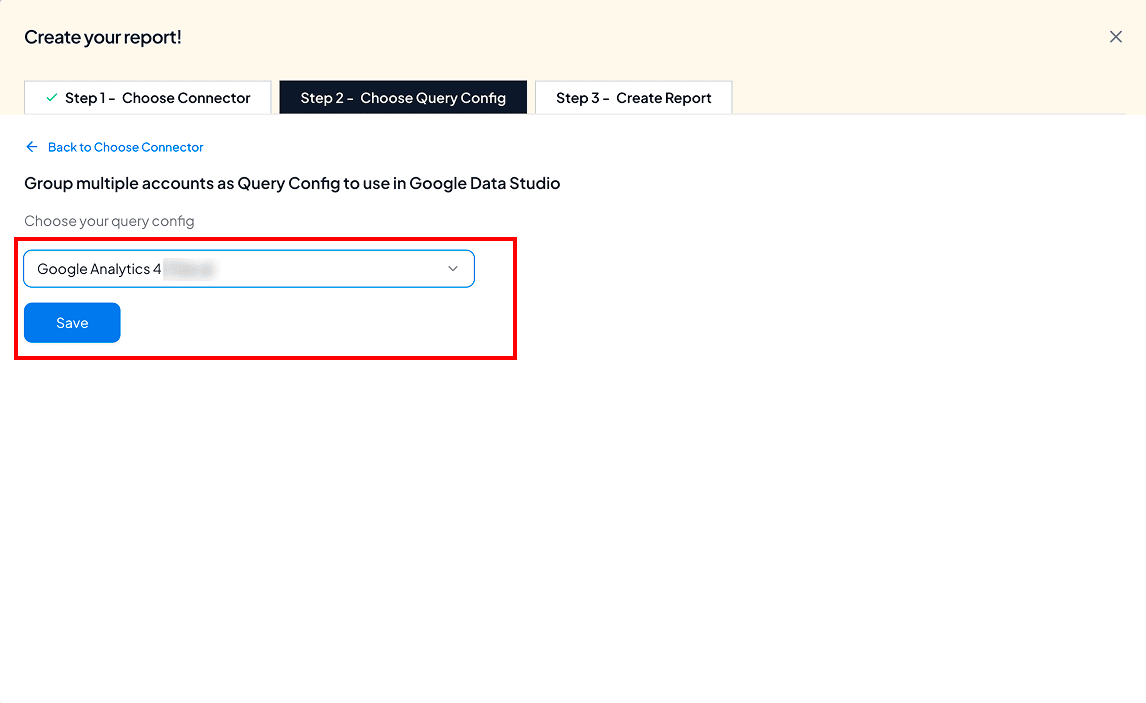
- Then, click Create from scratch to build your GA4 dashboard in Data Studio.
Step 3: Build Your GA4 Dashboard in Data Studio
- Now you’ll land on the Data Studio dashboard.
- Select your team and your Query Config. Click Connect to continue.
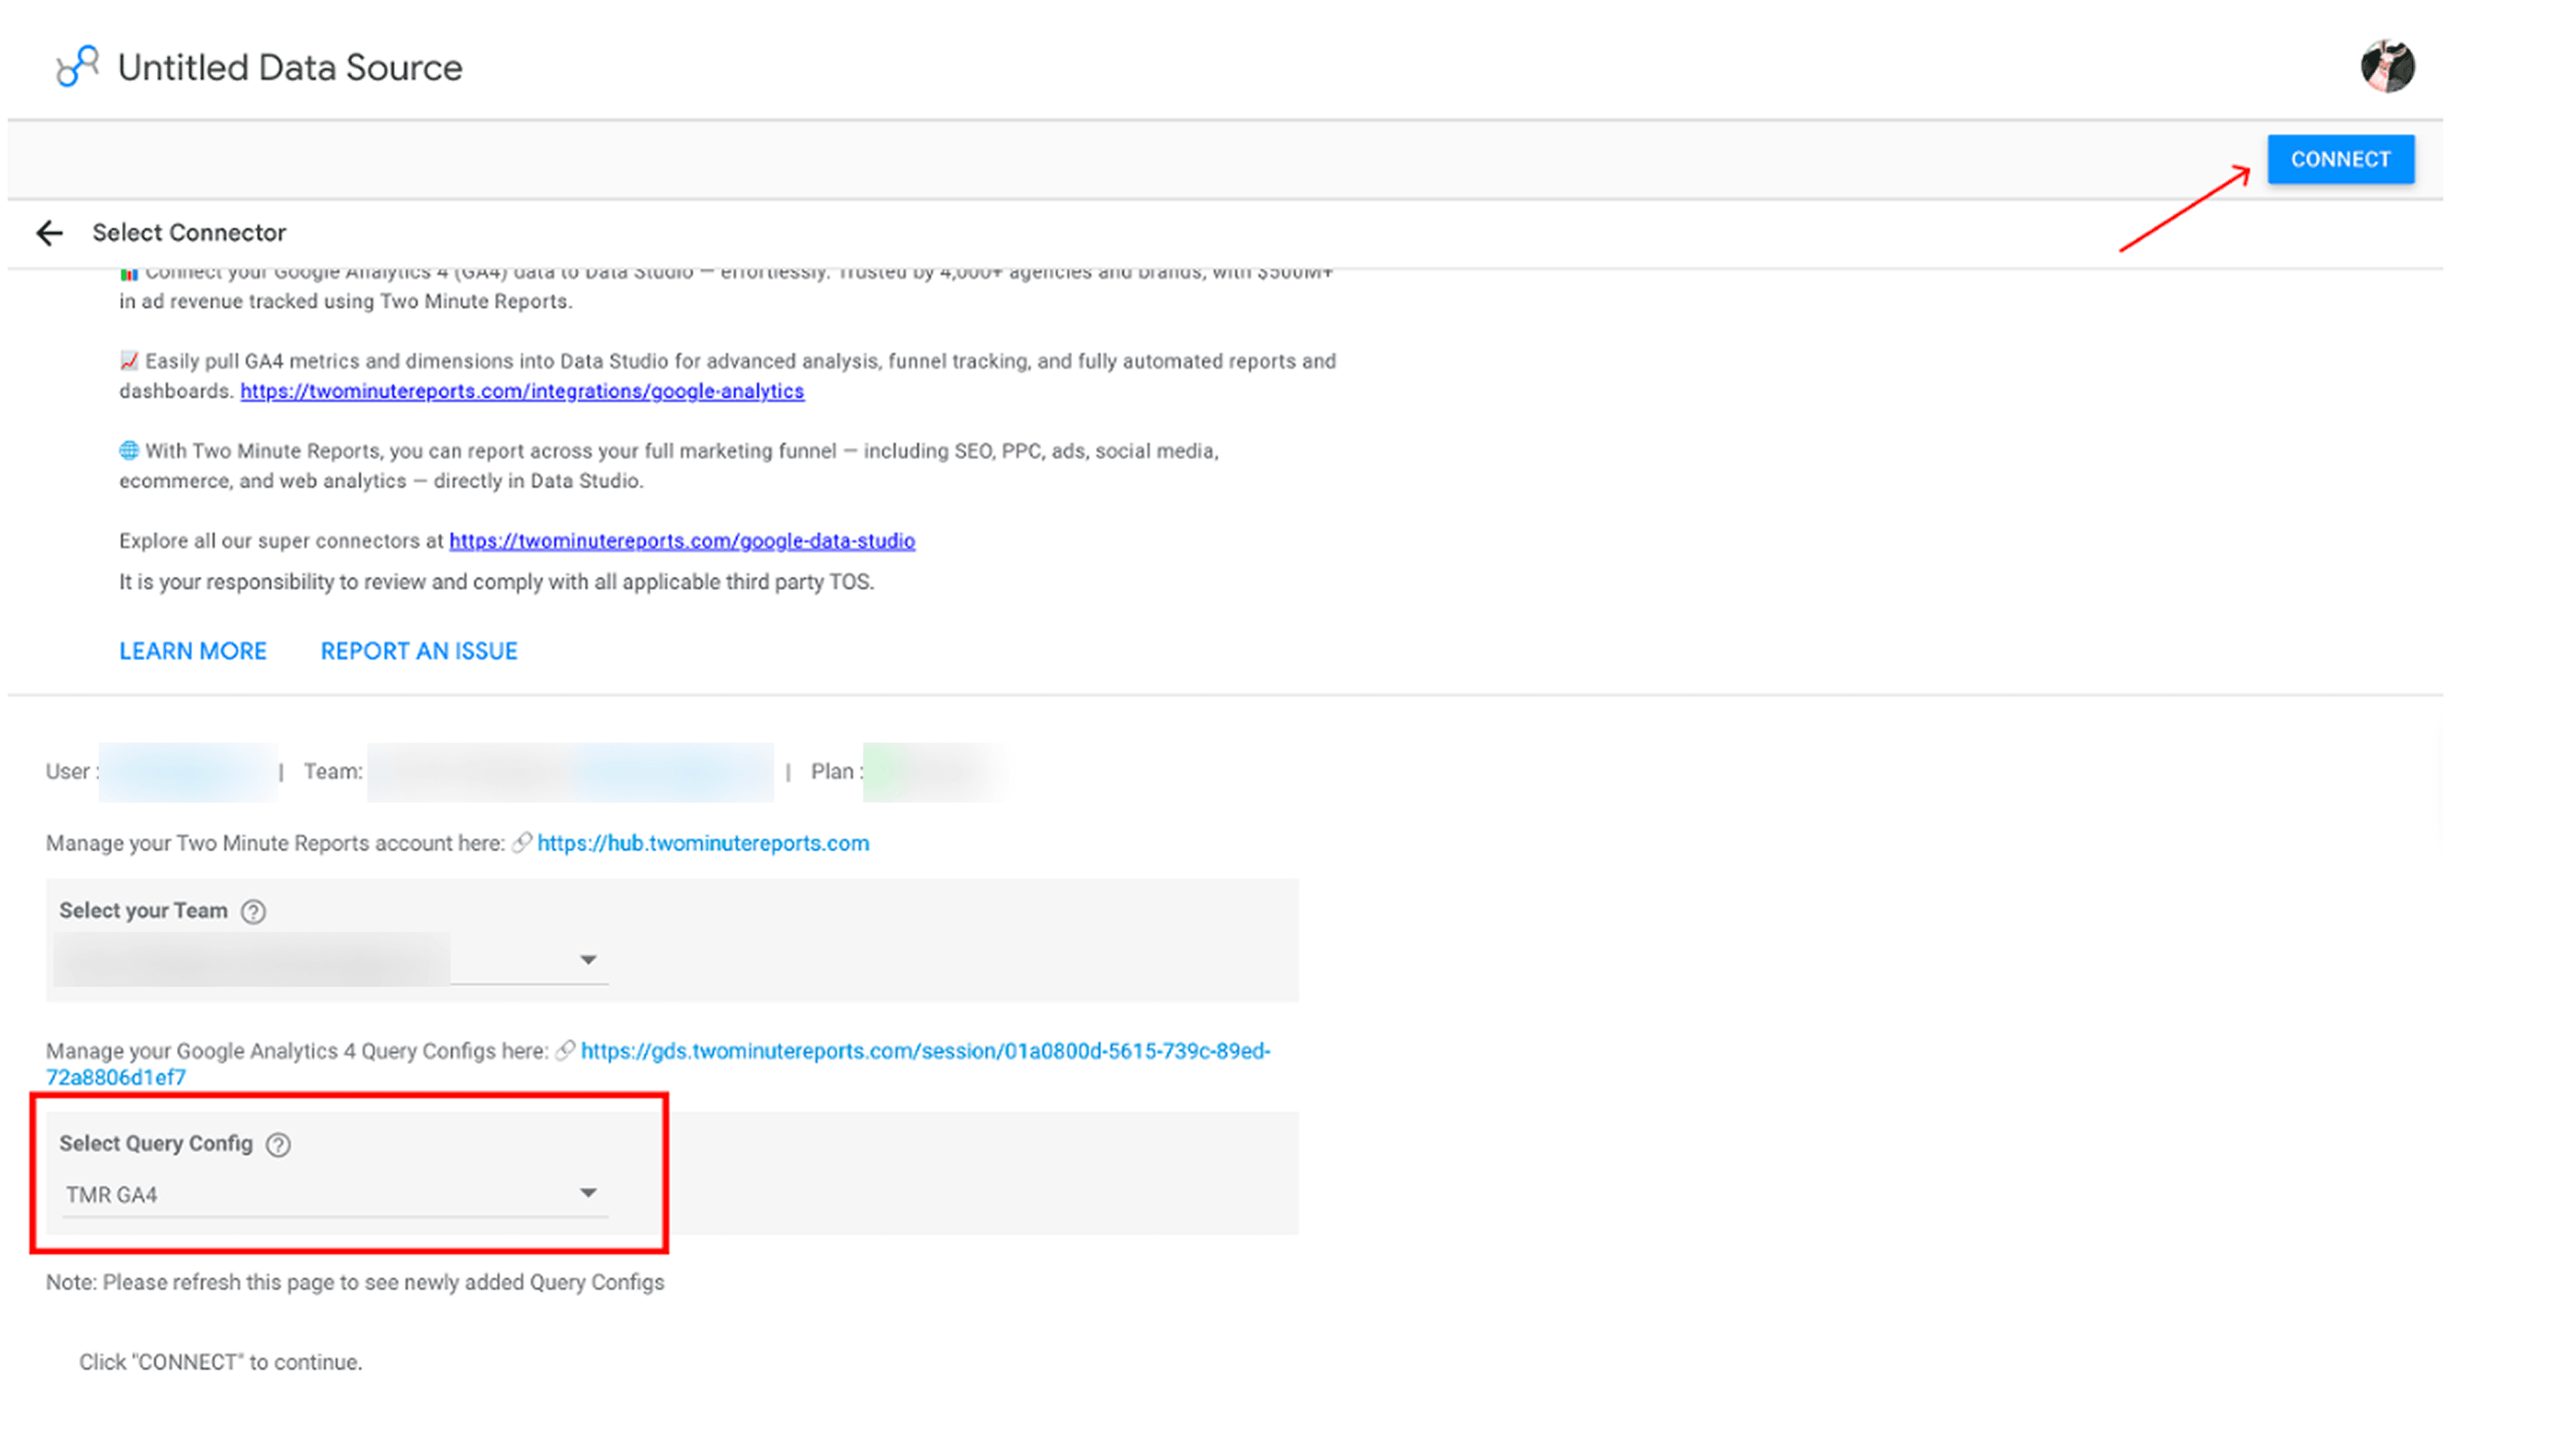
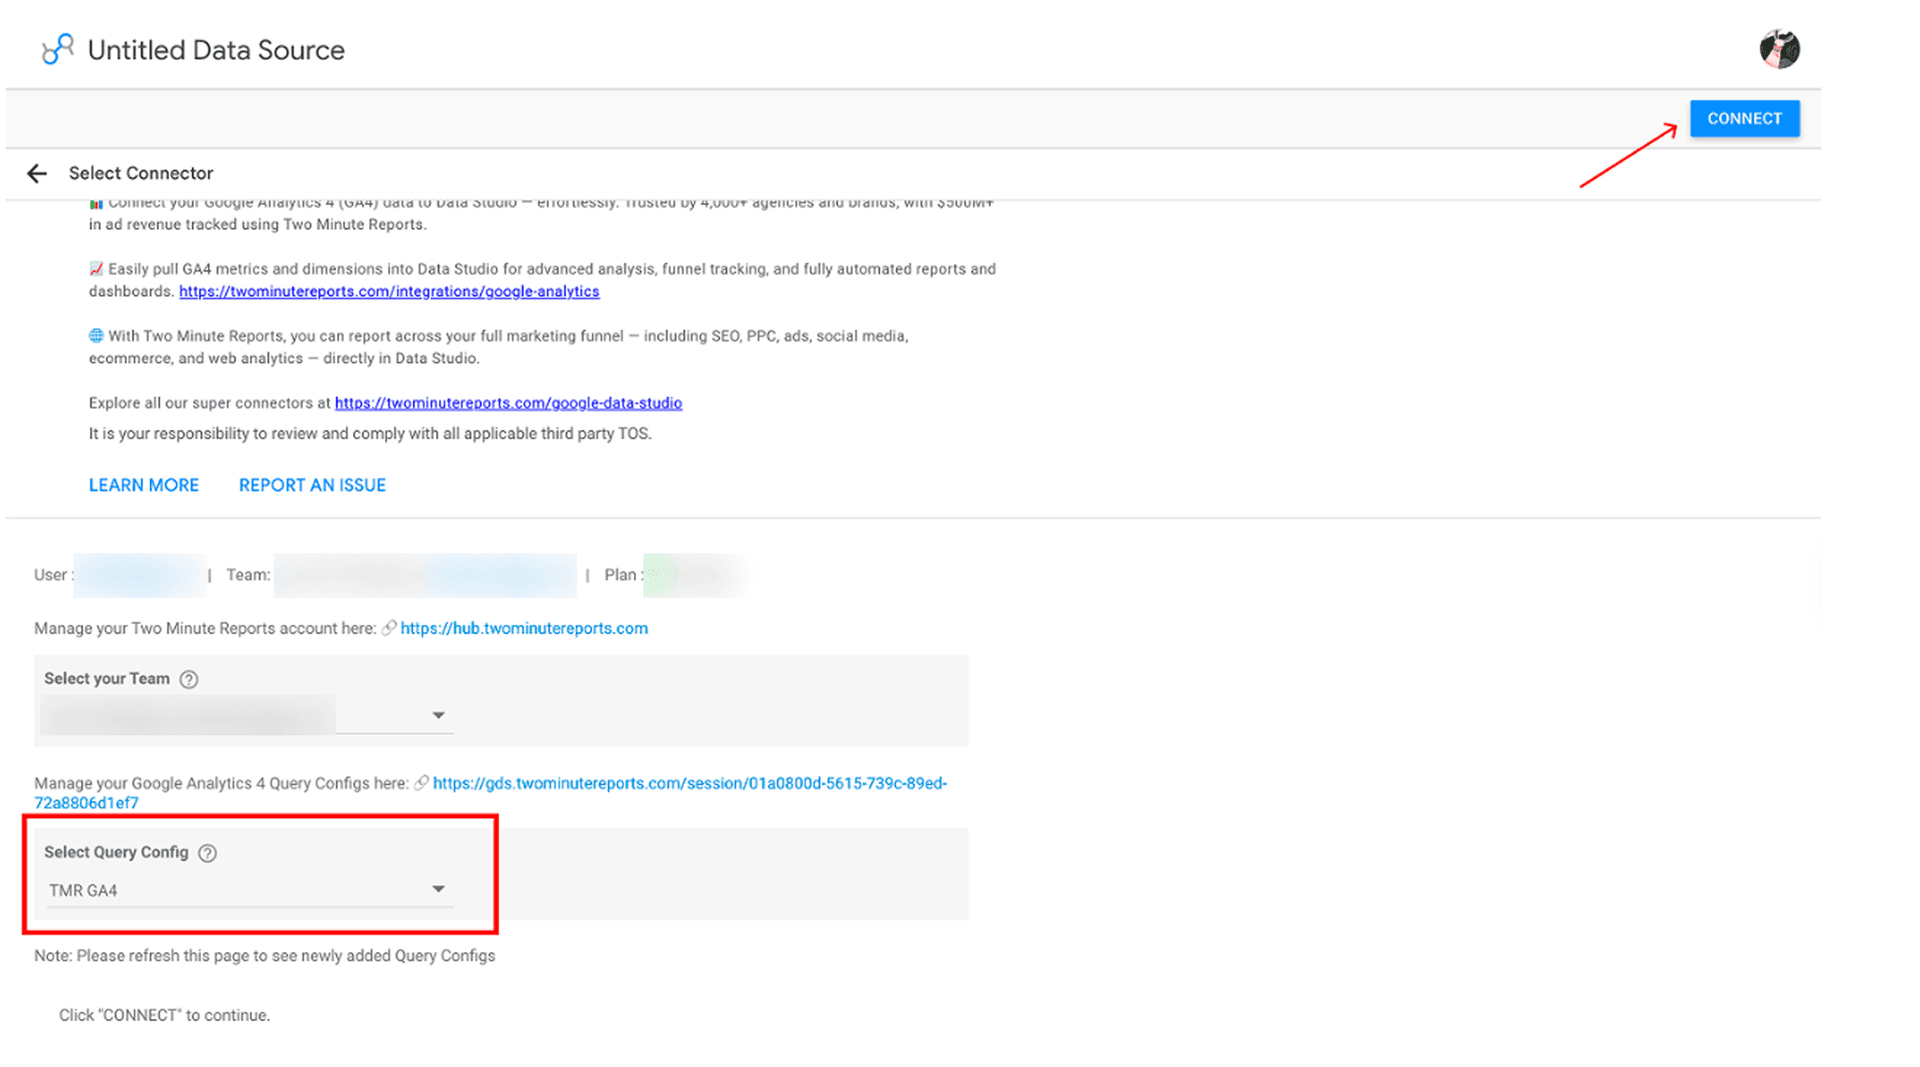
- Review the GA4 metrics and dimensions to include, then click Create Report.
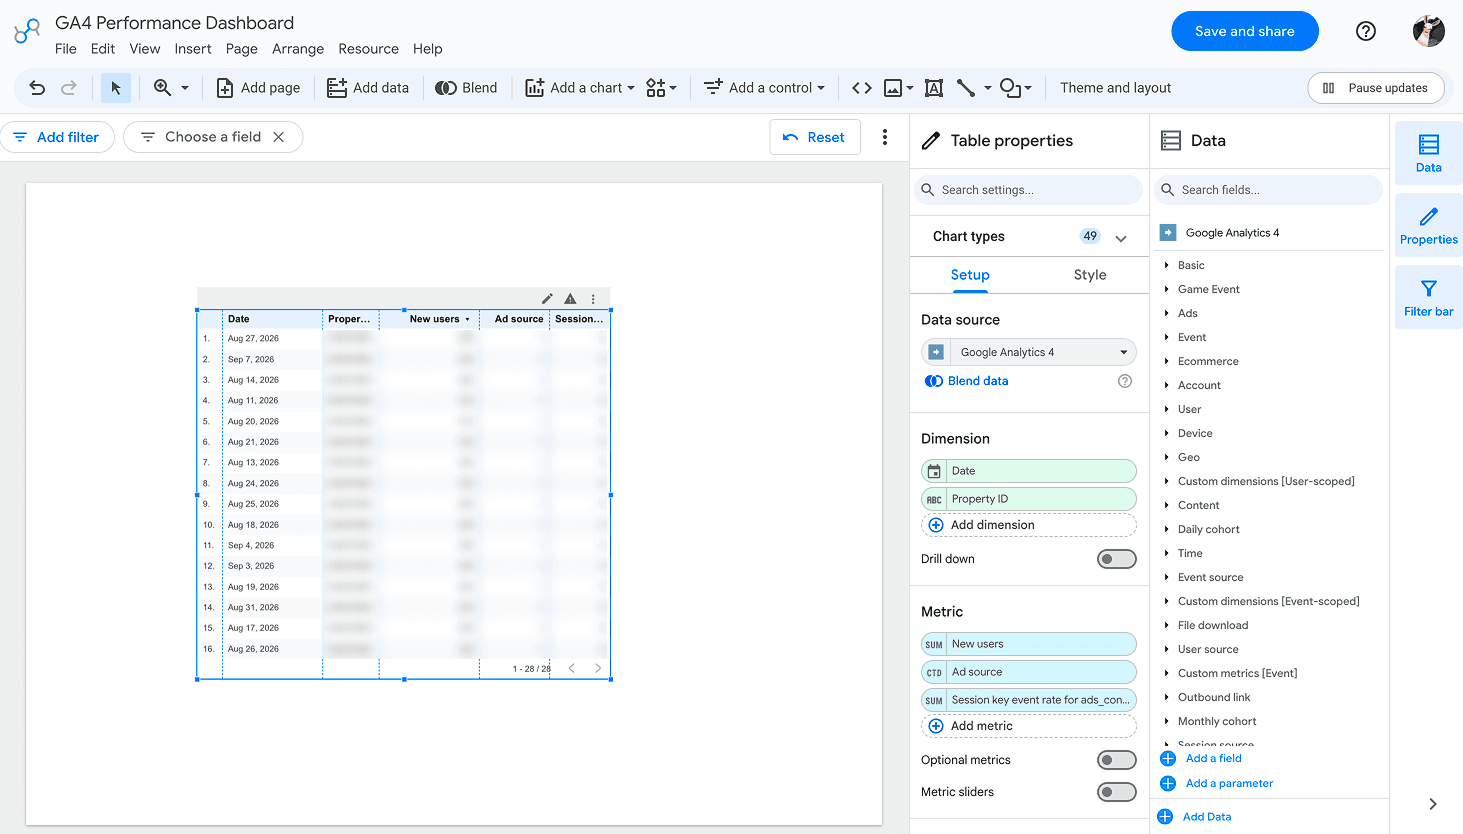
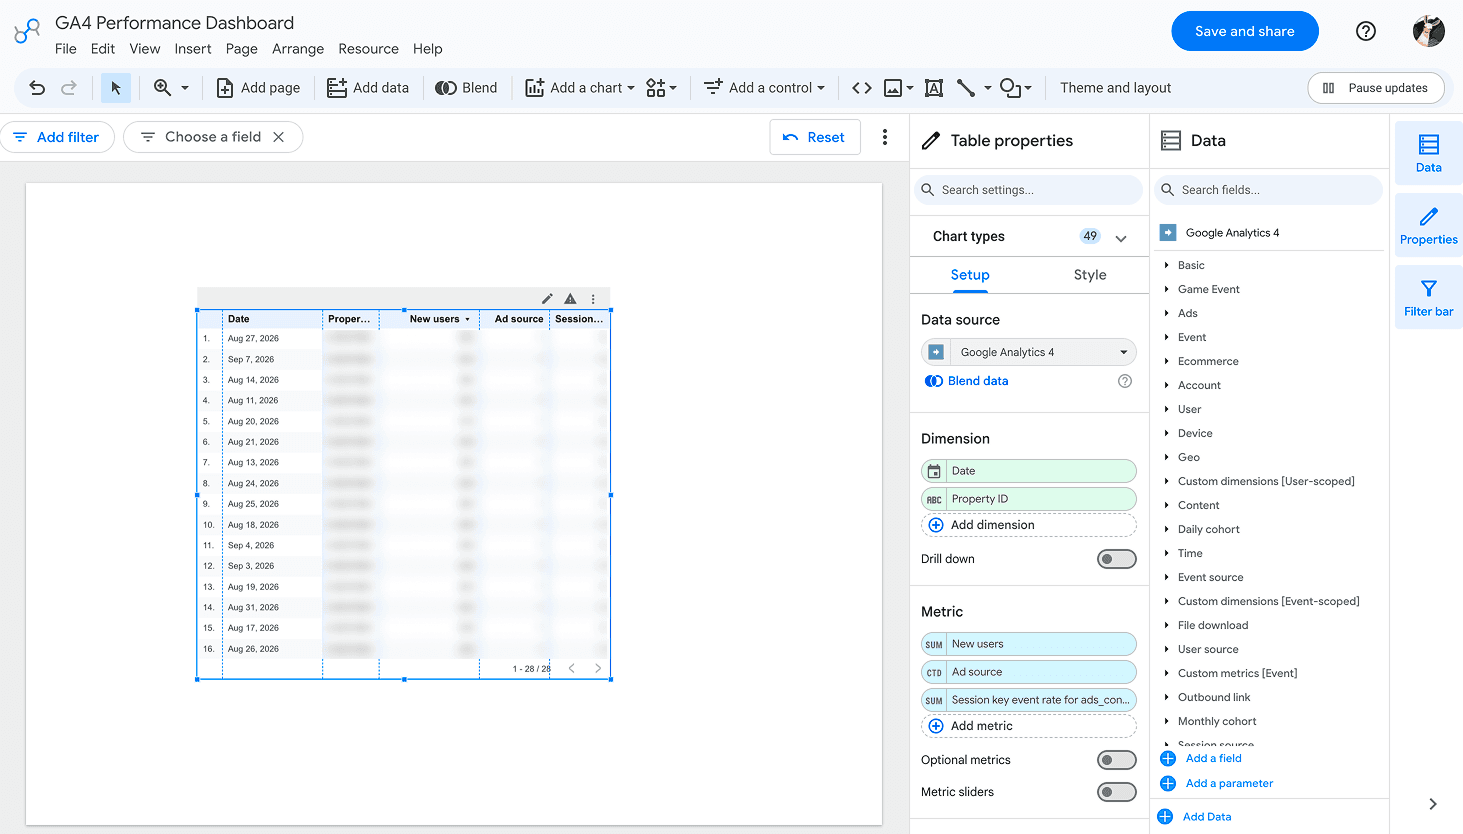
- Now you can drag and drop relevant GA4 metrics and dimensions to analyze performance data. Choose the right date range and add visuals like charts and tables to present actionable GA4 insights.
Method 2: Connect GA4 to Data Studio using Pre-built Templates
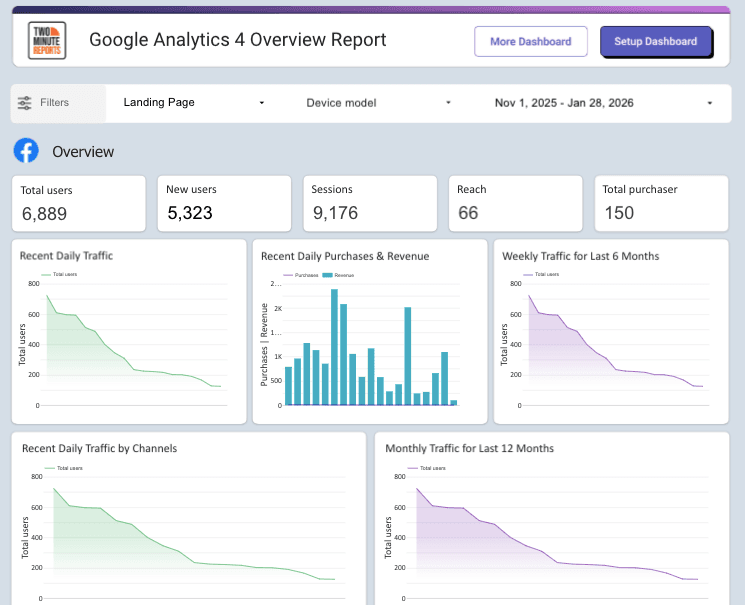
With Two Minute Reports’ pre-built GA4 Google Data Studio templates, you can build a ready-to-share web analytics dashboard within minutes.
For this workflow, let us choose the Google Analytics 4 Overview Report. Then, follow the steps below to connect your GA4 data and visualize performance.
- Click Get Template for Free to open the GA4 Overview Report template.
- Click Use My Own Data and select the GA4 Query Configuration.
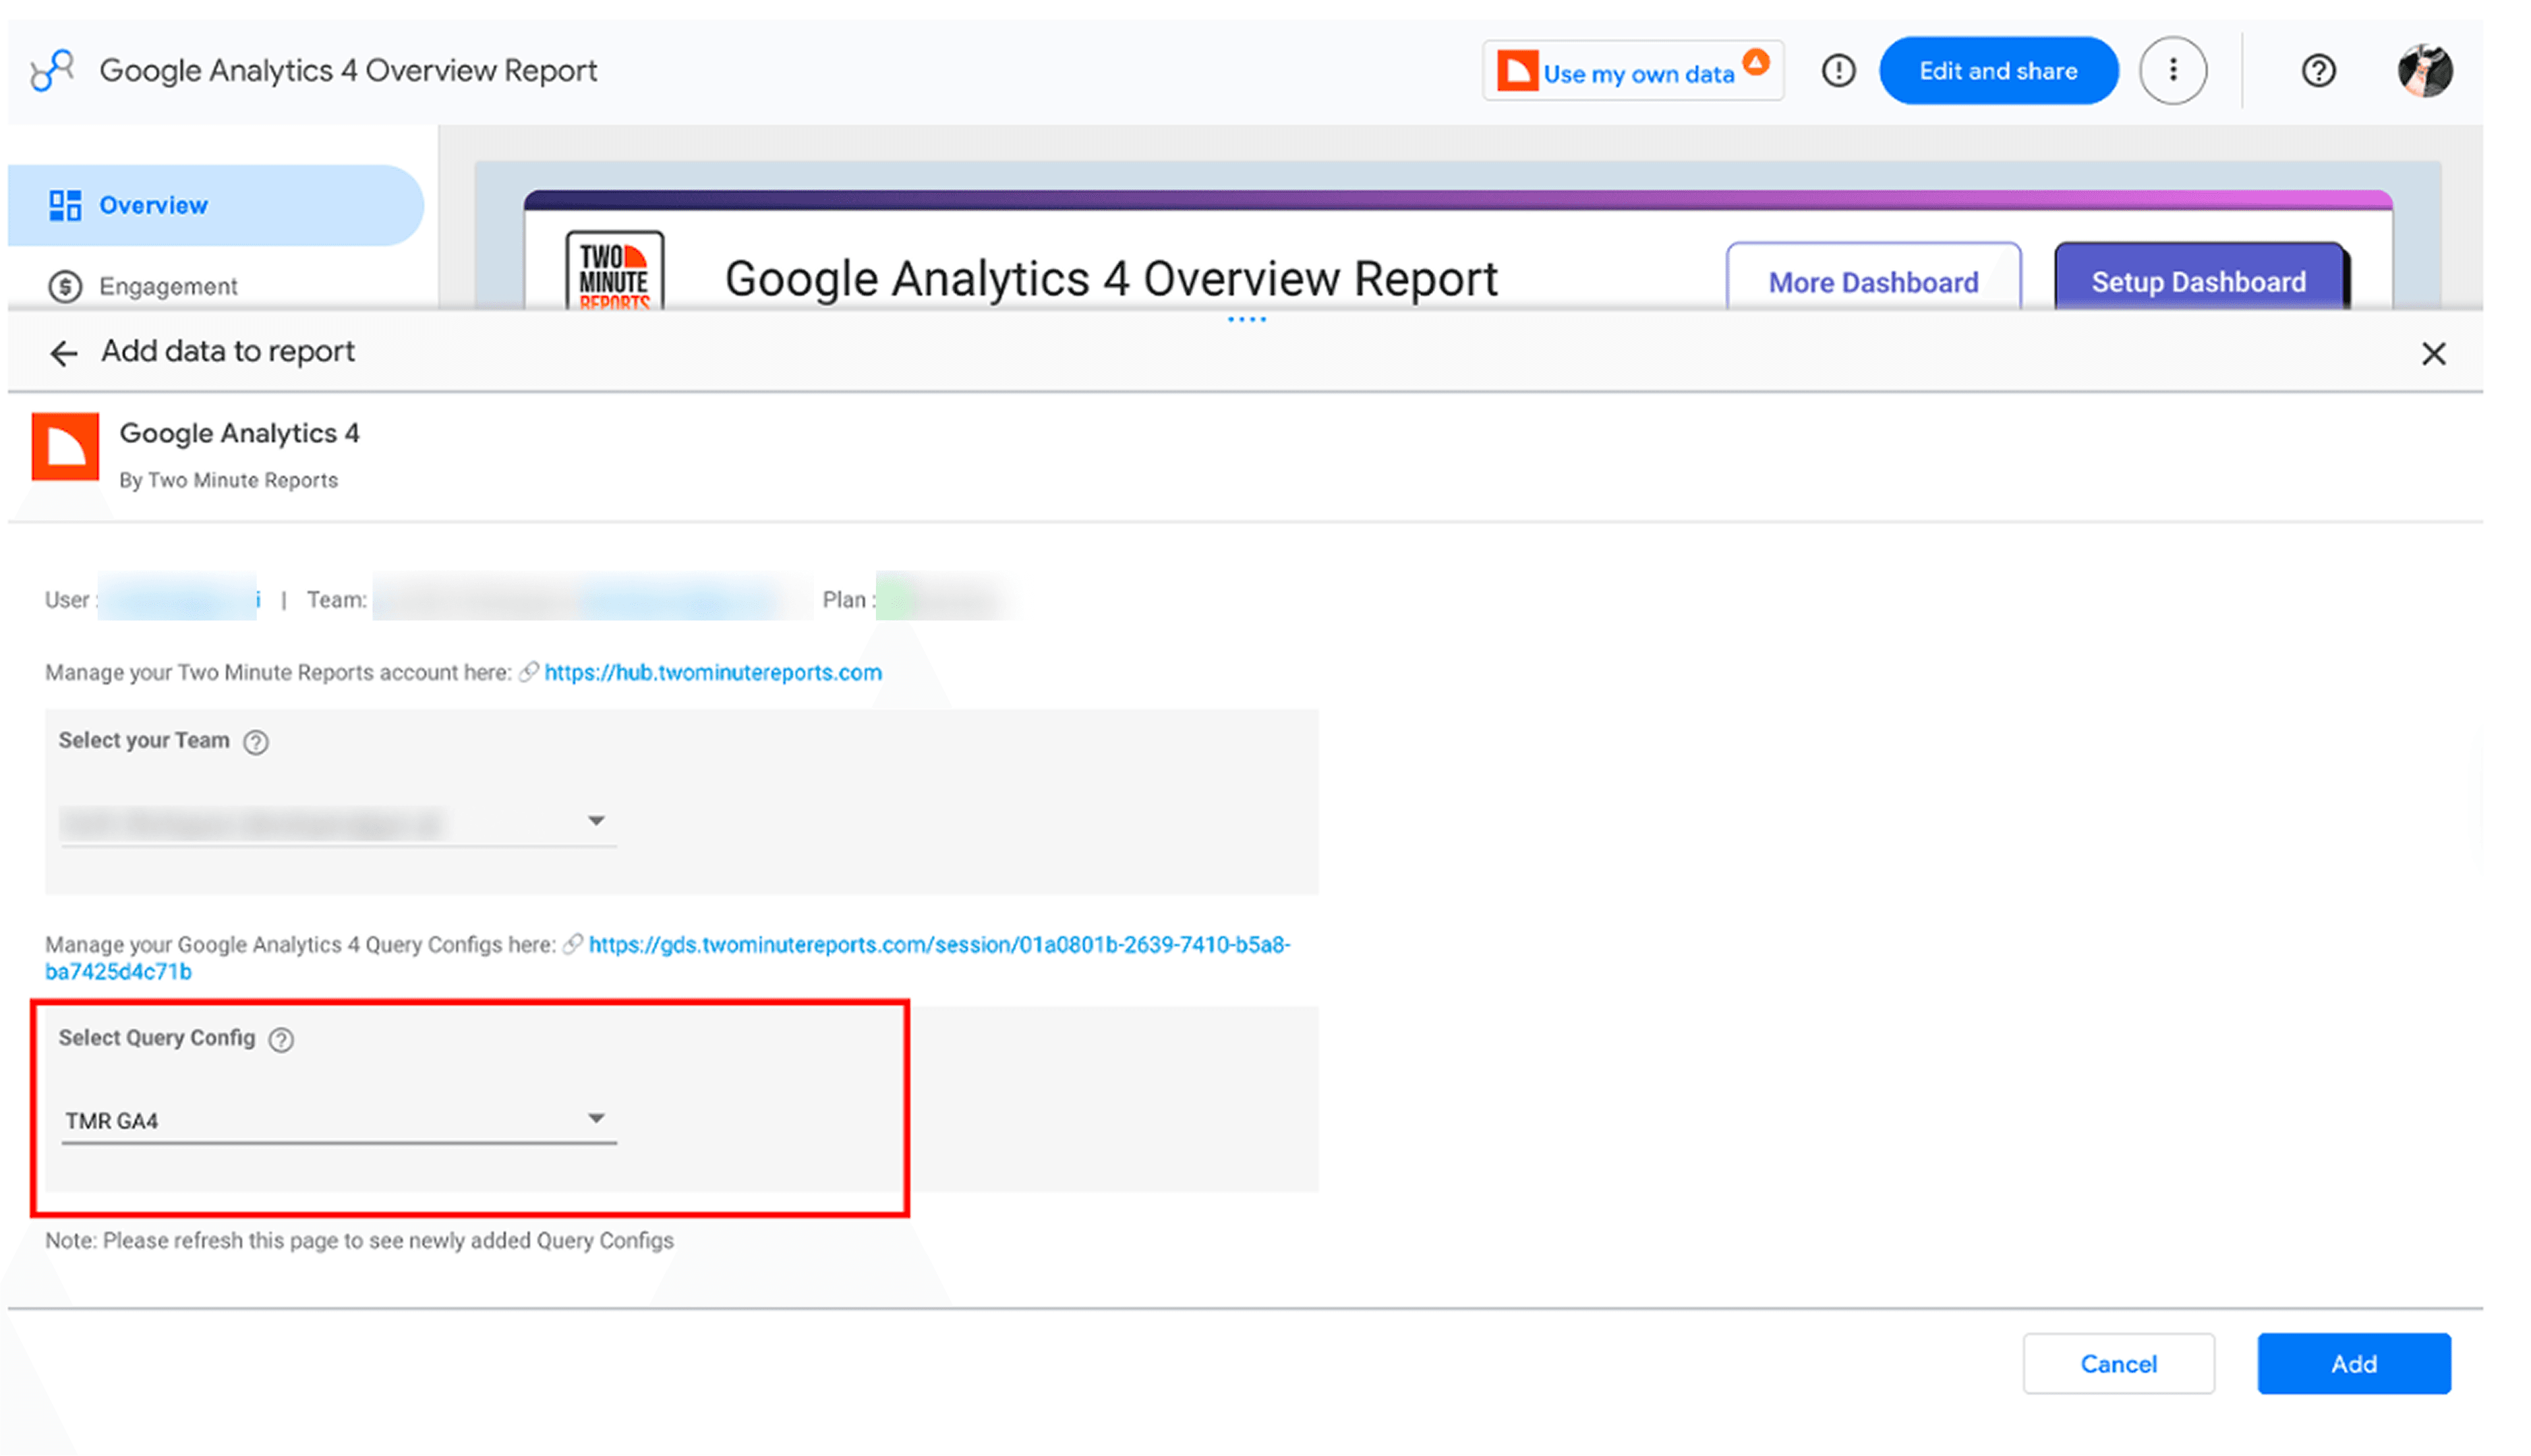
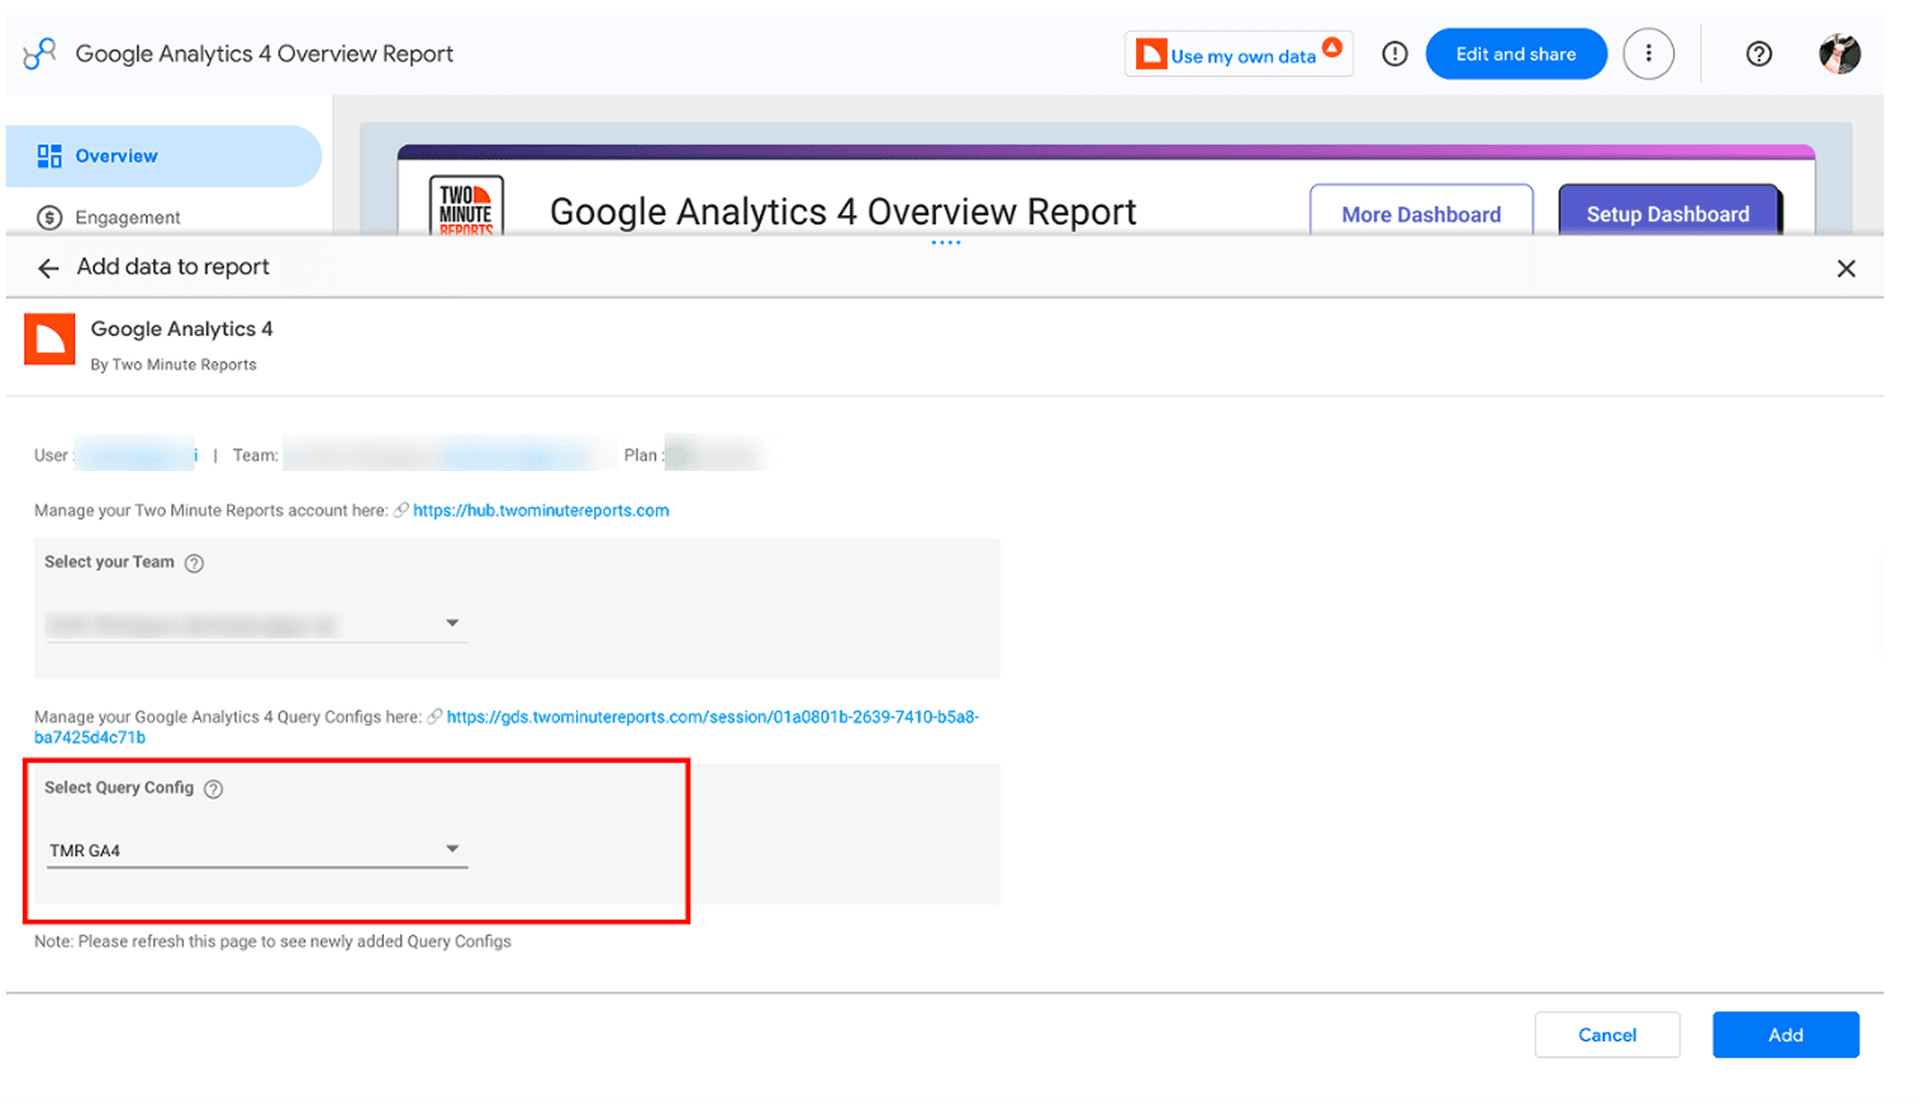
- Once done, click Add, and your GA4 data will be automatically populated in the dashboard.
- Next, click Edit to customize the layout, drag and drop metrics, and adjust the visual elements to match your agency’s branding.
- Finally, click Share to send your GA4 Data Studio dashboard to your clients and stakeholders.
Click the template link below to get started. It opens directly in Data Studio.
Why connect GA4 to Google Data Studio?
Connecting GA4 to Google Data Studio with Two Minute Reports gives you a centralised way to visualise website performance, analyse user behaviour, and turn analytics data into actionable insights.
1. Simplify GA4 Reporting
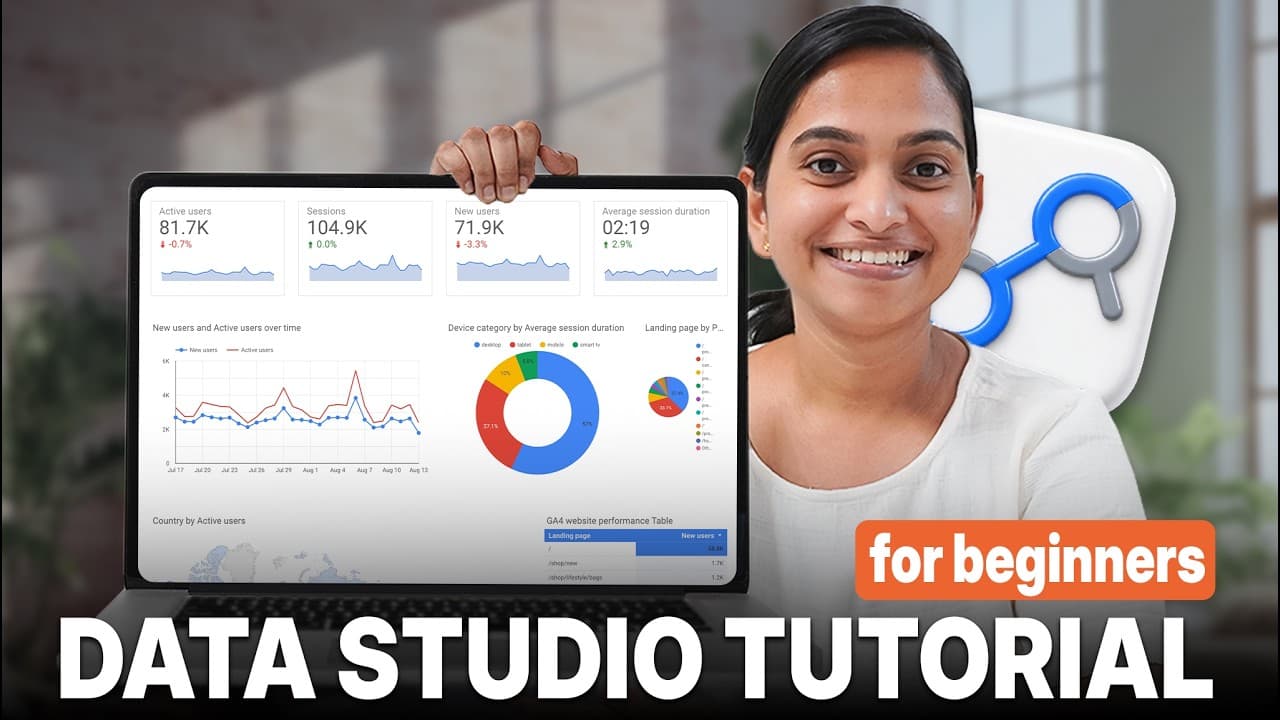
No matter how many GA4 accounts you handle, you can bring your GA4 data into Google Data Studio and build reports using a drag-and-drop interface without extensive technical knowledge. However, if you are a beginner and want a complete walkthrough, you can checkout our Google Data Studio tutorial on YouTube.

2. Build Custom Dashboards
Create custom marketing dashboards around the metrics and dimensions that matter to your business. Add charts, tables, filters, and other visualizations to present GA4 data in a way that fits your reporting needs.
3. Analyze Website Performance
Look beyond surface-level metrics. Track sessions, users, engagement, popular pages, events, conversions, traffic sources, locations, etc., to understand how visitors interact with your website.
4. Share and Schedule Reports
Make GA4 insights accessible to your team by sharing up-to-date Google Data Studio dashboards. With Google Data Studio’s built-in scheduling, you can specify the timezone, set permissions, choose a refresh schedule, and that’s it. Your team and clients will receive updated insights at their fingertips.
5. Marketing Strategy Enhancement
When you export GA4 data to Google Data Studio, you can evaluate performance across multiple channels and see which channels drive the highest and lowest revenue. This approach enables you to make data-driven decisions that enhance marketing reporting and clients’ strategic goals.
Top Metrics Used in GA4 Google Data Studio Dashboards
Let’s explore the key GA4 metrics and dimensions you can use in Google Data Studio dashboards to understand website traffic, user engagement, conversions, and revenue.
Users and Traffic
Track user activity and website traffic to understand how many people visit your website, how often they return, and how they interact with your site.
Engagement
Measure how actively users interact with your website and whether your sessions result in meaningful engagement.
Events and Conversions
Monitor important user actions and conversions to understand whether visitors are taking the actions that matter to your business.
Revenue and Ecommerce
For ecommerce websites, track purchases, revenue, and transactions to understand how website activity translates into revenue.
Acquisition
Use acquisition dimensions to break down your GA4 metrics by traffic source, medium, and campaign. This helps you understand where your users come from and which channels drive website activity.
Content
Analyze how users interact with your website content by breaking down performance by pages and content groups.
Device and Location
Compare user activity across devices and locations to identify differences in website performance and user behavior.
Ready to Connect GA4 to Data Studio?
With your GA4 data in Data Studio, you can bring traffic, engagement, conversion, and revenue insights together in one place. Instead of digging through multiple GA4 reports, you can monitor performance, spot trends, and share clear reports with your team or clients.
Try Two Minute Reports free for 14 days and turn your GA4 data into automated, actionable Data Studio dashboards.
Frequently Asked Questions
Start by connecting your GA4 property with Two Minute Reports. Choose the account you want to work with, then set up a Query Config with the GA4 data you need. Two Minute Reports brings the selected data into Google Data Studio, where you can build GA4 dashboards to monitor website traffic, engagement, conversions, and revenue.
Yes. Two Minute Reports’ GA4 Google Data Studio connector lets you connect multiple GA4 properties and bring their data into Google Data Studio. This makes it easier to compare website performance across different properties or manage reporting for multiple websites from a centralized dashboard.
With Two Minute Reports’ GA4 Reporting tool, you can pull metrics such as active users, new users, sessions, engagement rate, views, conversions, event count, purchase revenue, and transactions. You can also use dimensions such as date, session source/medium, session campaign name, device category, country, city, page title, and page path. To get started quickly, use our GA4 Google Data Studio templates to turn your GA4 data into ready-to-use dashboards.
Yes. After creating your GA4 dashboard, you can use Google Data Studio’s Schedule delivery option to send reports automatically. Choose Share → Schedule delivery, select when and how often the report should be sent, add your recipients, and save the schedule. This lets your team or clients receive updated GA4 reports without manually sending them each time.

Meet the Author
Shalini MuruganShalini is driven by ideas that create a tangible impact. At Two Minute Reports, she specializes in content that helps marketers optimize their reporting workflows. When she's not transforming complex data into meaningful insights, you might find her lost in a book, jotting down ideas in her notebook, or connecting the dots others overlook.