Amazon Ads

Two Minute Reports' Amazon Ads connector lets you access and analyze your data directly in Google Sheets or Looker Studio. Build custom reports, monitor key metrics, and make data-driven decisions - all without writing any code.
What you can report on
- Sponsored Products, Sponsored Brands, and Sponsored Display campaign performance
- Impressions, clicks, spend, sales, and ACOS (Advertising Cost of Sales)
- Keyword and targeting performance
- Ad group and campaign-level breakdowns
- Return on Ad Spend (ROAS) and conversion tracking
Prerequisites
- An active Amazon Ads account
- Edit access to Campaign Manager on the accounts you want to report on
- View access to Advertising reports for those same accounts
- Manager Account access if reporting across multiple sub-accounts
Note: KDP (Kindle Direct Publishing) accounts cannot be connected via the Amazon Ads API and will not appear in the accounts list.
Missing ad accounts? If an account doesn't appear after connecting, there are two common causes: (1) your user does not have the required Edit access to Campaign Manager on that account, or (2) the advertiser account has not granted API access to your Amazon Ads account. Check both on the Amazon Ads console.
How to create a connection
- Go to https://hub.twominutereports.com/connections
- Click New Connection to create a connection
- Select Amazon Ads from the list of available connectors
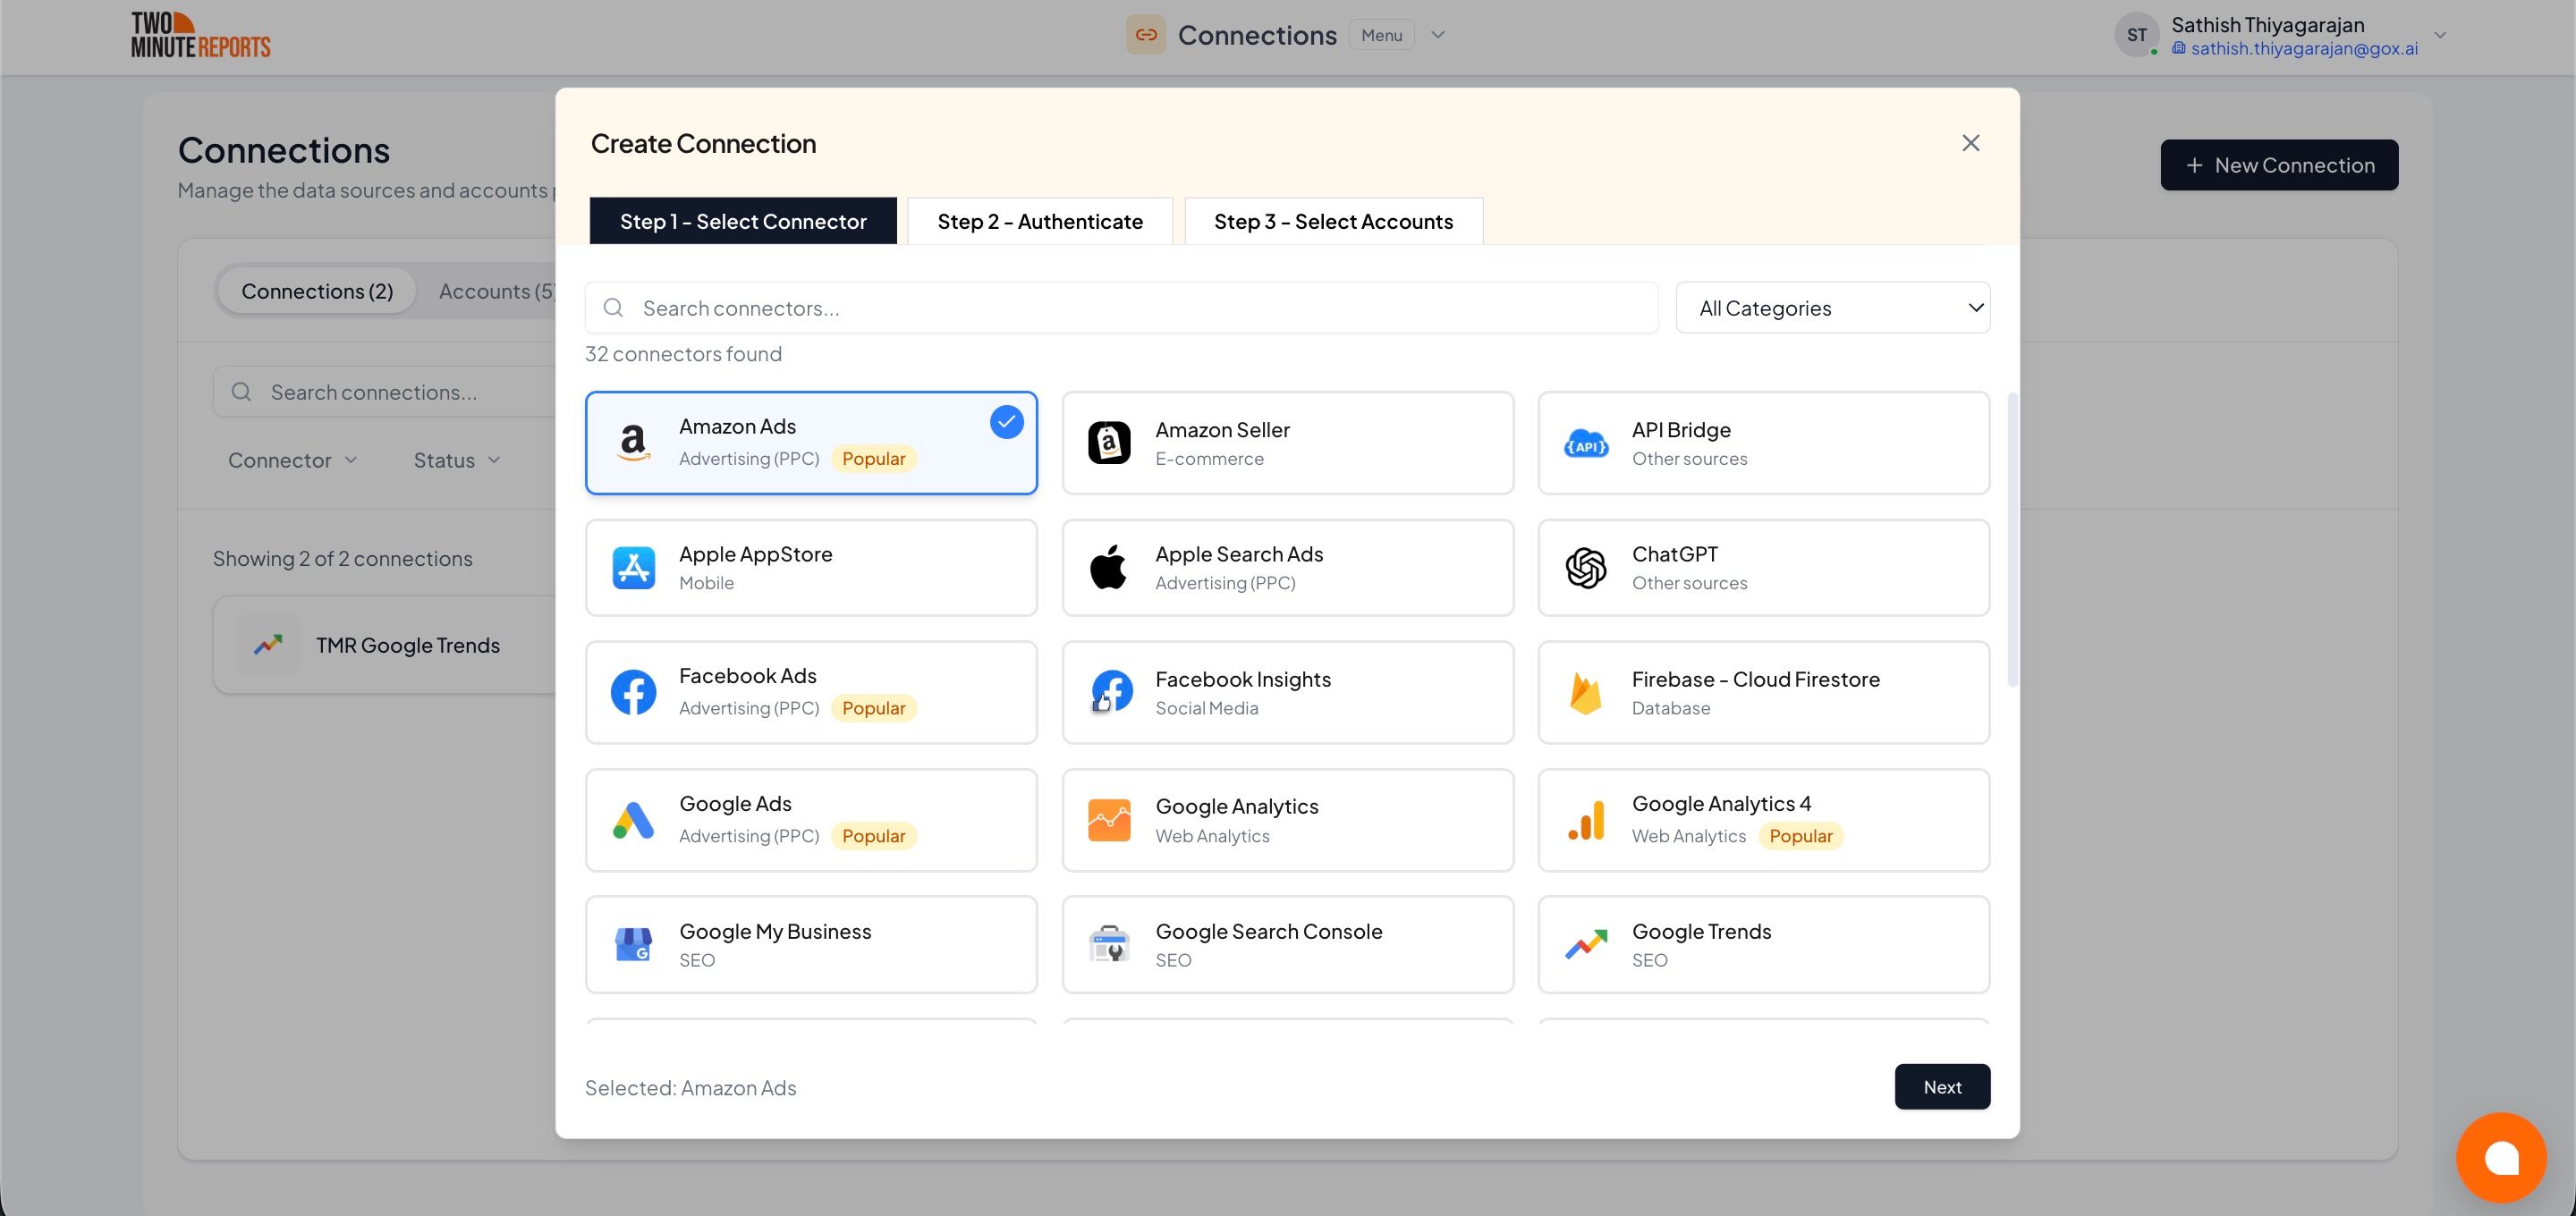
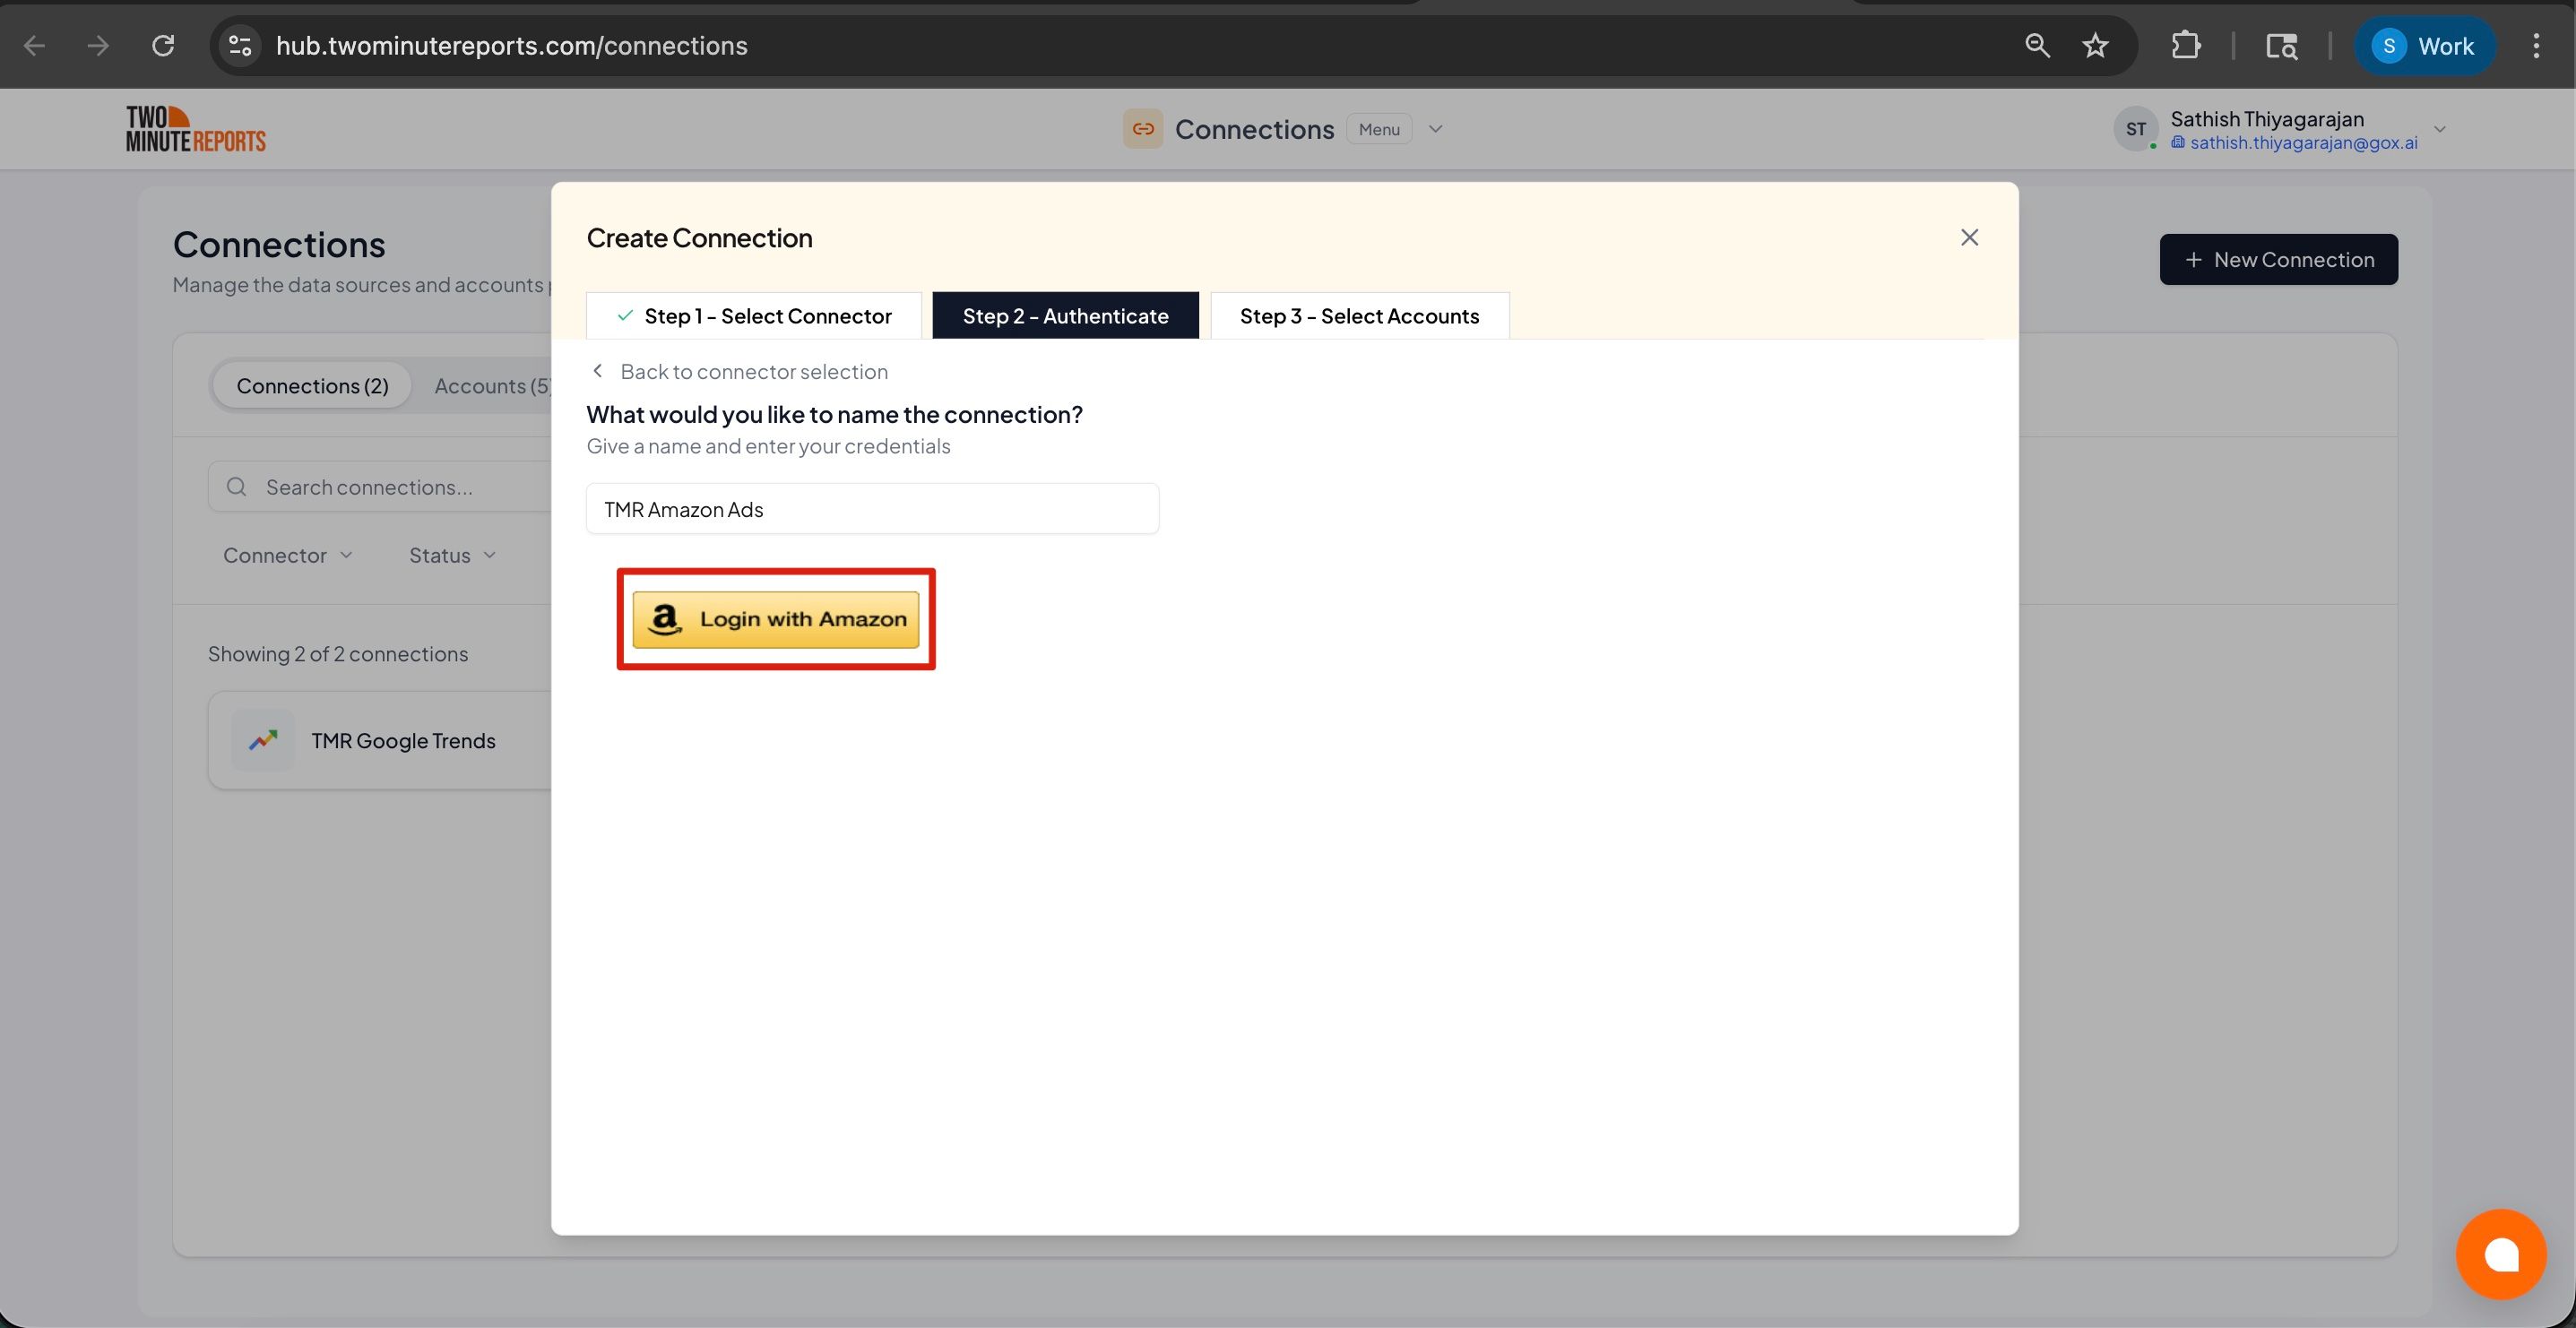
- Name the connection and authorize with your account credentials
After creating a connection:
- Enable the accounts you want to use from the available options
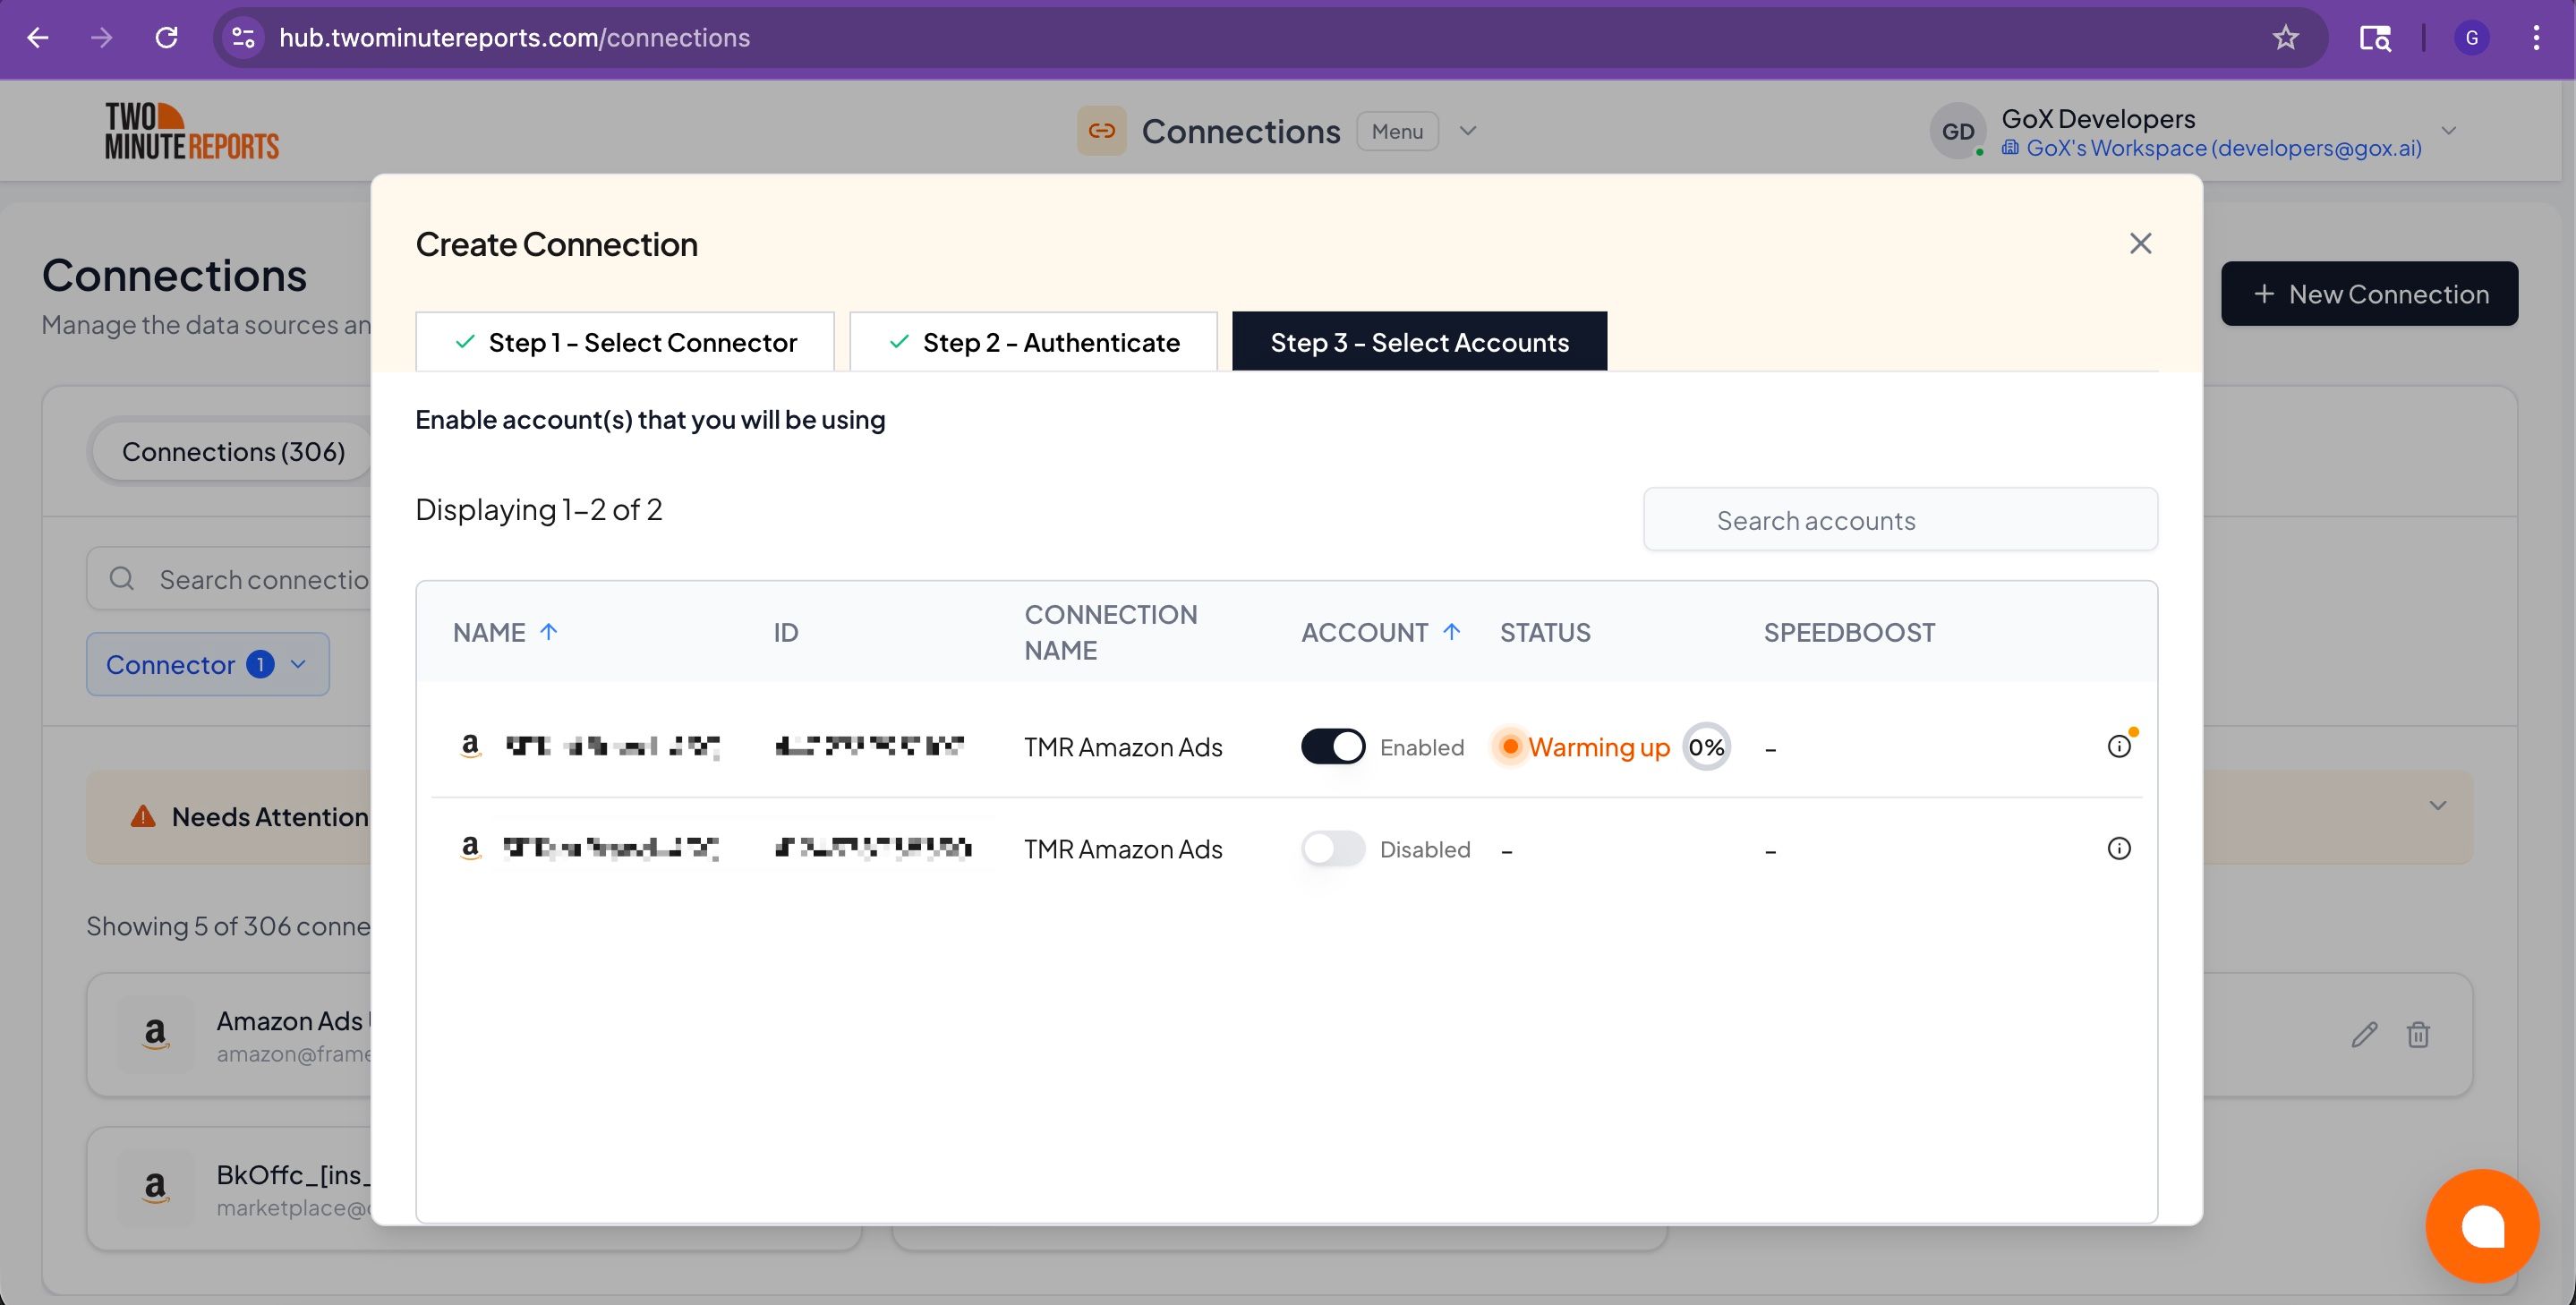
Important: Only enabled accounts can fetch data and count toward your plan usage. You can enable or disable accounts at any time in the hub to manage your plan usage efficiently.
How to get Amazon Ads data into your reports
To pull Amazon Ads data into Google Sheets:
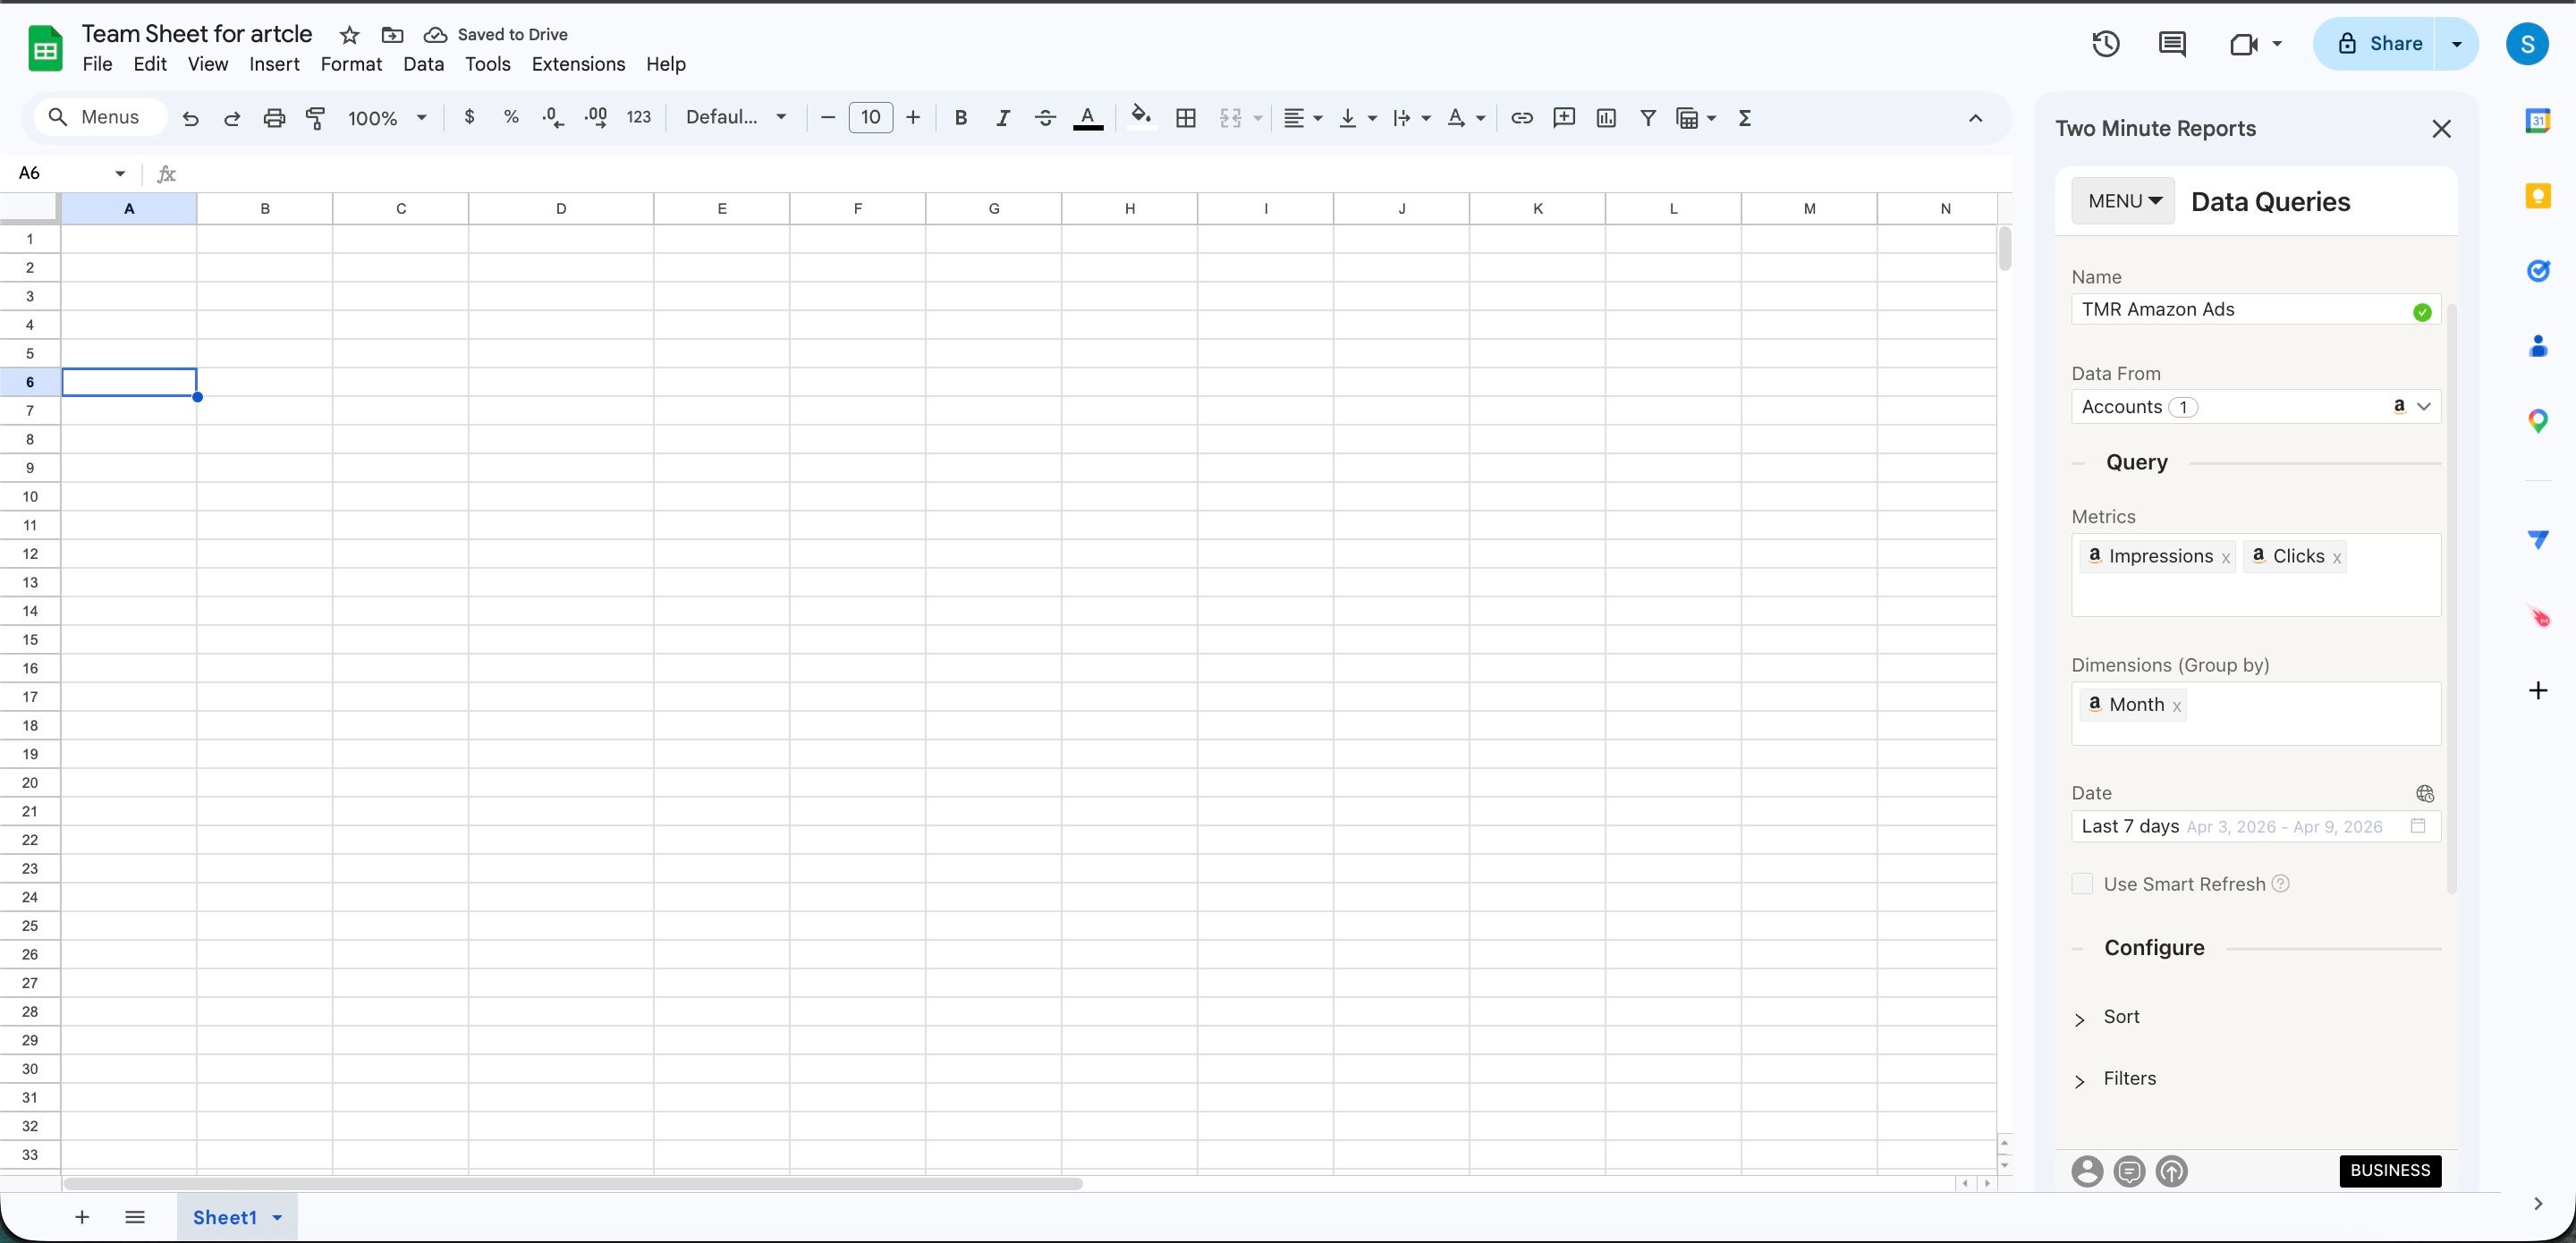
- In the TMR sidebar, go to Data Queries and click Add
- Select the accounts you want to analyze (can select multiple)
- Choose your metrics and dimensions from available options
- Select the date range for your analysis
- Configure sorting and filtering options as needed
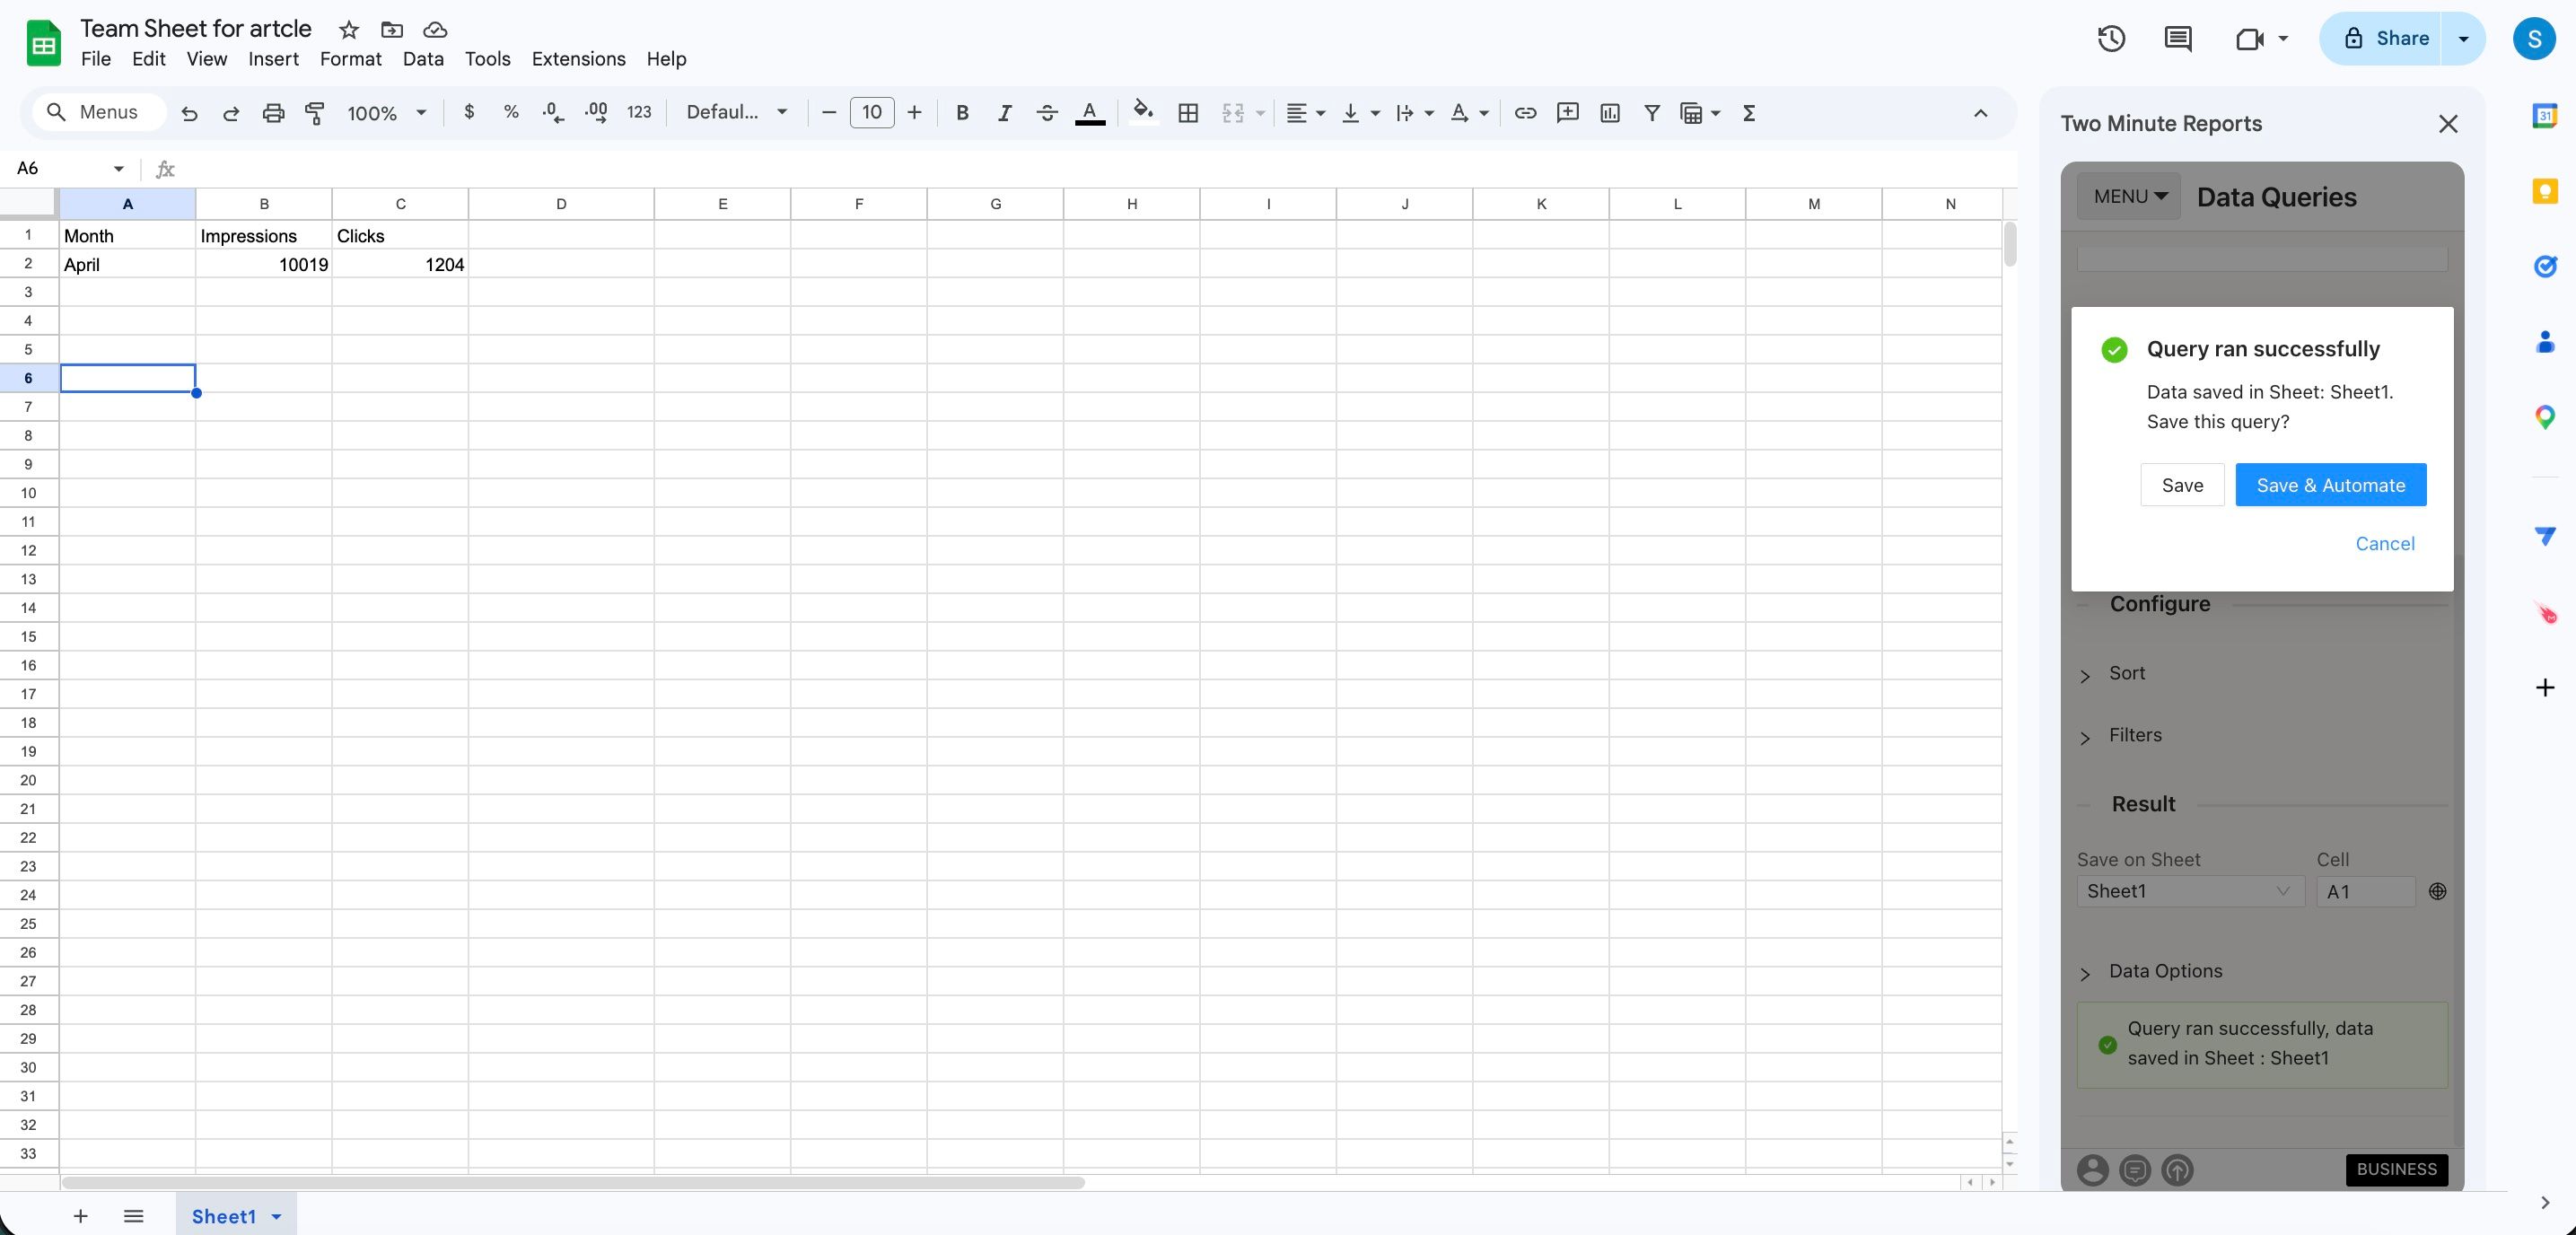
- Click Run Query to populate the data into Google Sheets
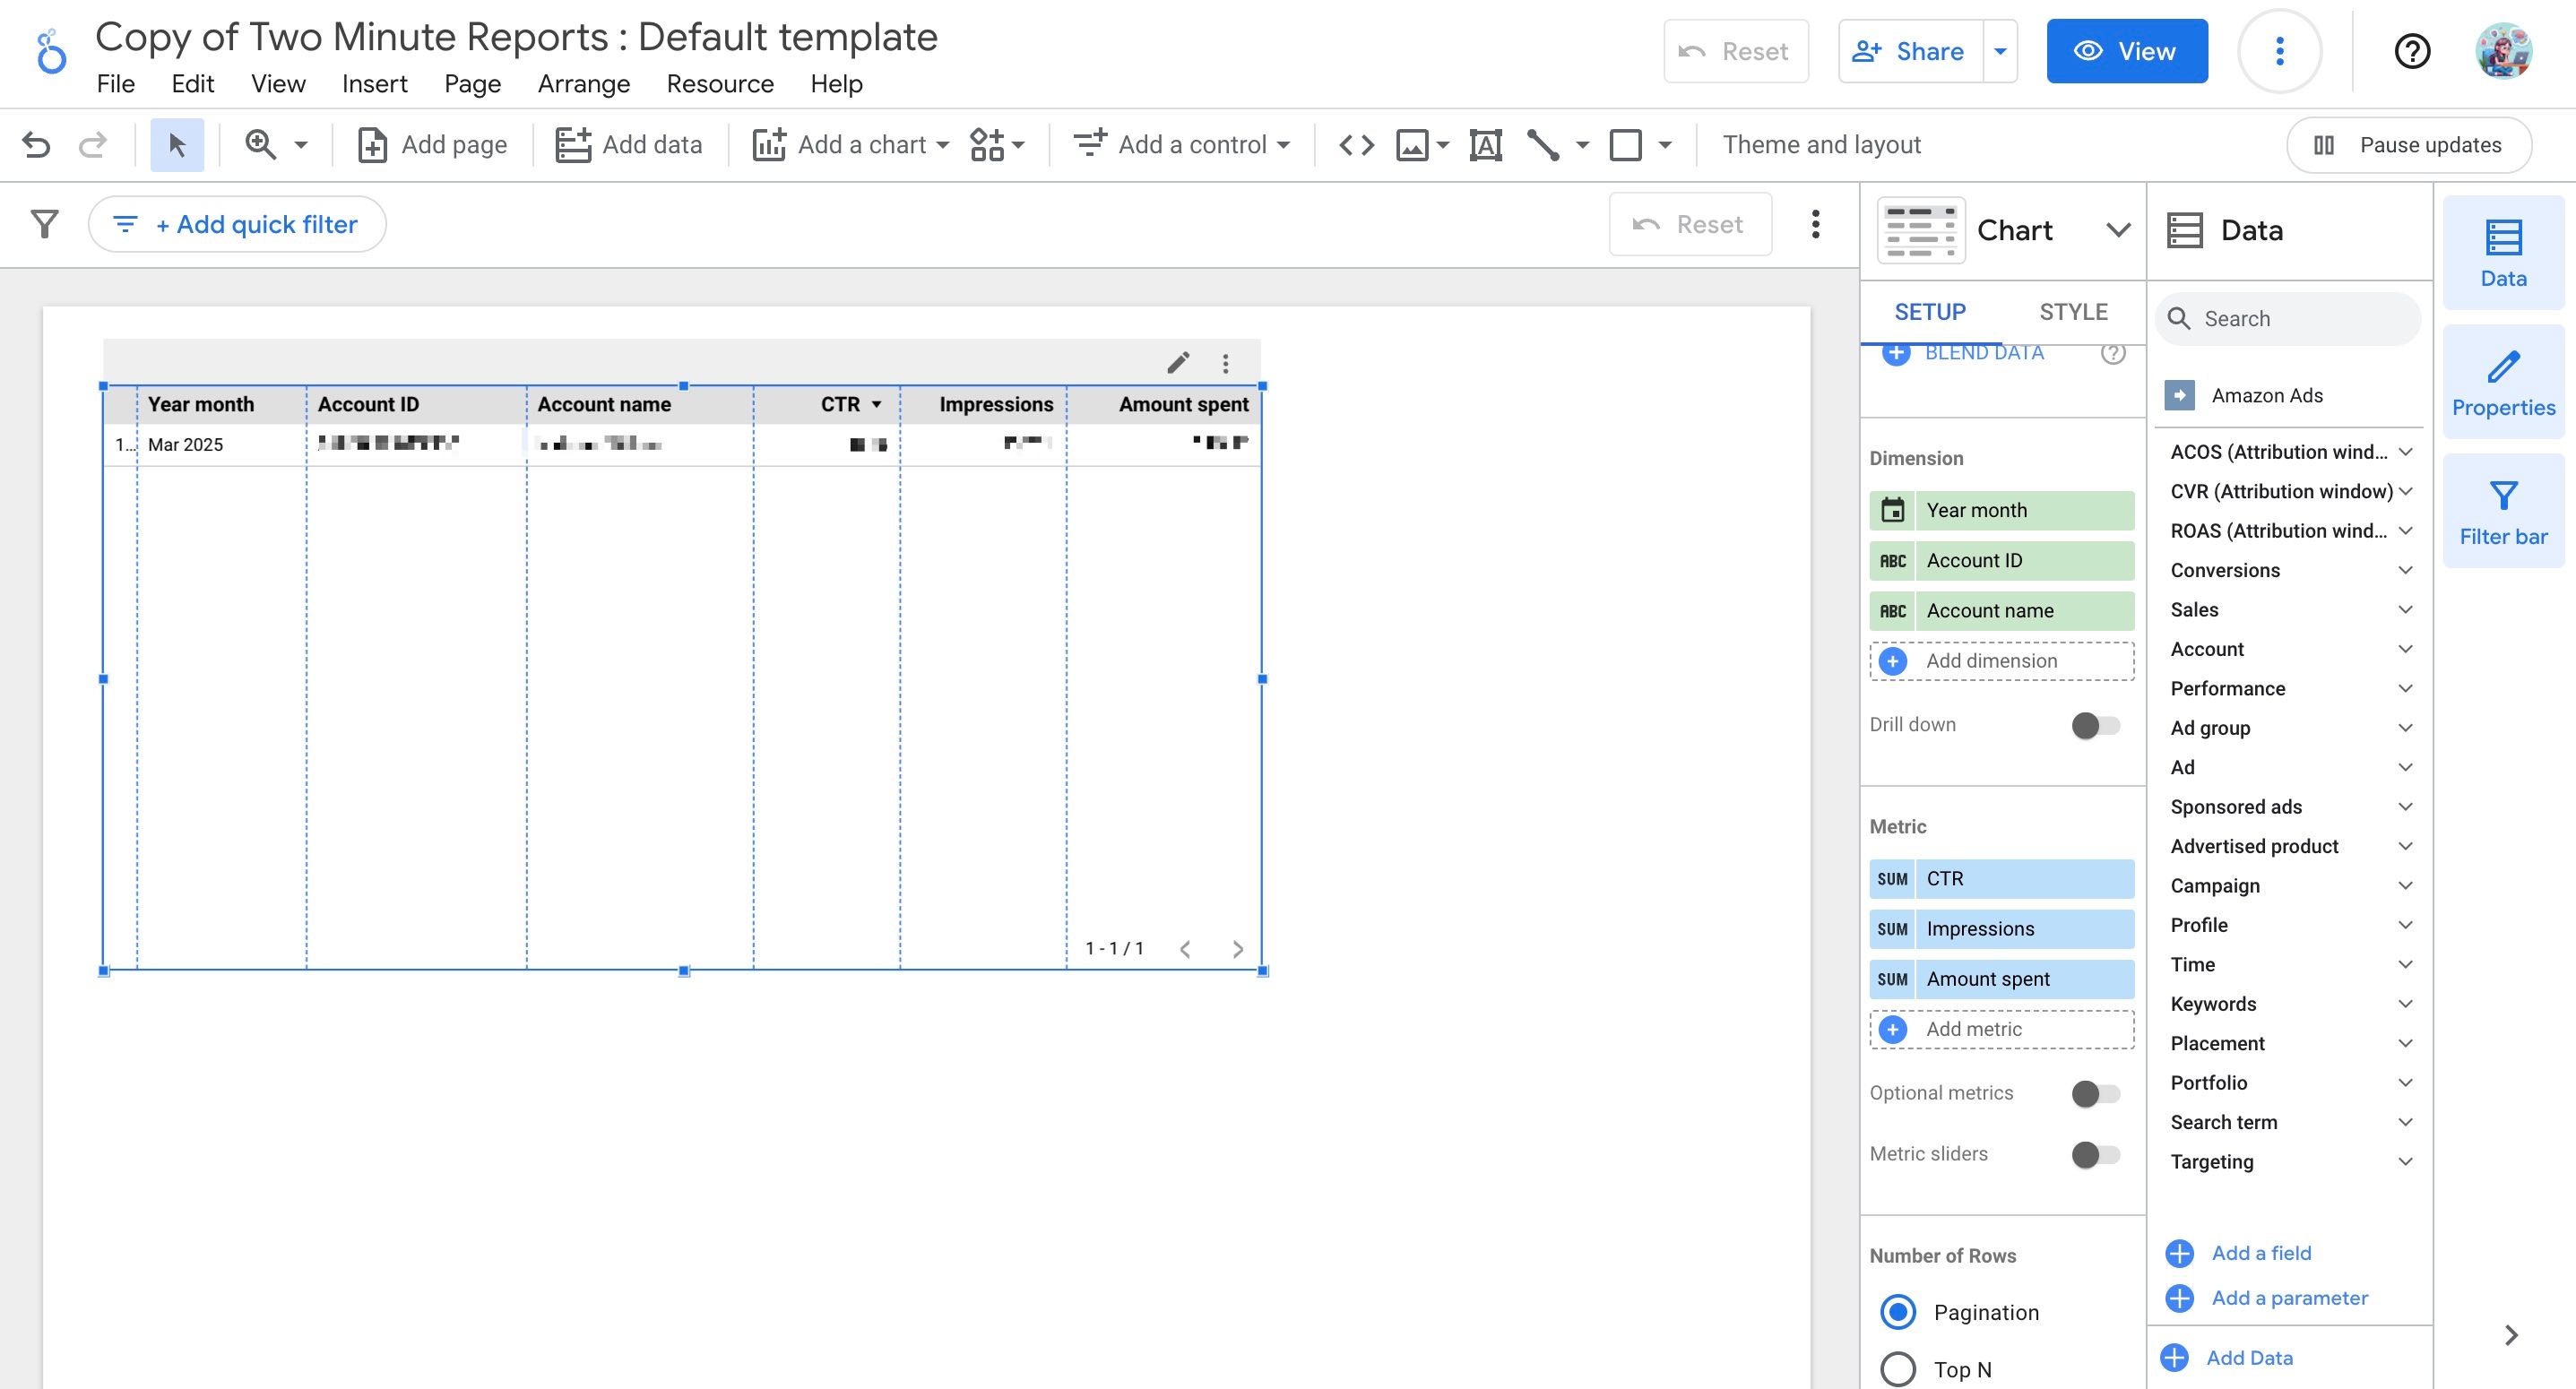
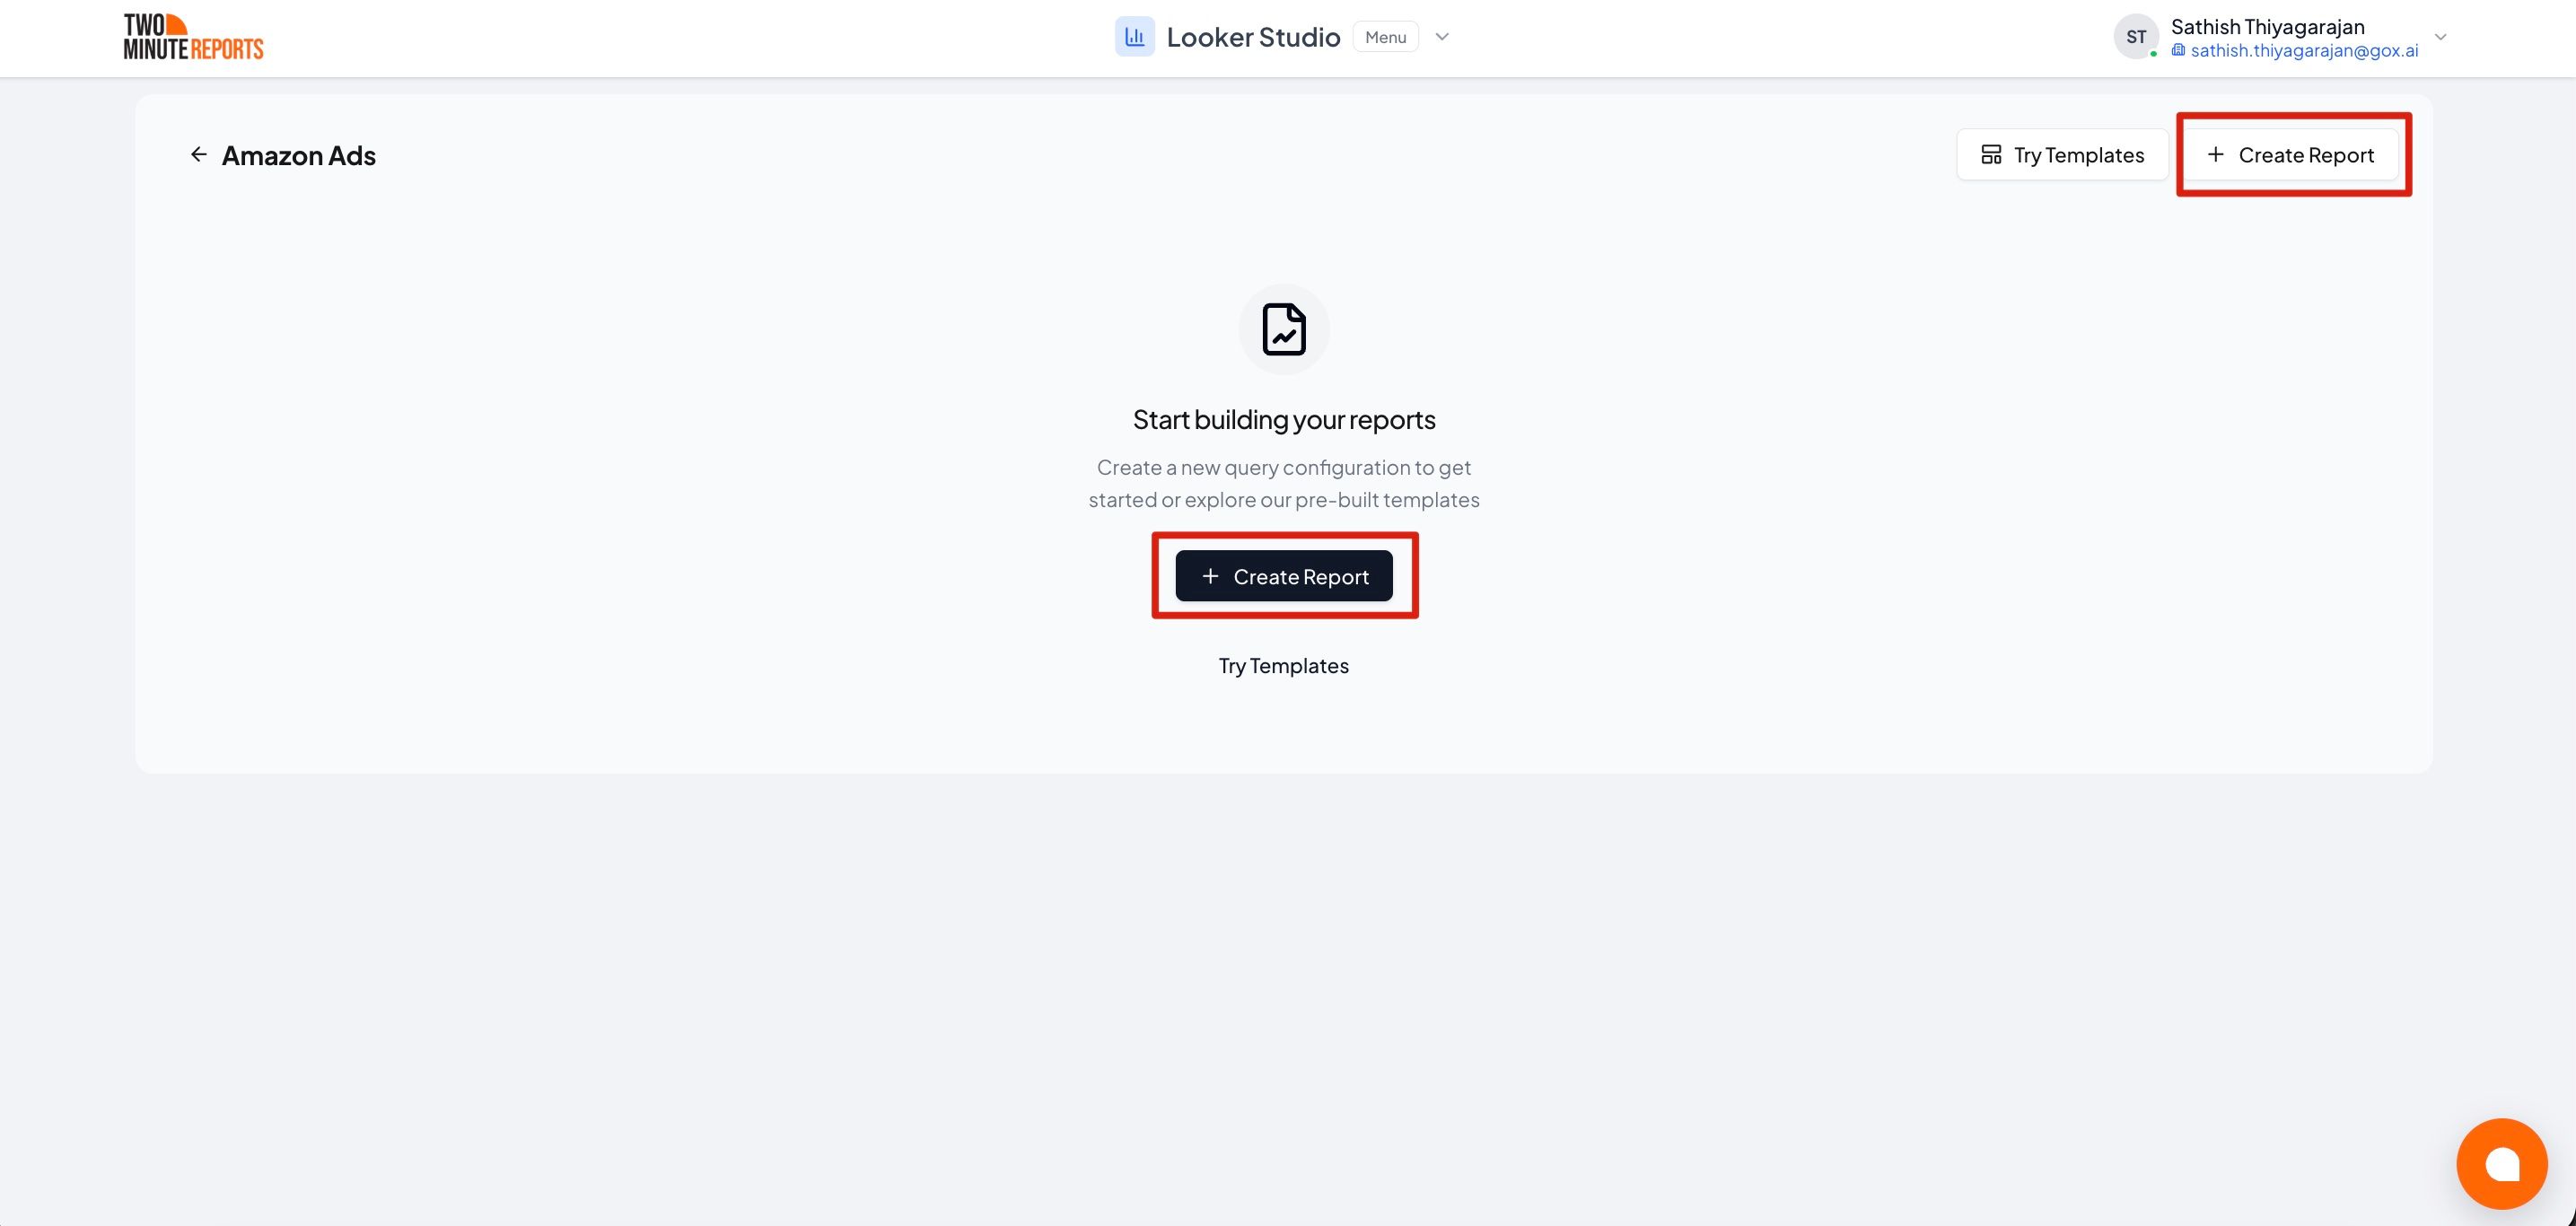
To pull Amazon Ads data into Looker Studio:
- Click Open in Looker Studio, then click + Create Report.
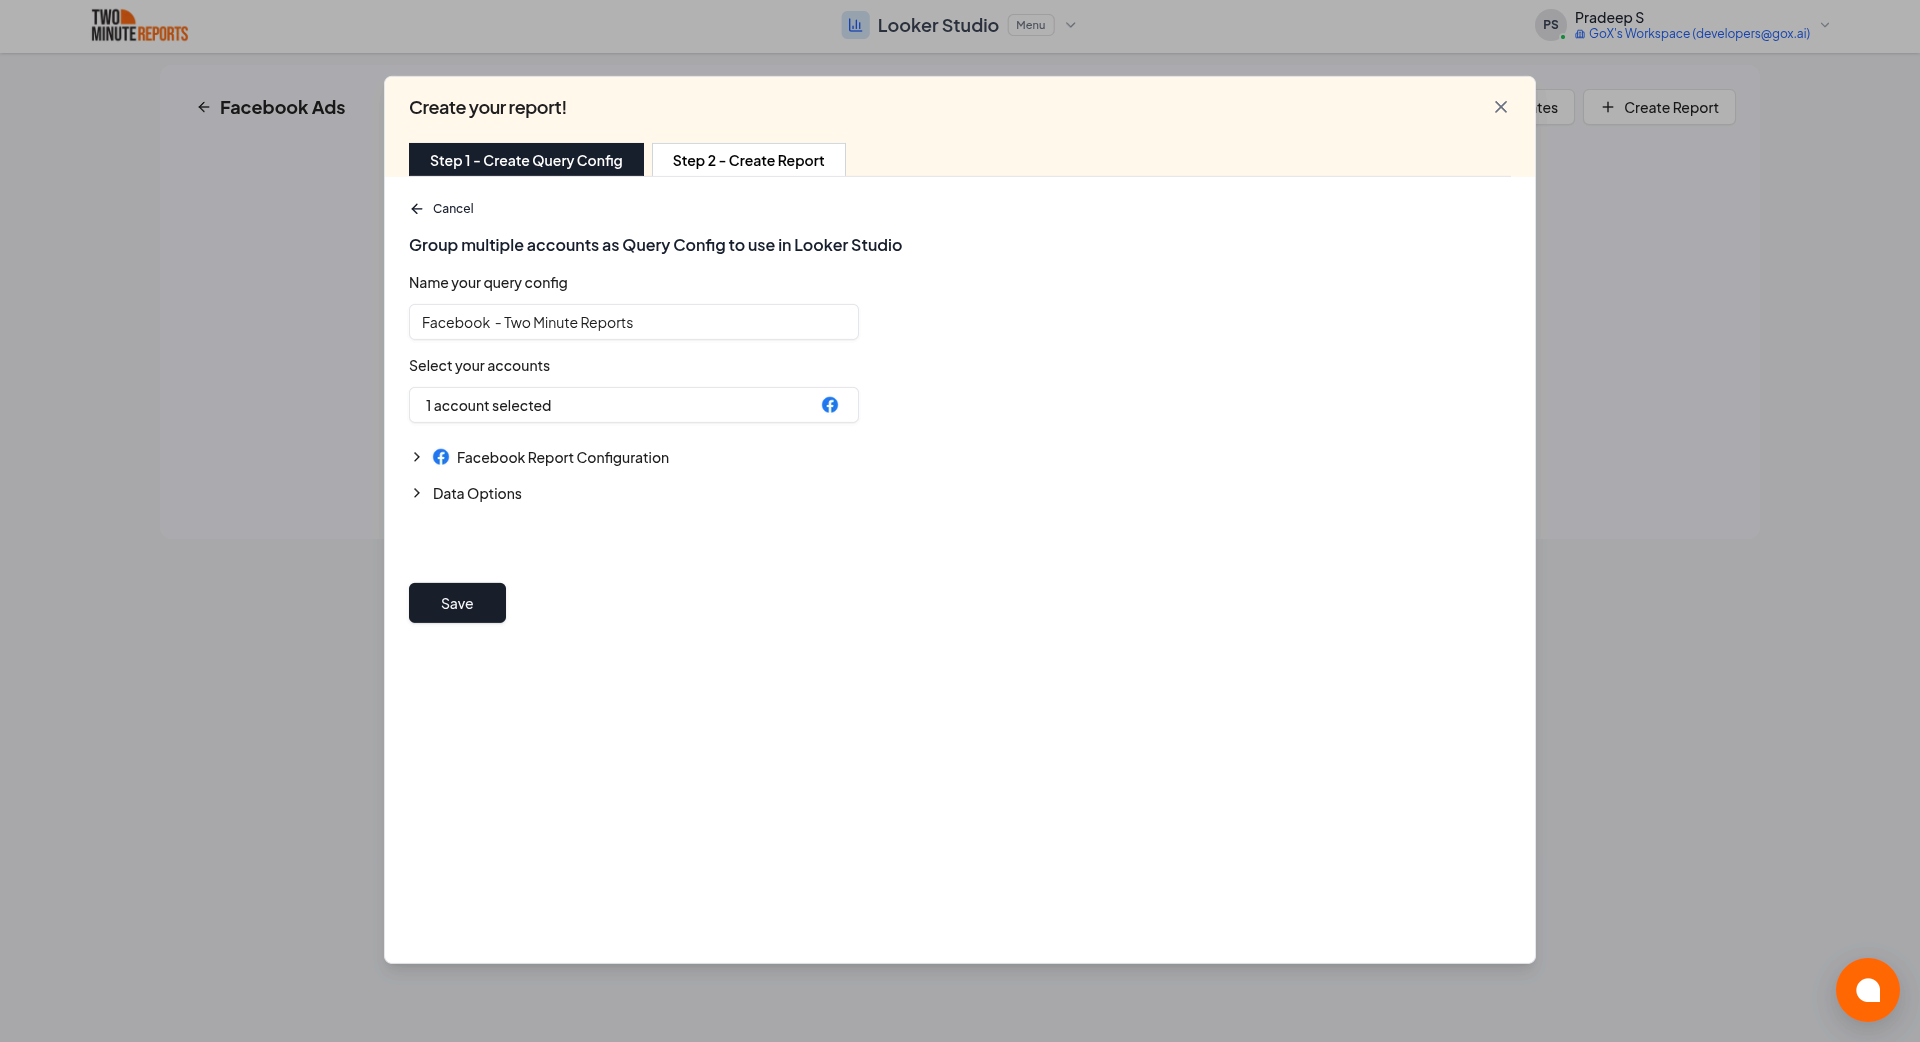
- A query config panel will appear. Do one of the following:
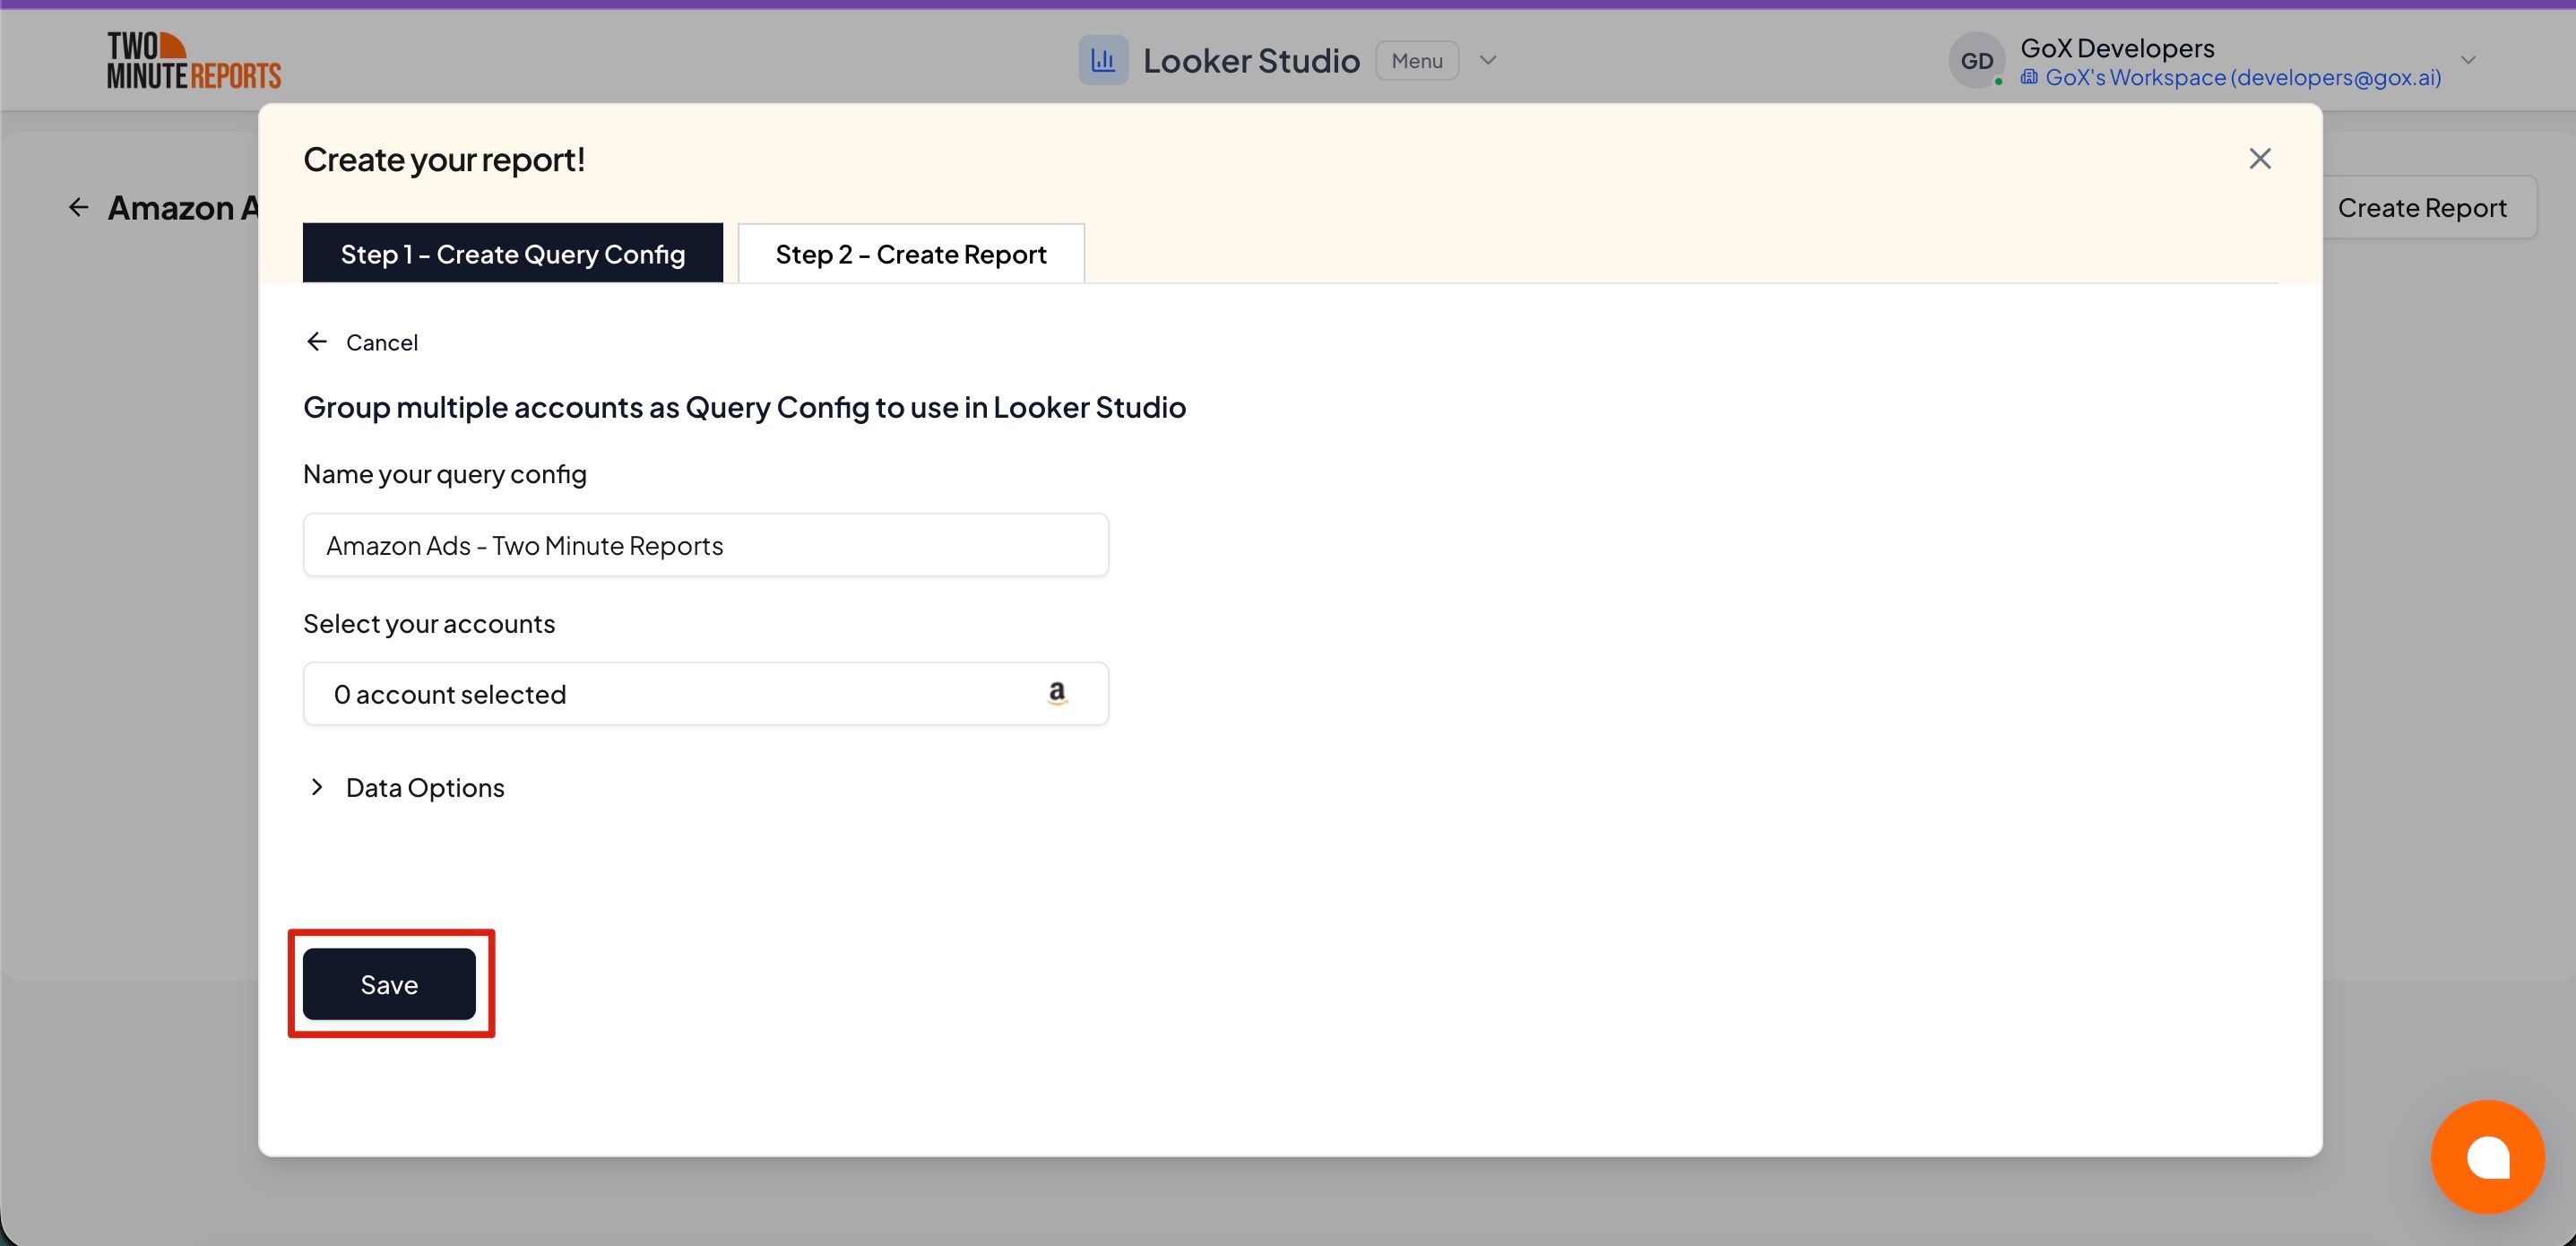
Creating a new query config: Enter a name, select the accounts you want to include from the dropdown, then click Save.
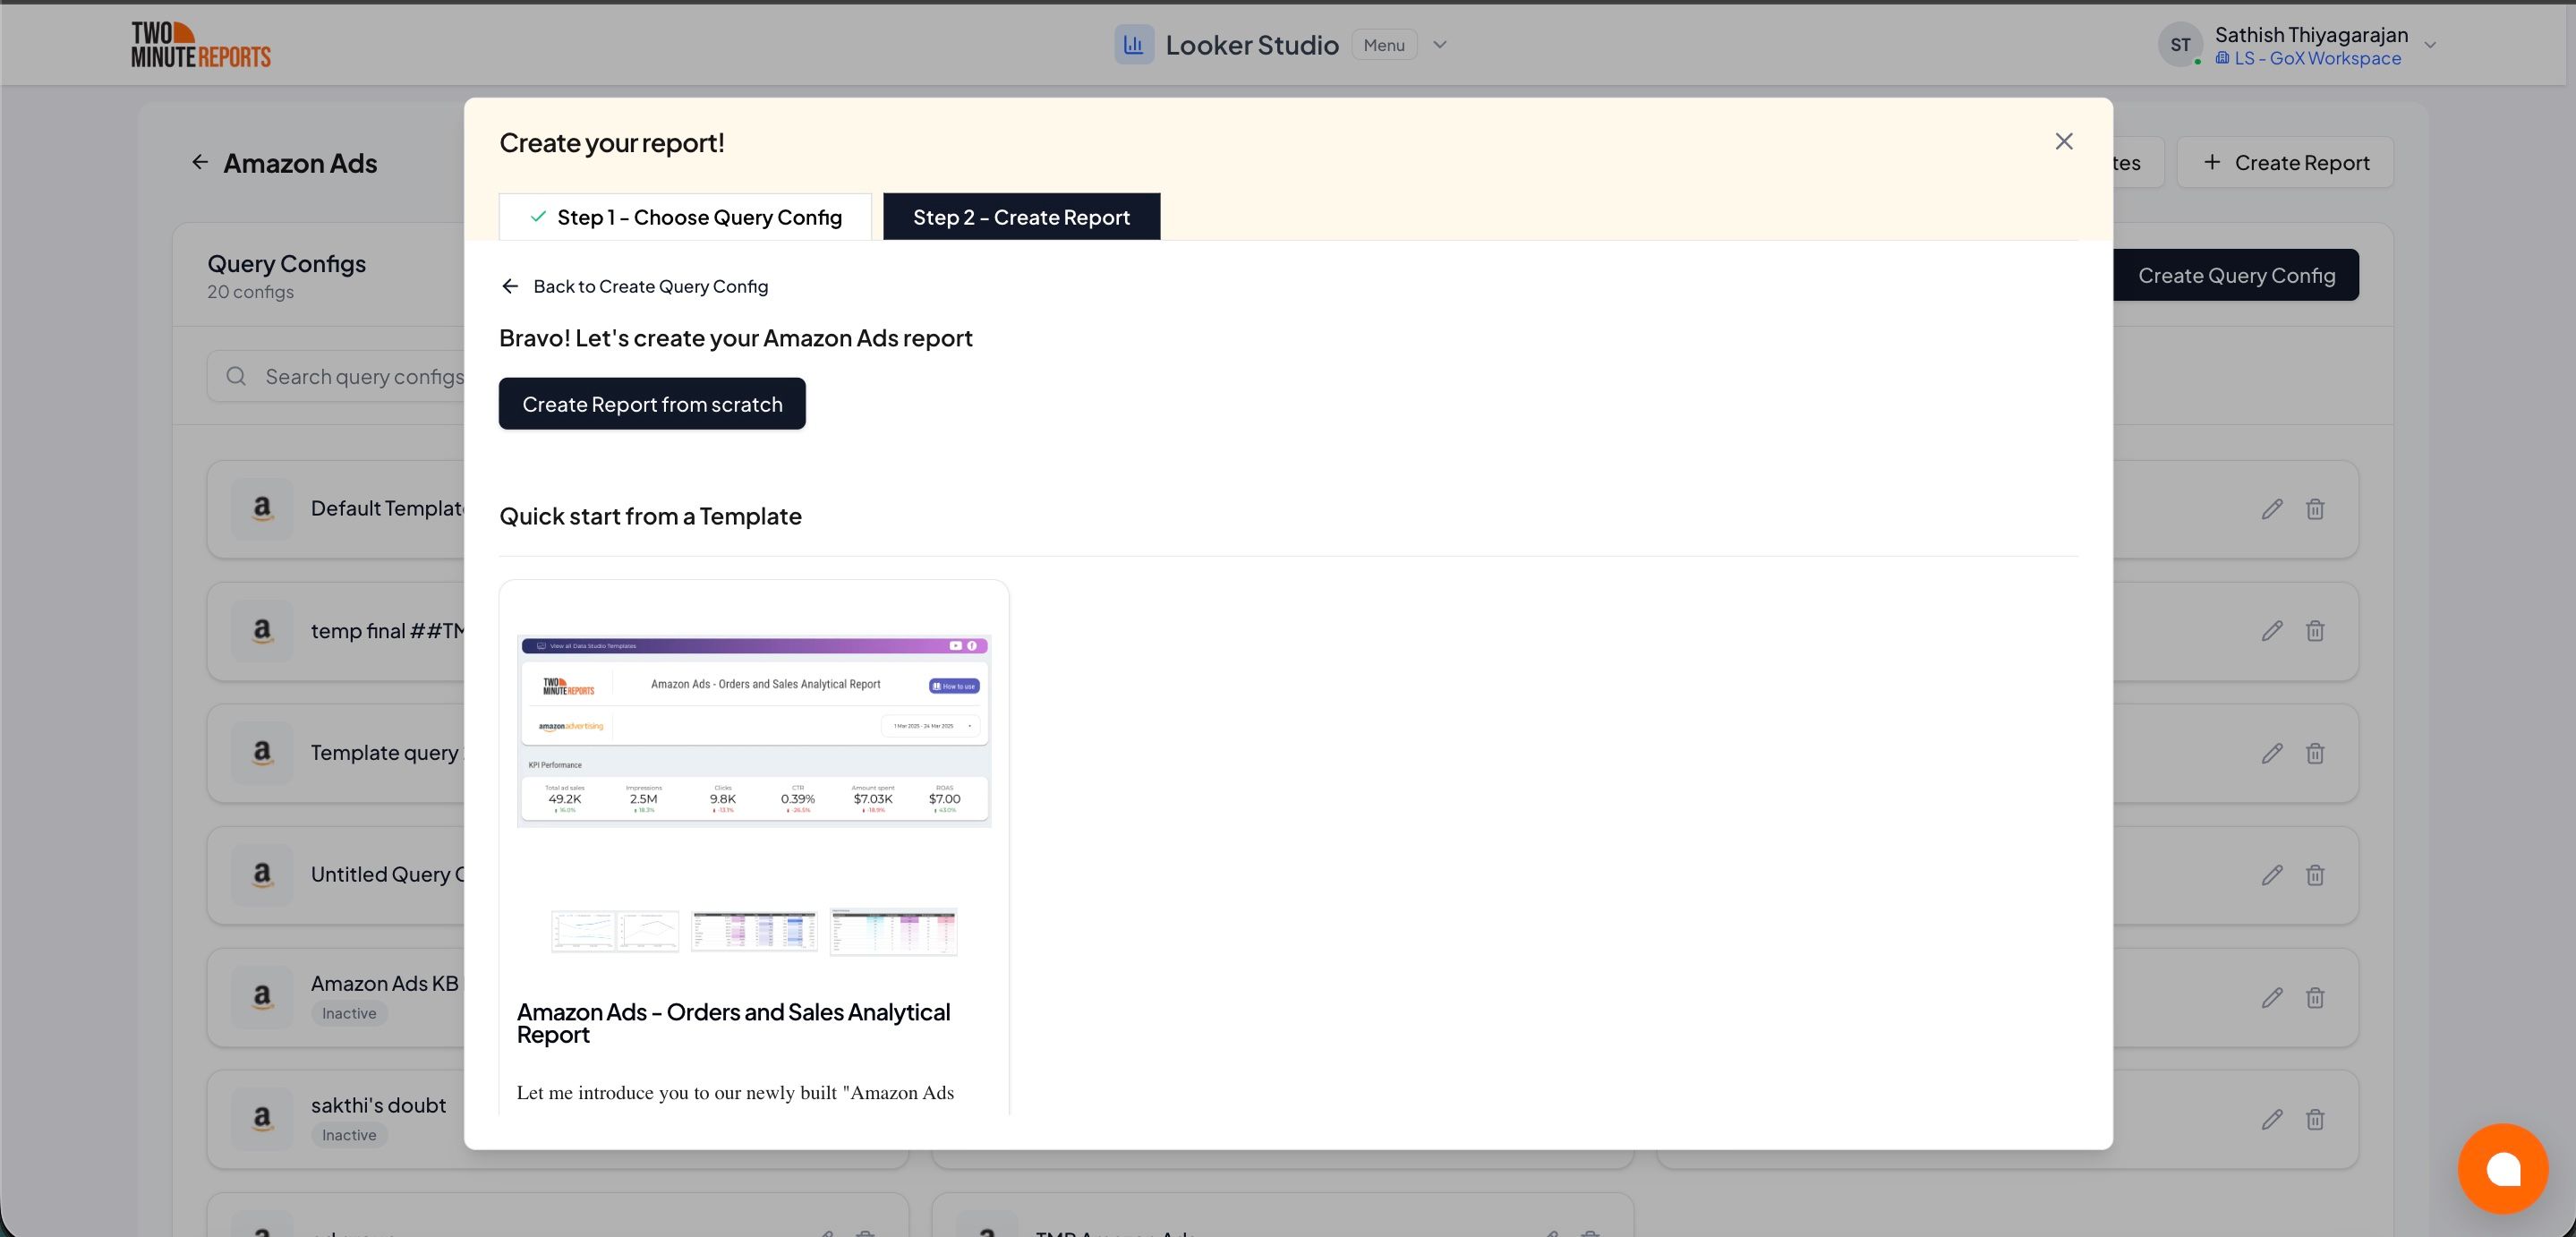
- Choose Create report from scratch to build a custom report, or select one of the pre-built templates to get started quickly.
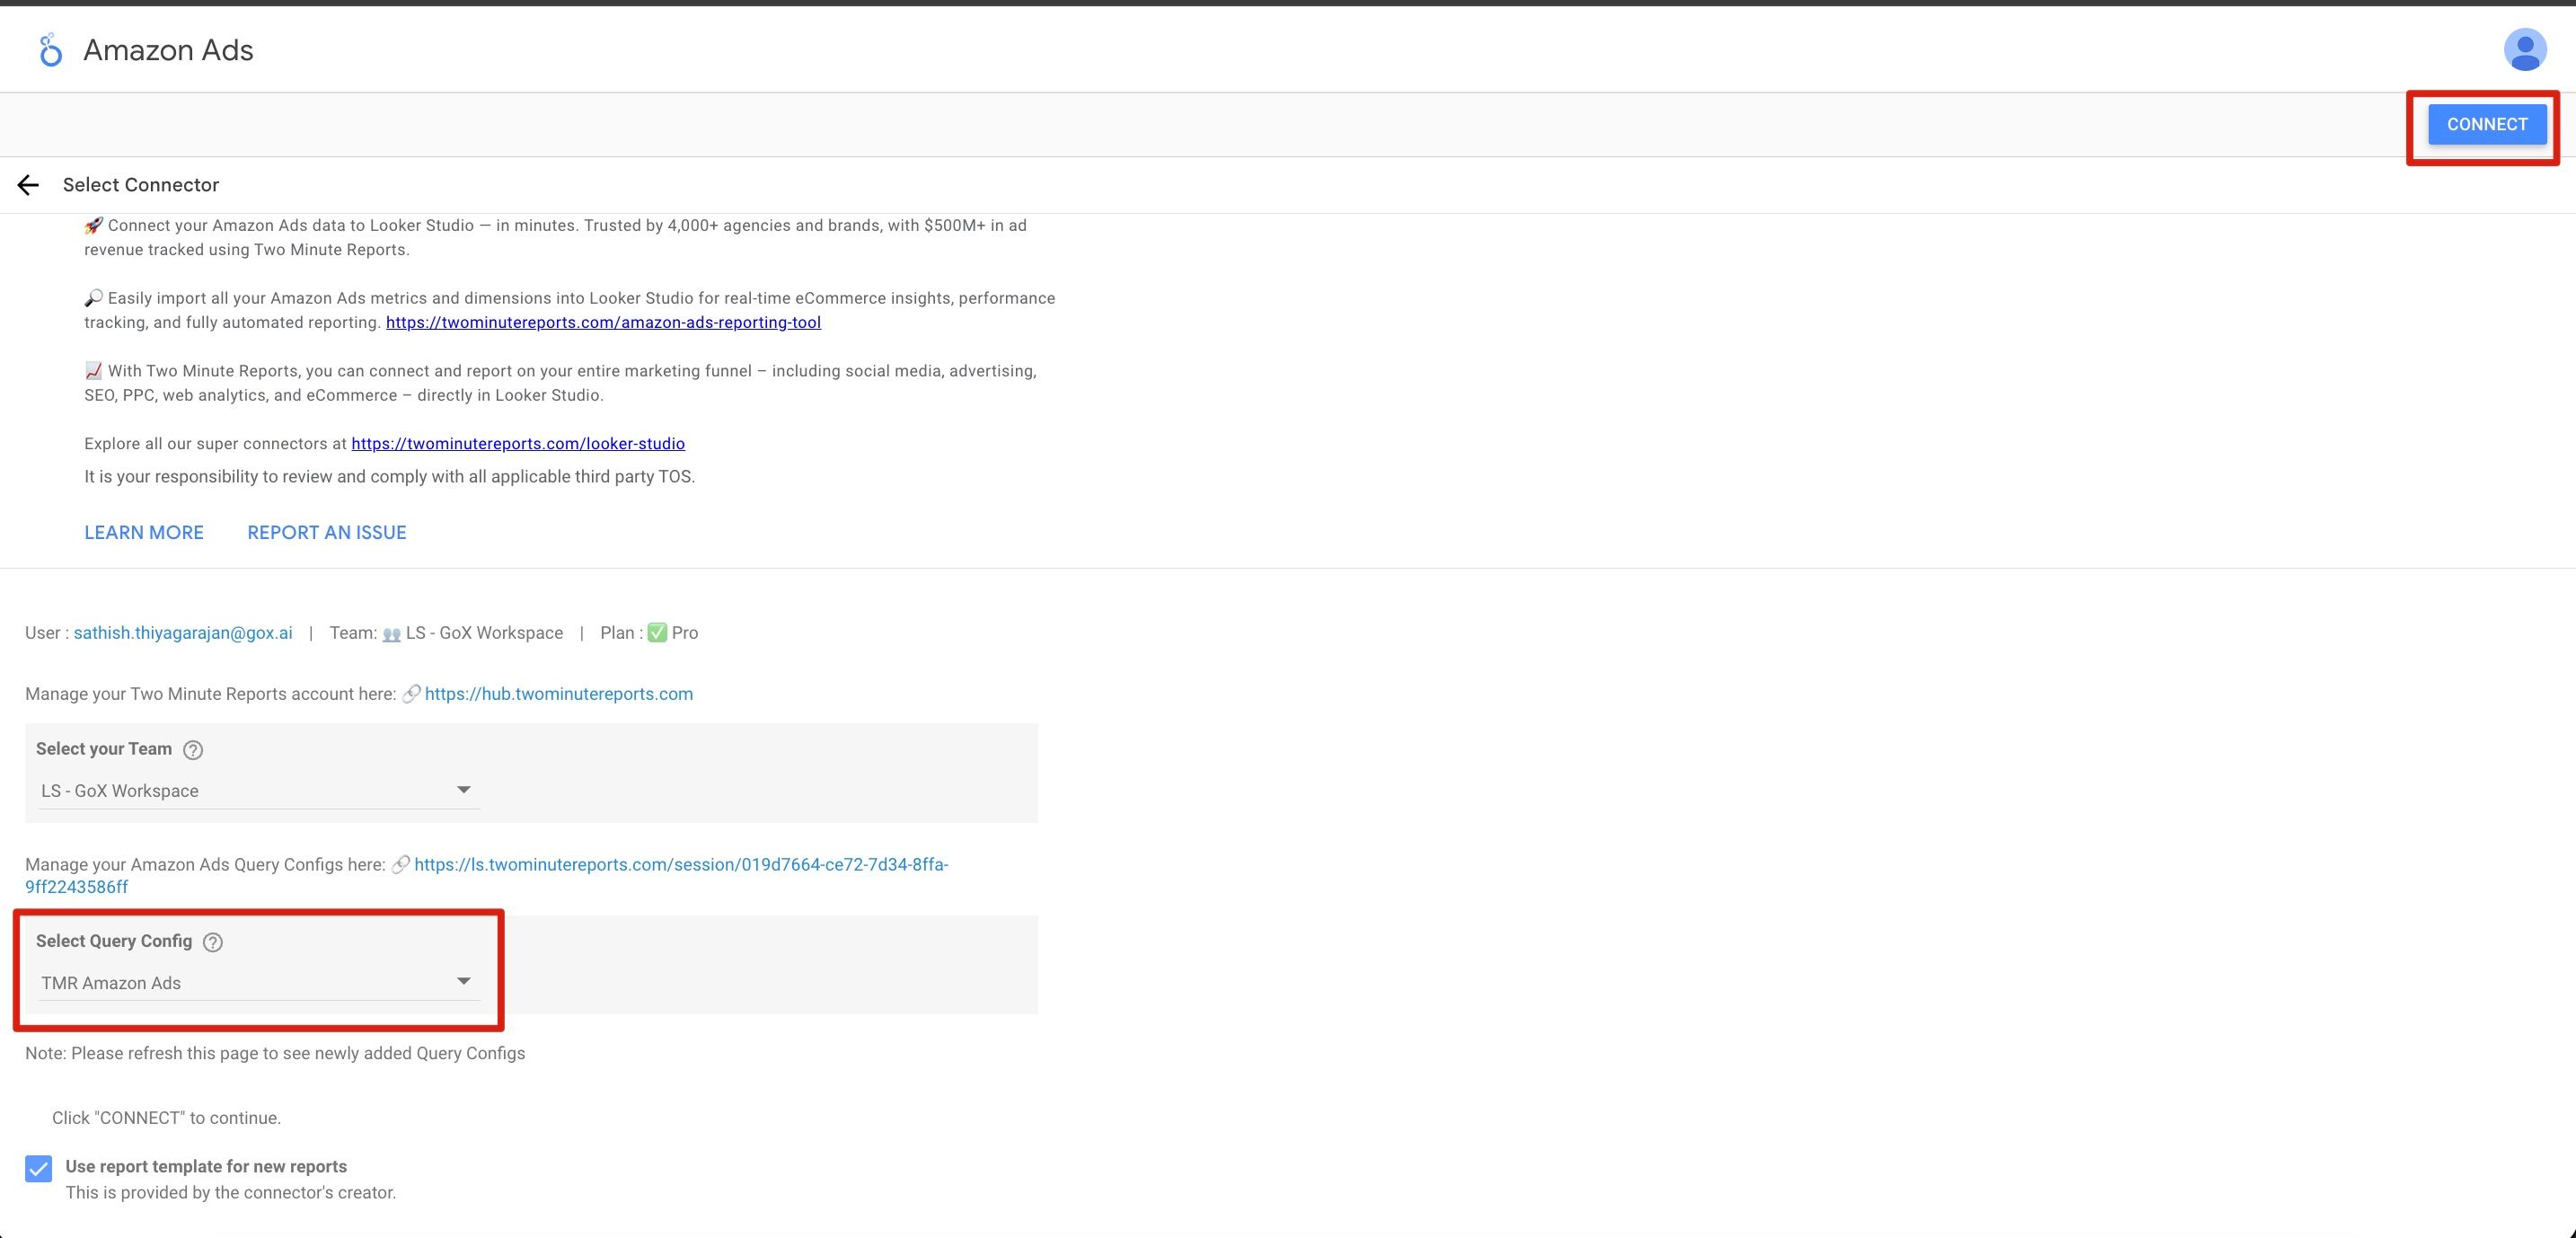
- In the Looker Studio connector panel, select your team and choose the required query config from the dropdown. Click Connect in the top-right corner.
- You'll land on the Looker Studio dashboard. Drag and drop the available Amazon Ads metrics and dimensions onto your canvas to start analyzing your data.