

MySQL
The MySQL connector gets your MySQL data into Google Sheets, Google Data Studio and Hub dashboards. Use it to track your key metrics in a spreadsheet or a Google Data Studio report.
What you can report on
- Any custom data stored in your MySQL database
- Sales, orders, and transactional data from your systems
- User activity, signups, and product usage metrics
- Inventory and fulfillment data
- Custom KPIs and business metrics specific to your product
Prerequisites
- A MySQL server at a public hostname or IP address, or an SSH server that can connect to it (see Private databases and SSH tunnels)
- Database host, port, database name, username, and password
- A database user with SELECT permissions on the tables you want to query
- Your database firewall set to accept Two Minute Reports' IP addresses (see IP whitelisting below)
How to create a connection
- In the Hub, open Connections & accounts.
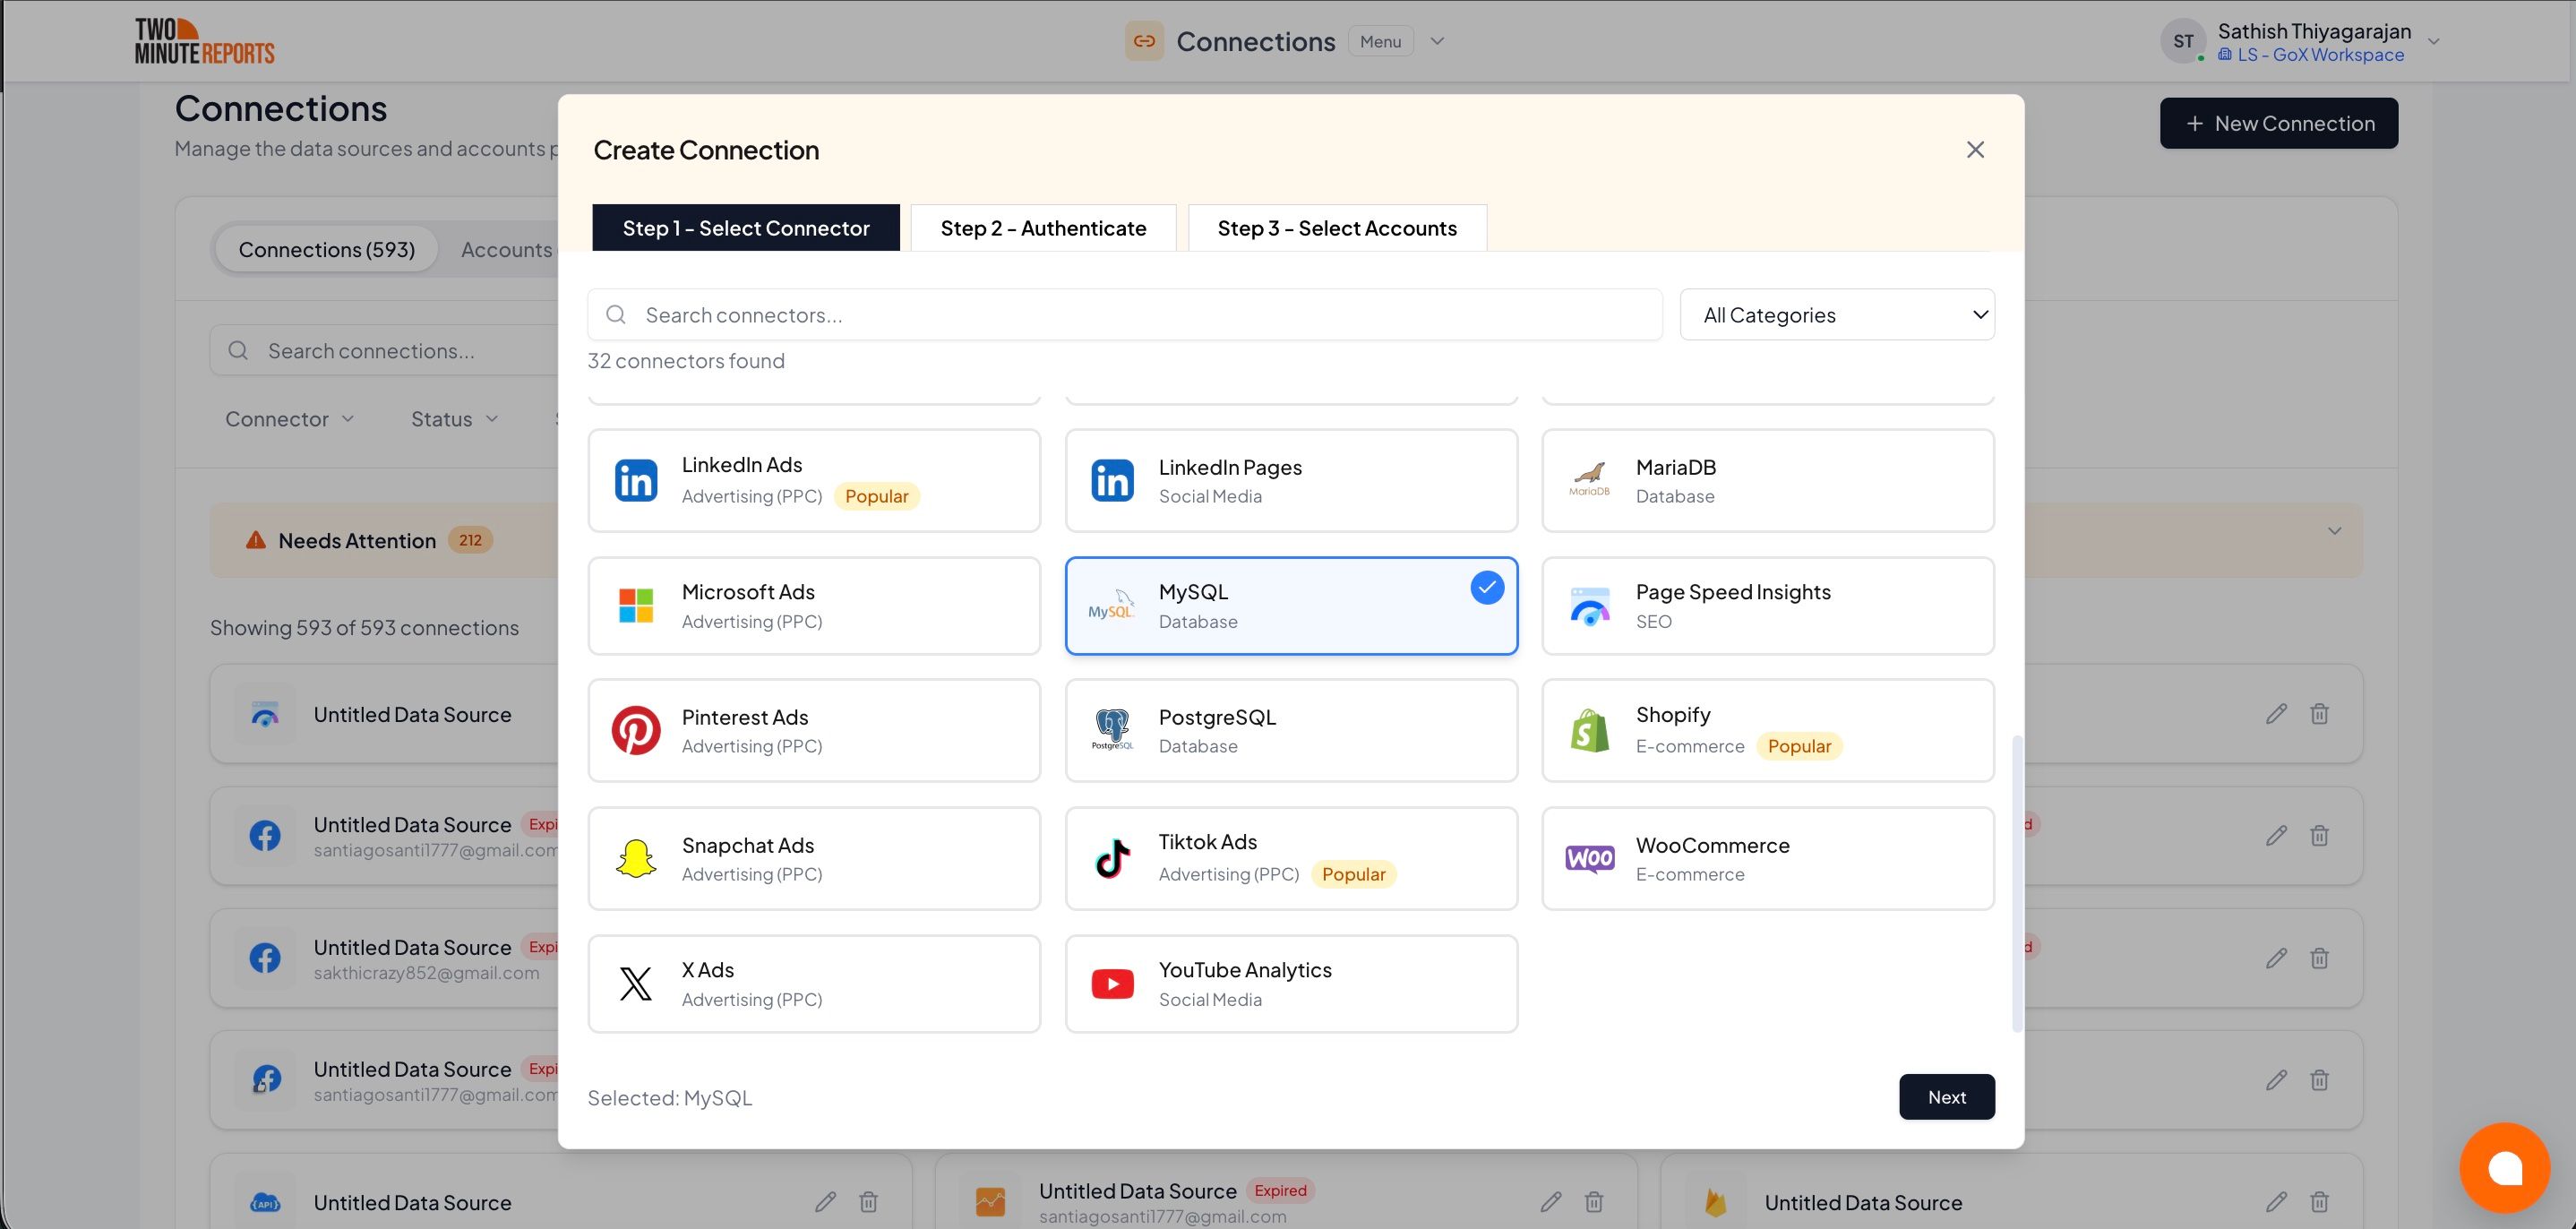
- Select Create connection.
- Select MySQL in the connector list.
- Select Next.
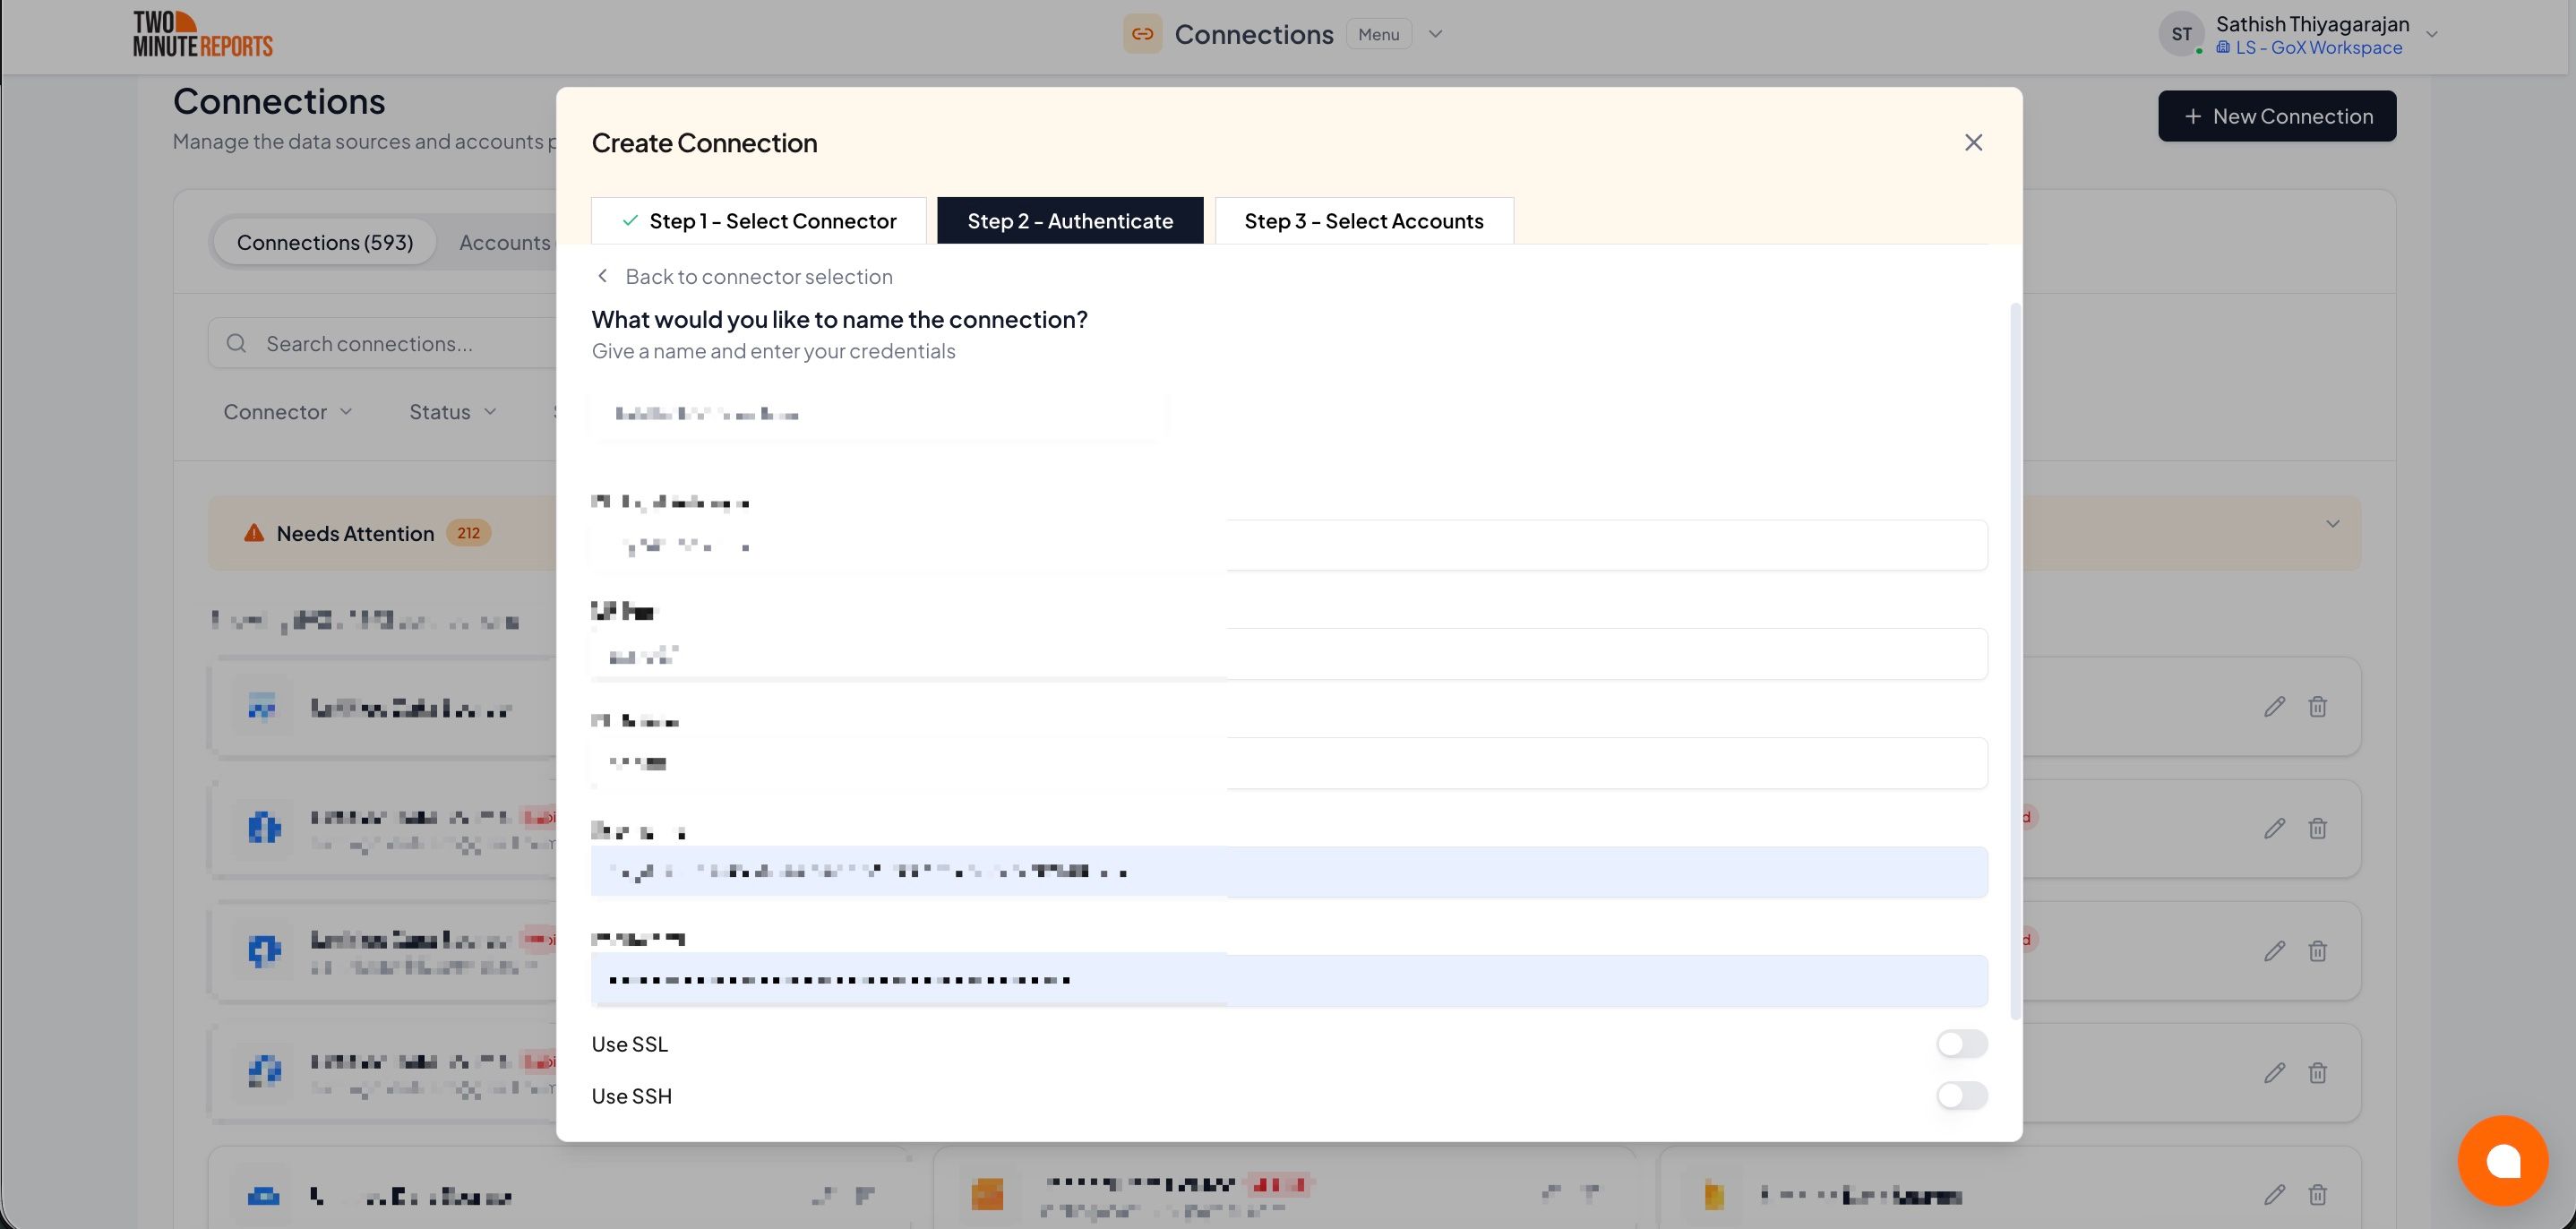
- In Name the connection, enter a name.
- Enter your database details in DB host address, DB port, DB name, Username and Password.
- If your database needs an encrypted connection or an SSH tunnel, turn on Use SSL or Use SSH, and enter the details.
- Select Test connection.
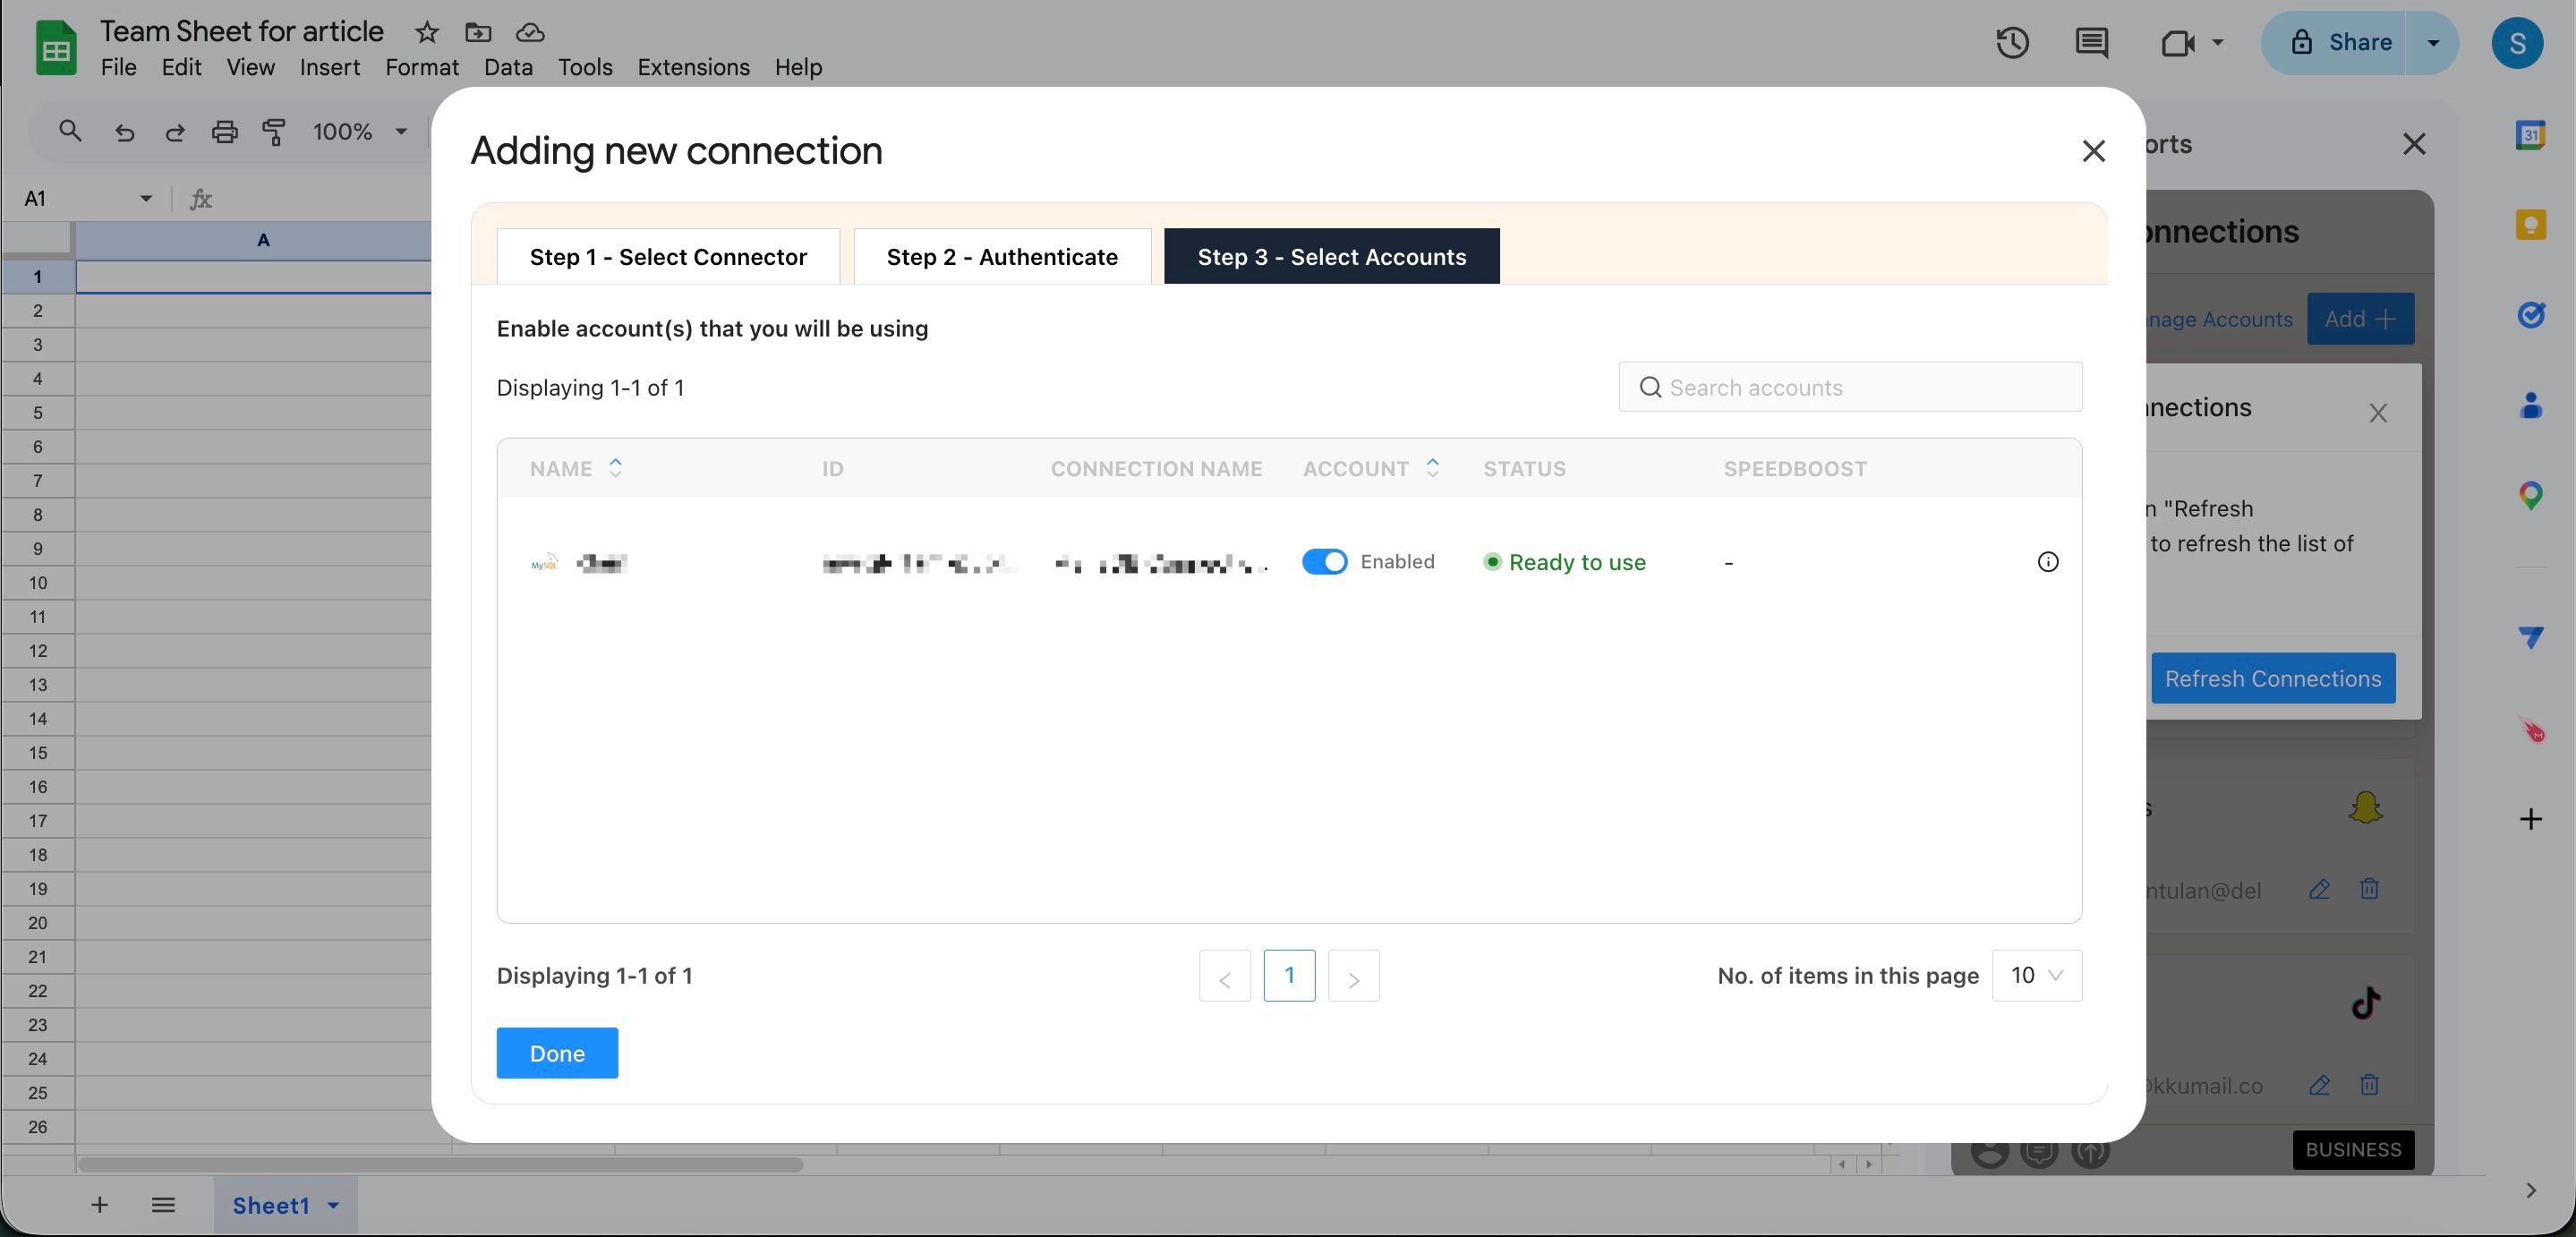
- Enable the account.
- Select Done.
How to get MySQL data into Google Sheets or Google Data Studio
To get MySQL data into Google Sheets:
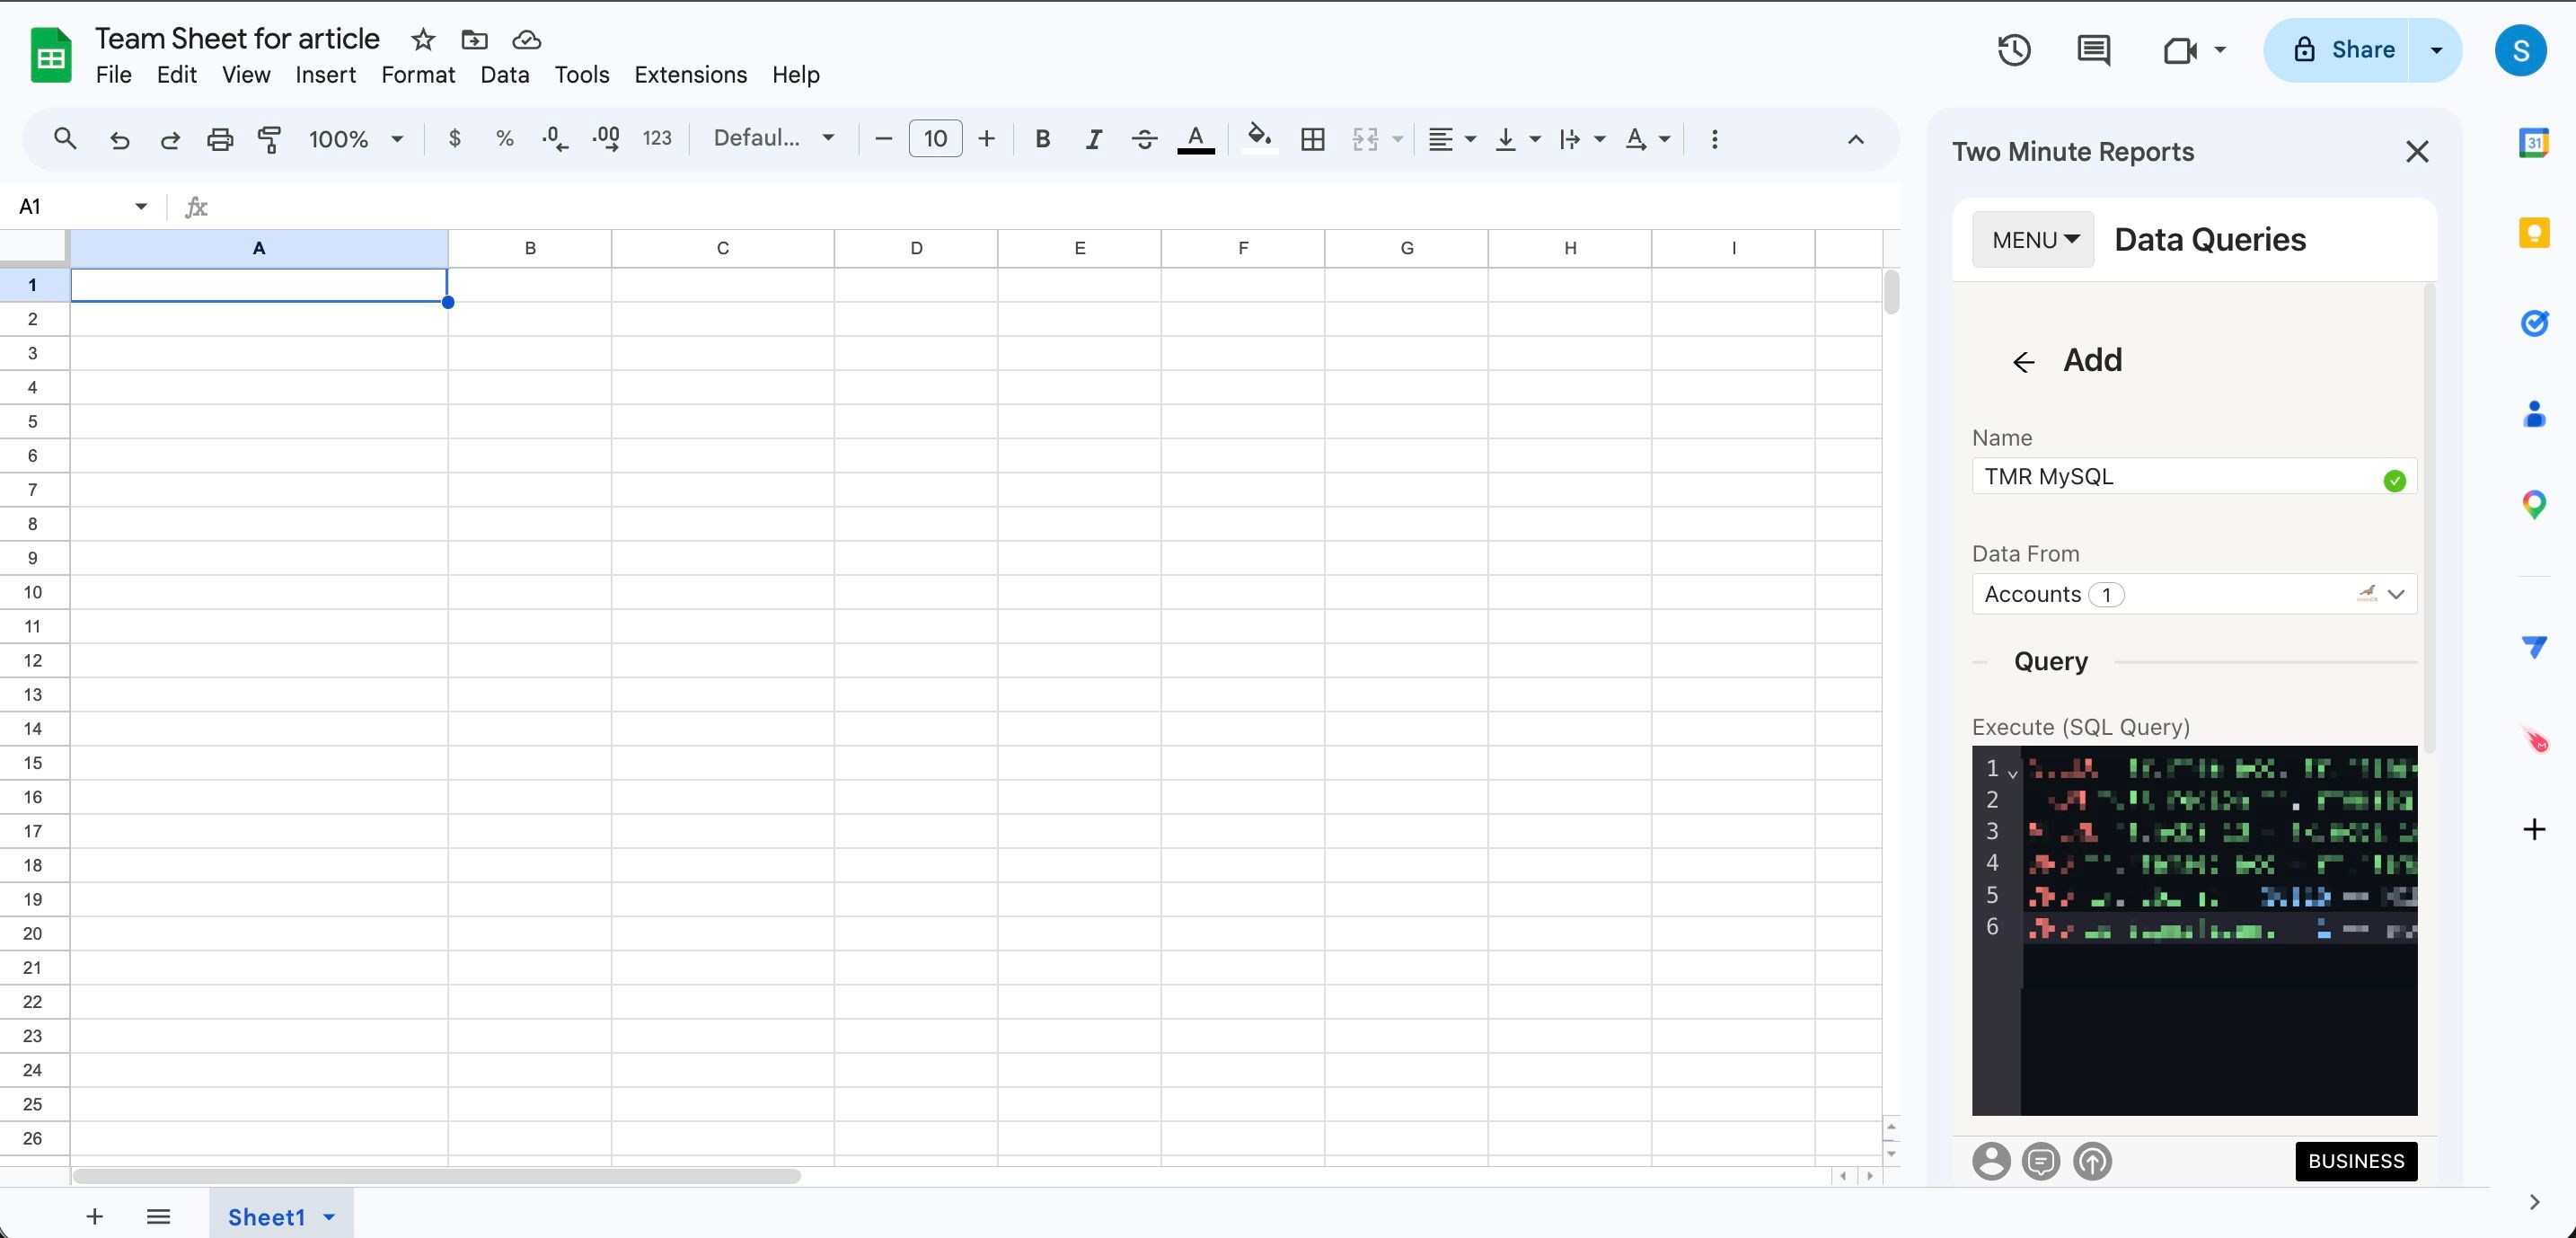
- In the Two Minute Reports sidebar, open Data Queries.
- Select Add.
- Select your MySQL account.
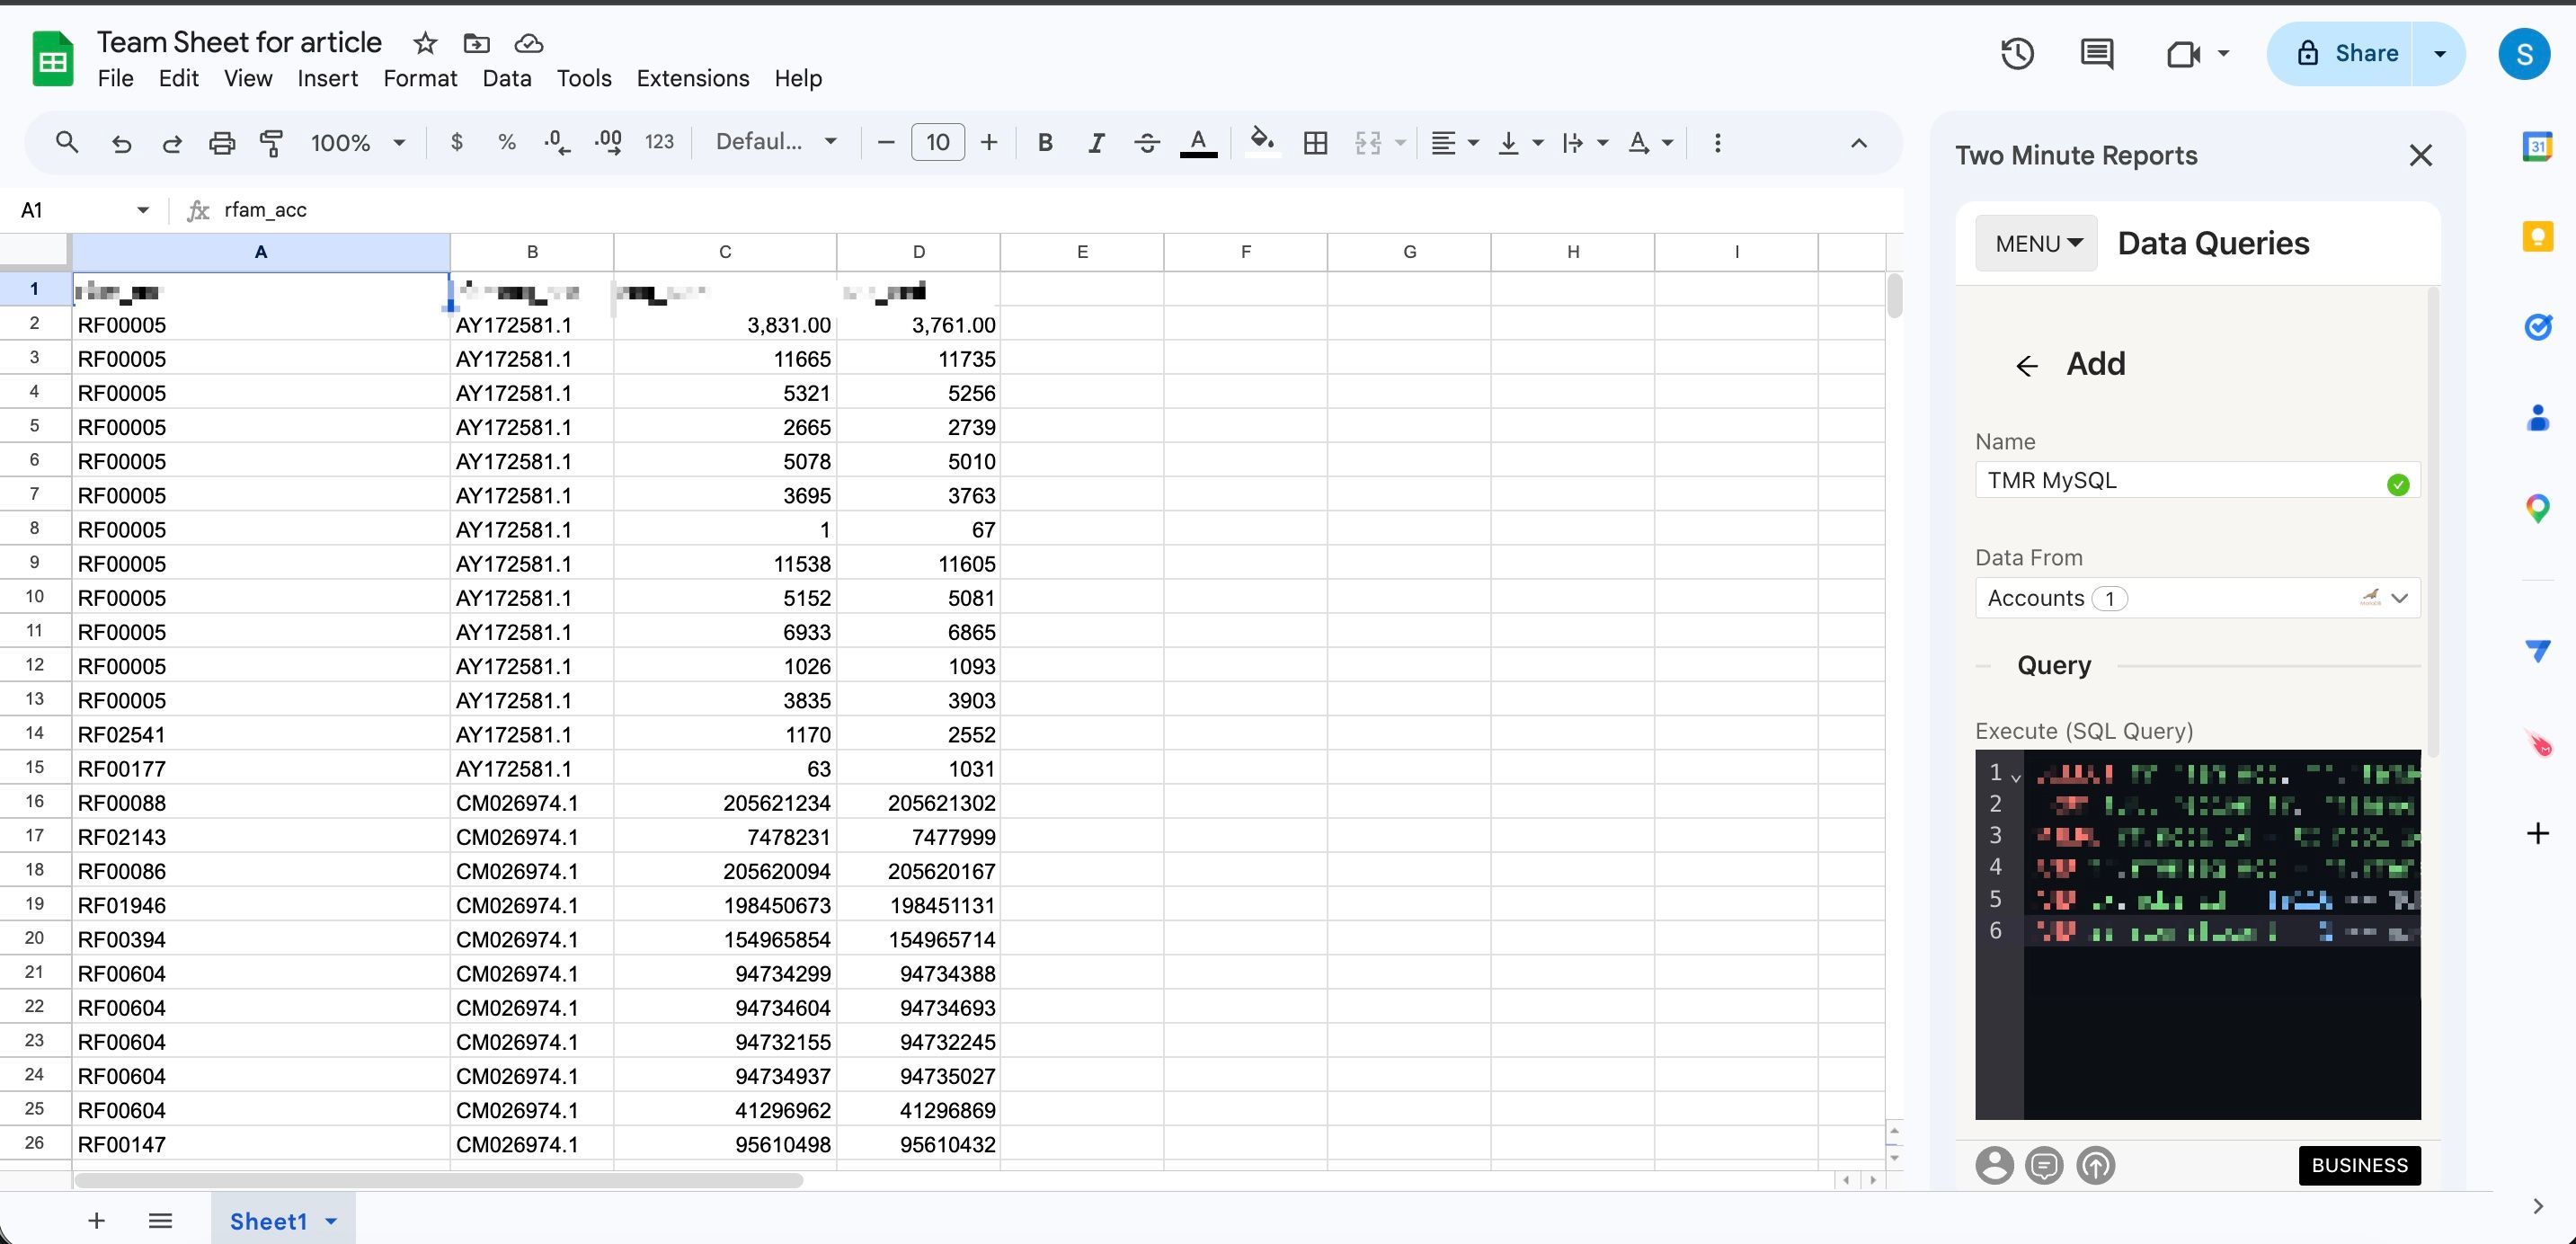
- In Execute (SQL Query), enter your SQL query.
- Select Run query. Two Minute Reports adds the data to your sheet.
To get MySQL data into Google Data Studio:
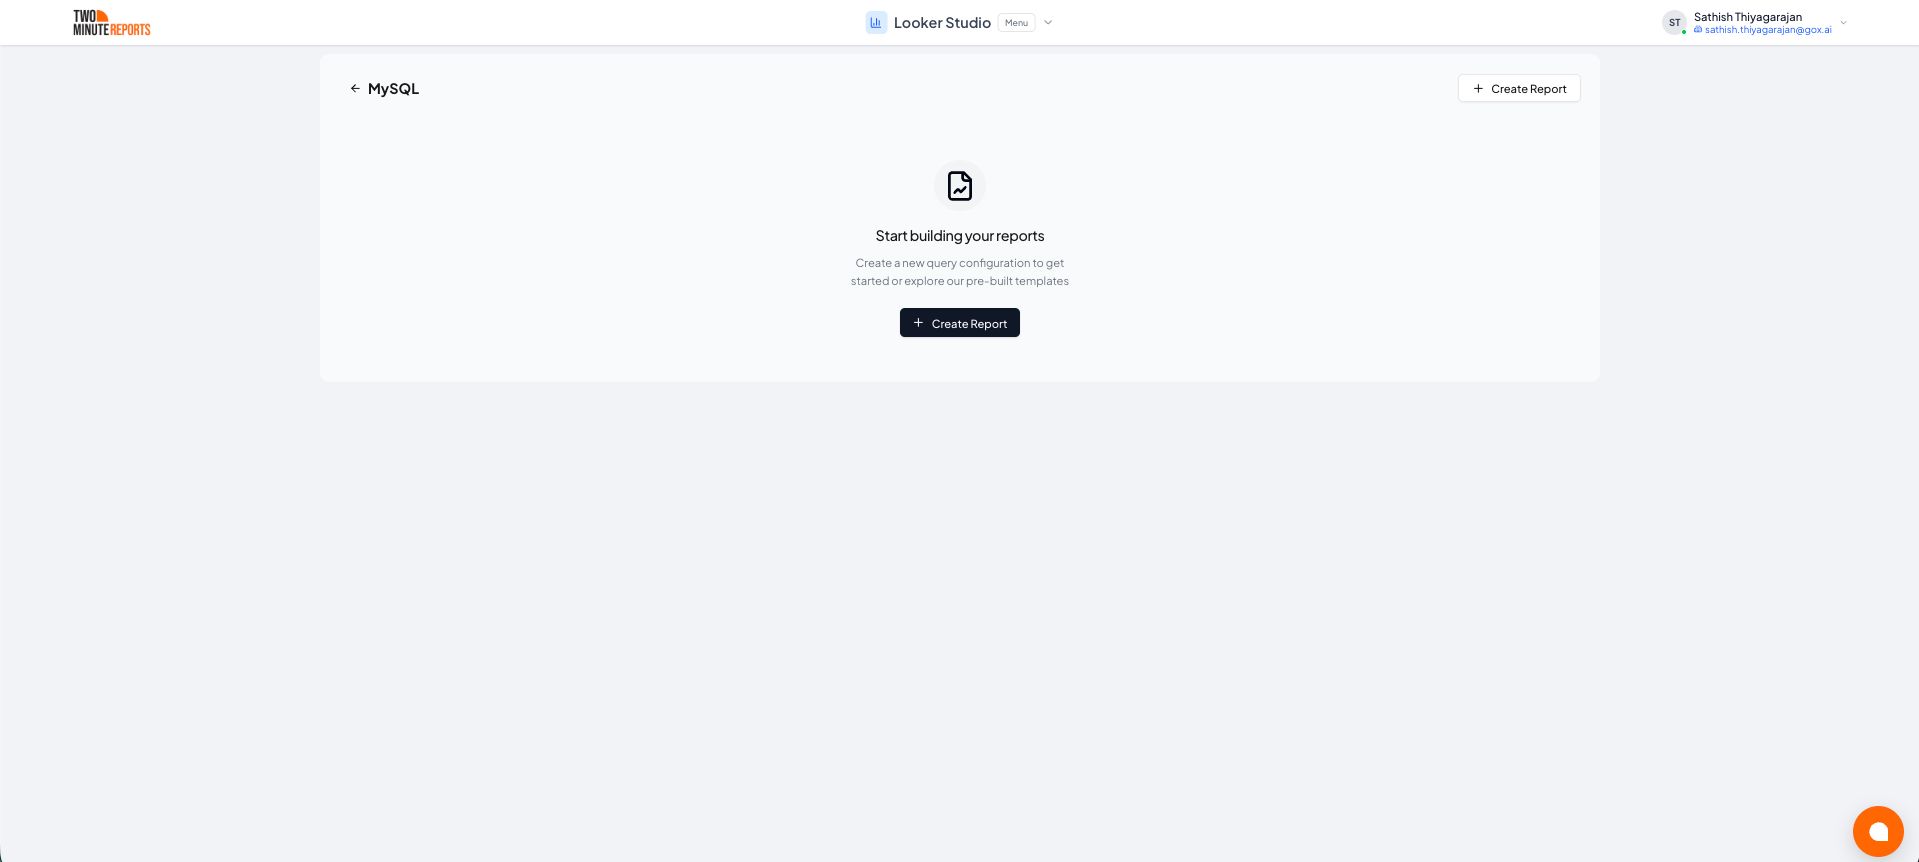
- In the Hub, open Google Data Studio › MySQL.
- Select Create report.
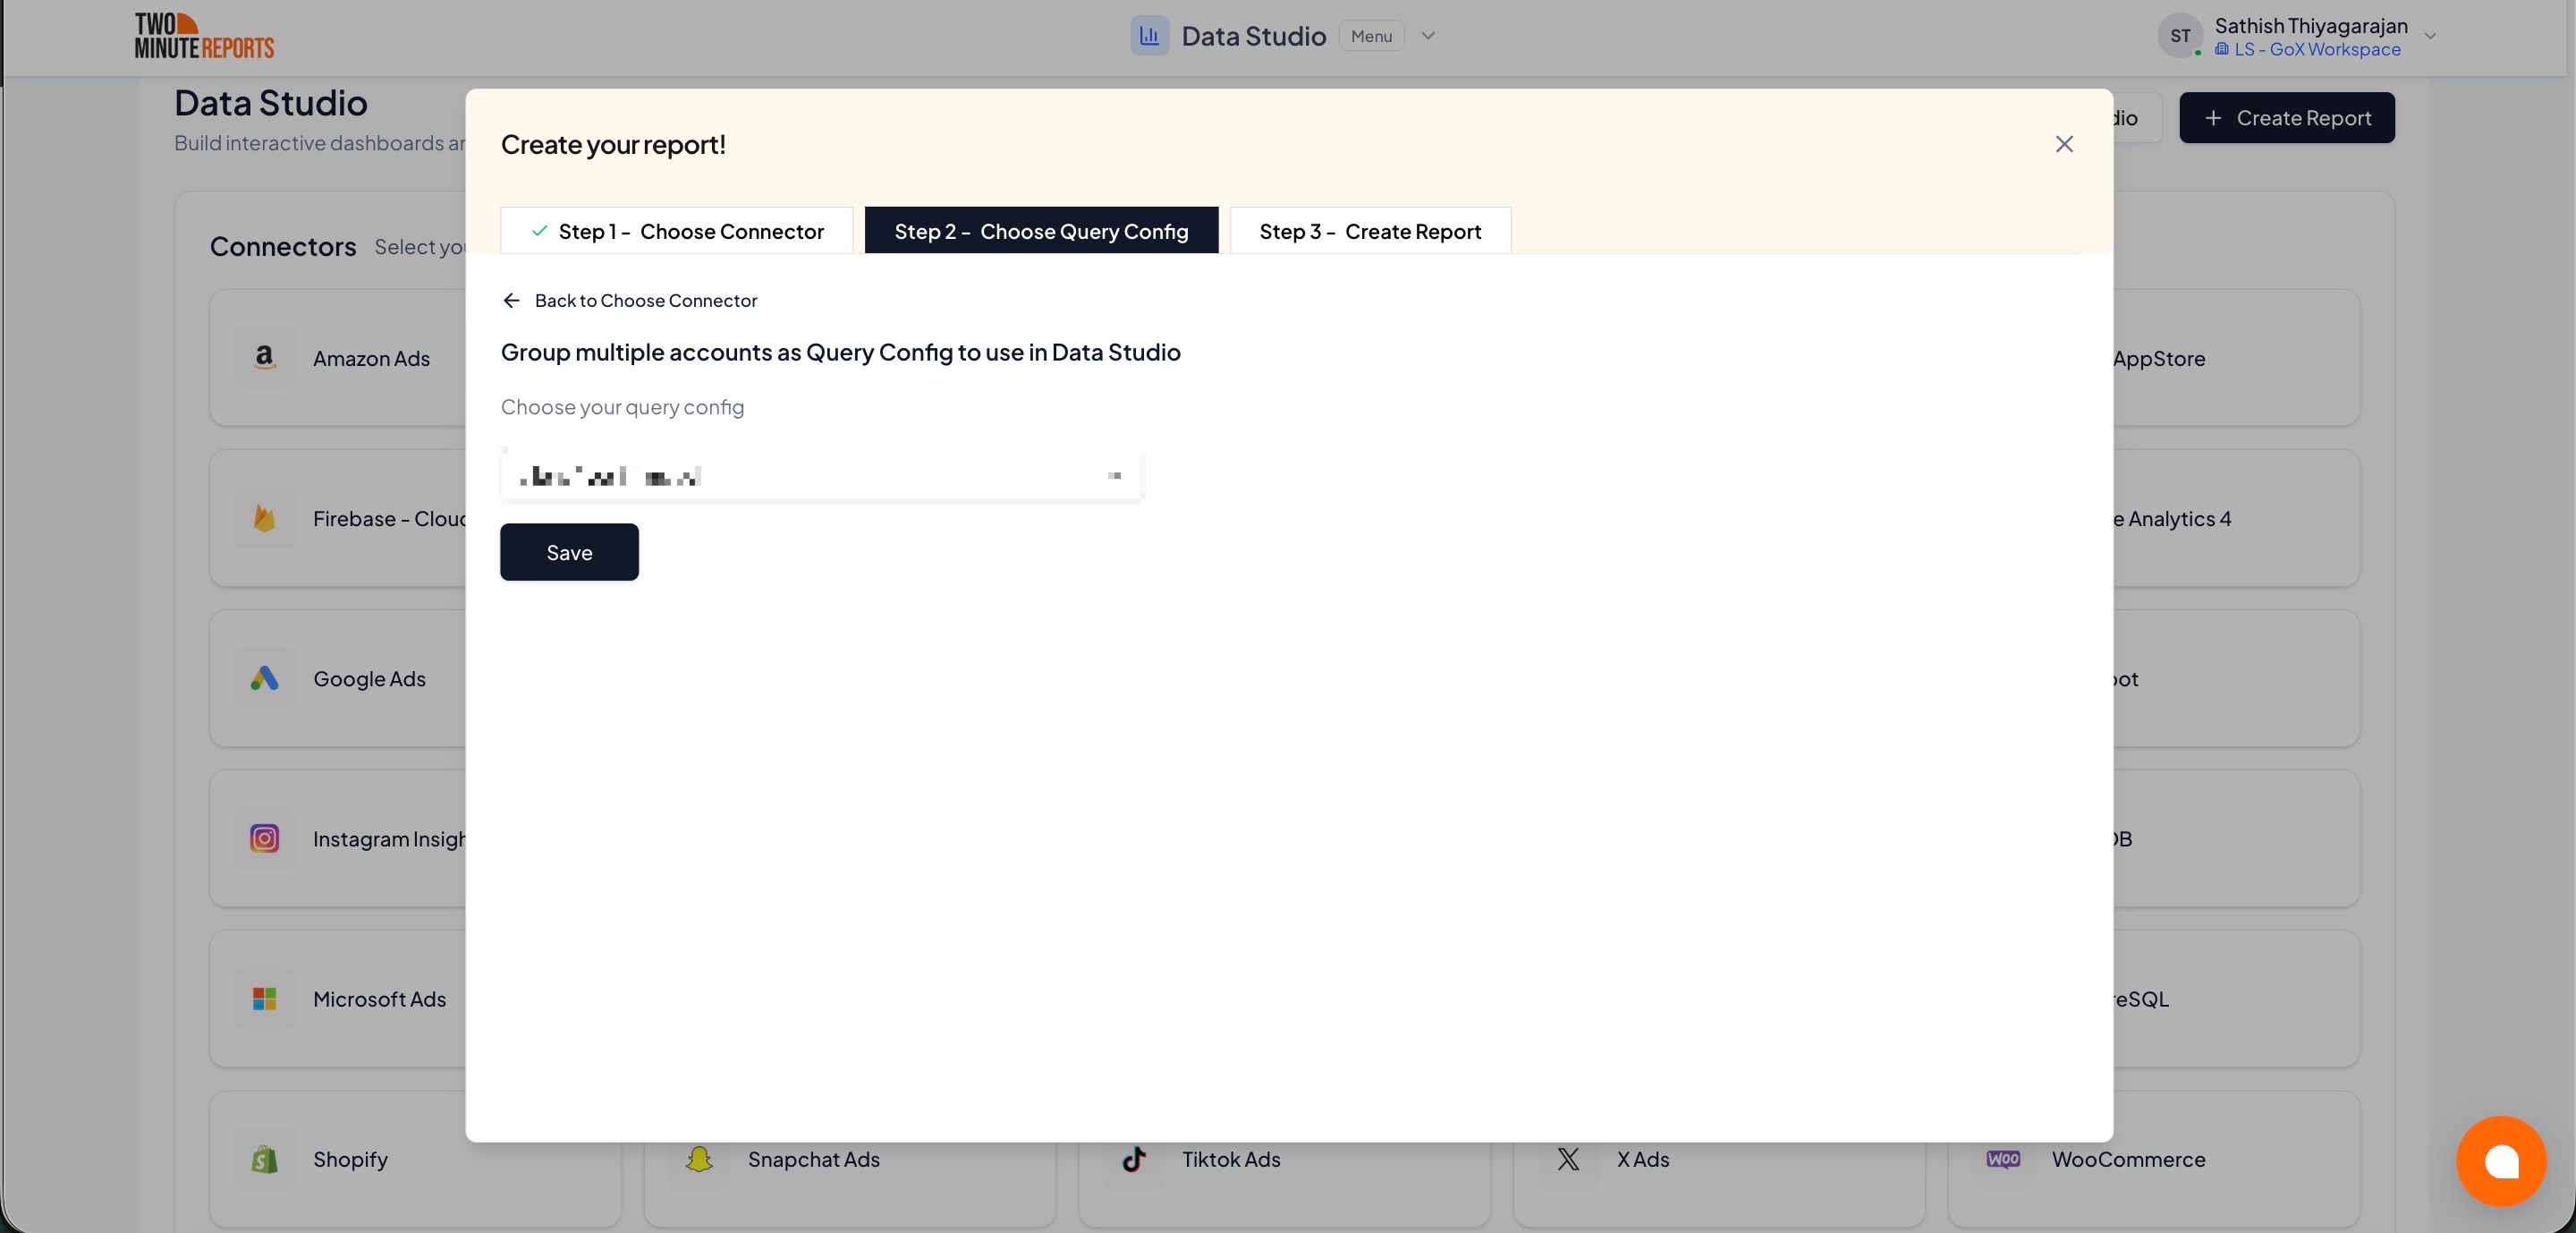
- Select or create a query config:
- To use a query config you have: select it in Choose your query config. Then select Save.
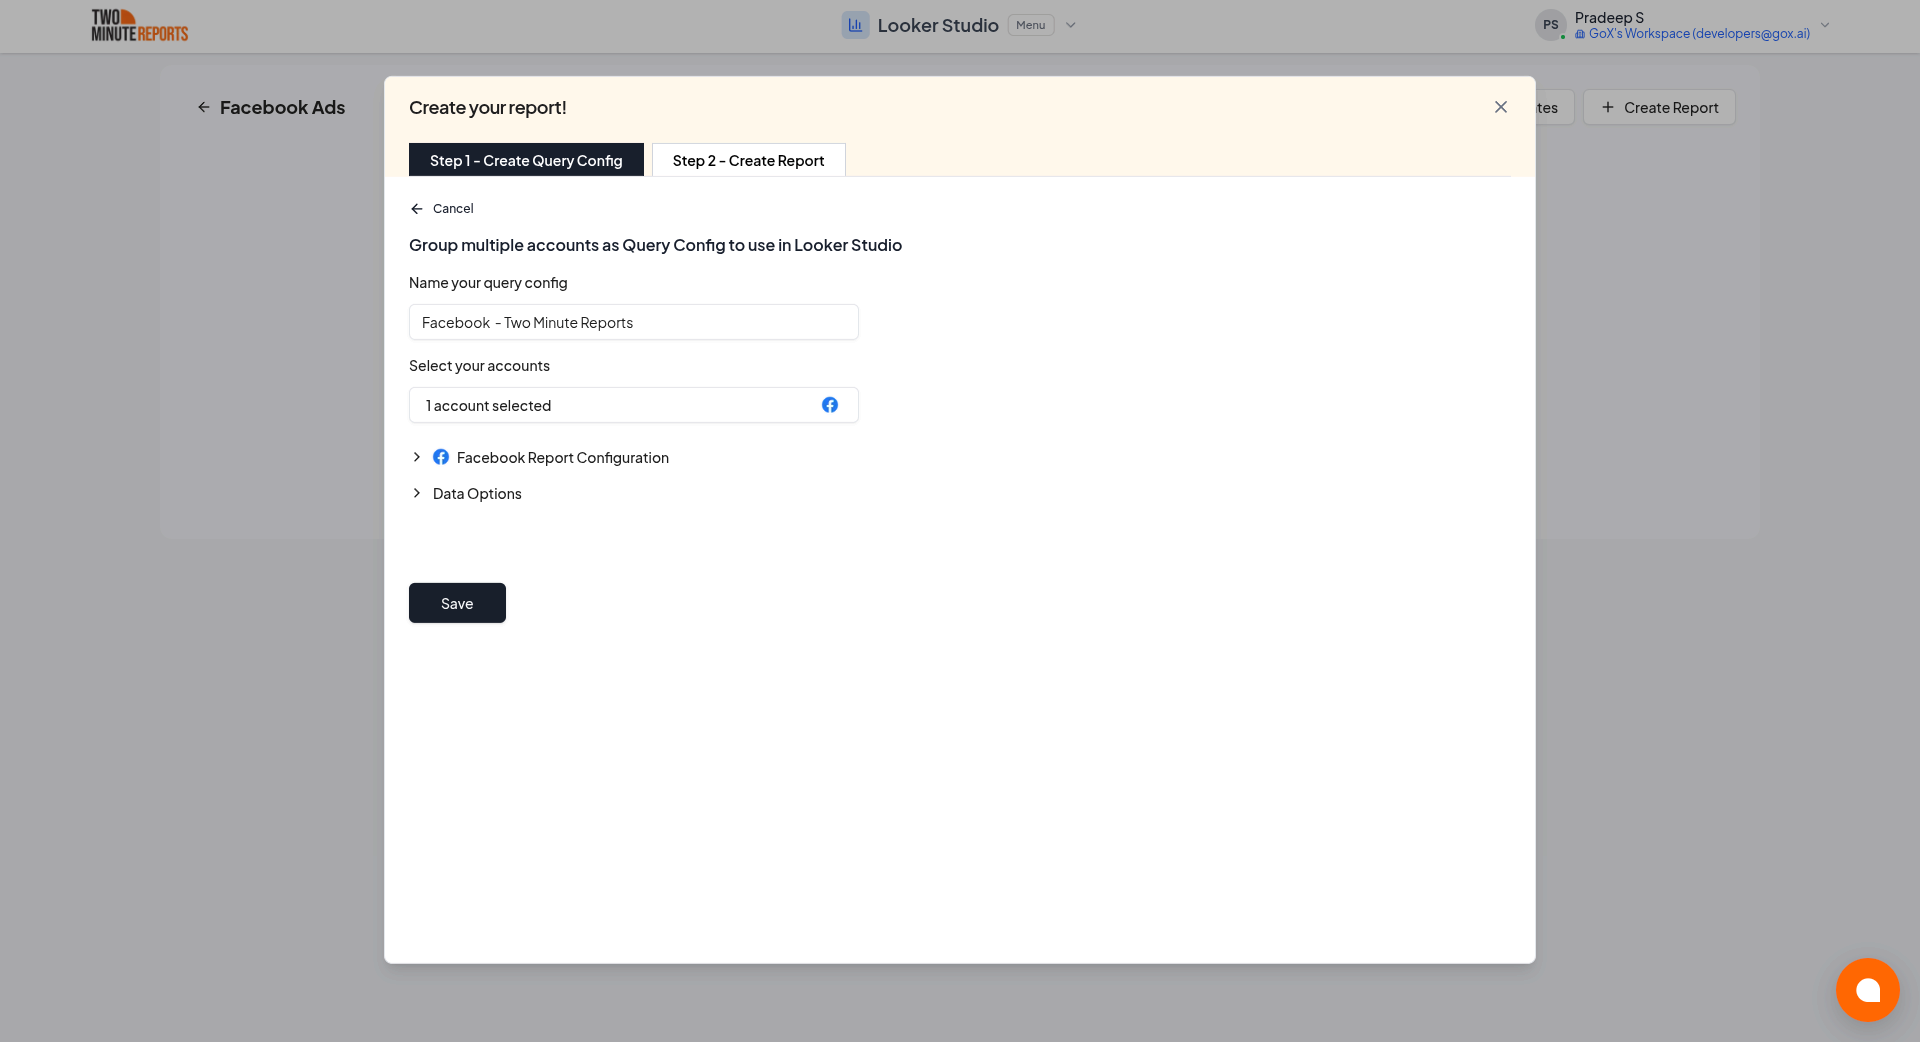
- To create a query config: if you already have one, first select Create new query config in the list. Enter a name in Name your query config, and select the account in Select your account. In Method, select Tables or Custom query. Then select a table, or enter your SQL query. Select Save.
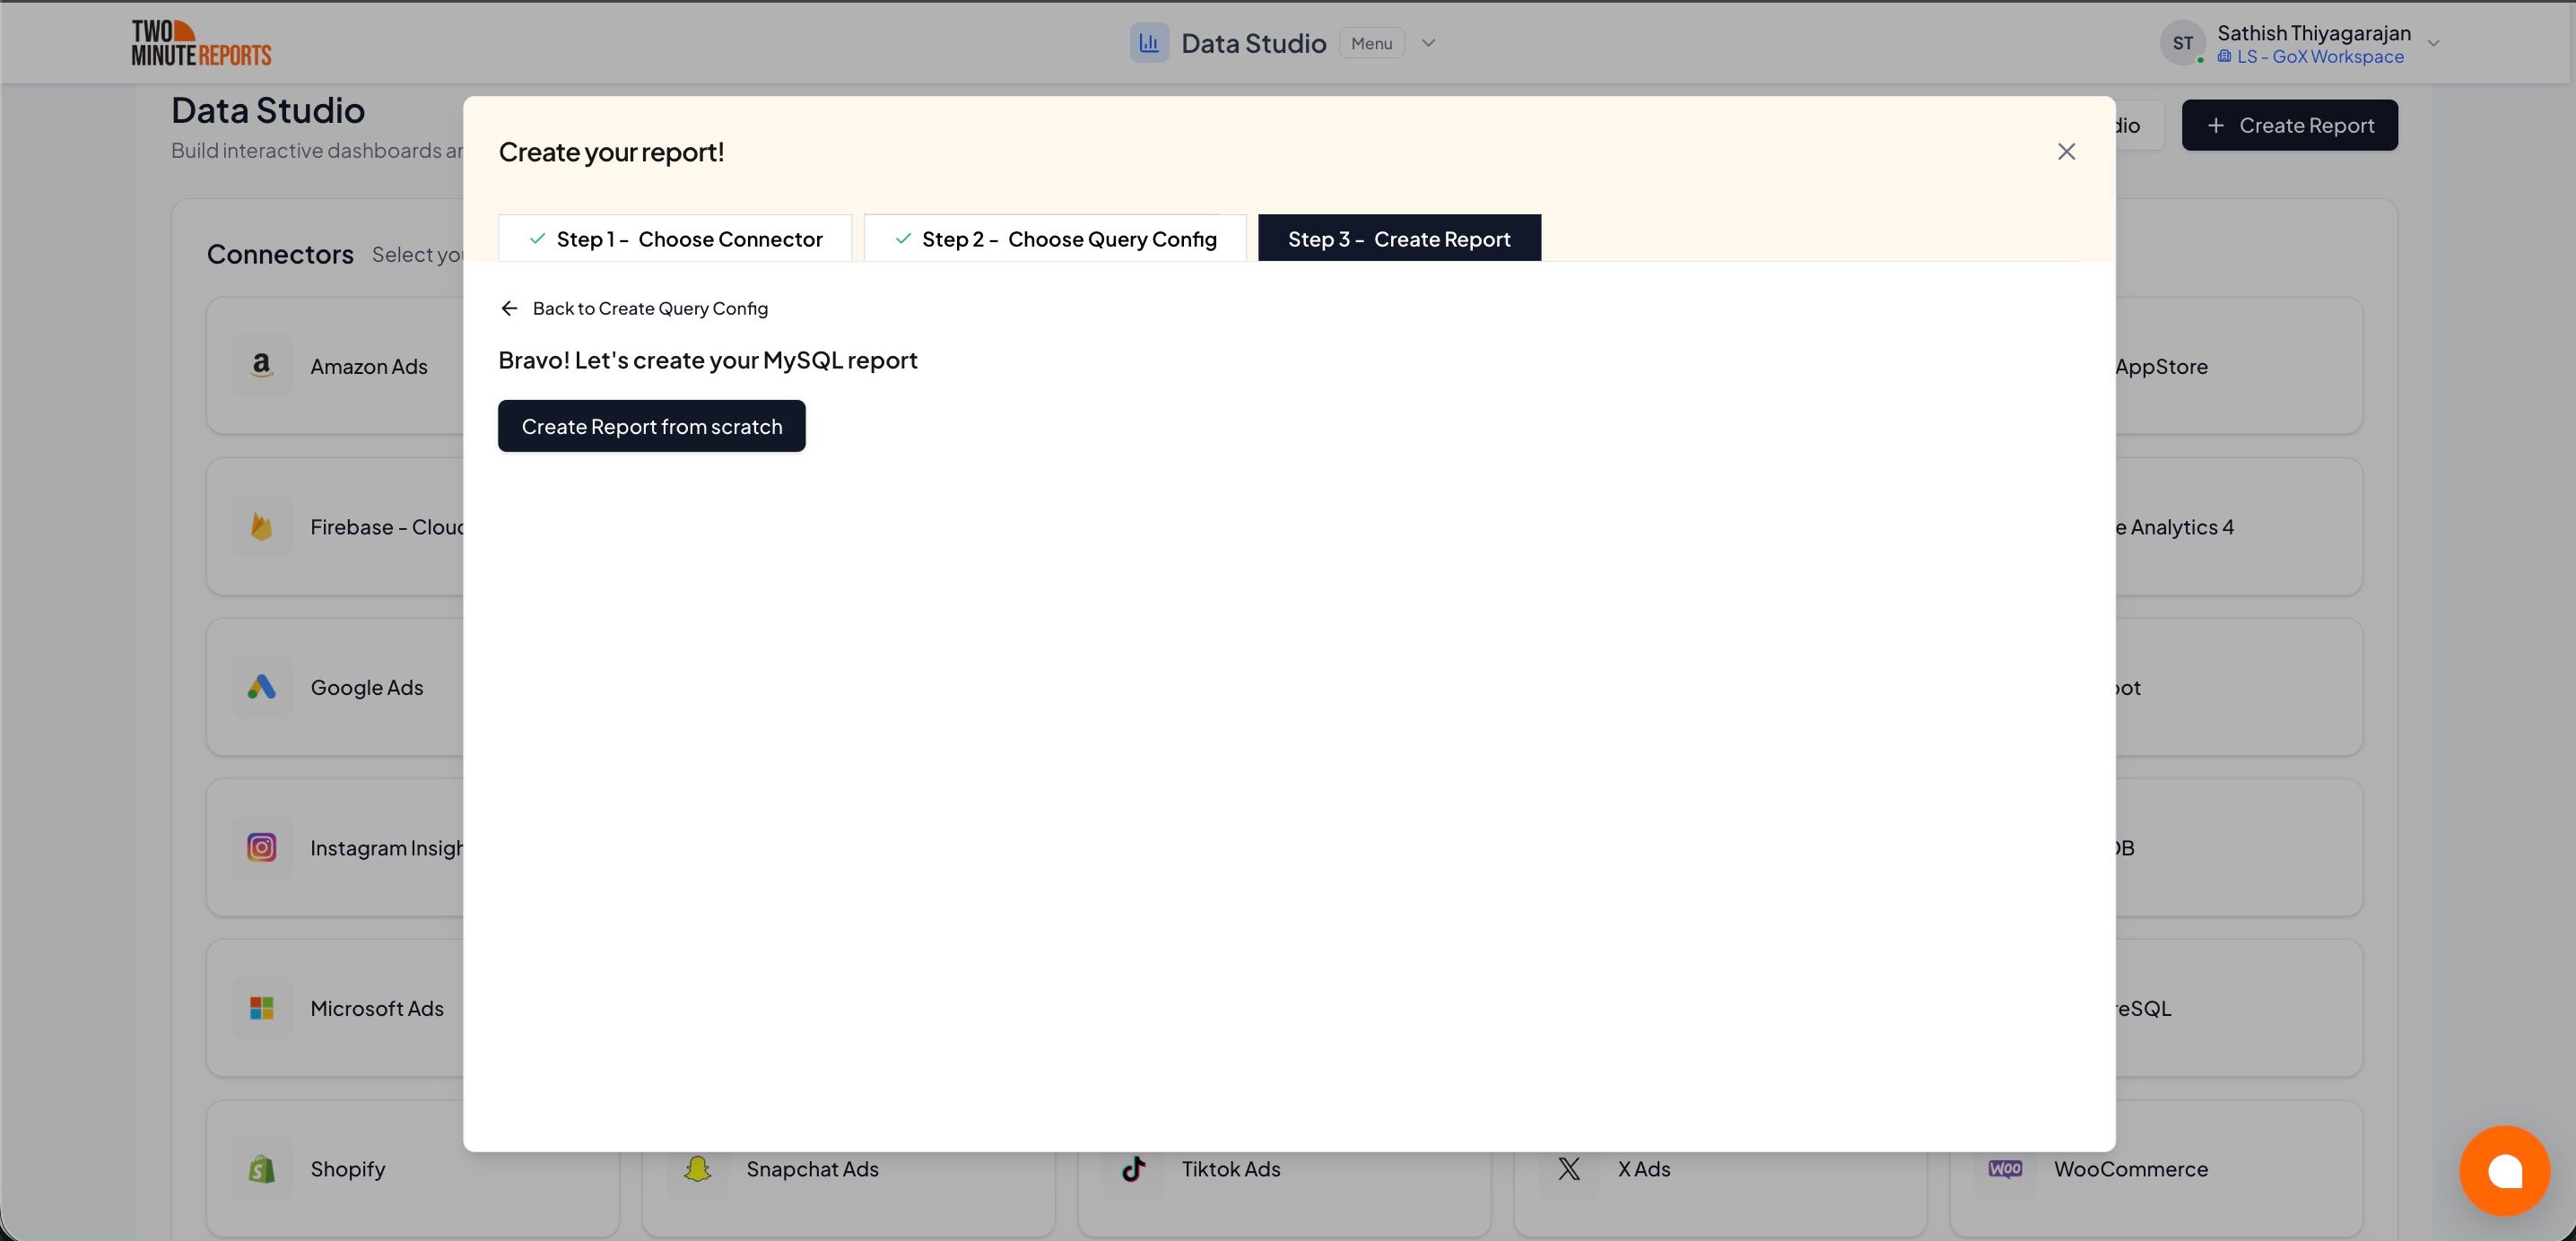
- Select Create from scratch. If templates show under Quick start from a template, you can select one instead.
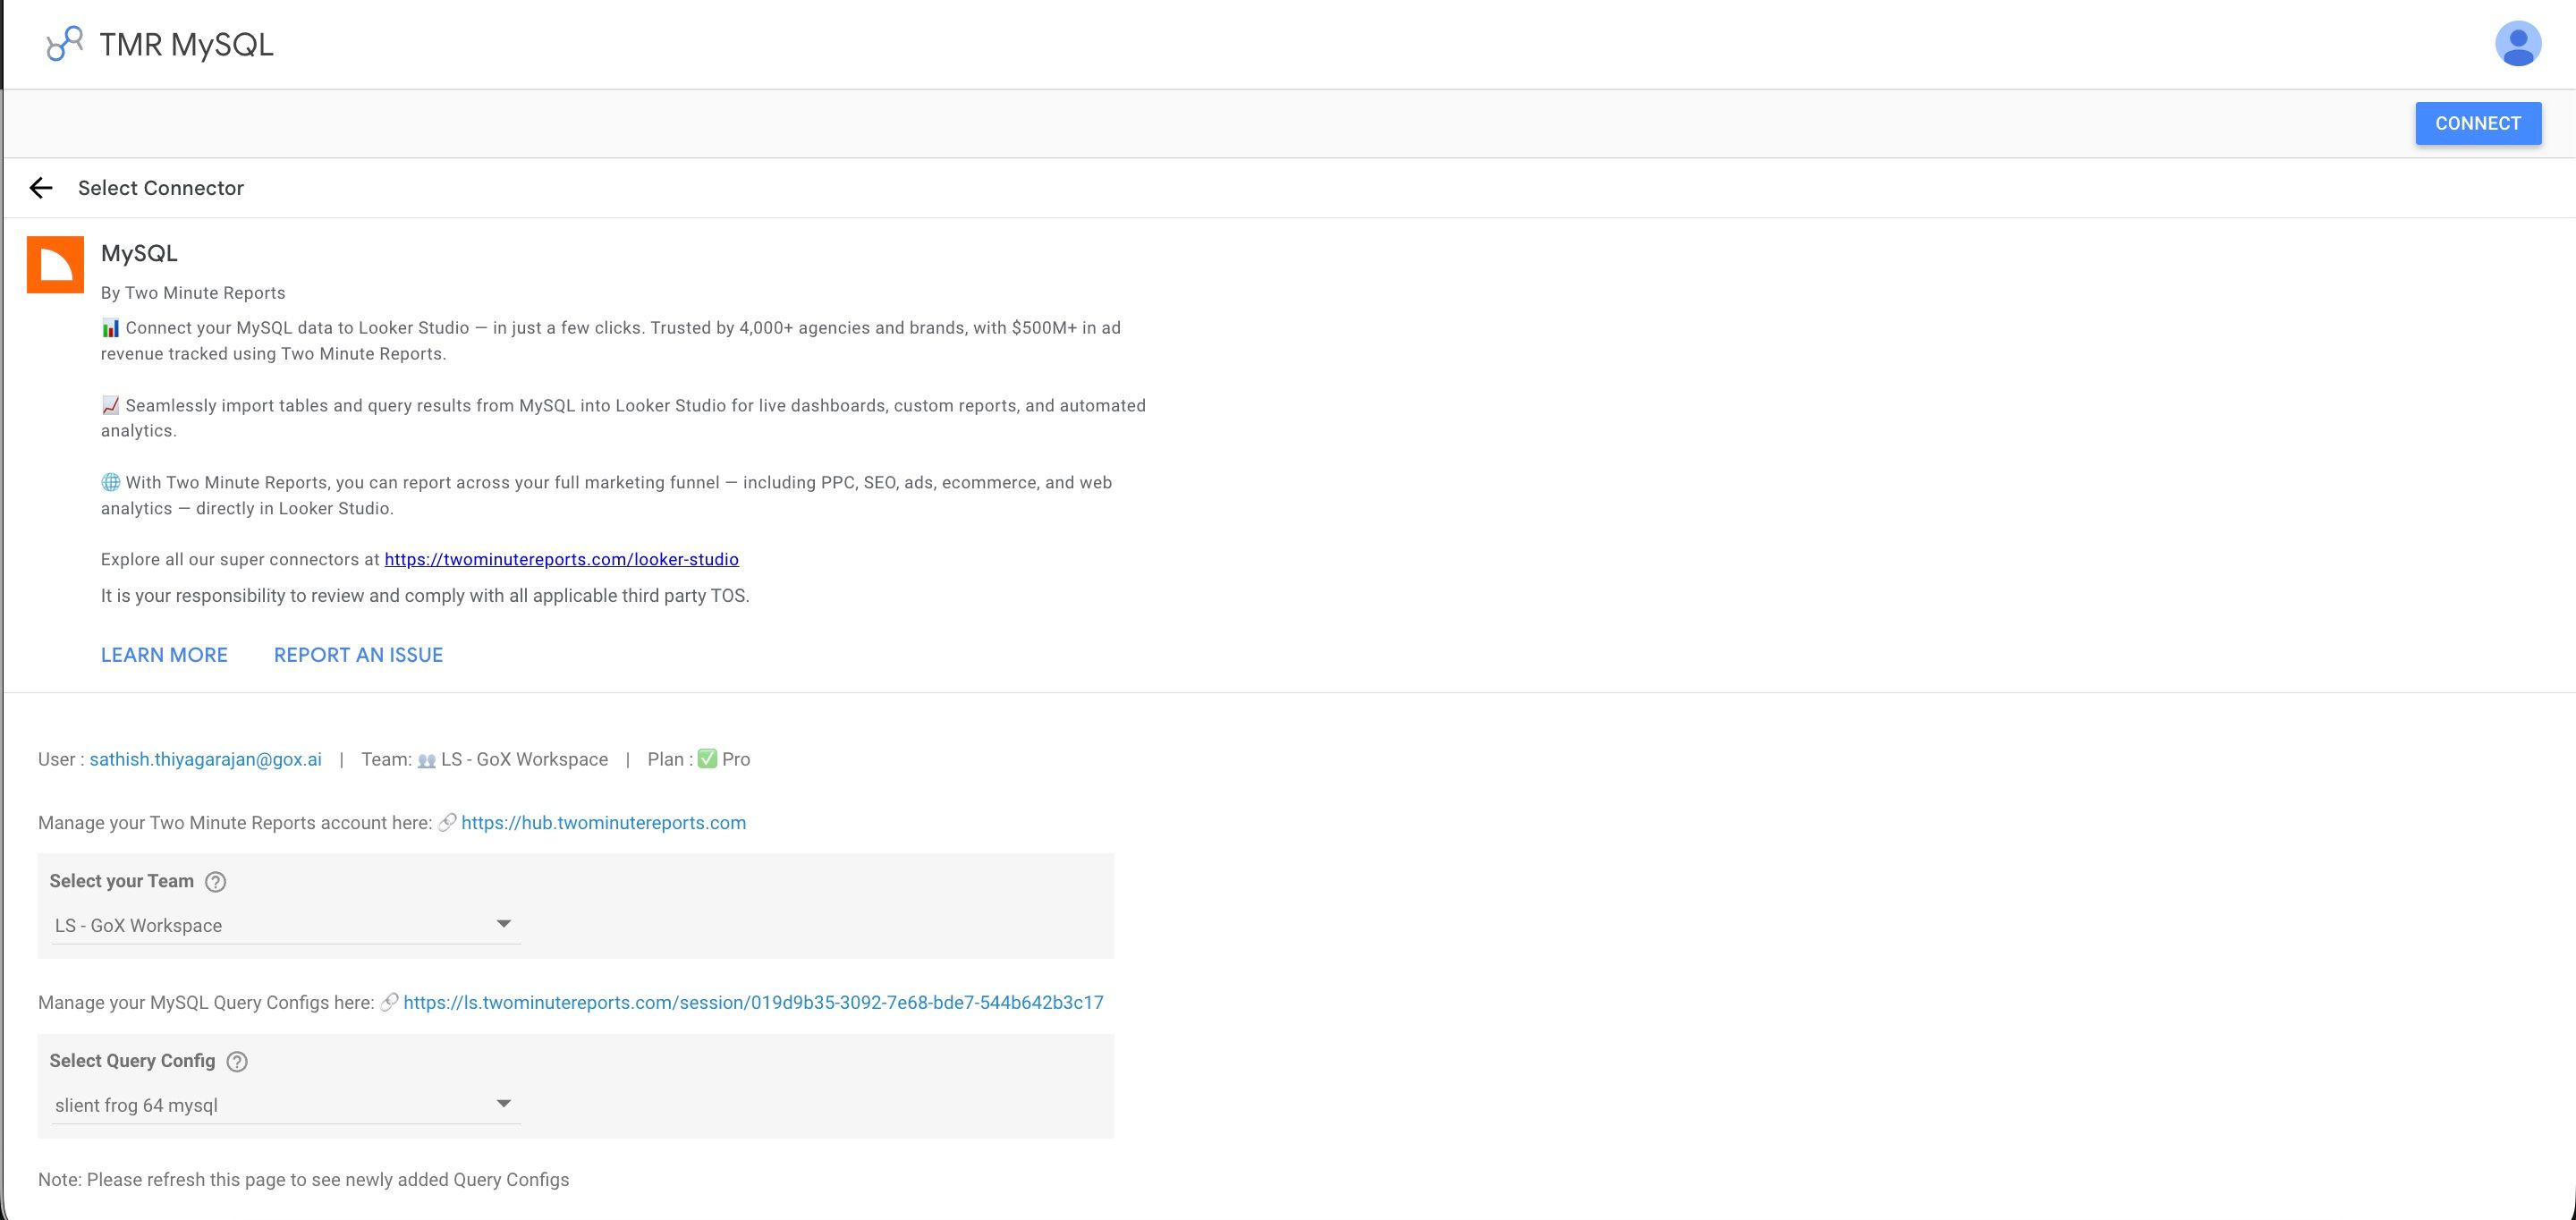
- Looker Studio (formerly Google Data Studio) opens in a new tab, with the Two Minute Reports connector. If you are in more than one team, select your team in Select your Team.
- In Select Query Config, select your query config.
- Select Connect in the top-right corner.
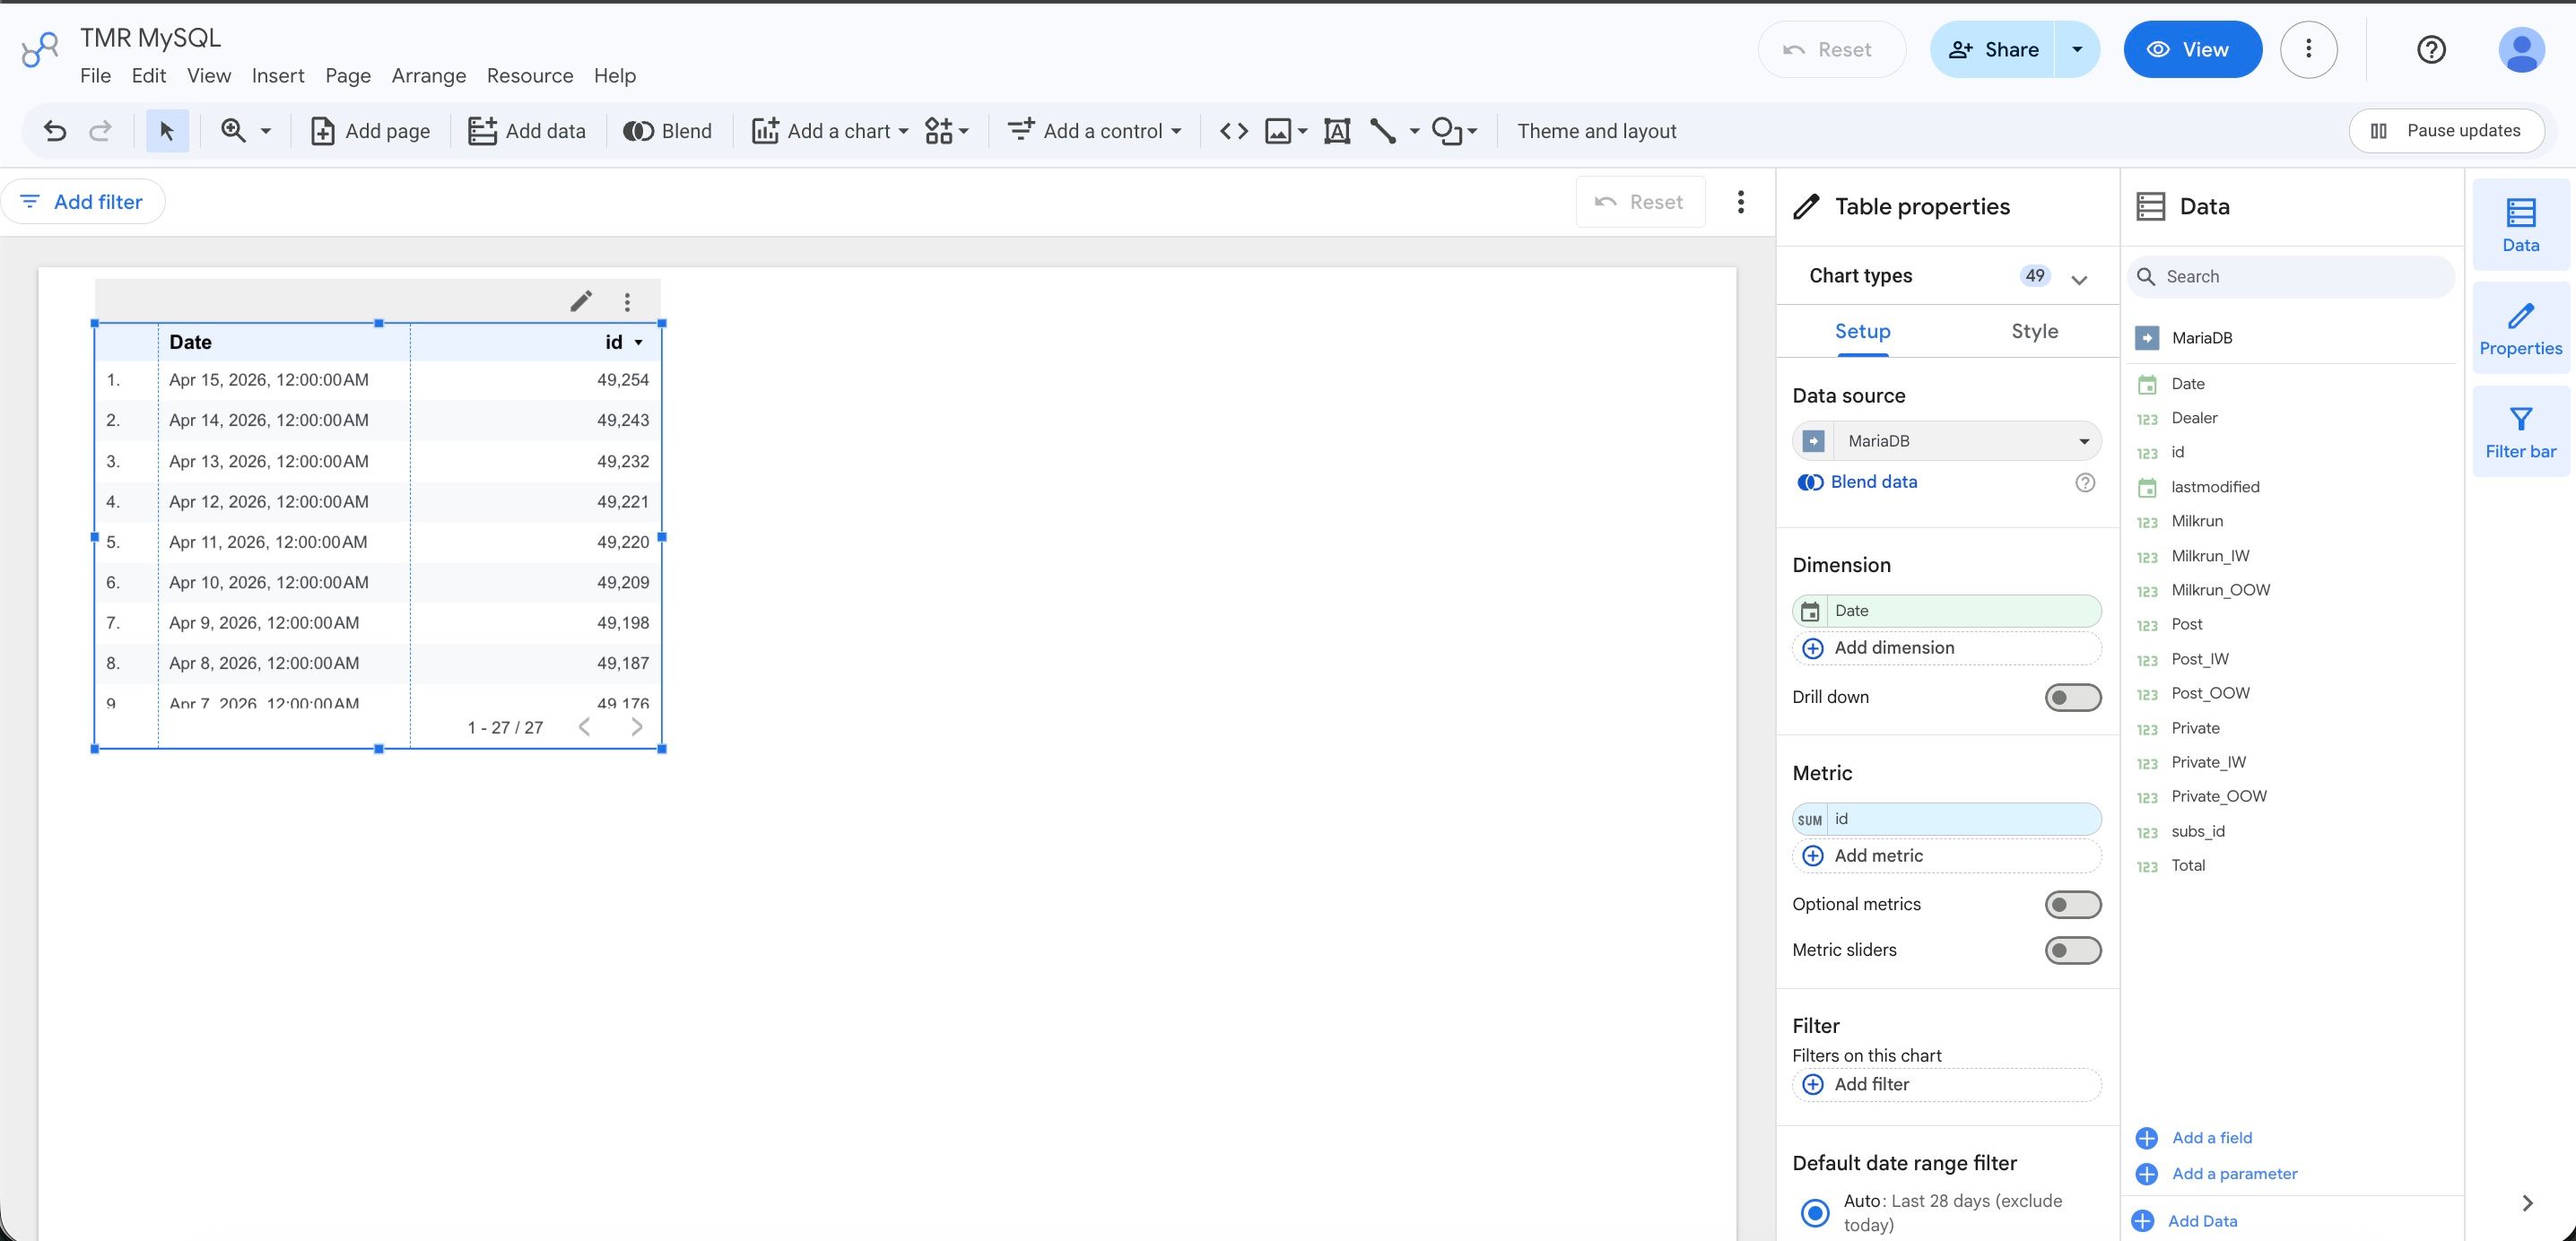
- In your new report, add MySQL metrics and dimensions to the canvas.
How to use MySQL data in a Hub dashboard
You can show MySQL data in a widget on a Hub dashboard.
- Open the widget editor and select your MySQL account.
- Under Method, select one of these:
- Tables: select a table in Use (Table).
- Custom query: write your SQL in Execute (SQL Query).
- Select the metrics and the dimensions.
Metrics and dimensions
- A column with numbers (integer, decimal, float or double) shows as a metric and as a dimension. All other columns show as dimensions only.
- The widget adds the values of each metric. It shows one row for each combination of the dimensions that you select. With no dimension, it shows one total.
- Because the widget adds the values, a column that has an average, a rate or a percentage gives an incorrect total. Use columns that you can add, for example counts and amounts.
- A filter on a column changes the rows that the widget adds. A filter on a metric that the widget shows applies to the total of that metric.
- A text filter compares upper case and lower case letters as different.
Date range
With Tables, the date range of the widget does not filter the rows. The widget uses all the rows in the table. To show only the rows in the date range of the widget, use Custom query with @startdate and @enddate. See Dynamic dates.
Messages in a widget
Couldn't get data from MySQL because no table or SQL query is set. Select a table or enter an SQL query, then try again.
Select a table, or enter an SQL query, in the widget editor.
Couldn't find {column} in your MySQL table or query. Check the column still exists, then pick it again in the widget.
The table or the query does not have this column now, for example because someone changed the column name. Select the column again in the widget.
Dynamic dates
A custom SQL query can follow the date range of a Google Data Studio report or of a widget on a Hub dashboard. Put @startdate and @enddate in the WHERE clause instead of fixed dates. Two Minute Reports replaces them with the date range each time the report or the widget gets data. You don't have to edit the dates in the SQL again.
Example: static query
SELECT * FROM orders
WHERE order_date BETWEEN '2024-01-01' AND '2024-01-31'
Same query with dynamic dates
SELECT * FROM orders
WHERE order_date BETWEEN @startdate AND @enddate
@startdate and @enddate in lowercase, as in the example. These parameters work in Google Data Studio query configs and in Hub dashboard widgets. Google Sheets queries send the SQL as you wrote it.In a Hub widget, @startdate and @enddate get the date range of the widget. If the widget compares two periods, Two Minute Reports runs the query one time for each period, with the dates of that period. If the widget has no date range, it shows this message:
Couldn't fill @startdate and @enddate in your SQL query because the widget has no date range. Set a date range, then try again.
Dynamic dates also keep reports fast, because the database returns only the rows for the selected dates instead of the full table.
IP whitelisting
Two Minute Reports connects from these fixed IP addresses. Add all 5 to your database firewall or GRANT statements before you create the connection. Allowing only some of them gives you a connection that works until a request leaves from one of the others.
49.13.34.182
5.75.217.220
116.203.164.91
95.216.182.151
91.99.28.86
To grant access in MySQL, run the following for each address (replace your_user and your_password):
GRANT SELECT ON your_database.* TO 'your_user'@'49.13.34.182' IDENTIFIED BY 'your_password';
GRANT SELECT ON your_database.* TO 'your_user'@'5.75.217.220' IDENTIFIED BY 'your_password';
GRANT SELECT ON your_database.* TO 'your_user'@'116.203.164.91' IDENTIFIED BY 'your_password';
GRANT SELECT ON your_database.* TO 'your_user'@'95.216.182.151' IDENTIFIED BY 'your_password';
GRANT SELECT ON your_database.* TO 'your_user'@'91.99.28.86' IDENTIFIED BY 'your_password';
FLUSH PRIVILEGES;
Still blocked after adding all five? See Connection blocked by a firewall or IP allowlist.
Private databases and SSH tunnels
Two Minute Reports connects only to a host on the public internet. If DB host address is localhost, a loopback address such as 127.0.0.1, or a private network address, the connection fails with this message:
This host is on a private network, so we can't connect to it directly. Use a public host, or add SSH tunnel details to reach a private database.
Private network addresses include:
10.0.0.0to10.255.255.255172.16.0.0to172.31.255.255192.168.0.0to192.168.255.255
This also applies to a hostname that points to one of these addresses.
If your database is only on a private network, connect through an SSH server. The SSH server must be on the public internet, and it must be able to connect to the database.
- In the connection form, turn on Use SSH.
- Enter the SSH host, the SSH port (usually
22) and the SSH username. - Enter the SSH password or the SSH private key. If the key has a passphrase, enter it in Passphrase.
- In DB host address, enter the address of the database as the SSH server sees it. This can be a private address. If MySQL runs on the SSH server, enter
127.0.0.1.
When you use an SSH tunnel, add the IP addresses of Two Minute Reports to the firewall of the SSH server, not of the database. The database gets the connection from the SSH server, so the database user must accept connections from the address of the SSH server.