You can now get key sales, orders, and online store visitor data of your Shopify store right inside Google Sheets. This makes it easier to glance how your store is performing—across all of your sales channels, and for any date range.
Keeping track of of all your Shopify metrics can be tedious, as the data keeps changing dynamically. Creating a custom report in Google Sheets makes it easier to retain the data you need to make consistent analysis of your store across different dates and dimension.
Store managers can
- check recent sales and compare them to a previous time period
- check how well different sales channels are performing
- track average order value, order count, etc over time
- monitor the trends over time
- more..
All these are possible without writing a single line of code in google sheets. Let me show you how.
Step 1: Install and Launch Two Minute Reports
Install Two Minute Reports, if you have not done already.
Sign in to any Google Sheet and go to Add-ons -> Get add-ons.
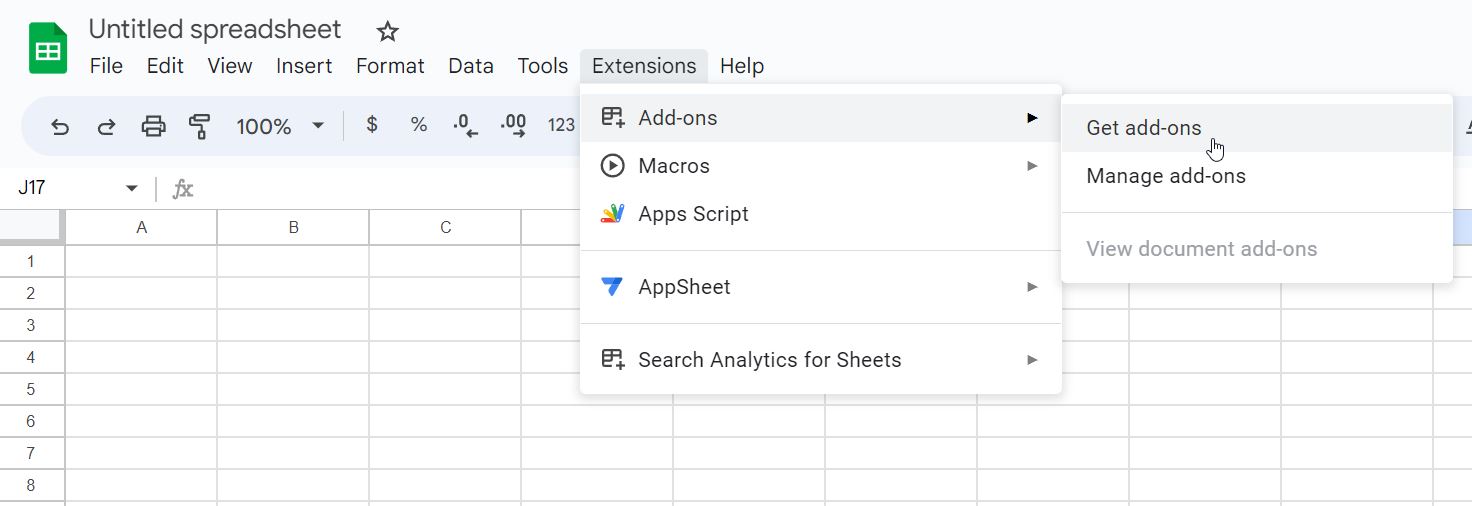
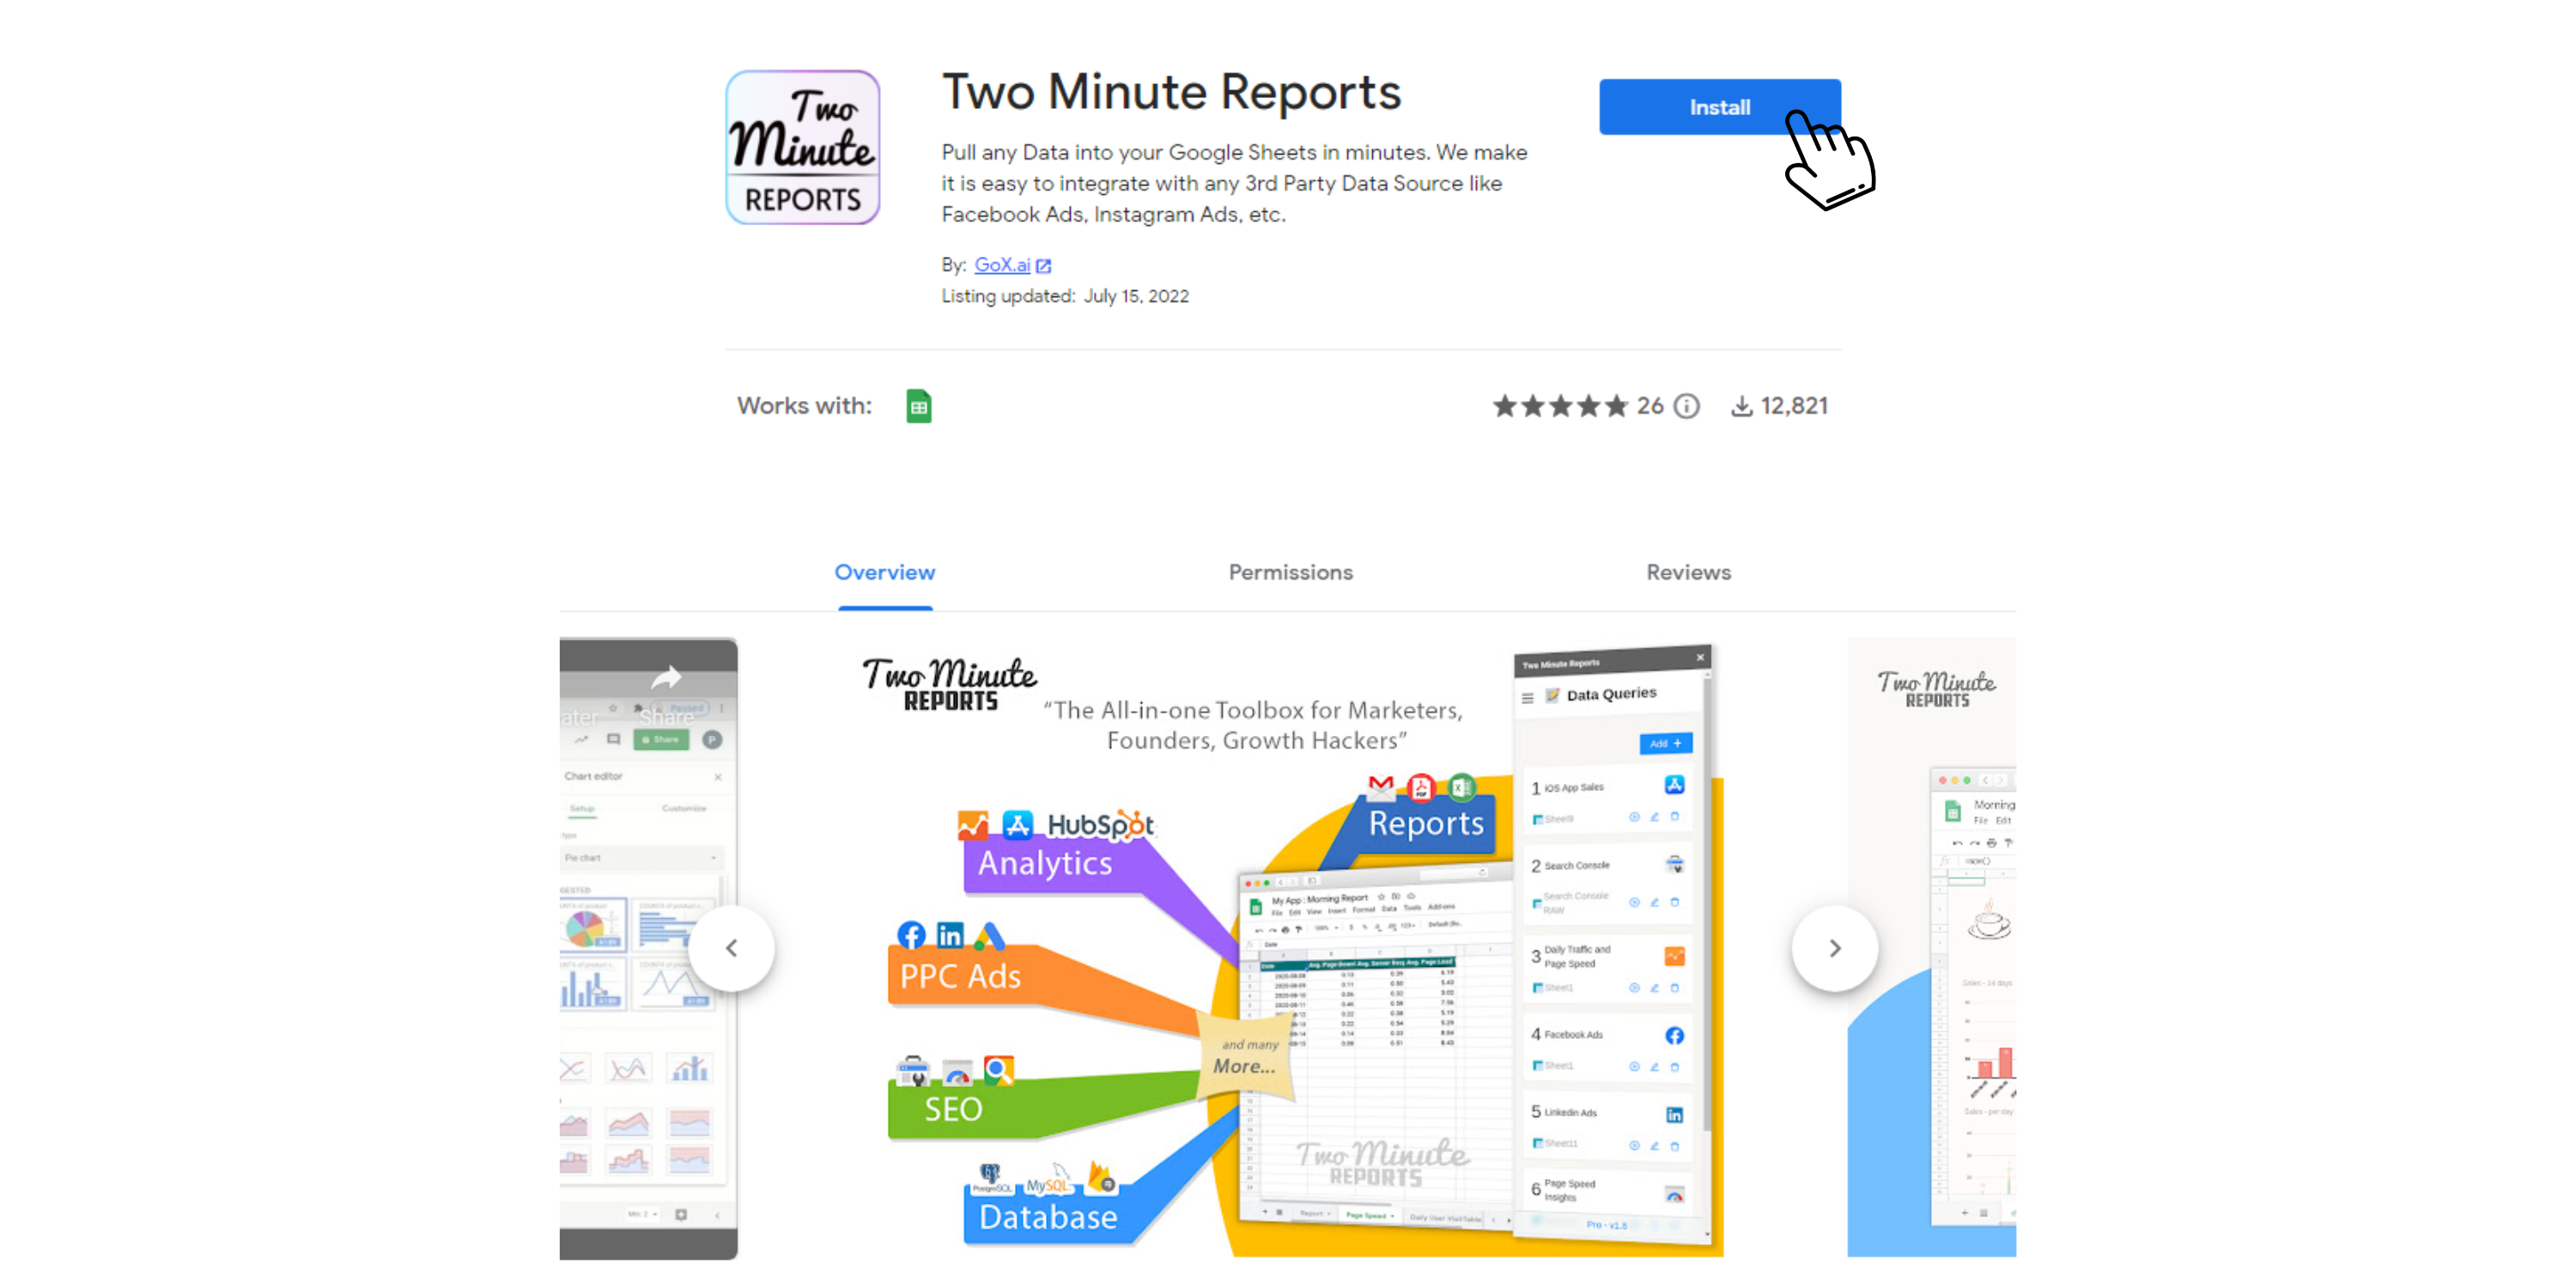
Search for Two Minute Reports and select Install.
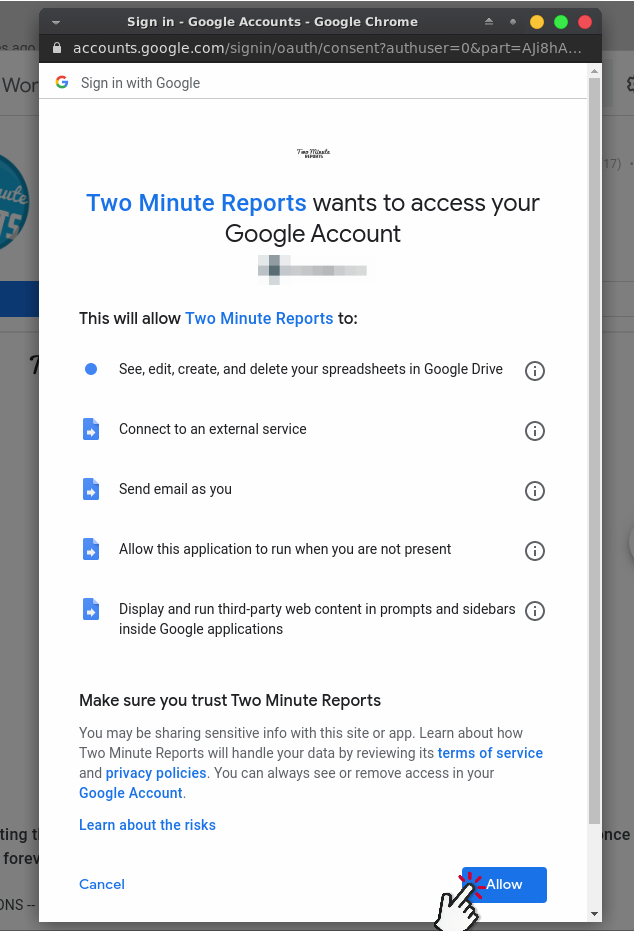
Review and accept the permissions necessary to run Two Minute Reports. Two Minute Reports will be installed for you with the e-mail you are sign in to Google Sheets.
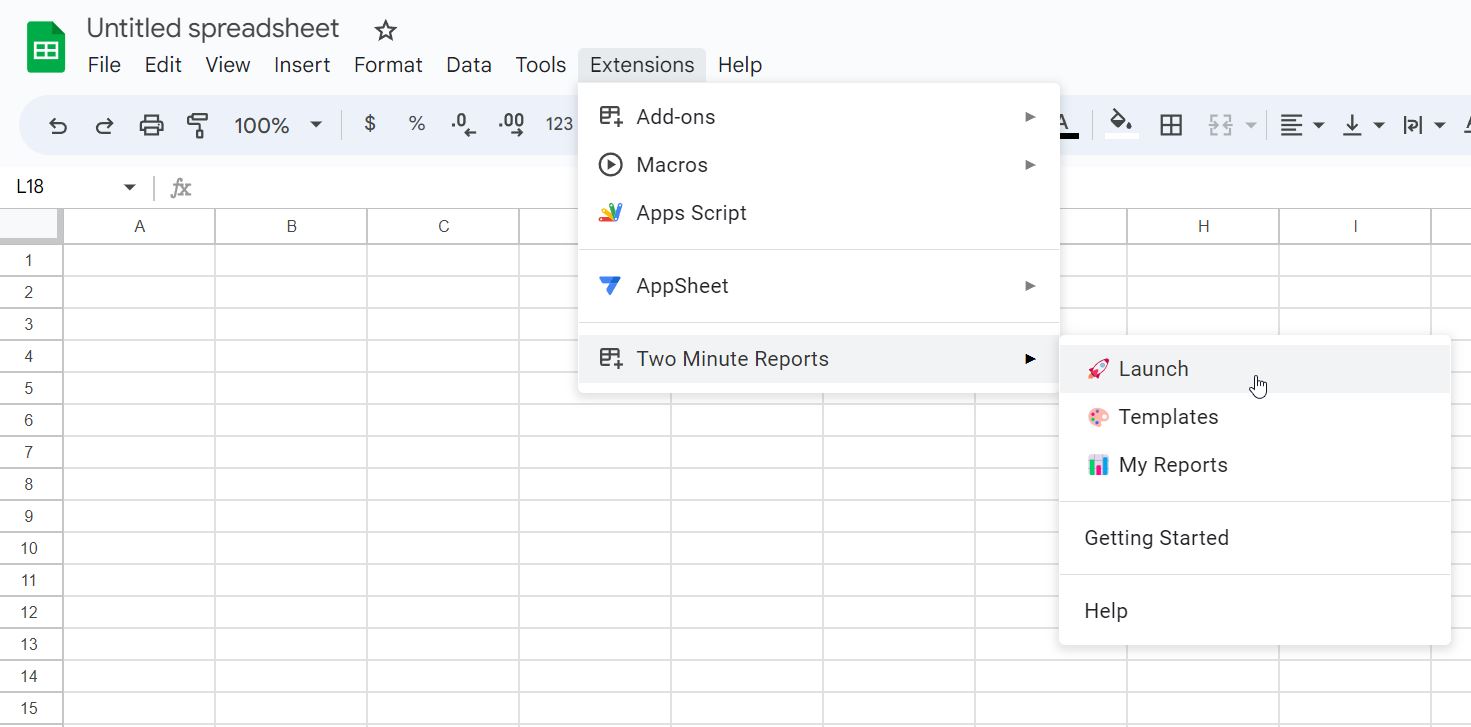
Open Google Sheets and go to Extensions -> Two Minute Reports -> Launch.
Step 2: Connect your Shopify store to Google Sheets
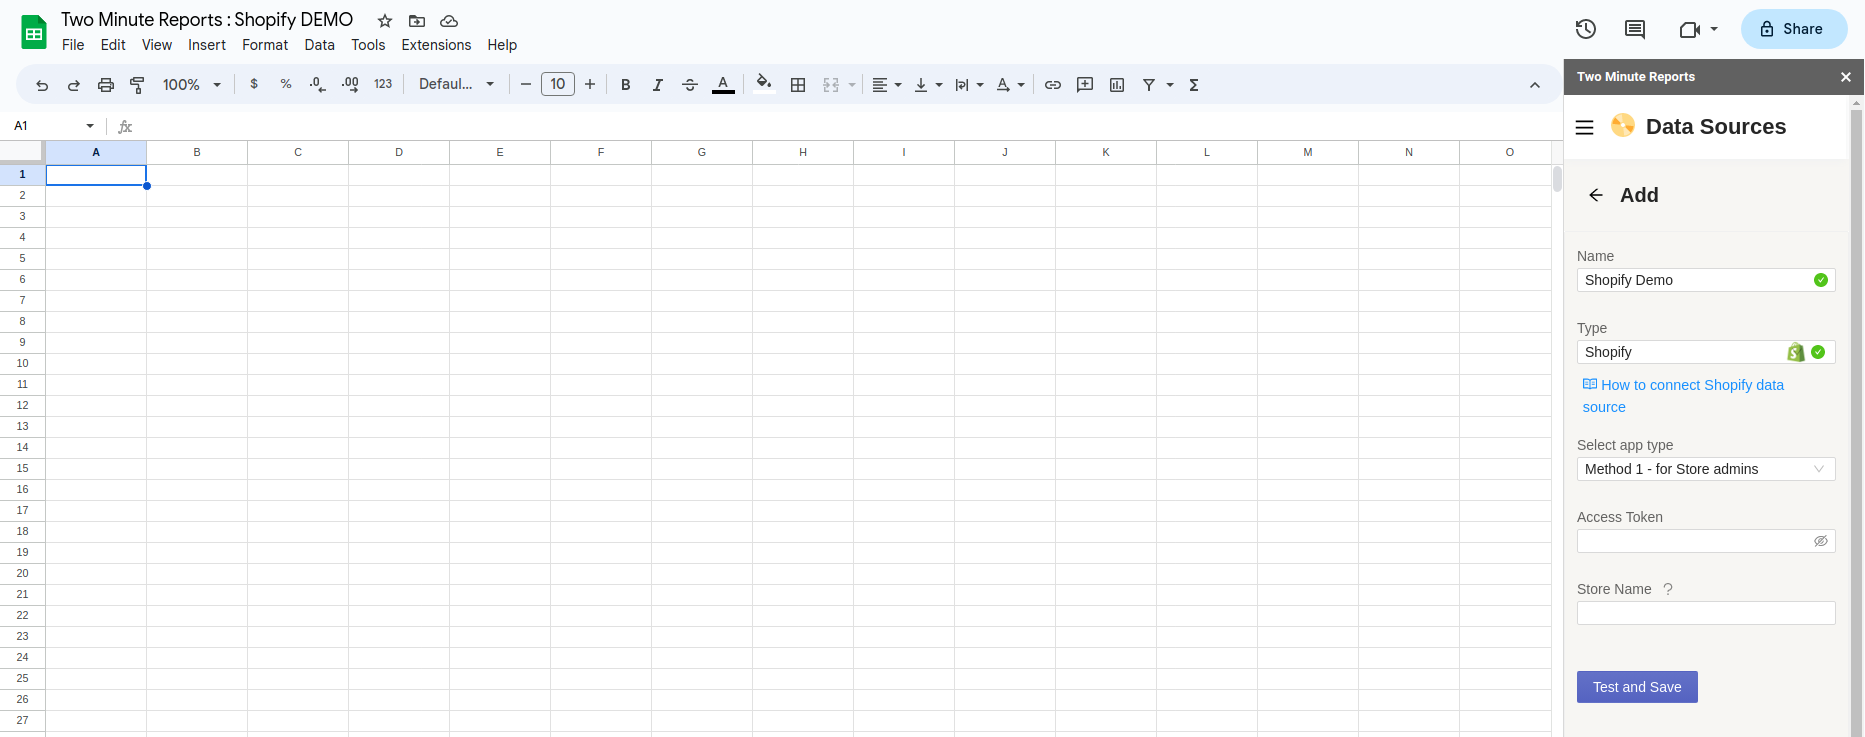
Navigate to the Data Sources section, click on the Add+ button at the top right corner to display the new Data Source form. Name your data source and select eCommerce -> Shopify from the dropdown.
We need to create a Custom App in your Shopify Store and add the credentials inside TMR. There are two place from where you can create a Custom App.
- Creating the App from the Shopify admin portal. (If you have the admin access to the store)
- Creating the App from the Shopify partners portal.
1. Creating the App from the Shopify admin portal
1. Go to the shopify admin portal
2. Click on the Apps section in the sidebar

3. Once clicked on the Apps section, it should show the list of apps installed on the store. Click on the App and sales channel setting at the bottom

4. In the next page, select the Develop apps option at the top.

5. And then click on the Create an app button to create a new admin app.

6. Once clicked, it should ask for a name for your app. Give a name and then click on the Create app button.

7. Once the app has been created, go to API credentials section inside the app and click on the Configure Admin API scopes.

8. Select the following scopes and click save : read_analytics, read_customers, read_draft_orders, read_fulfillments, read_inventory, read_marketing_events, read_orders, read_products, read_reports.
9. After selecting all the scopes. Click on the Install app button to install it in the shop. 10. Once installed, you will be given an Admin API access token. Copy that token and paste it in the Access token field (under Custom App Method 2) from TMR sidebar.

Now, go back to the Data Source section in Two Minute Reports sidebar.
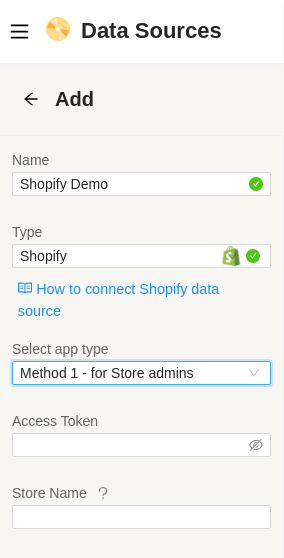
Select Method 1 – for Store admins in the App type field. Fill in the access token you got from shopify admin and your shop name and then save the data source.
2. Creating the App from the Shopify partners portal
Login to your partners dashboard, go to Apps on the left sidebar.
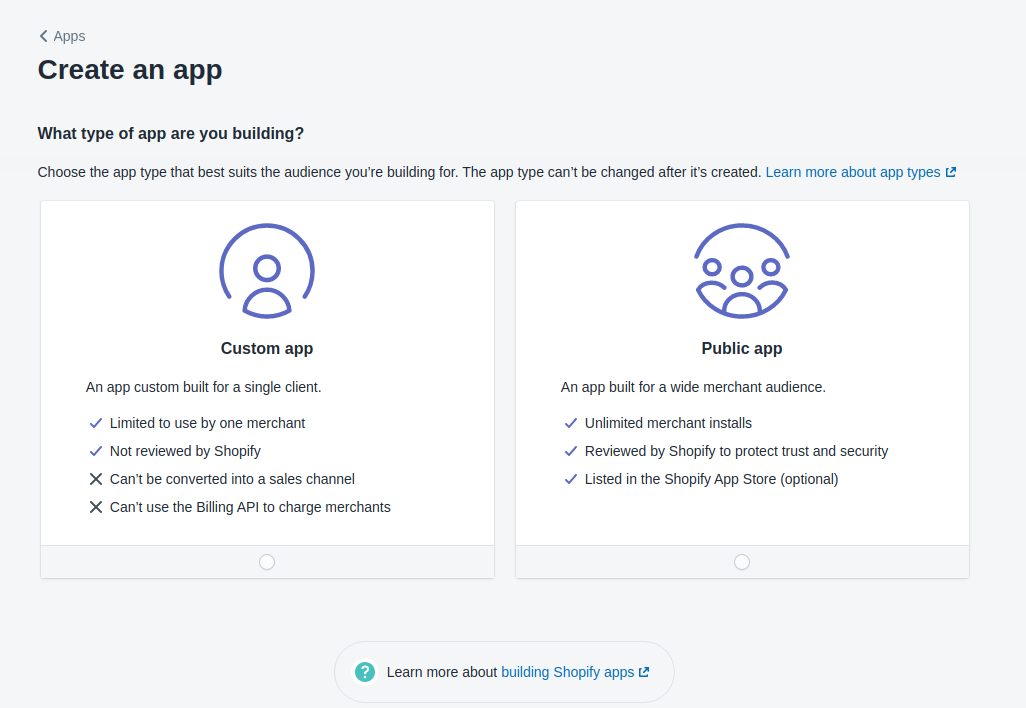
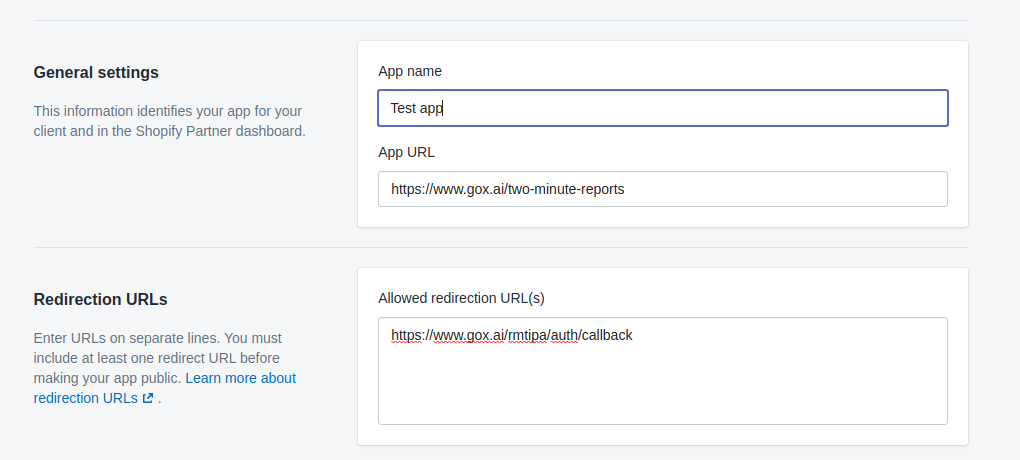
Then click on Create App, it should ask you to choose a type of app. Click on the Custom App and give it a friendly name and paste this URL (https://twominutereports.com) in the App URL field. And then you need to add our redirect URL (https://www.gox.ai/rmtipa/auth/callback) in the Allowed redirection URL(s) section. Then click save.
Please note down the API key and the secret key that you get in this section, we will need it later.
Note:
1. These custom apps can only be installed on a single Shopify store. Shopify Plus service partners can install the same custom app on multiple Plus stores for a single Shopify Plus merchant.
For non shopify plus services, another app need to be created for a different store. Or you can uninstall an existing app from a store and reuse that app.
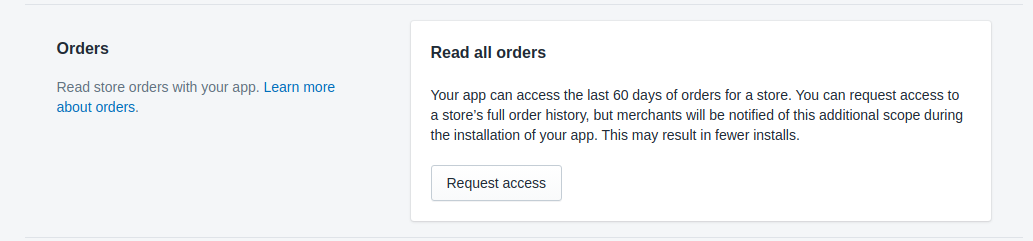
2. You can only access last 60 days of orders. To get more than that, you have to request for the access. You can do that from App setup -> Read all orders -> Request Access.
Now, lets get back to our Data source section inside Two Minute Reports sidebar.
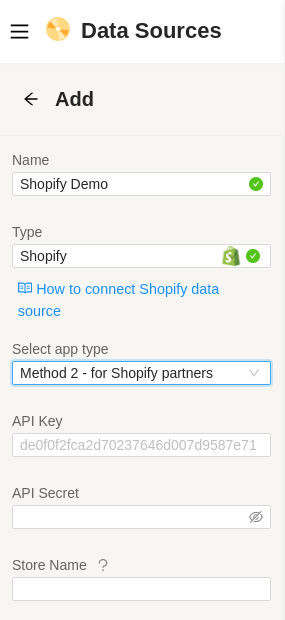
Select the Method 2 – for shopify partners and feed in the API Key and Secret along with the name of your store in the Add Data Source section. Once saved you can now access your Shopify store data from any Google Sheets spreadsheet and monitor your store. Lets see how.
Step 3: Get Shopify Data to Google Sheets
Now that your data source has been connected, you can write your own Shopify queries and start fetching data onto the Google Sheets
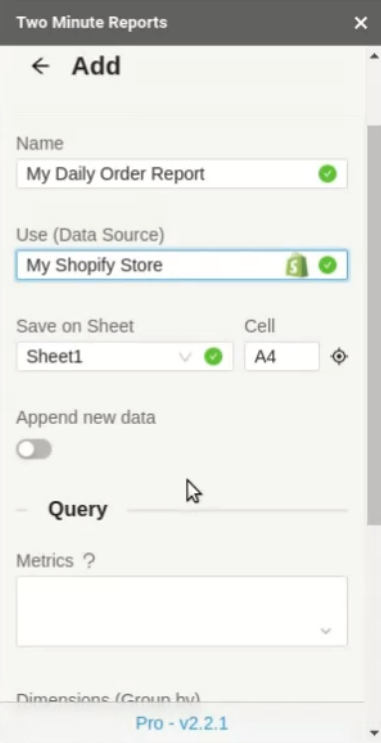
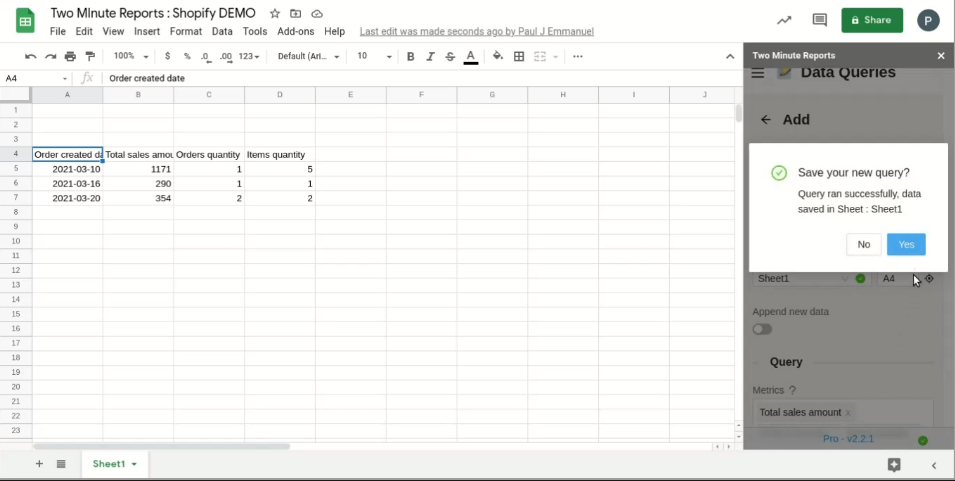
- Go to the Data Queries section and press Add.

- Select your newly added Data Source and select the fields that you need
- Once a query runs successfully, you should see the data populate on your spreadsheet
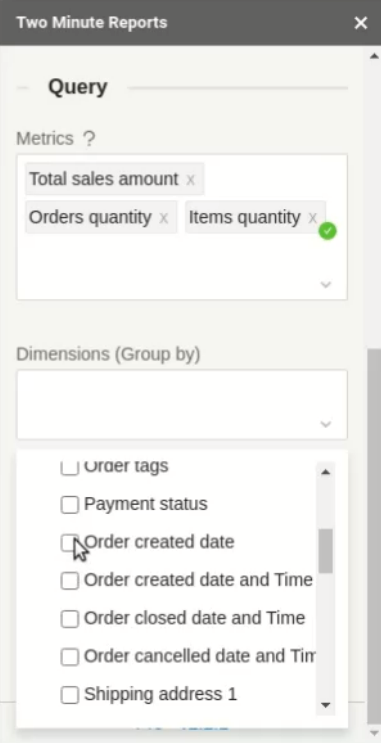
You can then freely select the metrics and dimensions you need for your Shopify Store. If you think your required metrics or dimensions are missing, please don’t hesitate to contact our support. We will makes sure to add your field within a week.
Now you can use different Google Sheets features like Pivot Table, VLOOKUP(), charts to create and customize your custom report.
Once a report is created you can create a Schedule in Google Sheets to automatically update your sheets and keep your data up-to-date. This feature is handy to send emails, or just refresh your spreadsheets with live data and use it as a Dashboard.
Step 4: (Optional) Schedule Automatic data Refresh and email
Once you have fetched data once, you might want to get new data from your database at periodic intervals. You can do this creating a new schedule under the “Schedule Reports” section. You can schedule updates hourly, daily, weekly or monthly based on your needs.
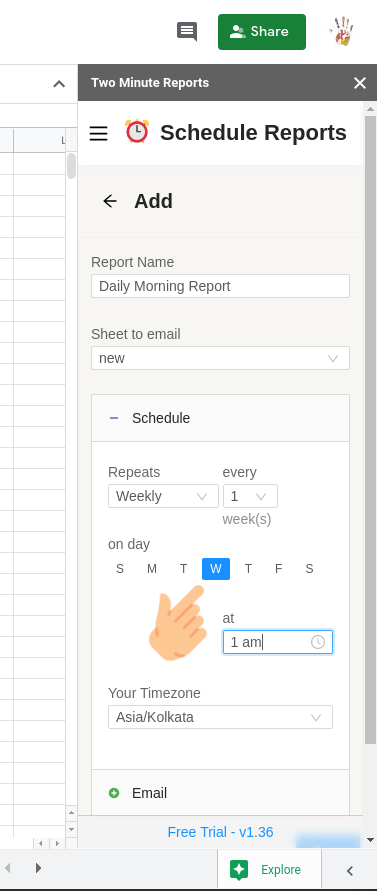
You could also create a report and ask Two Minute Reports to email that report with updated data automatically. Under the email section enter the email Id of the recipients and save your new schedule.
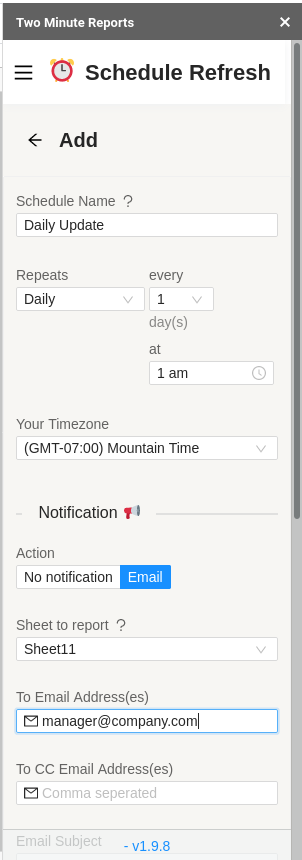
When the time comes, Two Minute Reports will automatically fetch new data from your queries, and email your report to the said recipients. You have freed a lot of your time from mundane reporting tasks.
There are other features with Two Minute Report’s schedule refresh or data refresh feature. You may read our guide How to Refresh Data Automatically in Google Sheets.