

Client contacts
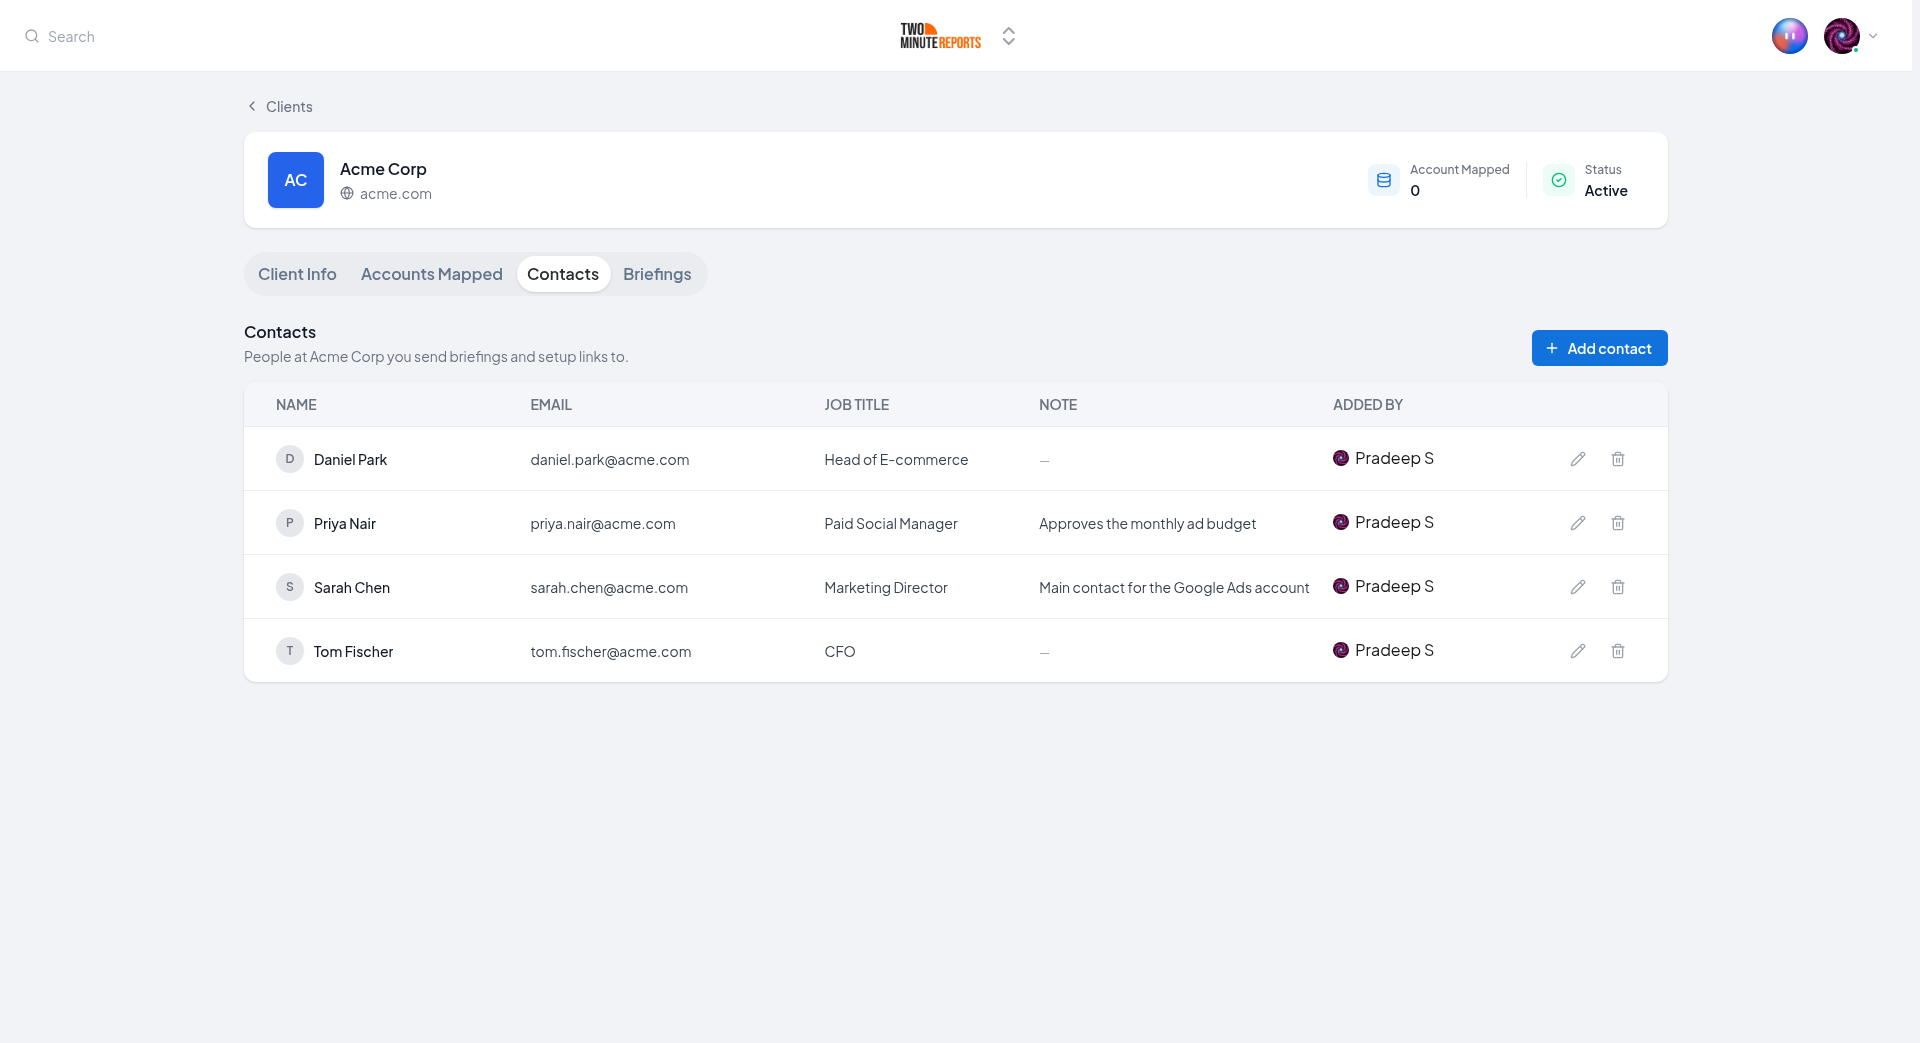
A contact is a person at a client. You save contacts on the Contacts tab of the client. When you send a briefing or a setup link, the Hub shows these contacts as suggested recipients. You do not have to type their email address again.
Before you start
- You must have a client. To add a client, see Clients.
- All members of your team can see contacts and select them as recipients.
- To add, edit or delete a contact, your role must be Owner, Admin or Deputy Admin. A custom role can also have these permissions. Refer to Who can do what.
Add a contact
- Go to Clients and select the client.
- Select the Contacts tab.
- Select Add contact.
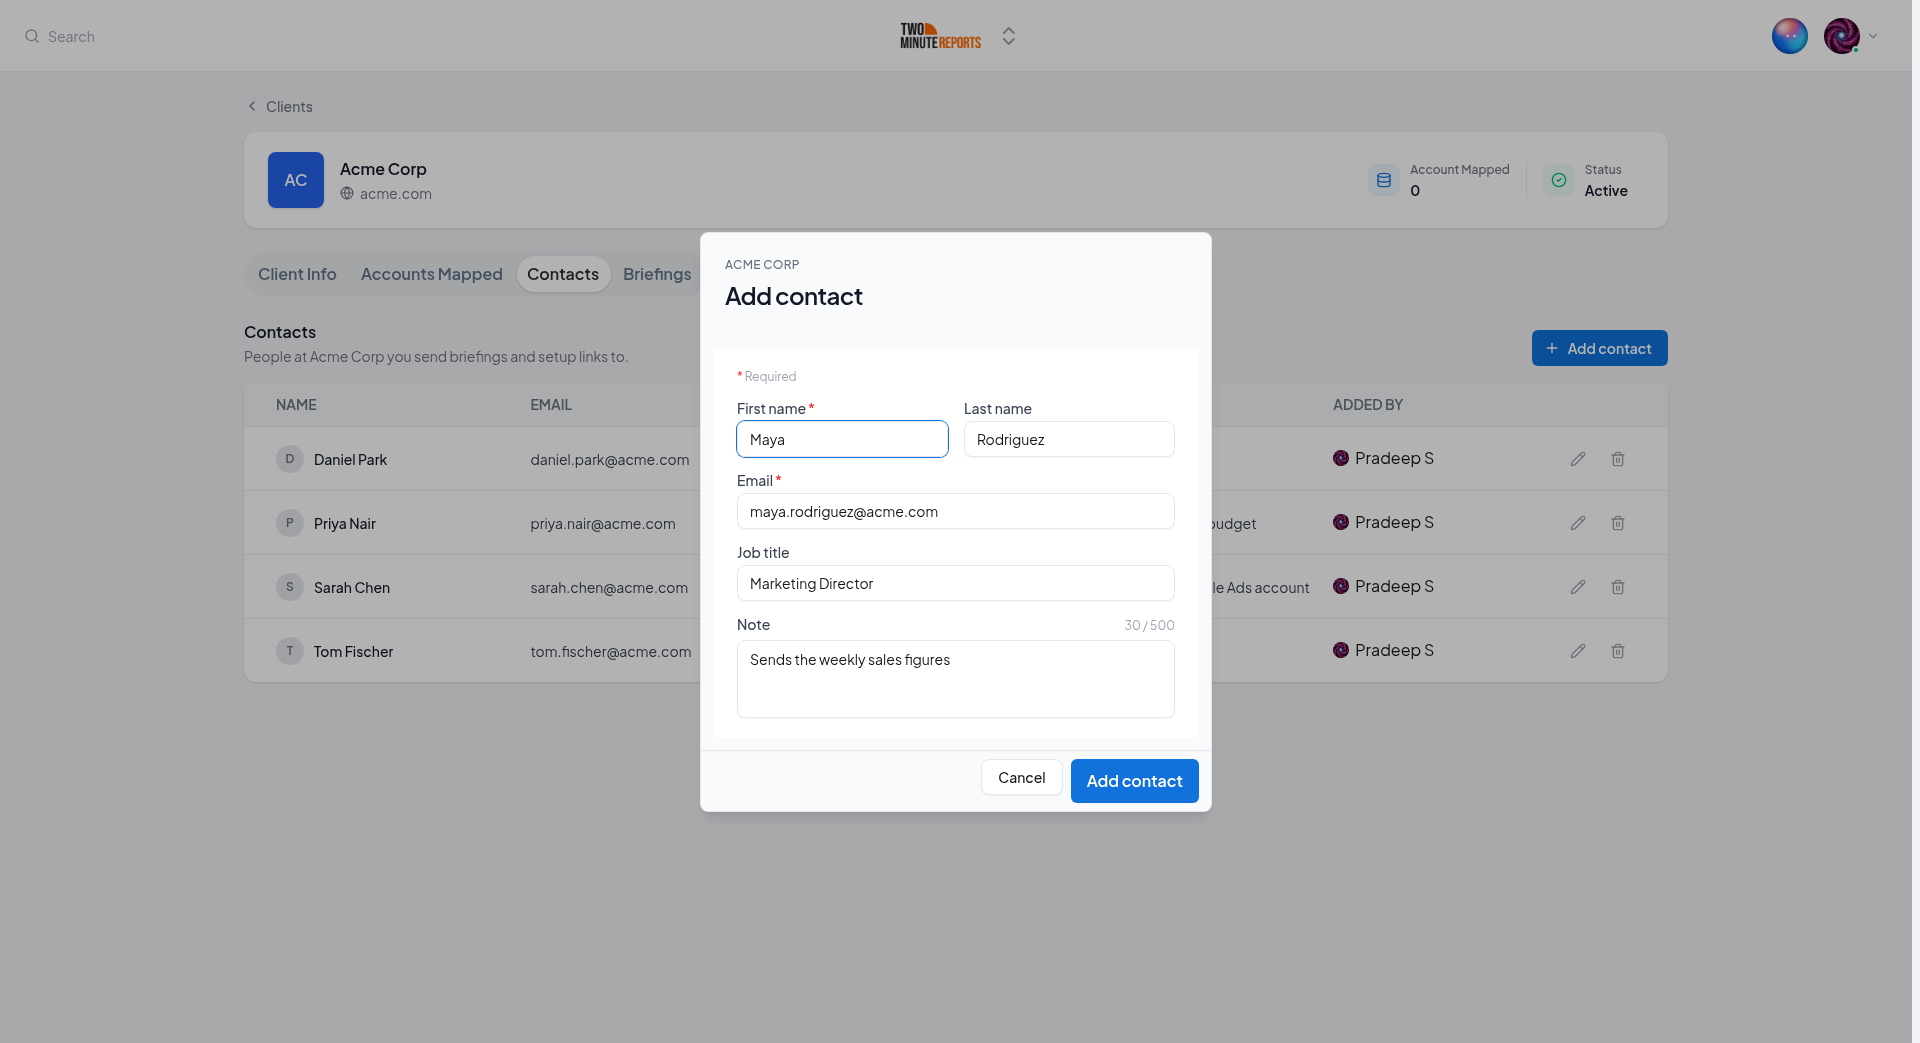
- Type the First name and the Email. These two fields are necessary.
- Optional: type the Last name, the Job title and a Note.
- Select Add contact.
Job title
Type the job title, or select a title from the list. The list shows the job titles that your team already uses, and then a list of usual titles. You can also use a title that is not in the list.
Note
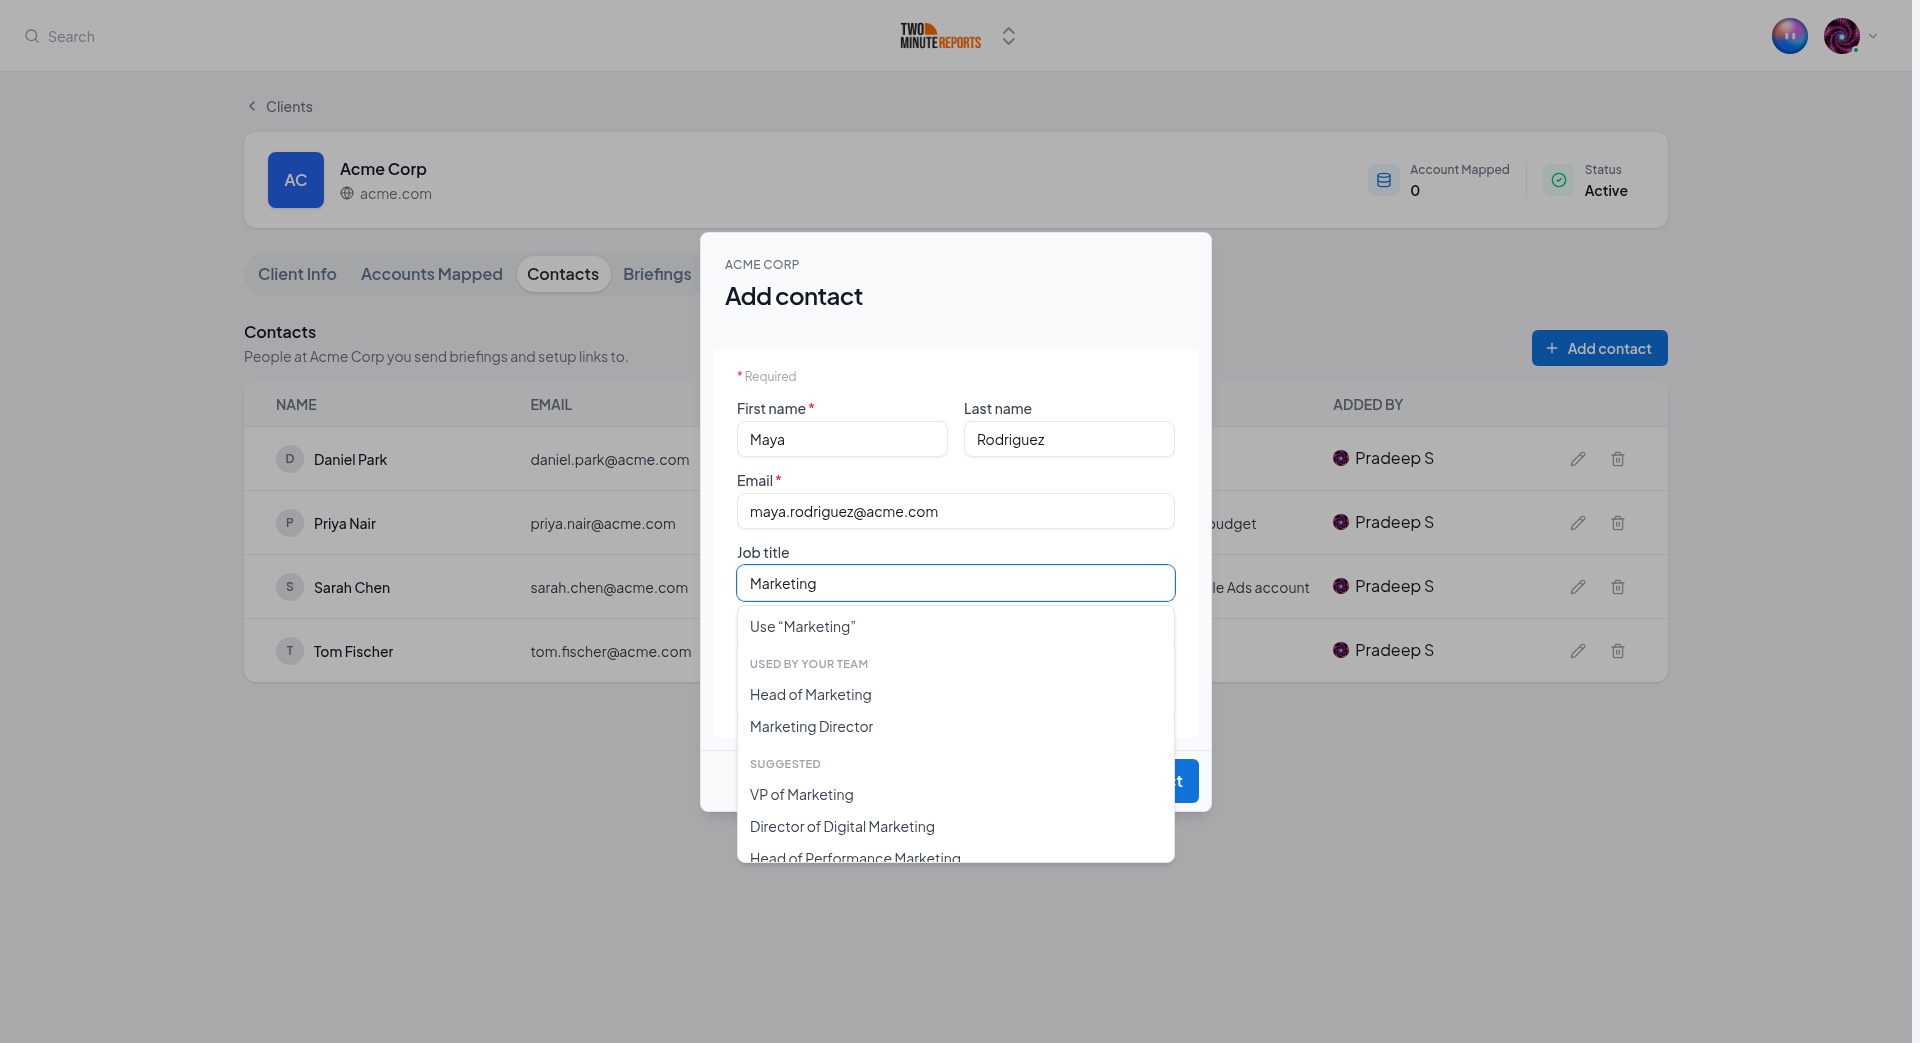
The note is for your team. The client does not see it. A note can have a maximum of 500 characters.
Email addresses
- One client cannot have two contacts with the same email address.
- Two different clients can each have a contact with the same email address.
- The Hub keeps email addresses in lowercase.
[email protected]becomes[email protected].
Edit a contact
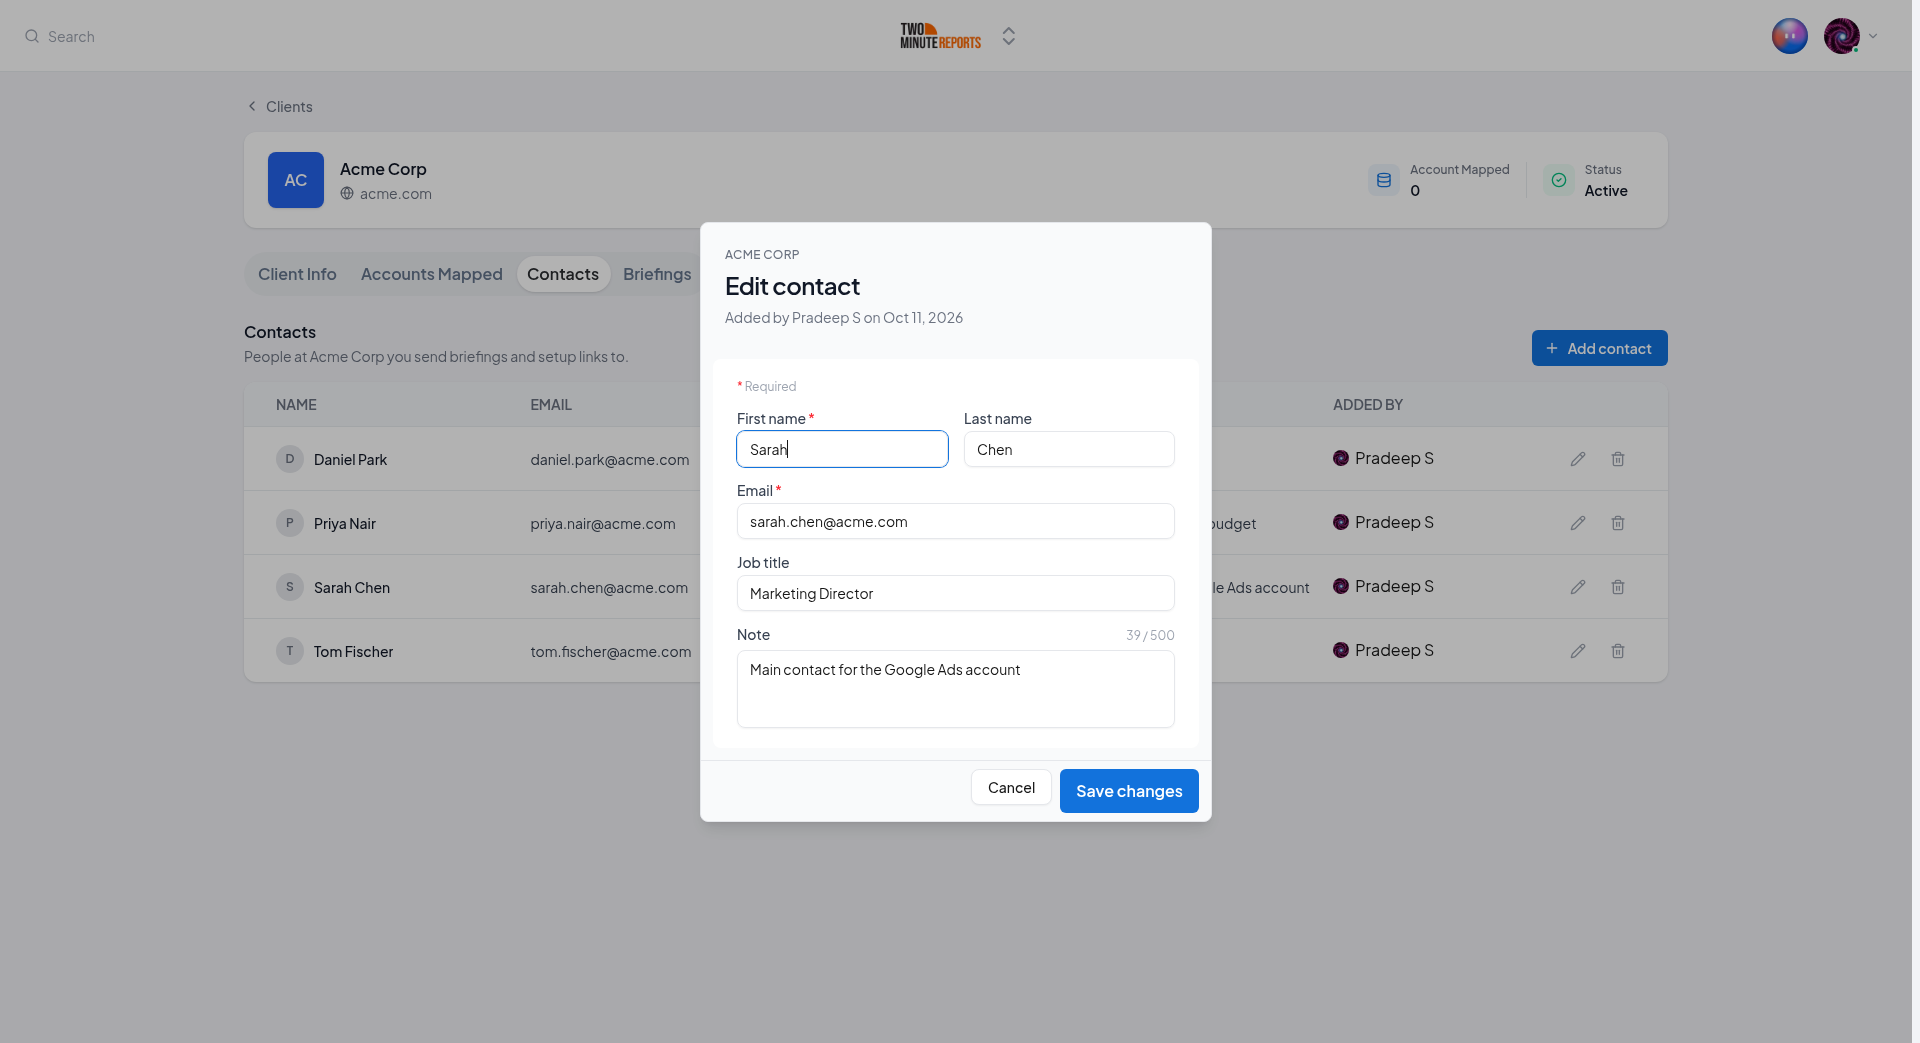
- On the Contacts tab, find the contact.
- Select the pencil icon in the row of the contact.
- Change the fields.
- Select Save changes.
Delete a contact
- On the Contacts tab, find the contact.
- Select the trash icon in the row of the contact.
- Select Delete contact.
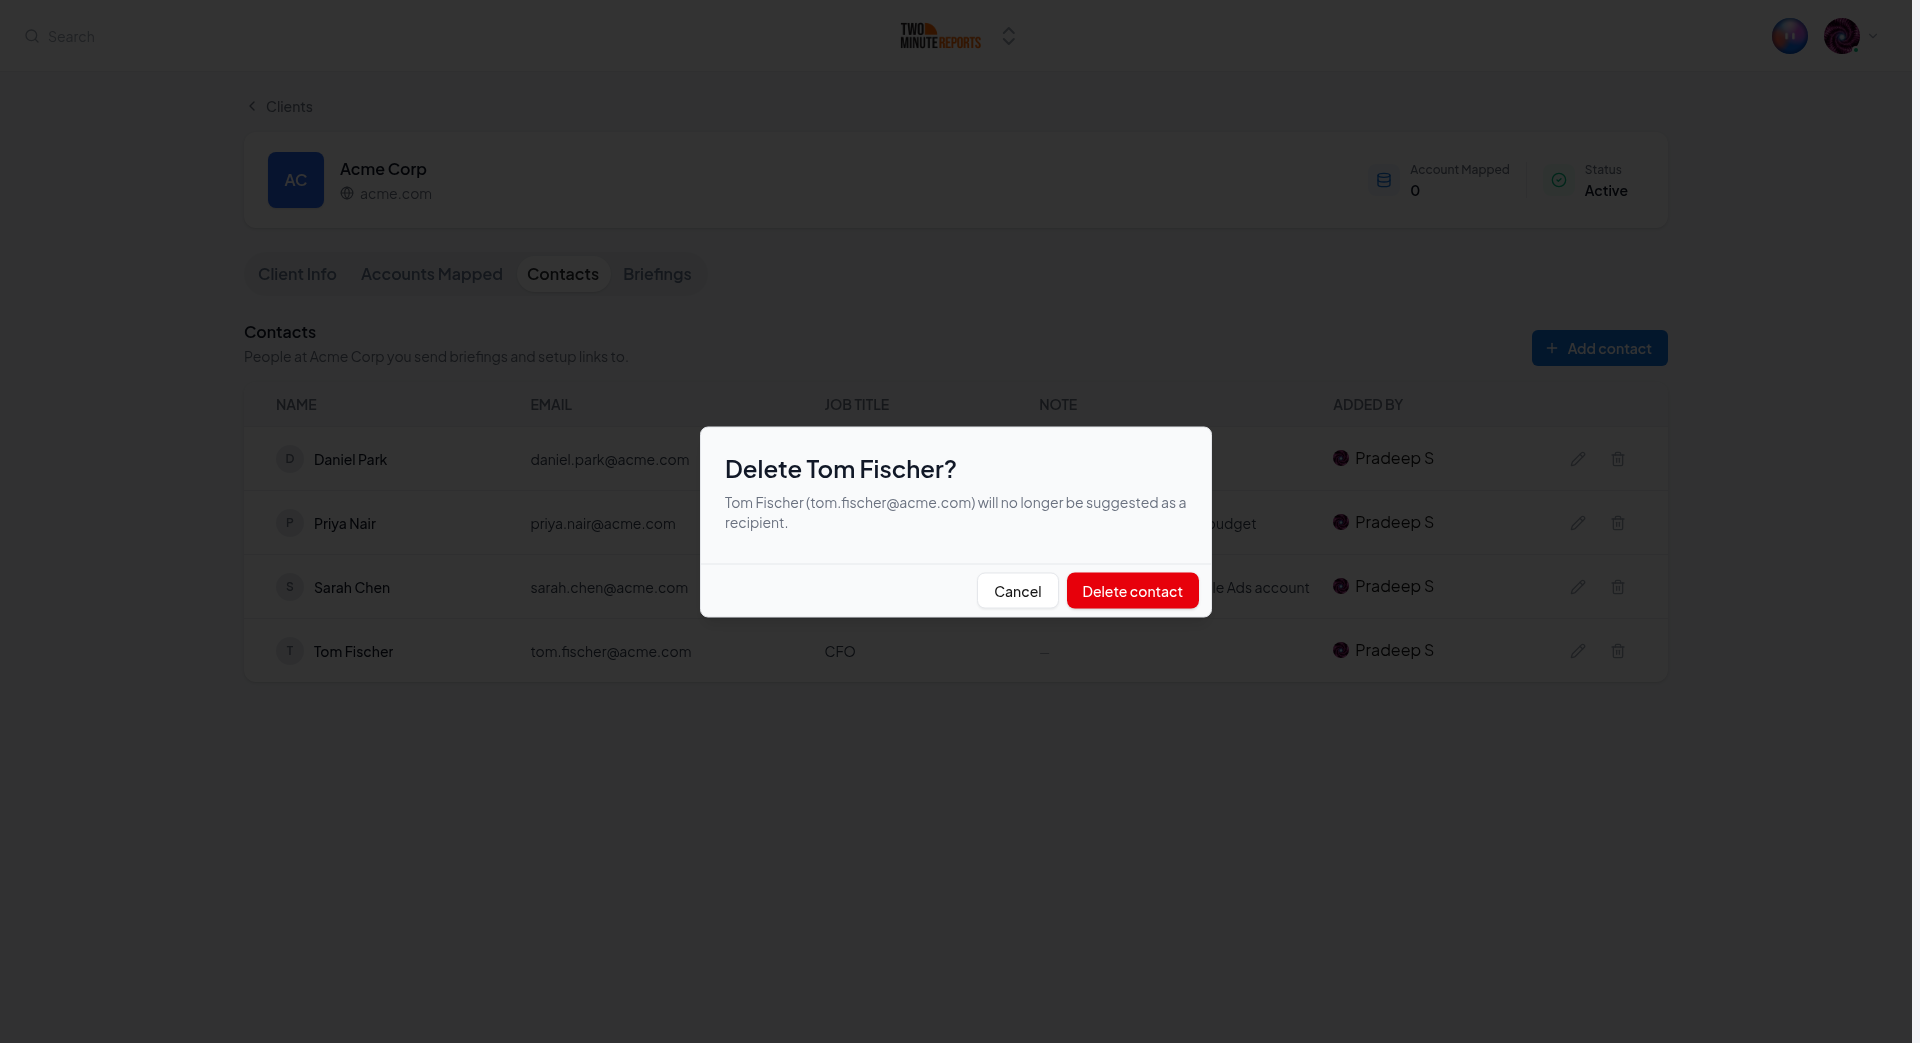
When you delete a contact, the Hub does not show the contact as a suggested recipient again. You cannot undo the deletion.
When you delete a client, the Hub also deletes all the contacts of that client.
Select contacts as recipients
In a briefing
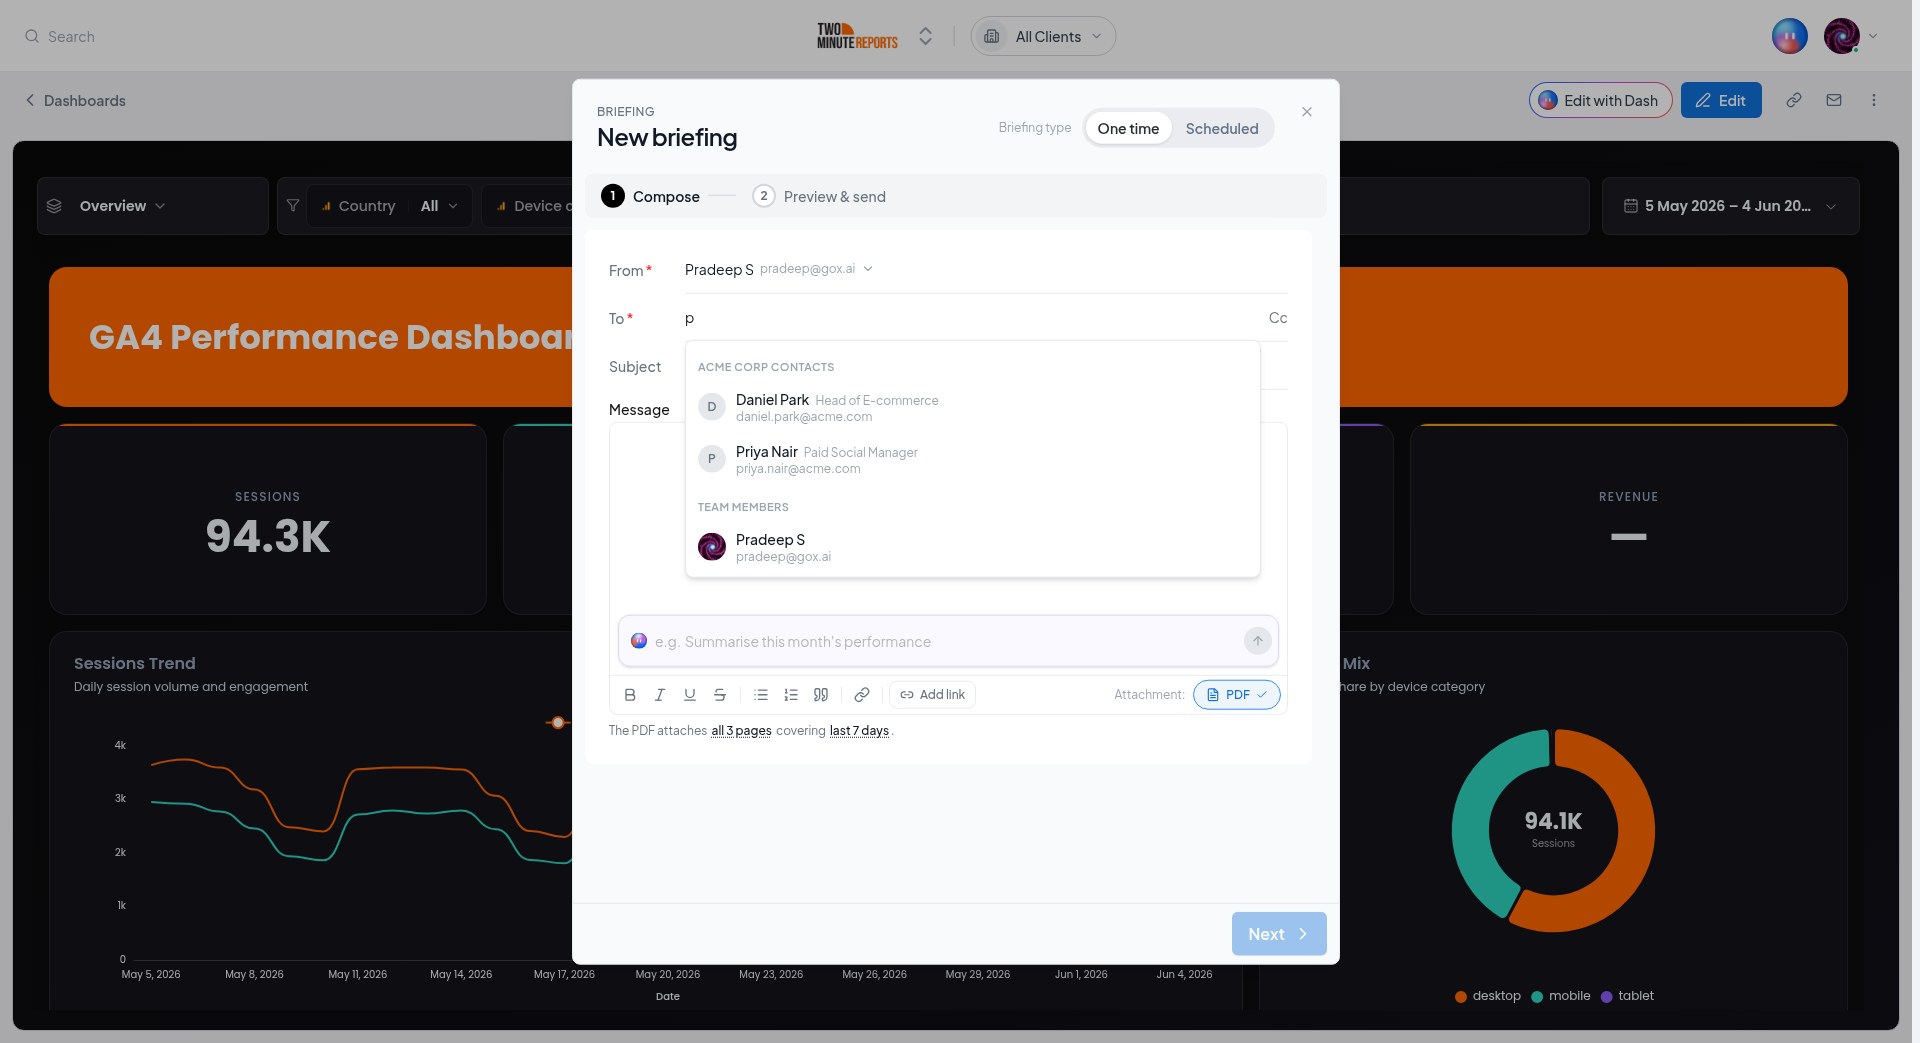
When a dashboard belongs to a client, the briefing for that dashboard suggests the contacts of the client.
- Open the dashboard.
- Select the email icon (Email this dashboard).
- Select the To field, or select Cc and then the Cc field.
- Select a contact from the list.
The list shows the contacts of the client first, and then the members of your team. To filter the list, type a part of a name or an email address. To send to a person who is not in the list, type the full email address and press Enter.
For more about briefings, see Briefings.
In a setup link email
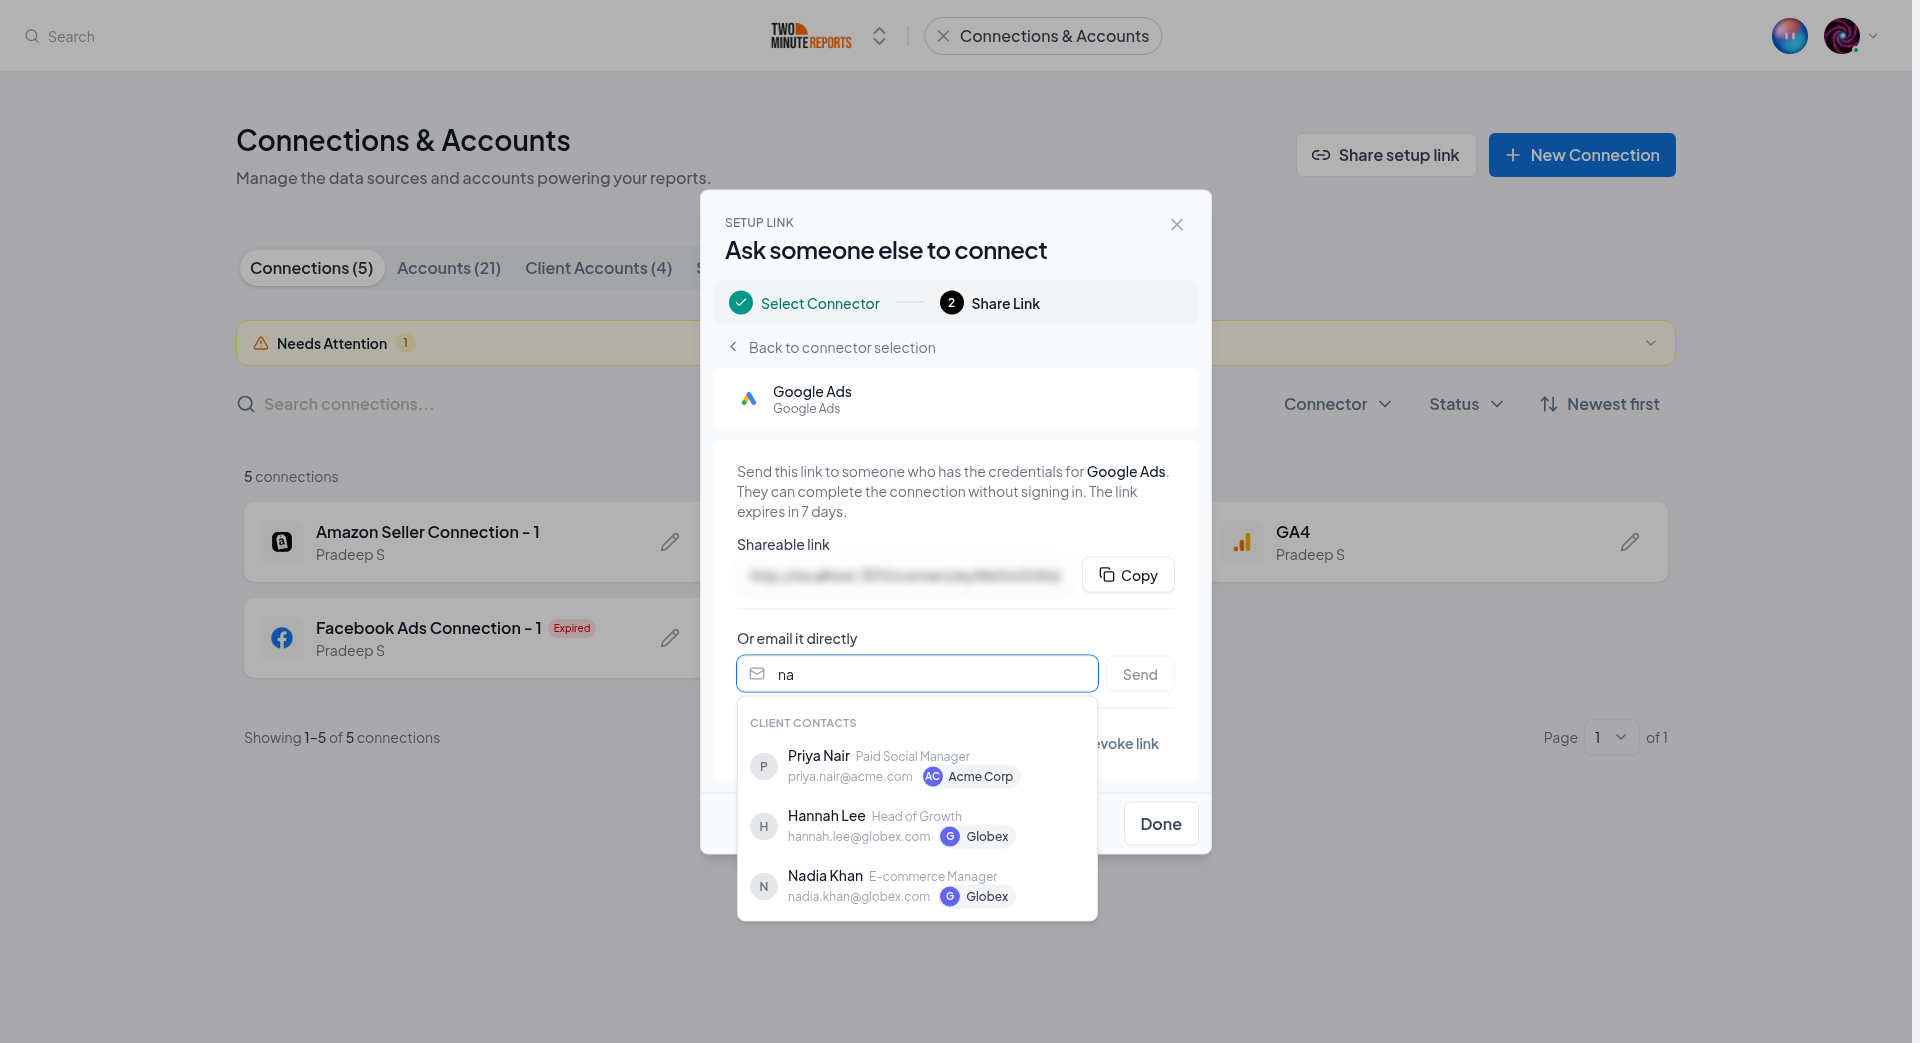
A setup link lets a person outside your team connect an account. You can send the link by email. The email field suggests the contacts of all your clients.
- Go to Connections and select Share setup link.
- Select the connector, then select Next.
- Select Generate link.
- Select the Or email it directly field.
- Select a contact from the list.
- Select Send.
Each contact in the list shows the name of its client. Your team members are below the contacts.
For more about setup links, see Share a setup link.
Who can do what
| Permission | What it lets a member do | Standard roles that have it |
|---|---|---|
| View client contacts | See the contacts of each client, and select them as recipients | All roles |
| Add and edit client contacts | Add a contact, or change the name, email, job title or note of a contact | Owner, Admin, Deputy Admin |
| Delete client contacts | Delete a contact | Owner, Admin, Deputy Admin |
If your role does not have a permission, the Hub shows the button as unavailable. Move the pointer onto the button, or move the focus to it, to see the reason. To change a role, see Standard roles and Custom roles.
Use the API or MCP
- With the API, you can list, add, edit and delete contacts. Refer to the Clients API.
- With MCP, an AI assistant can list the contacts of your clients. It cannot change them.