

Creating a Custom Field
Every custom field, whatever its build method, is created through the same three-step builder: Basic → Configuration → Preview. This page walks through that flow. For the details of each build method, see Formulas & Conditions, Blending, and Split Text.
What You Can Do
- Create a custom metric or dimension from one place
- Choose the build method that fits what you're making
- Preview the result against real account data before saving
- Set a fallback for rows where the field can't be computed
- Edit or delete any custom field you've created
Open the Custom Fields Page
From the main navigation, click Custom Fields. The page has two tabs, Custom Metrics and Custom Dimensions, each showing the fields you've created (plus read-only System Fields).
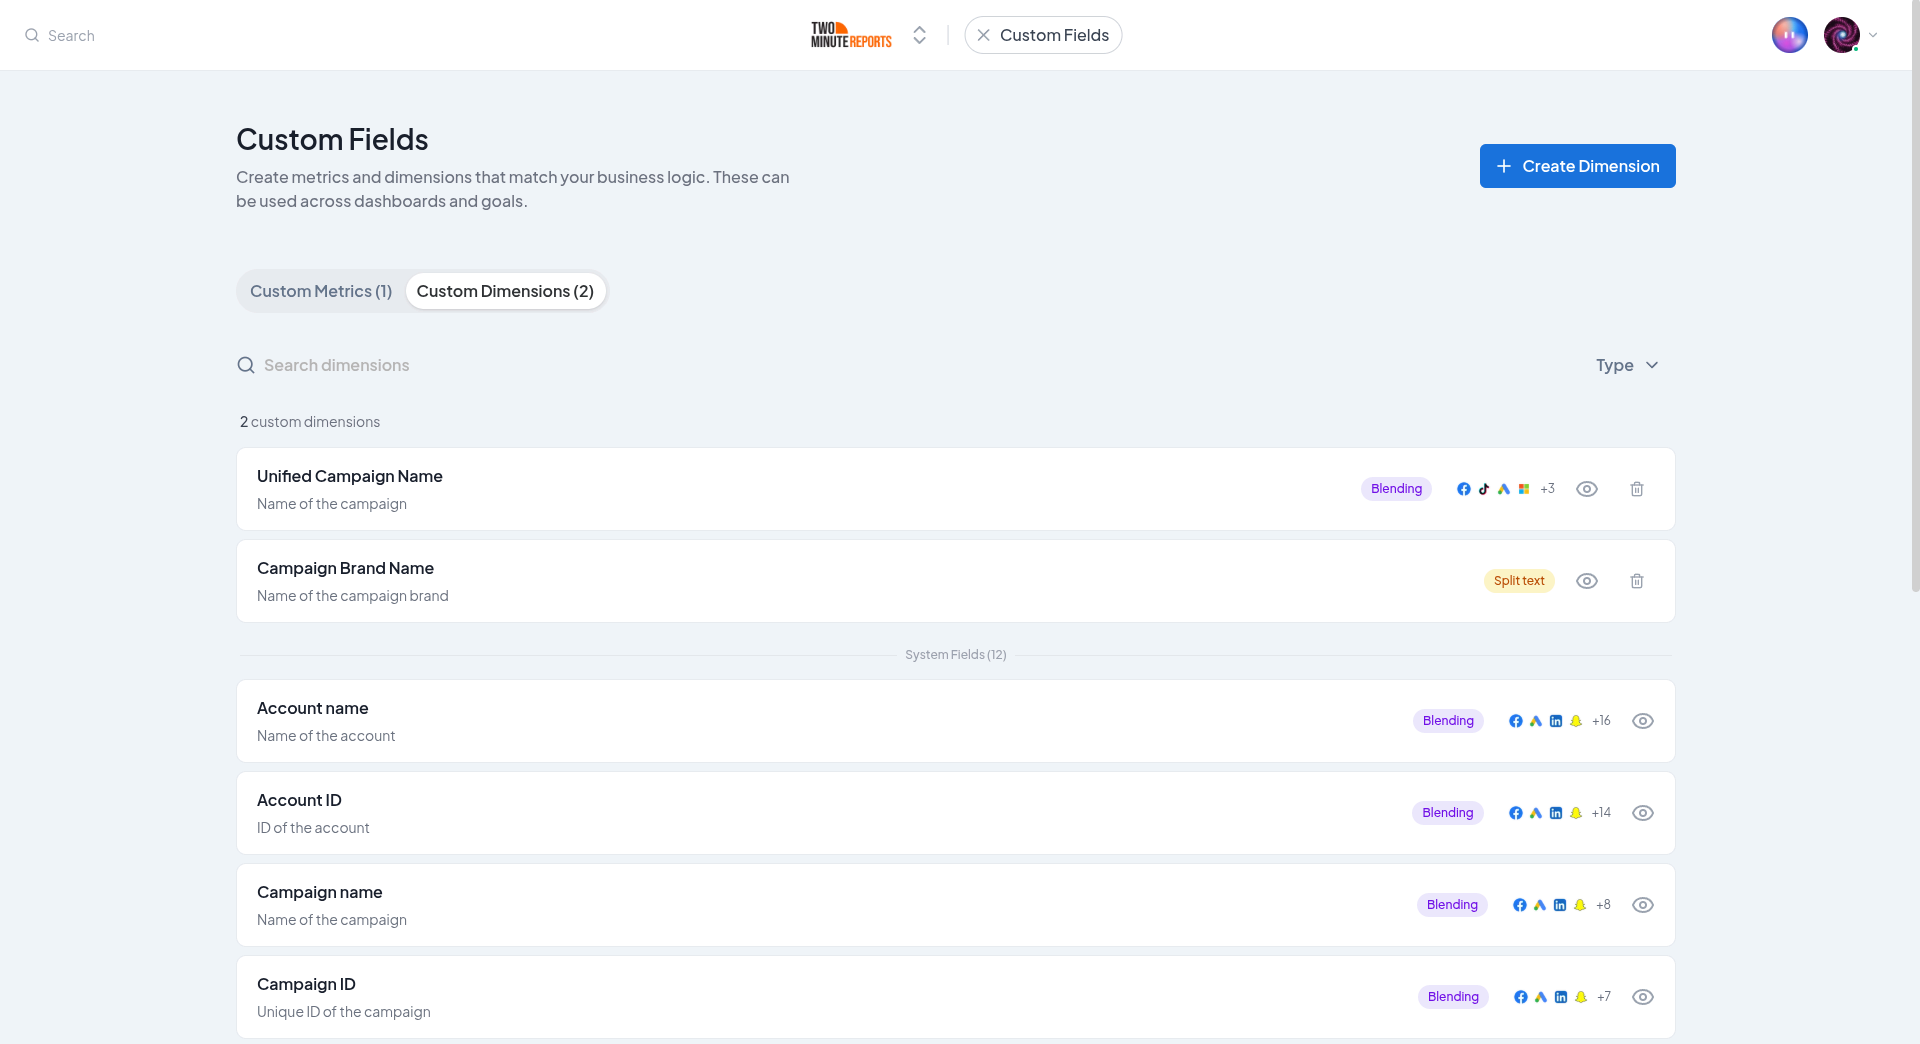
To start, switch to the tab for the kind of field you want and click Create Metric or Create Dimension. Clicking an existing row opens it for editing.
Step 1 — Pick a Build Method
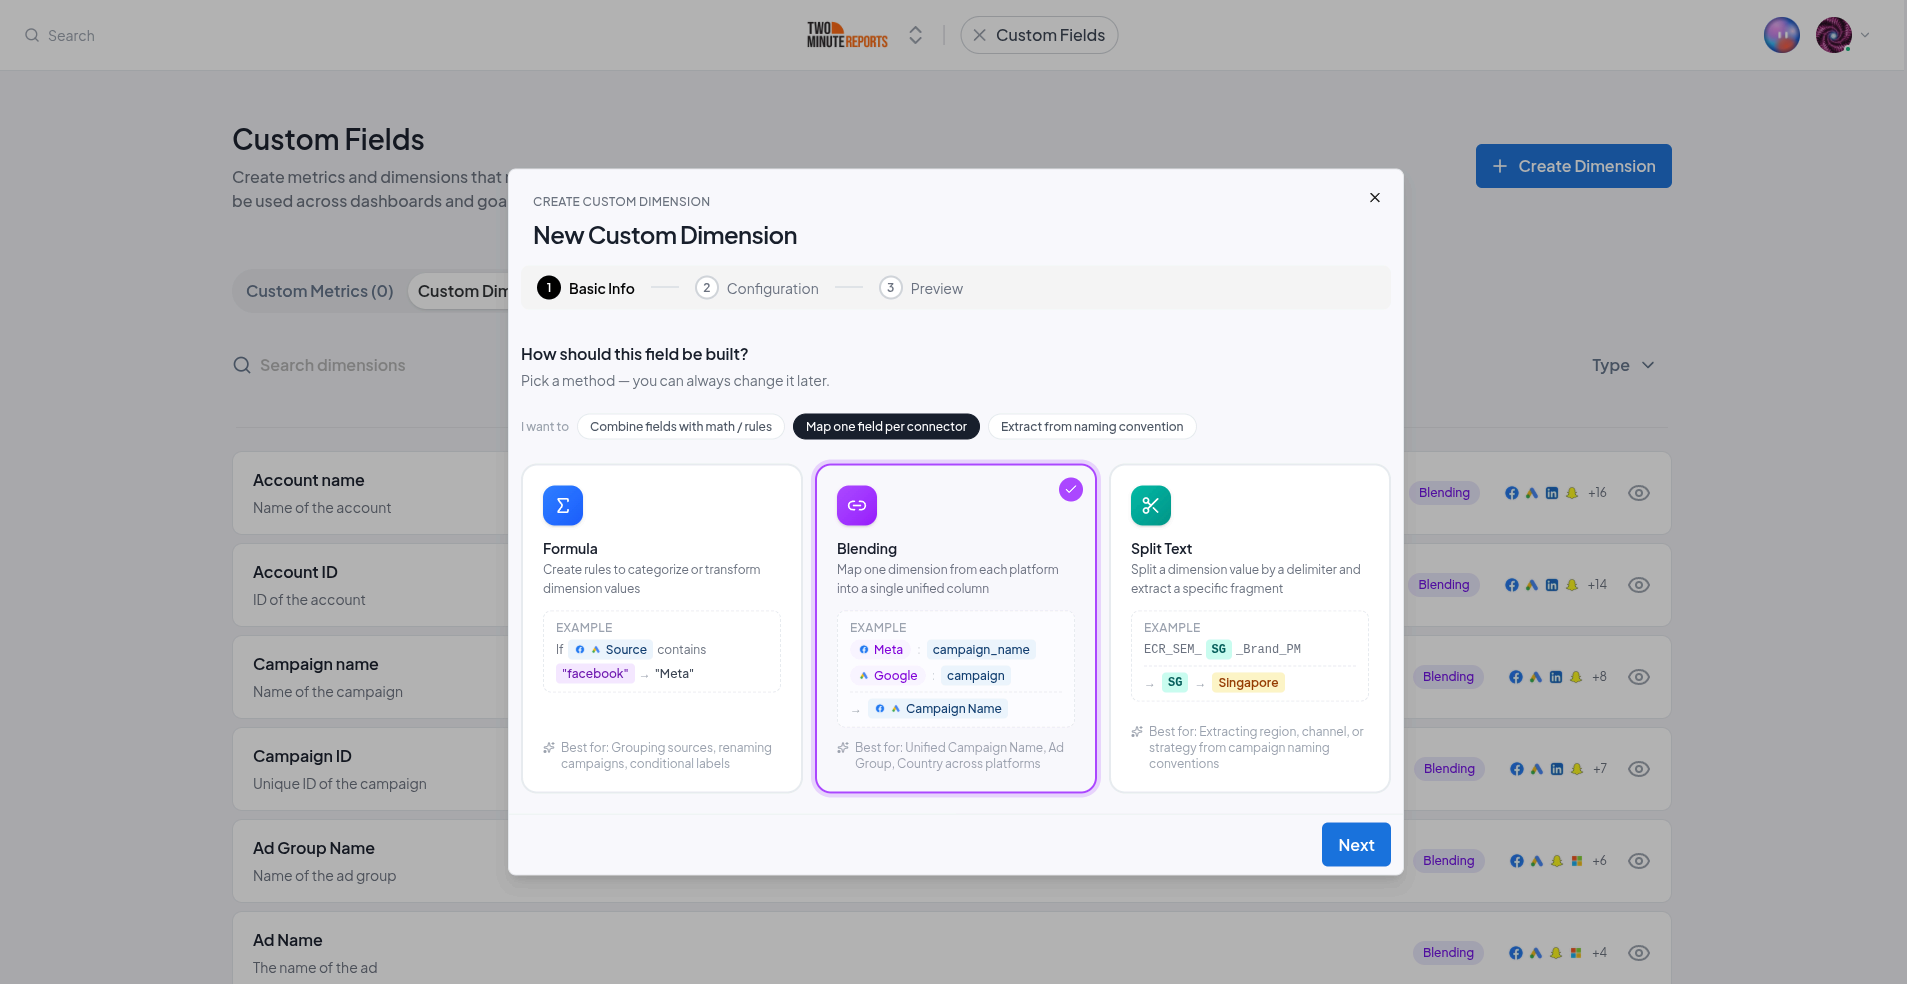
The builder opens on "How should this field be built?". The methods offered depend on the kind of field: metrics show Formula and Blending; dimensions also show Split Text. Choose the one that matches what you're making:
- Formula - do math on fields (metrics) or combine fields and text (dimensions)
- Blending - map one field per data source into a single unified field
- Split Text - split a dimension value and extract a fragment (dimensions only)
Step 2 — Configure the Field
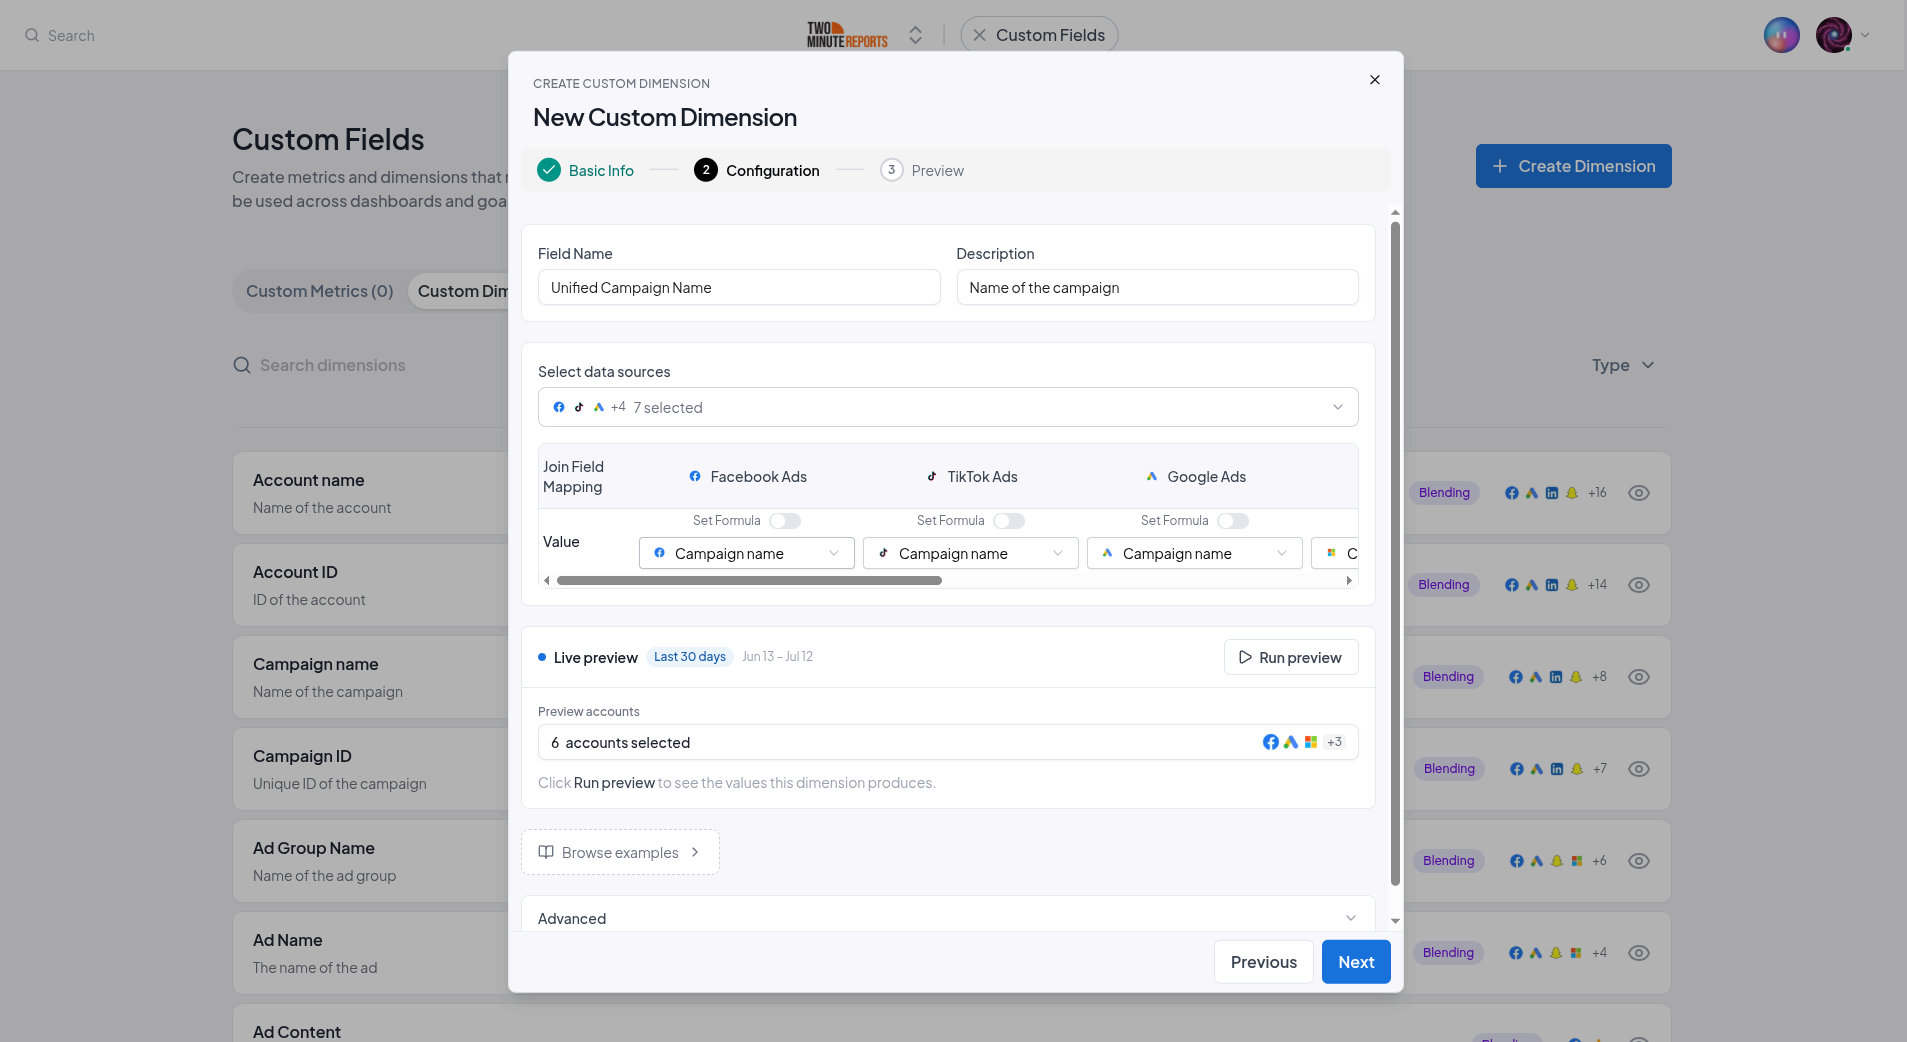
Give the field a Name and an optional Description, then build its logic. The builder here changes based on the method you chose:
- Formula opens the formula editor (and an optional condition builder)
- Blending opens the per-source mapping flow
- Split Text opens the delimiter and fragment settings
Live Preview
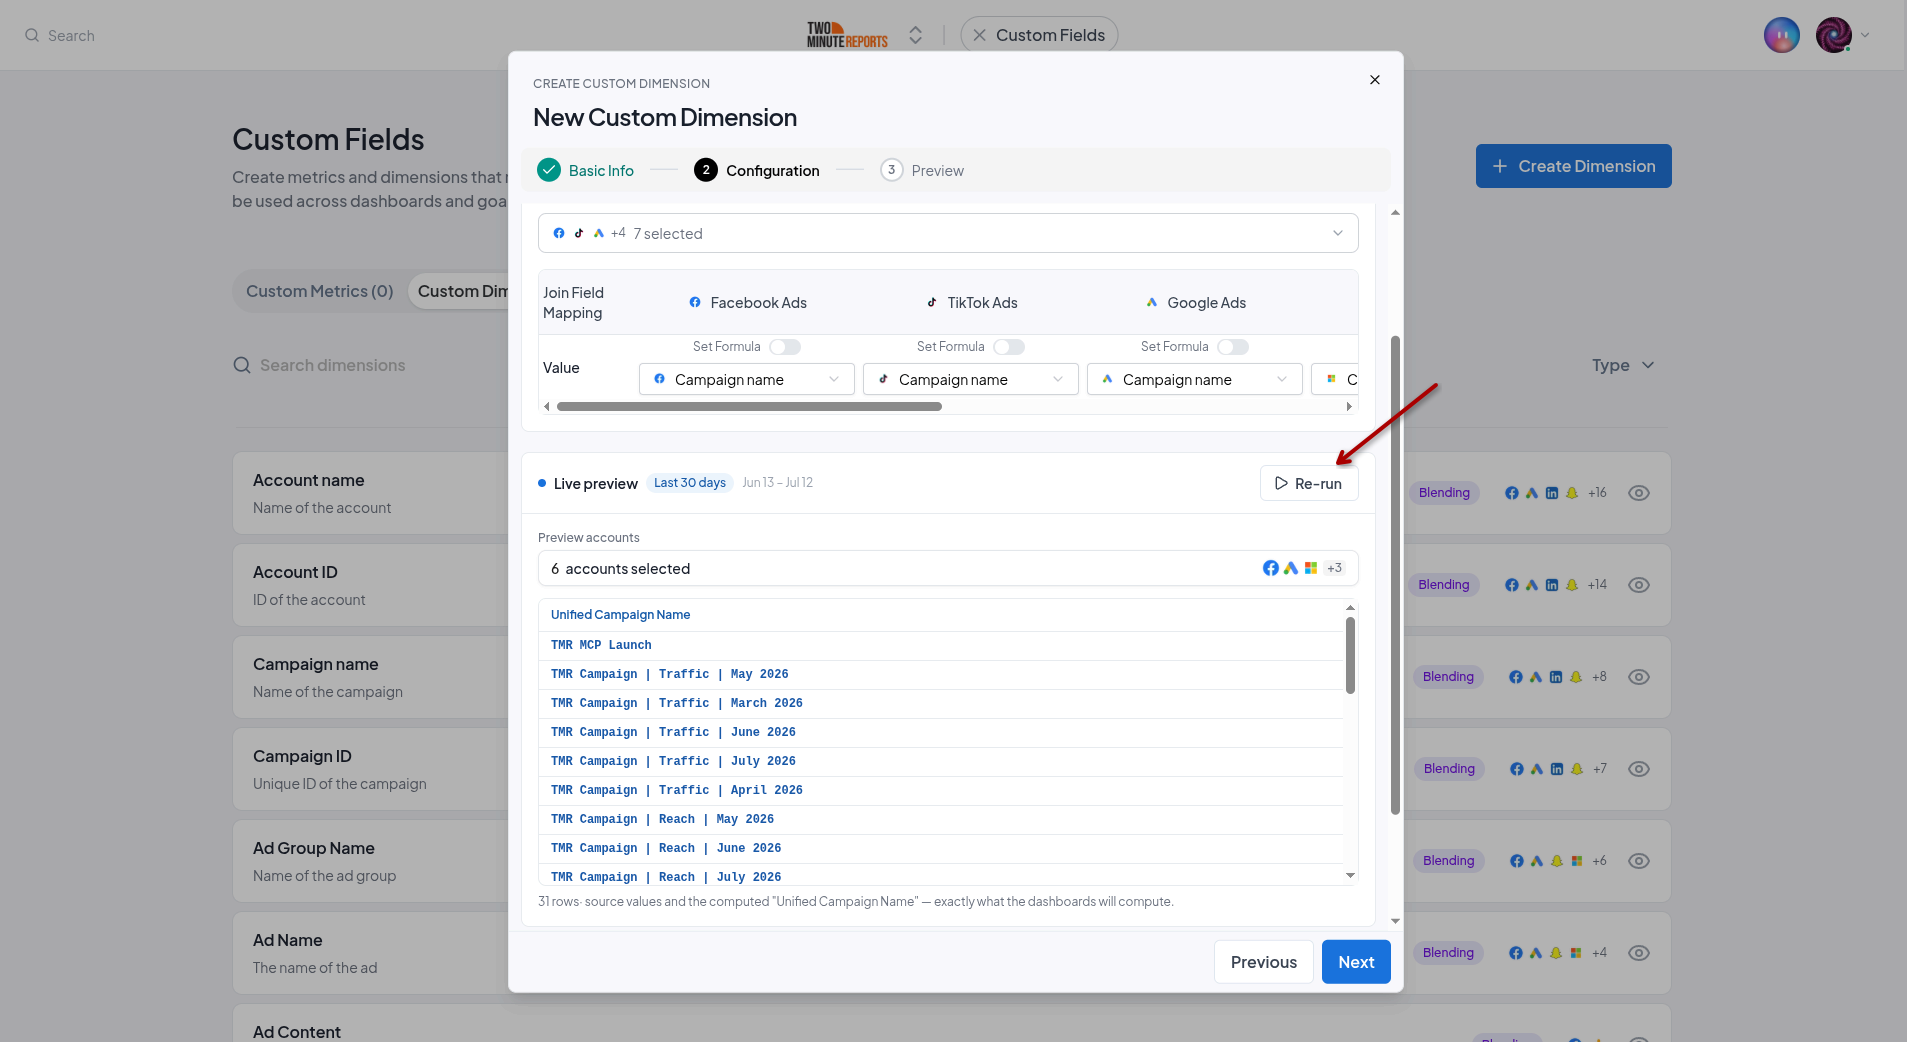
As you build, use the Live preview panel to see real results. It runs your field over the last 30 days of data from your Preview accounts and shows an input-to-output table, so you can confirm the field behaves before you save.
- Pick the accounts to preview with under Preview accounts
- Click Run preview (or Re-run after a change) to compute values
- The preview flags when your definition has changed since the last run
Advanced: Fallback Value
Open the Advanced section to set a Default Value for rows where the field can't be computed (for example, a formula that divides by zero, or a source that doesn't have the field):
- None - a metric falls back to 0, a dimension to blank
- Static Value - use a fixed value you enter
- Field Value - fall back to another field's value
Step 3 — Review and Save
The final step shows a summary, a Definition card (the formula, blended sources, conditions, and fallback) and a Details card (name, type, description). Use the inline edit shortcuts to jump back to any step.
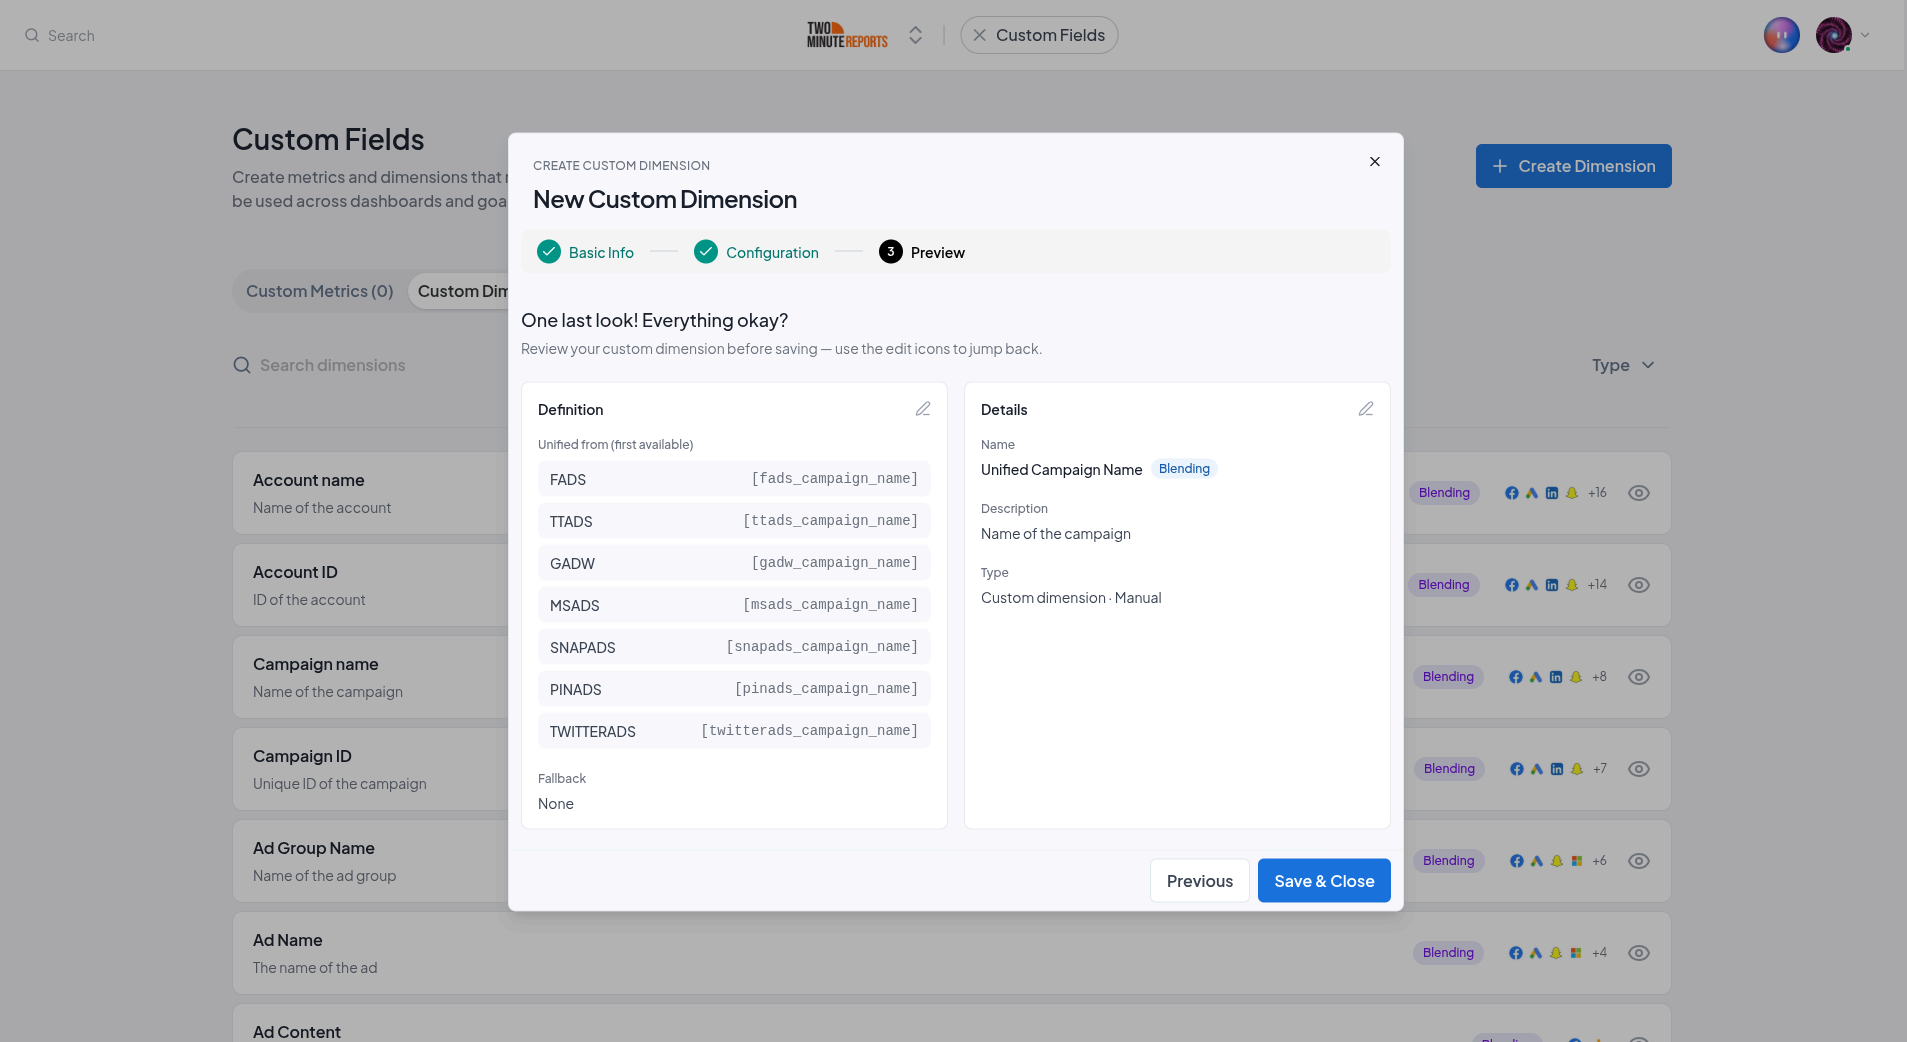
Click Save & Close to create the field (or Update & Close when editing). It's now available across your dashboards and goals.
Editing and Deleting
- Edit - click any custom field row to reopen the builder
- Delete - use the trash icon on a row and confirm
Next Steps
- Formulas & Conditions - Build calculations and conditional rules
- Blending Across Sources - Unify a field across platforms
- Using Custom Fields - Put them to work in dashboards and goals
Custom Fields
Create your own metrics and dimensions, from formulas and conditional rules to blending fields across data sources and splitting text, and reuse them across dashboards and goals.
Formulas & Conditions
Build custom metrics with math operators and custom dimensions by combining fields and text, then layer on conditional rules to return values only when conditions match.